Thinking of Converting Your Garage? Here’s What You Actually Need to Know
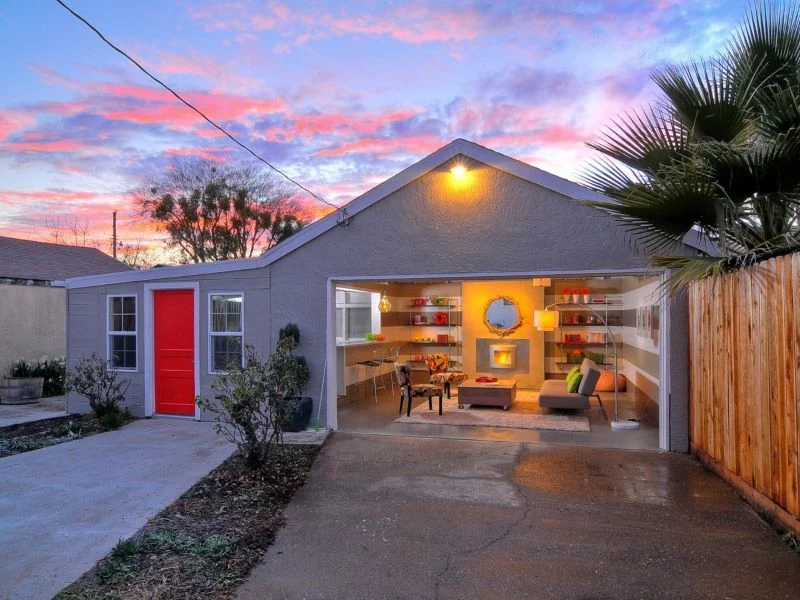
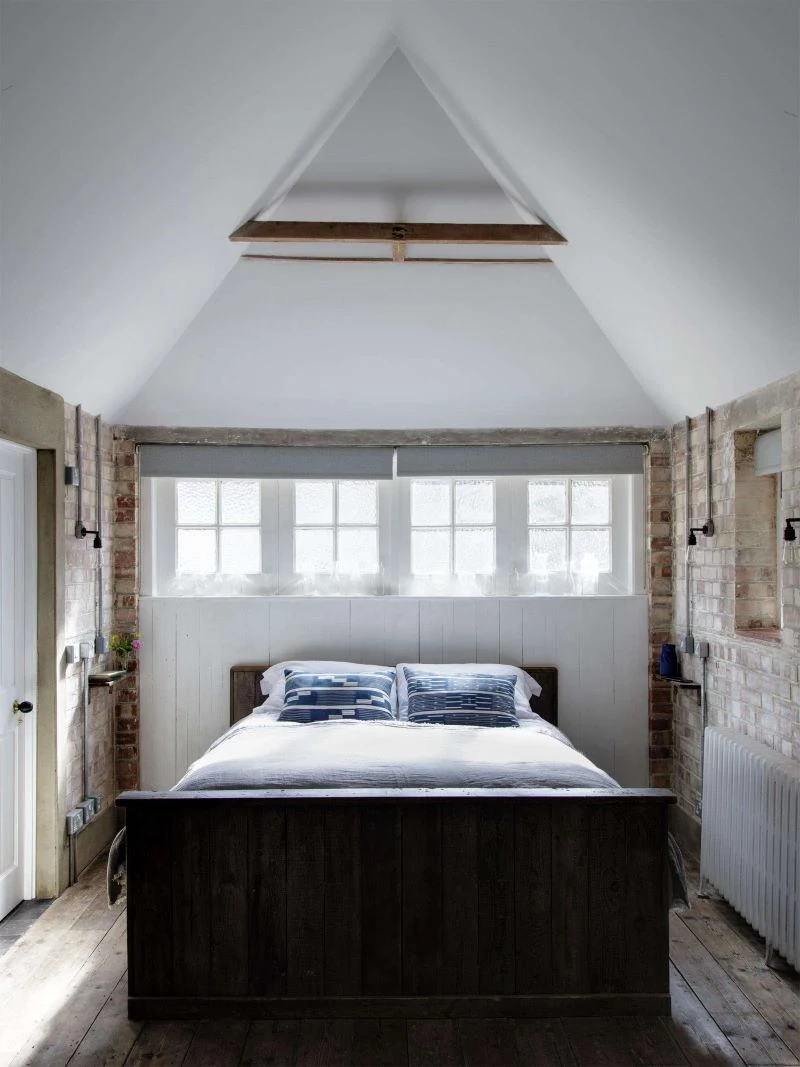
I’ve spent more years than I can count on job sites, and I’ve seen garage conversions go one of two ways. They either become a brilliant, seamless part of the home that adds real value, or they turn into a money pit of damp, mouldy regret. The dream of turning that dusty, cluttered space into a spare bedroom, a home office, or a killer media room is a powerful one. It feels like a shortcut to more space, right? Cheaper than a full-blown extension.
In this article
But let’s be real for a minute. A successful conversion is so much more than throwing up some drywall and calling it a day.
Your garage was originally built as a simple, non-livable space. Think of it as a glorified shed attached to your house. The official building codes for these spaces are worlds away from what’s required for a room people actually live in. We’re talking completely different standards for things like waterproofing, ceiling height, insulation, and even basic ventilation. Making that switch is a serious construction project, and cutting corners is where the horror stories begin. I want to walk you through how the pros tackle this, so you can get it right the first time and avoid those costly mistakes.
First Things First: The Big Questions (Cost and Time)
Before we get into the nitty-gritty, let’s address the two things everyone wants to know. How much does it cost, and how long does it take?
Honestly, the budget can vary wildly depending on your finishes and whether you need to add a bathroom. But for a standard conversion into a living room or bedroom, you should realistically budget between $30,000 and $80,000. A huge chunk of that goes into things you don’t even see, like waterproofing, termite protection, and electrical work. As for time, from getting your plans drawn up to the final coat of paint, you’re likely looking at a 2 to 4-month process. Approvals alone can take a few weeks, so patience is key.
1. Before You Even Think About Tools: Planning & Approvals
The single biggest mistake I see is people getting excited and starting demolition without a solid plan. I get it, swinging a sledgehammer is fun. But the planning stage is where you save the most money and prevent the worst headaches.
Is Your Garage a Good Candidate?
Not all garages are created equal. Before you get too invested, do a quick health check on the space:
- The Concrete Slab: Take a good, hard look at the floor. Are there any massive cracks? Hairline cracks are usually fine, but big, deep ones could signal foundation issues that need a structural engineer’s eye. Quick tip: Tape a clear plastic sheet (about a square foot) to the floor on all four sides. Leave it for a day. If you see condensation underneath when you pull it up, you’ve got a dampness problem that has to be solved before anything else.
- Wall Construction: Most garage walls are just a single layer of brick or a basic timber frame. Single-skin brickwork isn’t weatherproof enough for a living area and will need a new internal stud wall built in front of it. This new wall is what will hold your insulation and electrical wiring.
- The Roof: A tiny roof leak in a garage is an annoyance. That same leak over your new sofa or bed is a catastrophe. Check the roof, gutters, and flashings now. It’s a thousand times easier and cheaper to fix leaks before you have a new insulated ceiling in place.
Dealing with the Paperwork (Don’t Skip This!)
I can’t stress this enough: converting a garage into a living space is a major change that requires building approval from your local council. Trying to do it under the radar is a recipe for disaster. You could be hit with a demolition order and face massive issues when you eventually try to sell your home.
Here’s the typical game plan:
- Get Plans Drawn Up: You’ll need a professional set of plans from a building designer or draftsperson. These are the blueprints for the entire project, showing everything from window placement to insulation specs. Expect this to cost anywhere from $1,500 to $4,000, depending on the project’s complexity.
- Lodge for Approval: These plans are then submitted to a private certifier or your local council. Their job is to make sure your project meets the national construction code and local regulations. The certifier’s fee, which includes stage inspections, will likely be in the $1,500 to $2,500 range.
- Stage Inspections: The certifier will need to inspect the work at key stages (like after the frame is up but before you put the plasterboard on). Never, EVER cover up work before it’s been inspected and signed off. I’ve seen homeowners forced to rip down brand-new walls because of this. It’s a truly heartbreaking mistake.
2. The Foundation: Building a Dry and Livable Floor
A garage floor is not a house floor. It’s usually a simple concrete slab, often sloped towards the door, with no waterproofing underneath to stop damp from rising out of the ground. This is the most critical part of the conversion to get right, especially in our humid climates.
Waterproofing the Slab (A Non-Negotiable Step)
You absolutely must create a waterproof barrier. Here’s how we do it properly:
First, the slab has to be perfectly clean and porous. We use a heavy-duty concrete grinder (you can hire one from a tool shop for about $150 a day) to remove any old paint, oil, or sealers. Then, we apply a special primer followed by a liquid waterproof membrane. We typically use a two-part epoxy membrane, which you can find from brands like Sika or Ardex. A kit for a double garage will cost around $400 to $600. It’s rolled on in at least two thick coats, and good ventilation is a must because the fumes are strong. Honestly, this is a job best left to the pros, as any tiny pinhole can cause the whole system to fail down the line.
Termite Protection: Your Home’s Insurance Policy
When you alter the slab and walls, you break your home’s original termite barrier. In many parts of the country, this is like sending a written invitation for termites to come and eat your new room. You must have a licensed pest controller install a new termite management system that complies with official standards. They’ll issue a certificate that your building certifier will need to see for the final sign-off. Don’t even think about skipping this.
Building the New Floor Level
With the slab sealed and protected, you can build your new floor. You’ve got two main choices:
- The Floating Subfloor (My Preferred Method): We build a simple, low-profile timber frame on top of the sealed slab. This creates a small air gap, which is great for air circulation and preventing any damp feeling. We can easily level out the garage’s natural slope with this frame and add rigid foam insulation in the gaps. Then, we lay down particleboard or plywood sheets on top. The result is a floor that feels much warmer and softer underfoot. It’s also more forgiving for a skilled DIYer.
- The Insulated Screed Method: This involves laying rigid insulation boards directly onto the waterproofed slab and then pouring a new layer of concrete screed or a self-leveling compound over the top. This gives you fantastic thermal insulation but adds a lot of weight and is much trickier to get perfectly level. For most projects, the floating subfloor is the safer bet.
3. Walls, Windows, and a Proper Ceiling
With the floor sorted, it’s time to enclose the space and make it feel like a real room.
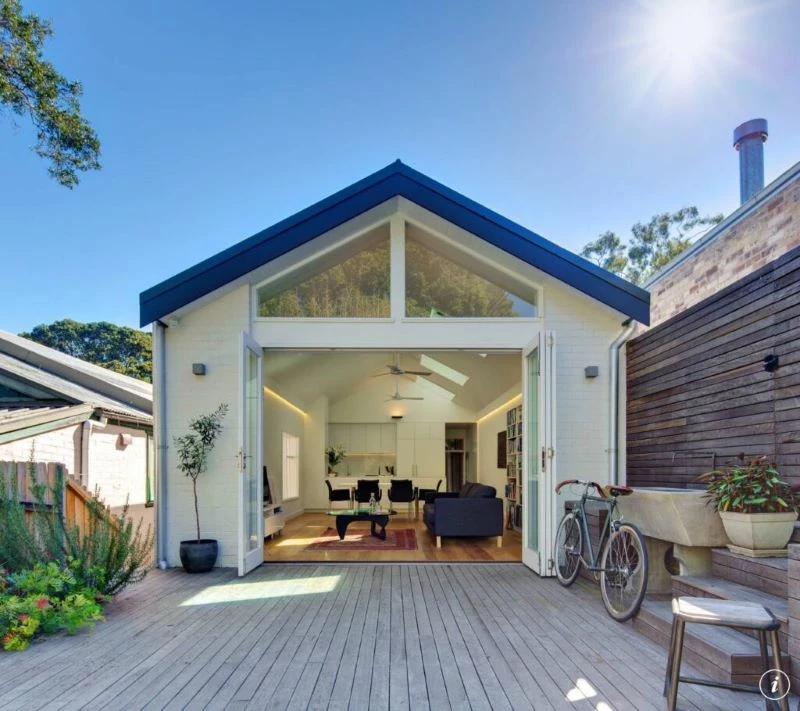
Filling in the Old Garage Door Opening
This is the biggest structural change. After removing the old door and its tracks, a new timber frame is built to fill the opening. This frame is where your new window will go. A crucial step is to tie this new wall frame securely into the existing brickwork or structure. If you don’t, a crack will almost certainly appear between the old and new sections over time. On the outside, the frame is covered with a weatherproof building wrap before the final cladding goes on. This wrap is a second line of defense against wind-driven rain.
Insulation: Your Shield Against the Elements
A standard garage has zero insulation. Your new room will be an oven in summer and an icebox in winter without it. The building code specifies minimum energy efficiency ratings, measured in ‘R-values’. The higher the R-value, the better the insulation.
- For Walls: We build that new stud frame inside the existing walls, which creates a perfect cavity for insulation batts. I’d recommend at least an R2.0 rating for walls.
- For the Ceiling: Heat rises, but it also beats down. This is where most of your heat gain in summer comes from. Don’t use anything less than R4.0 ceiling batts. In my own house, I went with R6.0, and the difference it makes to my air conditioning bills is incredible.
By the way, when you’re handling insulation, always wear a mask, goggles, and long sleeves. Those fibers are seriously irritating.
4. The Pro-Only Zone: Electrical and Plumbing
This section is short and sweet. For all electrical and plumbing work, you MUST hire licensed professionals. It’s illegal, incredibly dangerous, and voids your home insurance to do it yourself.
An electrician will need to run new circuits from your switchboard, install new power points and lights protected by a safety switch, and give you a certificate of compliance. A plumber is needed for any bathroom or kitchenette, handling everything from running new water lines to waterproofing the wet areas. Trying to save a few bucks here is the worst decision you can make. A single fire or flood from shoddy work will cost you everything.
Let’s Be Honest: What Can You Actually DIY?
So, what parts of this can a handy person realistically take on to save some cash?
Good DIY tasks include:
- The initial demolition (removing old cabinets and the garage door).
- Painting and finishing touches.
- Installing skirting boards and trim.
- If you’re skilled and confident, you could potentially tackle the timber framing and installing insulation.
Jobs to ALWAYS leave to the pros:
- Waterproofing the concrete slab.
- All electrical work. Period.
- All plumbing and drainage work.
- The termite barrier installation.
- The final certification process with the certifier.
5. The Finish Line: Final Steps and a Quick Recap
Once the heavy lifting is done, it’s all about the details that make it a beautiful space. When putting up plasterboard, the secret to a pro finish is multiple thin coats of joint compound, not one thick one. Use a bright light held at a low angle to the wall to spot any imperfections before you paint. It’s tedious, but it makes all the difference.
Oh yeah, one last thing people forget: the driveway! If it slopes down towards your new wall, you need to install a strip drain in the concrete outside. This will catch rainwater and pipe it away, preventing it from flooding your new room during a heavy downpour.
Your Project Roadmap (A Simple Checklist)
Feeling overwhelmed? Here’s the whole process in order:
- Assess Your Space: Check the slab for damp and cracks.
- Engage a Designer: Get professional plans drawn up.
- Lodge for Approval: Submit plans to a certifier and get the green light.
- Hire Your Trades: Line up your electrician, plumber, and termite specialist.
- Foundation Work: Get the slab waterproofed and the termite barrier installed.
- Build the Structure: Frame the new walls, infill the garage opening, and install windows.
- Rough-In Services: Electrician and plumber do their work inside the open walls.
- Get Your Framing Inspected!
- Insulate and Line: Install insulation, then hang and finish the plasterboard.
- Finishing Touches: Flooring, painting, and trim.
- Final Inspection: The certifier gives the final sign-off, and you get your certificate.
A garage conversion is a fantastic project, but it’s a marathon, not a sprint. By respecting the process, investing in the fundamentals like waterproofing, and using licensed pros where it counts, you can create a safe, legal, and truly valuable addition to your home that you’ll enjoy for years to come.


