Phone Not Charging? This 90-Second Trick Could Save You a Costly Repair
I used to run a device repair shop, and I saw the same story play out almost every single day. Someone would walk in, totally frustrated, holding a phone that refused to charge. They were convinced the battery was toast or that some critical internal part had failed. They’d already tried new cables, different charging bricks, everything. Honestly, they were bracing for a big, expensive repair bill.
In this article
But in at least half of those cases, the fix took me less than two minutes, and it cost them absolutely nothing.
The real culprit? A surprisingly stubborn wad of compacted pocket lint.
It sounds almost too simple to be true, but your phone’s charging port is basically a tiny cave that collects debris. It spends its life in pockets, purses, and on dusty surfaces. Every time you plug in your charging cable, you’re unknowingly pushing tiny fibers, dust, and grime deeper inside. Over time, this gunk gets packed down into a dense little floor at the bottom of the port, preventing the cable from making a solid connection. Your phone might start charging only when you hold the cable at a weird angle, or it might just stop charging altogether.
Before you panic and schedule a service appointment, it’s absolutely worth learning how to safely check and clean it yourself. I’m going to walk you through the exact method I’ve used hundreds of time on the repair bench.
First, Let’s See What We’re Dealing With
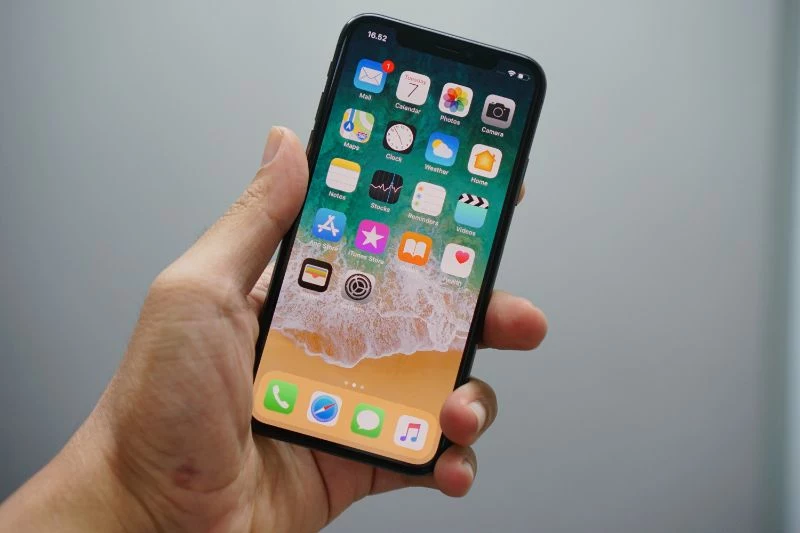
Try This Right Now: Grab your phone and a friend’s phone. On the second phone, turn on the camera and the flash. Now, point it at your phone’s charging port and zoom all the way in. What do you see? If you spot a dark, fuzzy mass hiding in there, you’ve likely already diagnosed the problem. Congrats!
To clean the port without causing damage, you need to know what’s inside. That small slot has a thin connector strip on one side (the side toward your phone’s screen) with a set of delicate electrical contacts. On the narrow walls, there are also two tiny, spring-loaded clips. These are what give you that satisfying click when the cable seats properly.
This brings me to a key diagnostic clue I always look for: the connection feel.
A big sign of a clogged port is a “mushy” or soft connection. If your cable doesn’t firmly click into place, it’s almost certain that debris is physically stopping it. The goal here is to remove that blockage without scratching the pins or breaking those clips. Once it’s clean, you’ll feel that sharp, satisfying CLICK again—that’s the sound of success.
Your Cleaning Toolkit: What Works and What Doesn’t
At my old shop, I had a specific set of tools for this, and none of them were metal. Using a metal paperclip or a needle is the fastest way to short-circuit something and turn a free fix into a major, board-level repair. So, let’s talk about what you should use.
Good, Better, and Best At-Home Tools:
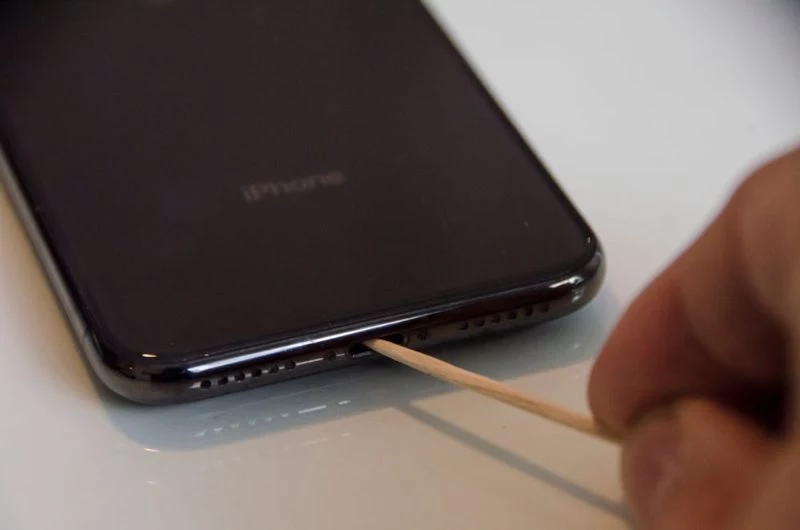
- GOOD: A standard wooden toothpick. It’s non-conductive and readily available. Just be gentle so the tip doesn’t break off inside the port.
- BETTER: A plastic dental pick. The kind with the thin, slightly flexible tip is perfect for this. They’re sturdy but still safe for the electronics.
- BEST: A proper anti-static nylon spudger from an electronics repair kit. These are designed for this exact job.
A Quick Shopping List (Just in Case):
If you want to build a little tech first-aid kit, the parts are super cheap. You can find all of this online or at most electronics stores.
- Nylon Spudger Set: You can find a whole kit for between $5 and $10 on Amazon.
- Anti-Static Electronics Brush: A small, stiff-bristled brush. A clean mascara wand works in a pinch! This will run you about $5-$8.
- Silicone Dust Plugs: A pack of 10 costs around $5 and is the best way to prevent this from happening again.
The Step-by-Step Professional Method
Alright, let’s get this done. Follow these steps exactly. I can’t stress this enough—do not skip the first one!
1. Power Down Your Phone. Completely.
This is not optional. Hold down the power and volume buttons until the slider appears, and then power it off. Wait a full minute to ensure all the circuits are inactive. This one simple step prevents the accidental shorts that can cause permanent damage.
2. Inspect with Light
Using a flashlight (or your other phone’s camera), look deep inside the port. A clean port will look dark and you might see the faint shine of the contact pins. A dirty one will have that fuzzy, gray-looking floor I mentioned.
3. Use the ‘Hook and Scrape’ Technique
Take your non-conductive tool (like that toothpick). Gently insert it and aim for a corner at the very back. The trick is to slide the tool down one of the long walls (NOT the side with the pins) until you feel it touch the compacted lint. Gently scrape along the back wall—the one opposite the screen. You’re trying to get the tip of your tool underneath the edge of the gunk.
Once you’ve got a little purchase, gently hook the lint and drag it straight out. Don’t pry. Just a slow, careful pull. You’ll be shocked. A disgusting, tightly packed gray pellet of lint will probably come out. That’s the culprit!
4. Clear, Brush, and Repeat
After the main chunk is out, use your tool to gently coax out any smaller bits. Then, take a small, dry brush (like a clean mascara wand or an anti-static brush) and gently sweep inside the port to clear out any remaining dust. Look again with your light. Repeat until you can see the back of the port clearly.
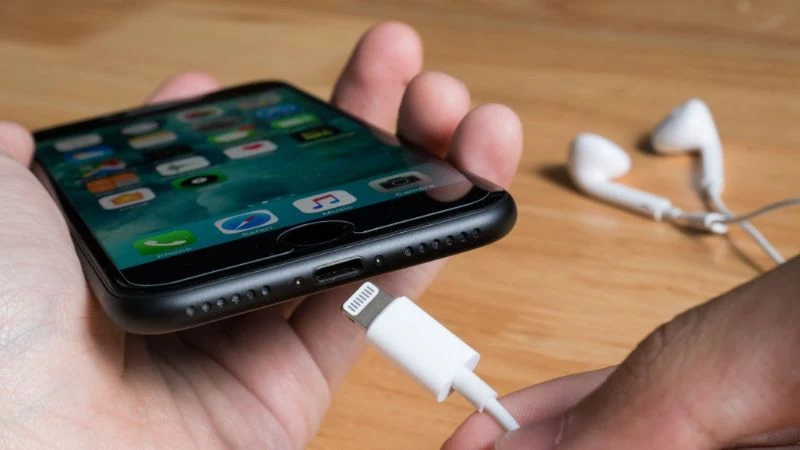
5. Test the Connection
Power your phone back on. Now, plug in the cable. You should feel that firm, distinct ‘click’ as it locks into place. It should start charging immediately.
What’s Actually in Your Charging Port?
The type of gunk I’d find would often tell me a little about the phone’s owner. It’s not always just lint!
- Pocket & Purse Debris: This is the most common. Lint from jeans, jackets, and purse linings gets packed in. It’s usually soft and comes out in one solid piece.
- Workshop & Job Site Grime: This is a more serious situation. Sawdust, drywall dust, and even fine metal shavings can get in there. This stuff is abrasive and sometimes conductive. Extra care is needed to avoid scratching the pins.
- The Wild Card Debris: Purses and backpacks are a mystery box for ports. I’ve found makeup powder, cookie crumbs, tiny shreds of paper… I’m not kidding, I once pulled a whole sunflower seed shell out of a farmer’s phone. He had no idea how it got there. Your pocket is a mysterious place.
The Danger Zone: What to AVOID at All Costs
Please, please, please do not use the things some online guides recommend. It’s a recipe for disaster.
Metal Objects are a huge NO. Never, ever use a paperclip, safety pin, needle, or a metal SIM tool. They are all conductive. If you accidentally touch the power pin and a data pin at the same time, you can fry the charging circuits on the logic board. I once had a client who tried a paperclip, saw a tiny spark, and the phone never turned on again. That mistake cost them almost the price of a new phone.
Keep Liquids FAR Away. Do not spray or pour anything into the port. No isopropyl alcohol, no water, no Windex. Liquid can get trapped behind the screen or other components and cause corrosion. It can also trigger the internal liquid-contact indicators, which could void any warranty you might have.
The Great Compressed Air Debate. Canned air is risky. If you tilt the can, it can spray freezing liquid propellant, which is terrible for electronics. The high pressure can also damage the tiny microphone and speaker meshes next to the port or force grit deeper into the phone. If you absolutely must use it, keep the can perfectly upright and only use very short, half-second bursts from at least 6-8 inches away. Honestly, a physical tool is almost always safer and more effective.
When to Stop and See a Pro
Knowing when to call it a day is just as important as knowing how to start. You should stop and take your device to a reputable repair shop if:
- You’ve been gently trying for 15 minutes and can’t clear the blockage. Don’t use force!
- You look inside and see any green or white crusty stuff. That’s corrosion from liquid damage, and it needs professional attention.
- The port is sparkling clean, but the cable still feels loose and won’t ‘click’ in. This likely means the internal retention clips are broken.
- You’ve cleaned it and tested it with a cable you know works, and it still won’t charge.
A good shop will often take a quick look for free or for a small diagnostic fee, maybe around $25. That’s way cheaper than accidentally breaking something.
The Easiest Fix of All: Prevention
Once your port is clean, keeping it that way is easy. This is the advice I give everyone.
Pro Tip: Flip Your Pocket Habit. Most of us drop our phone into our pocket top-first, which means the port is at the bottom, scooping up lint all day. Try putting it in your pocket bottom-first, so the port is facing up. This simple change makes a huge difference.

Invest in Dust Plugs. For just a few dollars (around $5 for a multi-pack), you can get tiny silicone plugs that fit snugly into the charging port. If you work in a dusty place, these are a must-have.
A little bit of preventative care can save you a lot of future frustration. So next time your phone acts up, take a deep breath, grab a toothpick, and remember that you might just be 90 seconds away from a perfect fix.
Inspirational Gallery
- Prevents lint and dust buildup before it starts.
- Protects against pocket moisture and light splashes.
- Keeps the internal contacts pristine and corrosion-free.
The secret? A simple, inexpensive dust plug. These tiny silicone or metal stoppers fit snugly into your Lightning or USB-C port, creating a physical barrier. You can find multi-packs on Amazon for just a few dollars, a tiny investment for a lot of peace of mind.

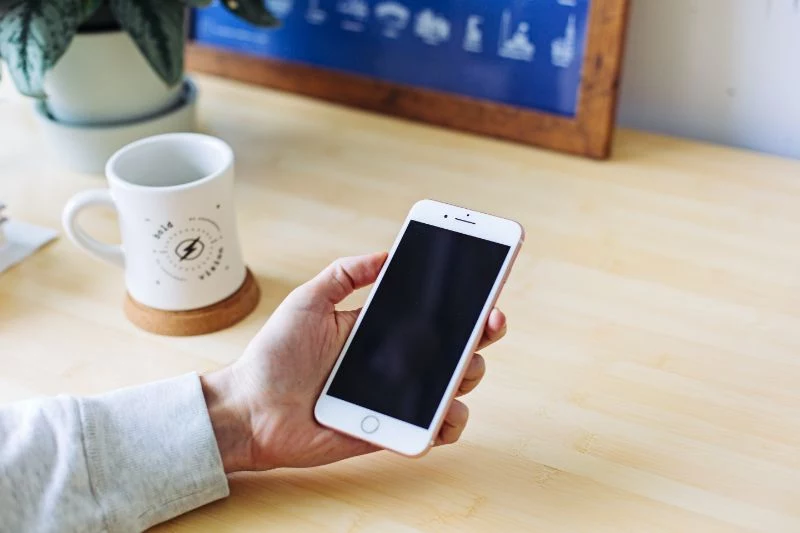
Cleaned the port and your phone is still acting up?
Before you give up, try a forced restart (the specific button combination varies by model). This can clear temporary software glitches that sometimes interfere with the charging process. If that doesn’t work, check your cable. Even official cables can fail internally at the stress points near the connector. Try your cable with another device to be sure it’s not the culprit.
Think twice before reaching for canned air. While it seems like the perfect tool for blasting out dust, the powerful propellant can be a problem. It can force moisture deep into the device or damage the delicate microphone located right next to the charging port on many phones. A gentle puff of your own breath is much safer.

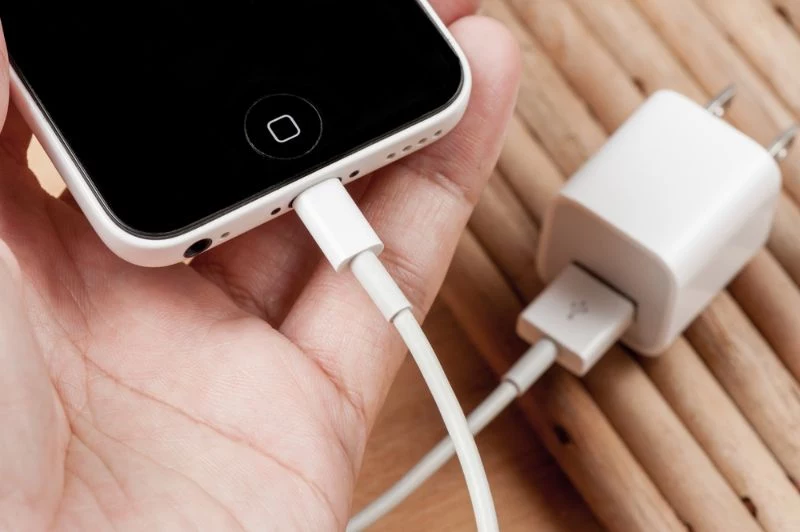
The satisfying ‘click’ you feel when plugging in your charger isn’t just for show. It’s the sound of two tiny, spring-loaded retention clips inside the port latching onto the indentations of your cable connector. If you’ve lost that click, it’s a sure sign that compacted debris is preventing a full, secure connection.
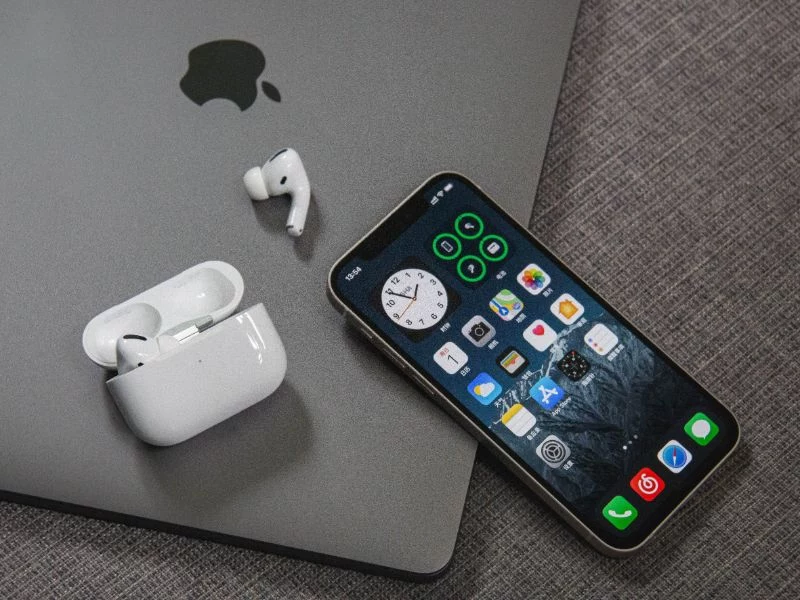
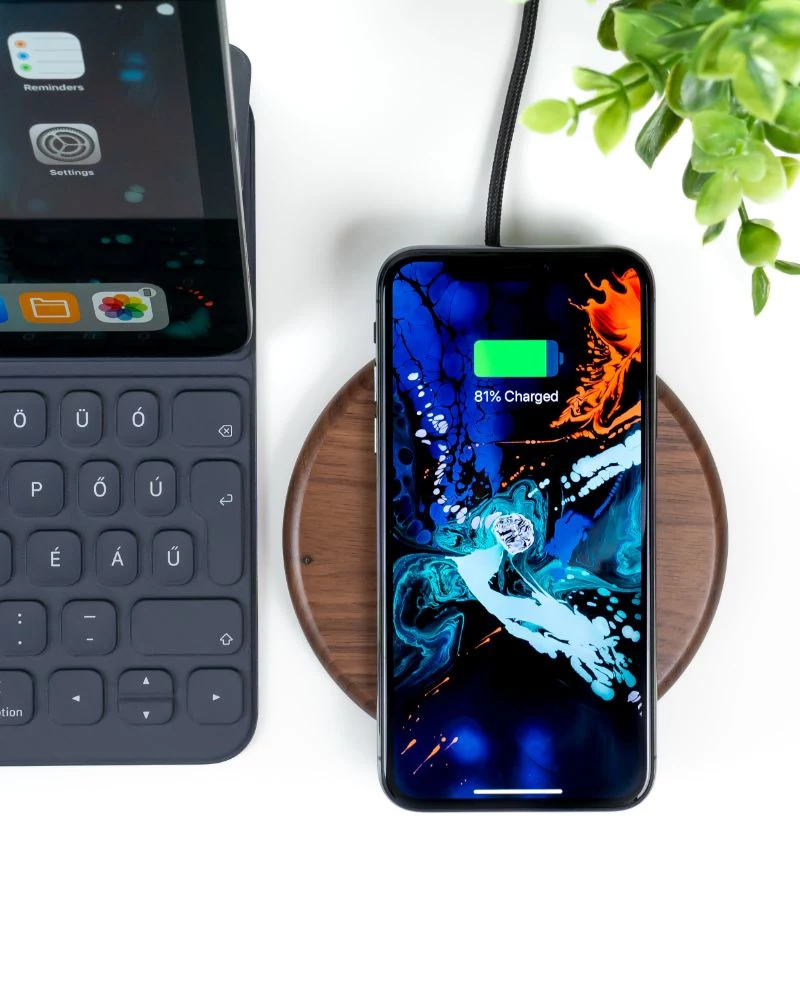
If the lint-cleaning trick doesn’t work, wireless charging might be your new best friend. It completely bypasses the physical port for power delivery. Modern phones are almost universally compatible with the Qi (pronounced ‘chee’) standard, meaning you have endless options.
- For a simple nightstand solution, a flat pad like the Anker 313 is reliable and affordable.
- If you have an iPhone, Apple’s MagSafe charger offers perfect alignment every time.
- For a desk setup, a stand from brands like Belkin or ESR lets you see notifications while charging.
Wooden Toothpick: The hero of this story. It’s non-conductive, meaning it won’t short-circuit the delicate pins inside the port. It’s also soft enough that it’s unlikely to scratch the contacts unless you’re extremely aggressive.
Metal Pin or Paperclip: The villain. Metal is highly conductive and can easily bridge the power and data pins, causing a short that could permanently damage your phone’s logic board. It’s a high-risk gamble that isn’t worth it.
According to repair industry data, issues related to the charging port account for over 25% of all non-warranty service requests for mobile phones.
This staggering number highlights just how common this problem is. It’s a design vulnerability that affects millions of users, yet the solution is often sitting in their kitchen drawer. Mastering this simple cleaning technique puts you ahead of the curve and can save you from becoming another statistic.
Most modern smartphones, including iPhones and Samsung Galaxy models, have a hidden Liquid Contact Indicator (LCI) inside the SIM card tray slot. Shine a light in there; if you see a pink or red dot instead of a white or silver one, it means your phone has been exposed to moisture. A charging problem combined with a triggered LCI often points to corrosion, a more serious issue that lint cleaning won’t fix.
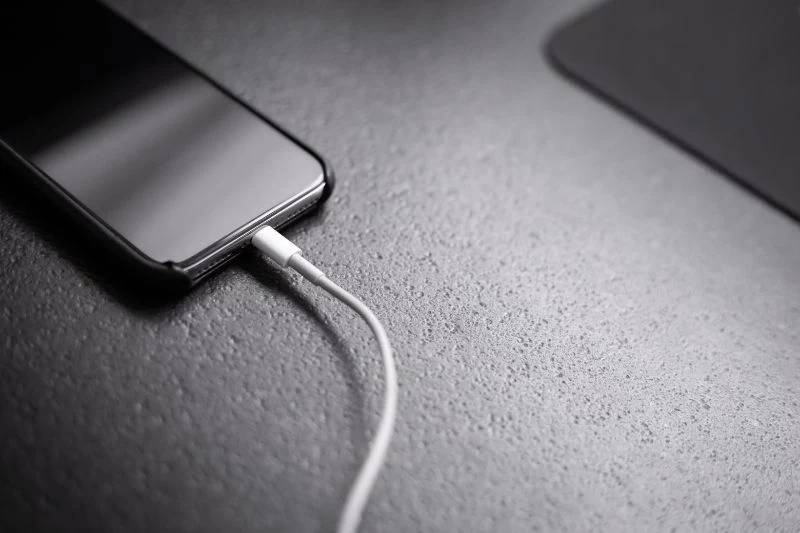
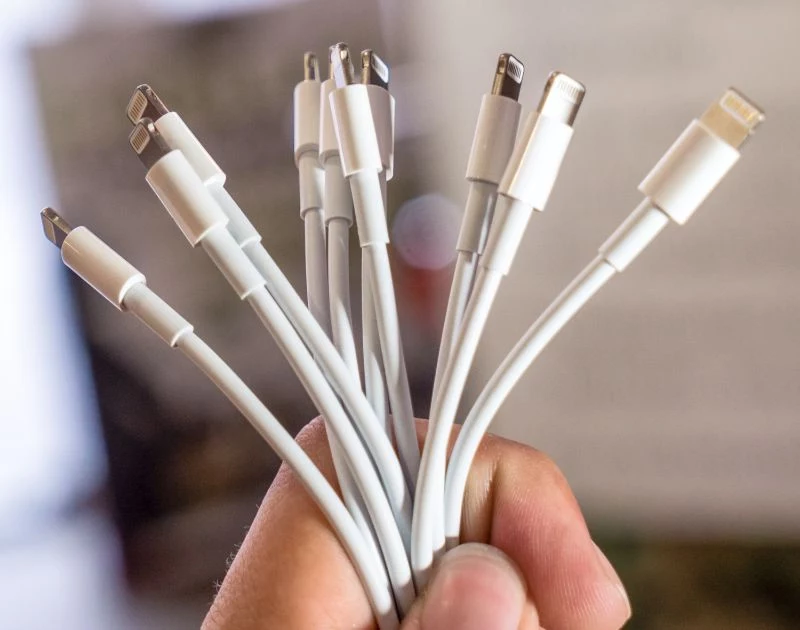
- Look for MFi (Made for iPhone/iPad) certification on the packaging for Apple devices. This ensures the cable meets Apple’s performance and safety standards.
- A braided nylon exterior, like those on many Anker PowerLine cables, offers superior durability over standard rubber sheathing.
- Check the strain relief—the flexible plastic bit where the cable meets the connector. A robust, longer strain relief prevents internal wires from breaking.
The slow but steady move toward a portless future, championed by the rise of technologies like MagSafe and robust cloud syncing, aims to eliminate this problem entirely. By removing the physical opening, manufacturers can create more durable and water-resistant devices. While we’re not quite there yet, today’s charging port woes are a key driver pushing the industry toward a seamless, wireless tomorrow.


