Skip the Gut Reno: A Carpenter’s Guide to Kitchen Upgrades That Actually Work
I’ve probably spent more time in other people’s kitchens than my own. After decades as a carpenter and remodeler, you see it all. And you know the most common thing I hear? It’s not a request to tear everything down to the studs. It’s from homeowners who genuinely like their kitchen’s footprint but are just… tired of it. It feels dated, a little worn out, and they want to know where their money and effort will make the biggest splash.
In this article
Honestly, these are my favorite conversations. It’s where the real craft happens, balancing how a kitchen looks with how it works. A kitchen isn’t a museum piece; it’s a workshop. Any upgrade has to be beautiful, functional, and tough enough to handle daily life. Forget the quick, trendy fixes you see online. I’m here to share the pro-level approach—the stuff that lasts. These are the smart choices you’ll be glad you made for years to come.
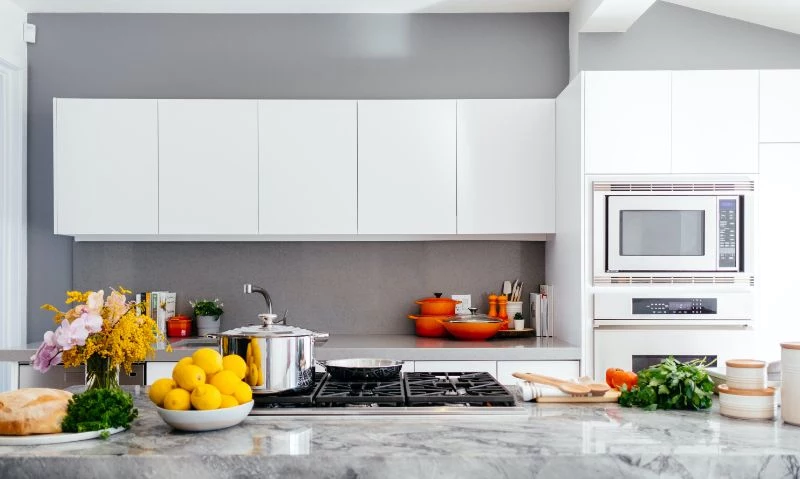
1. Painting Cabinets the Right Way (So It Lasts)
Everyone wants to paint their cabinets, and for good reason. It’s a total transformation. But it’s also the project that gets botched the most. A bad paint job looks awful and starts chipping in less than a year. A pro-level job? That can easily last a decade. The secret isn’t the fancy paint; it’s all in the prep work.
Think of it like this: paint needs something to grip. Kitchen cabinets are covered in a slick, invisible film of cooking grease and oils. They also have a super-smooth factory finish. Your mission is to get rid of the grease and rough up the surface just enough for the new paint to bite. That’s it. That’s the whole game.
The Pro Method for Cabinet Painting
Heads up: this is not a weekend warrior project. To do it right, you need to budget a solid 40 to 50 hours for a standard-size kitchen. Rushing this will absolutely ruin the result, and you’ll be kicking yourself later.
A quick budget breakdown for the DIY route: you’re probably looking at around $200 to $300 for top-notch materials. A gallon of quality bonding primer will run you about $50-$60, and a gallon of the good urethane enamel paint is around $70-$90. Throw in a good $20 brush, sandpaper, and a degreaser, and you’re in that ballpark.
- Step 1: Label and Disassemble. Take off all the doors and drawer fronts. Use a piece of tape or a marker inside the hinge pocket to number each door and its corresponding spot on the cabinet frame. Trust me, you’ll thank yourself during reassembly. Bag up all the hardware for each door separately. Non-negotiable step.
- Step 2: The Critical Clean. This is where most people fail. You need a serious degreaser. While TSP was the old-school choice, a good TSP substitute is less harsh. Mix it up and scrub every single surface. Pay special attention to the cabinets around the stove. An abrasive sponge can help here. When you’re done, wipe it all down with a clean, water-dampened cloth to get rid of any residue.
- Step 3: Scuff Sanding. You are NOT trying to sand off the old finish. You’re just knocking off the shine. A 120 or 150-grit sandpaper is perfect for this. A random orbit sander is great for the flat parts, but you’ll need to do the detailed profiles by hand. The goal is a dull, hazy look. Once you’re done, vacuum all the dust and wipe with a tack cloth.
- Step 4: The Right Kind of Primer. Please, do not use regular wall primer. It will fail. You need a high-adhesion bonding primer. Here’s a quick rundown of the main types:
- Shellac-Based Primers: These are the stain-blocking champions. They stick to almost anything and are amazing at preventing old wood tannins from bleeding through your new white paint. The downside? The fumes are intense. You need serious ventilation and a respirator with organic vapor cartridges.
- Oil-Based Primers: These offer fantastic adhesion and a durable base, similar to shellac, but they dry much slower. The smell is also quite strong.
- Water-Based Bonding Primers: The technology here has gotten really good. They have lower odor and easier cleanup, but they might not have the same god-tier stain-blocking power as a shellac primer. Great for many surfaces, but if you have knotty pine cabinets, I’d still lean toward shellac.
- Step 5: The Top Coat. After the primer cures, give it a very light sanding with 220-grit paper to make it baby-smooth. Now for the paint. The best stuff on the market is a urethane alkyd enamel. It gives you the rock-hard durability of an oil-based paint but with easy, water-based cleanup. It also self-levels like a dream, which helps minimize brush strokes. Apply two thin coats, and respect the recoat time on the can! Rushing it results in a soft finish that dings if you look at it wrong.
- Layout is everything. Never start from one end and tile your way across. You’ll end up with a weirdly thin sliver of a tile at the other end. Find the center of the wall, draw a level line, and do a dry layout on the counter to plan your cuts.
- Use the right stuff. Use thin-set mortar, not the pre-mixed stuff in a bucket, especially behind the sink. That pre-mixed adhesive can soften when it gets wet again. Mix your thin-set to a nice peanut butter consistency.
- Making tricky cuts. A wet saw is your best friend for clean, straight cuts. But what about cutting around an electrical outlet? That’s what scares people. It’s actually not that bad. Turn the power off, remove the outlet cover, and hold the tile up to the box. Trace the outline of the box onto the tile. You can use a grinder with a diamond wheel to carefully nibble away at the inside of your traced lines. Go slow, wear safety glasses, and you’ll get a perfect fit.
- The 2-Hour Upgrade: New Hardware. As we talked about, this is fast, relatively inexpensive, and instantly modernizes the look of your cabinets.
- The 3-Hour Upgrade: New Faucet. You use your faucet constantly. A new, high-arc model with a built-in sprayer can make daily chores so much more pleasant. Just be sure to put a dry paper towel down after you install it to check for slow leaks!
- The 1-Hour Upgrade: Plug-in Under-Cabinet Lights. You can get LED light bars that stick on and plug in for under $50. In an hour, you can completely transform the usability and feel of your countertops.
- Weight is critical: Use solid wood, at least 1.5 inches thick, mounted into studs with heavy-duty brackets. Plywood will sag.
- Curate your display: This is the place for your everyday dishes, favorite mugs, and a touch of greenery—items that are both beautiful and practical.
- Dramatically improves task visibility
- Creates a warm, ambient glow in the evening
- Makes the kitchen feel larger and more high-end
- Upgrade your faucet to a high-arc, pull-down model.
- Replace all standard plastic outlet and switch covers with metal ones.
- Add a long, durable runner rug to introduce color and comfort.
By the way, here’s a tip for painting all those doors. We lay them on painter’s pyramids. Or, for a quick hack, drive a long screw into the back of the door where a hinge would go. This creates a little handle and leg, letting you paint one side, flip it, and paint the other without waiting ages for the first side to dry completely.
Oh, and what if you have those tricky laminate or thermofoil cabinets? The process is mostly the same, but the primer choice is EVERYTHING. You absolutely must use a shellac-based or other extreme bonding primer designed for slick surfaces. No exceptions.
2. Change Your Cabinet Hardware (The Right Way)
This is a fantastic weekend project. It’s fast, pretty cheap, and has a huge visual payoff. It’s like new jewelry for your kitchen.
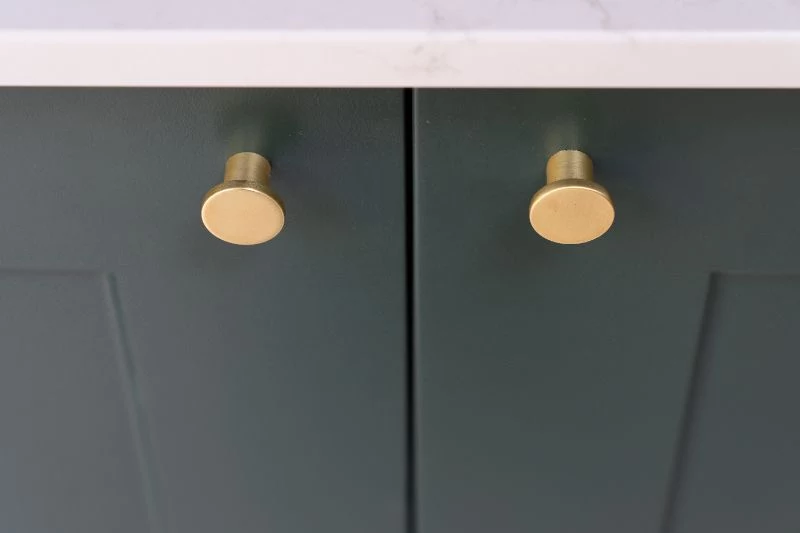
Hardware is measured by its “center-to-center” screw hole distance. If you have 3-inch pulls now, buying new 3-inch pulls makes this a 2-hour job. But if you’re switching from knobs to pulls, you have to fill the old holes. Don’t just glob wood putty in there—it will always show.
Here’s the pro method: use a two-part epoxy wood filler. It’s the kind you have to mix, and funny enough, you’ll often find the best stuff in the automotive aisle of the hardware store. It’s way stronger and shrinks less. Overfill the hole slightly, let it harden completely, then sand it perfectly flush. Use your fingertips to feel for smoothness. Then, spot-prime before you paint.
When drilling new holes, spend the $15 on a hardware installation jig. It’s a simple plastic guide that ensures every single handle is in the exact same spot. It prevents crooked pulls and catastrophic measuring mistakes.
3. Let There Be (the Right) Light
Good lighting is a game-changer. It makes a kitchen feel bigger, cleaner, and more welcoming. Professionals think in three layers: general ambient light (ceiling fixtures), accent light (in-cabinet or pendants), and the most important one… task lighting.
Under-Cabinet Lighting is a Must
If you only make one lighting upgrade, this is it. It puts light directly on your countertops, getting rid of the shadows your upper cabinets cast. It makes food prep so much easier and safer. A hardwired system, controlled by a wall switch, is the cleanest look. But this is not a DIY job. Hiring an electrician to run the wiring will probably cost between $300 and $800, depending on your kitchen’s layout and how complex the job is.
Plug-in or battery-powered puck lights are a decent alternative if you’re on a tight budget. They’re way better than nothing, but you’ll have to deal with visible cords or changing batteries.
A quick note on light color: look for bulbs or strips in the 3000K to 4000K range. Anything lower (like 2700K) is often too yellow and cozy for a workspace. Anything higher (5000K+) can feel sterile and blue, like a hospital. A neutral 3000K light renders colors accurately, which is pretty important when you’re trying to see if the chicken is cooked through.
4. A New Backsplash That Looks Professional
Tiling a backsplash is a messy but incredibly rewarding project. It adds color, texture, and protects your walls. Plan on a full weekend for this, maybe a bit longer if you’re a beginner.
The classic choice is ceramic subway tile, which you can get for just a few dollars per square foot. It’s timeless and easy to clean. Glass and natural stone look amazing but are pricier and trickier to work with. Stone, in particular, needs to be sealed to prevent stains.
Here’s what separates a pro job from a DIY-gone-wrong:
5. A Few Smart Cabinet Modifications
Beyond paint, a few small tweaks can give your existing cabinets a high-end, custom feel.
Adding crown molding to the top of your uppers is a classic move. It makes standard cabinets look like they were built for the space. Fair warning, cutting crown molding is famously tricky. It’s cut upside down and at an angle, and getting the corners tight takes practice.
An easier win is adding a light rail—a small piece of molding along the bottom of the upper cabinets. It’s a simple detail that neatly hides your under-cabinet lighting fixtures for a super-clean look.
6. Quick Wins: The Biggest Bang for Your Buck
Let’s be real, sometimes you just don’t have 50 hours or a huge budget. If you’re short on time and money, here’s where to focus for maximum impact:
At the end of the day, refreshing a kitchen is about a series of smart, deliberate choices. It’s about understanding the materials and respecting the process. Whether you’re taking on a big job like painting or a small one like changing a faucet, the steps are the same: prepare properly, use the right stuff, and take your time. Knowing your own limits is just as important. Some of these jobs are perfect for a determined homeowner, while others are best left to the pros. Hopefully, with a few of these insider tips, you can tackle your kitchen with confidence and get a result you’ll love for years.
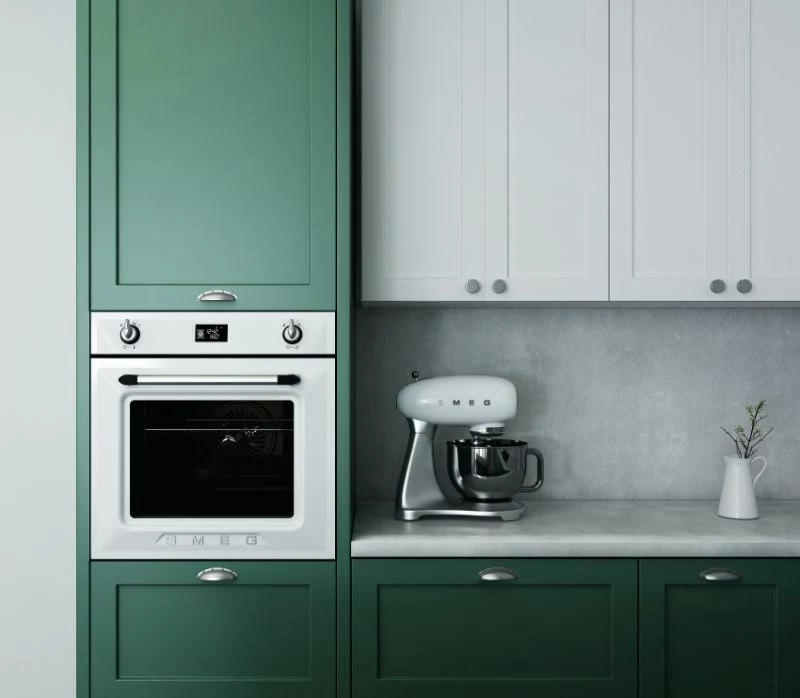
Inspirational Gallery
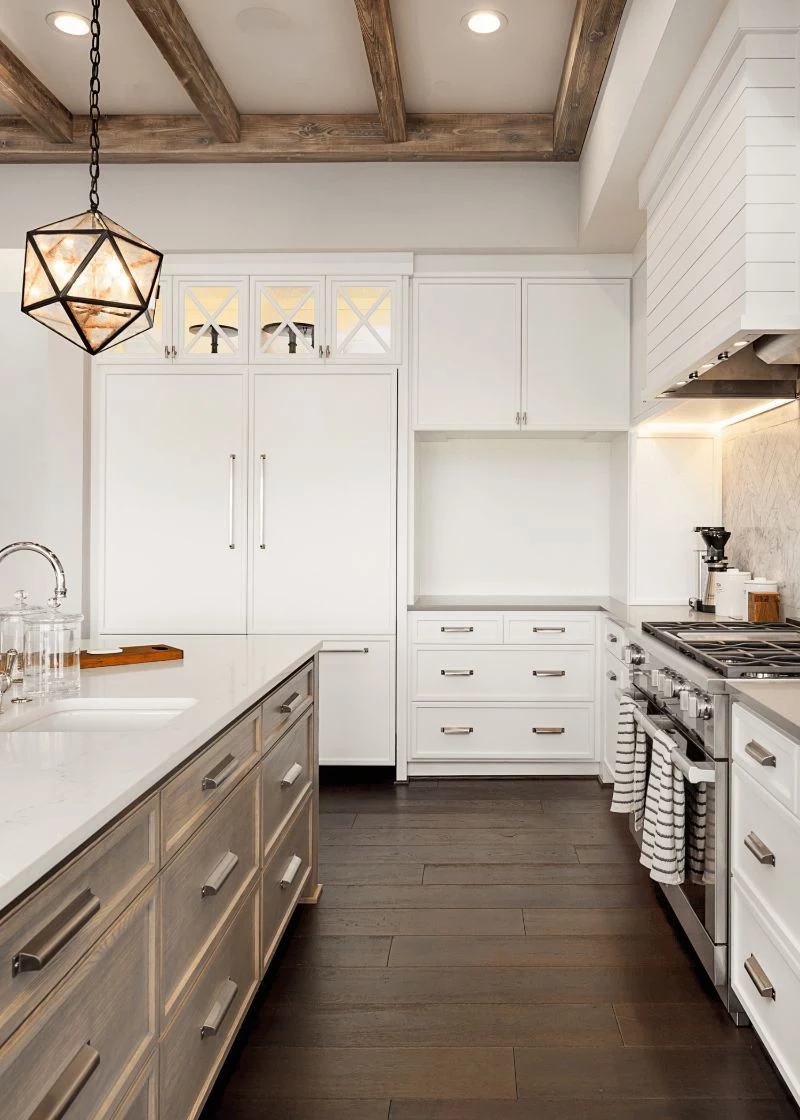
Don’t underestimate the power of new hardware. It’s the kitchen’s jewelry and the one part you physically touch every day. Upgrading from flimsy, builder-grade pulls to solid brass or forged iron hardware from a brand like Rejuvenation or Schoolhouse Electric completely changes the tactile experience of your kitchen. It’s a small detail that adds a surprising amount of heft and quality.
The average kitchen renovation generates nearly 4,000 pounds of waste.
This staggering figure from the EPA is a powerful reminder of why targeted upgrades matter. By refreshing instead of demolishing, you’re not just saving money—you’re preventing tons of old cabinets, countertops, and drywall from ending up in a landfill. A smart update is a sustainable one.
Wondering about the single biggest functional upgrade for your sink area?
Swap out that old double-basin sink for a deep, single-basin workstation model. Brands like Kraus and Ruvati offer sinks with integrated ledges for cutting boards and drying racks, effectively increasing your counter space. Suddenly, washing that large roasting pan or stockpot is no longer a wrestling match. It’s a game-changer for daily prep and cleanup.
Important point: The secret to a high-end feel isn’t in the cabinet doors, it’s in the hinges. If your budget allows, retrofitting your existing cabinet doors with soft-close hinges is a project that pays dividends in quiet luxury. The same goes for drawer slides. A smooth, silent close from a quality brand like Blum or Grass elevates the entire kitchen and eliminates the daily annoyance of slamming doors.
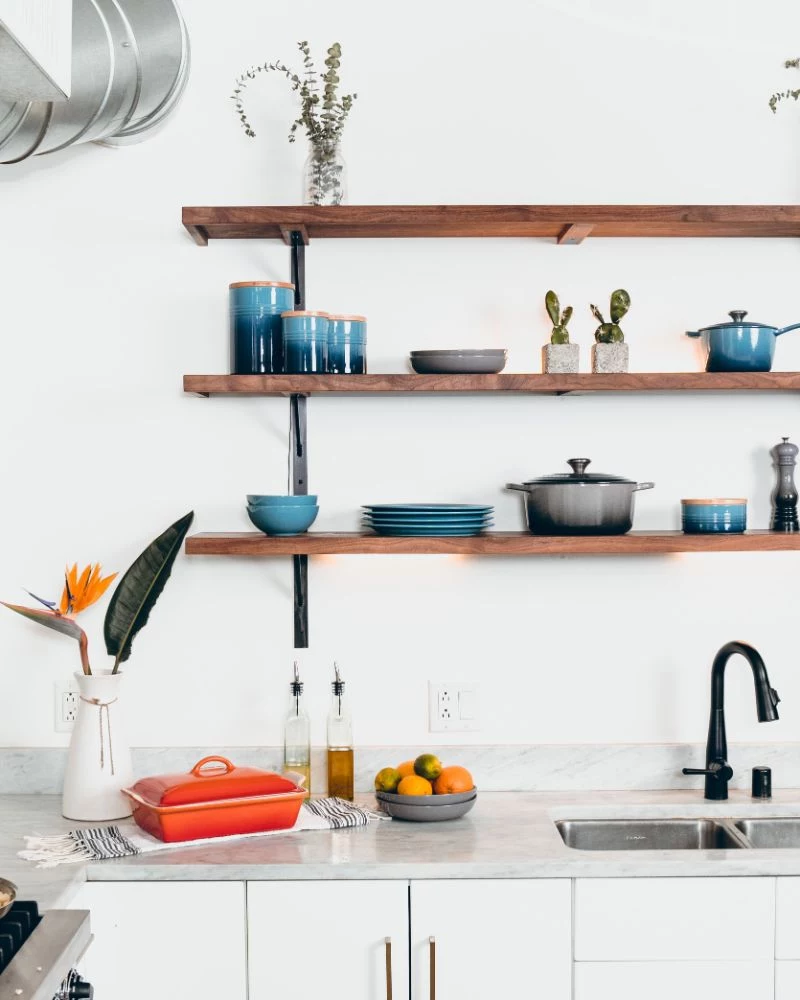
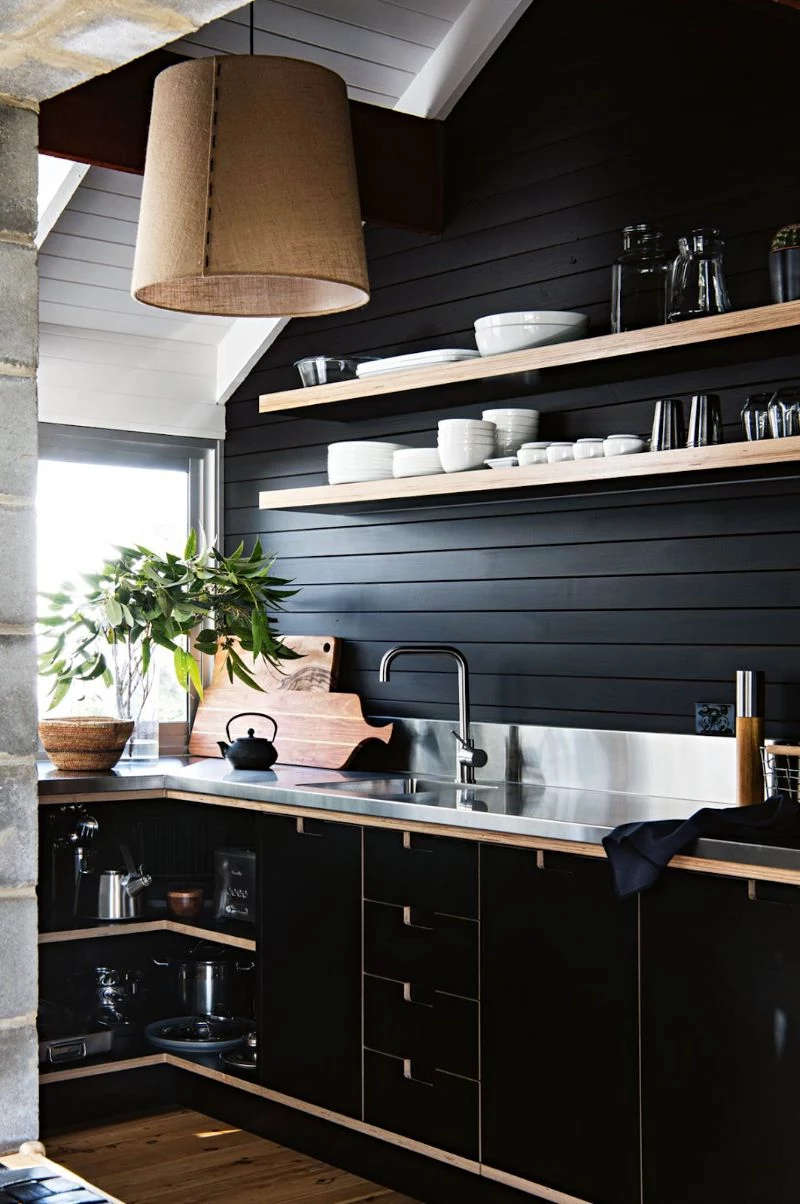
When you’re tired of your upper cabinets, consider removing just one or two sections and replacing them with sturdy open shelving.
This breaks up the monotony of a wall of cabinets, making the kitchen feel more open and personal without a major overhaul.
Quartz Countertops: Think of these as the reliable workhorse. Made from engineered stone, they’re non-porous, meaning they resist staining from wine, coffee, and oil without needing to be sealed. Brands like Caesarstone or Silestone offer incredible durability and consistency in color.
Butcher Block Countertops: This option delivers warmth and a classic, organic feel. It requires more care—regular oiling with something like food-grade mineral oil is a must—but it can be sanded down and refinished to erase knife marks and wear, making it uniquely renewable.
For low-maintenance durability, choose quartz. For warmth and the ability to repair, butcher block is a timeless choice.
The secret? Under-cabinet LED lighting. This is a pro’s go-to upgrade. Modern peel-and-stick kits are incredibly easy for a DIYer to install, but for a truly seamless look, have an electrician hardwire a system. It’s one of the most impactful changes you can make for both functionality and atmosphere.
Before you even think about a backsplash, get your lighting right. The same tile can look completely different under cool-toned LEDs versus a warm incandescent bulb. Bring tile samples home and look at them in the morning, afternoon, and evening under your actual kitchen lights. It’s the only way to ensure the color and finish you love in the store is the one you’ll love on your wall.
Can I just install a new backsplash over my old tile?
As a carpenter, I’d advise against it. While it’s technically possible with the right thin-set mortar, you’re creating a host of potential problems. You add thickness that can interfere with outlets and light switches, and any existing issues with the old tile (like looseness) will transfer to the new one. Tearing out the old tile and starting with a fresh backer board is more work, yes, but it’s the only way to guarantee a professional, long-lasting result.

