Your Guide to an Indoor Herb Garden That Actually Stays Alive
I’ve spent more years than I can count with my hands in the dirt, and let me tell you, I have a Ph.D. in killing basil plants. Seriously. Each sad, wilted plant taught me something a book never could. Growing herbs inside isn’t just a matter of sun and water; it’s about creating a tiny, thriving ecosystem right there on your windowsill. The real joy isn’t just snipping fresh herbs for your pasta—it’s finally understanding what these little green guys truly need to be happy.
In this article
So many people get discouraged when their fancy supermarket herb pot dies within a week. Here’s a secret: it’s not you, it’s the plant. They’re often grown to be harvested once and then fail. This guide is all about sharing the real-deal methods that work, so you can stop buying disposable plants and start growing a real, productive garden.
The Foundation: Reading Your Room
Before you even think about buying a plant, you have to play detective in your own home. Your herbs couldn’t care less about your paint colors; they’re all about light, air, and a stable environment. Your success hinges on how well you can mimic the great outdoors, indoors.
Let’s Talk About Light (It’s More Than Just a Window)
Light is literally food for plants. And the most common rookie mistake is thinking a “bright room” equals enough light for an herb. What looks bright to us can feel like a dim cave to a sun-loving plant like basil.
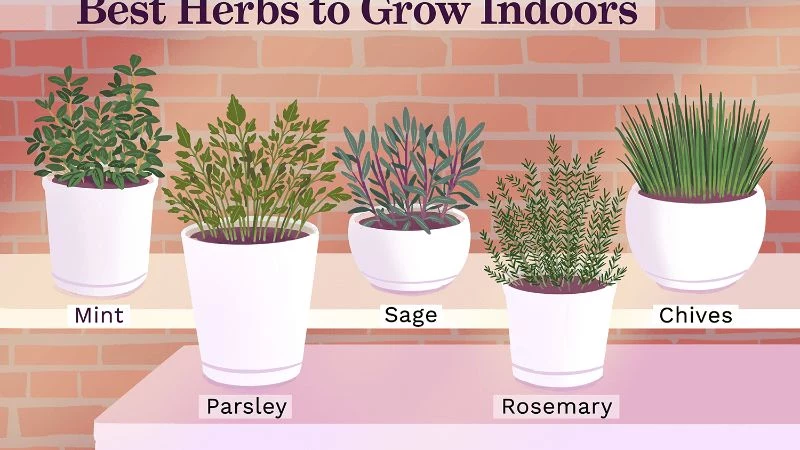
A south-facing window is the gold standard, but only if it’s not blocked by a giant oak tree or the building next door. East-facing windows are great for gentler morning sun, perfect for delicate herbs like parsley and mint. West-facing windows get blasted with hot afternoon sun, which can scorch the delicate ones but is often just what Mediterranean herbs like rosemary crave.
But to be frank, if you want truly lush, productive herbs, you’ll probably need a little help. This is where grow lights come in, and they don’t have to be complicated or expensive. A simple full-spectrum LED light is a game-changer. Look for one with a color temperature in the 5000K to 6500K range, which is a fancy way of saying it mimics natural daylight. You’ll want it to provide about 1,000–2,000 lumens per square foot. For most herbs, plan on giving them 12 to 16 hours of light a day. A basic wall timer is the best $10 you can spend here; it provides the consistency plants absolutely adore.
Airflow and Humidity
Out in nature, a gentle breeze strengthens stems and keeps pesky fungal diseases away. A stuffy, stagnant room is an open invitation for things like powdery mildew. You don’t need a hurricane, though. A small oscillating fan, set on low a few feet away for a couple of hours a day, does the trick perfectly. It also helps keep flying pests like fungus gnats from getting too comfortable.
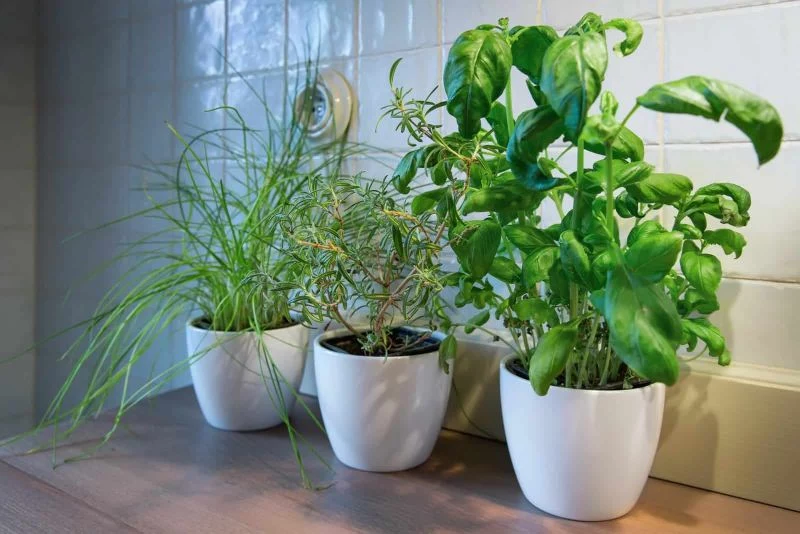
Most of our homes, especially in winter, are drier than a desert. Herbs like basil and parsley love humidity around 40-60%. You can help them out by grouping your pots together, which creates a little humid microclimate. Or, my favorite trick: place them on a shallow tray filled with pebbles and a bit of water. Just make sure the pots are sitting on the pebbles, not in the water, to avoid soggy roots.
Starting Strong: Seeds vs. Young Plants
Where you get your plants from matters. A lot. You’ve got two paths: growing from seed or buying young plants (we call them ‘starts’).
From Seed: The Patient Gardener’s Route
Starting from seed is incredibly rewarding and opens up a world of cool, unique varieties you’ll never find at the store. But it does take patience.
- Find Good Seeds: Skip the generic packets at the grocery store. Look for online suppliers who specialize in herbs. They’ll provide better info and the seeds will be much more likely to sprout.
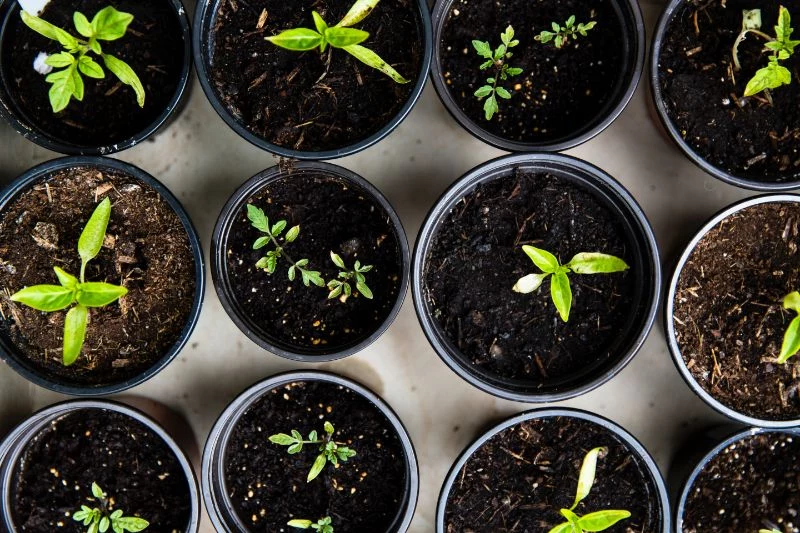
- The Right Soil: Whatever you do, don’t use soil from your backyard. It’s too heavy and full of things you don’t want. Grab a bag of sterile seed-starting mix. It’s light, fluffy, and clean. I often mix my own with equal parts peat moss, perlite, and vermiculite.
- The Technique: Plant seeds about twice as deep as they are wide. For super tiny seeds like oregano, I just gently press them onto the surface. Cover your pot with a plastic dome or some plastic wrap to keep humidity high. A seedling heat mat (around $15-$25 online) is a worthy investment—it warms the soil and can cut germination time in half, especially for a heat-lover like basil. Once you see sprouts, whip off the cover and give them plenty of light.
Buying Starts: Your Inspection Checklist
Getting a head start with young plants is great, but you have to be a savvy shopper.
First, a warning: those potted herbs in the produce aisle are a trap! They’re designed to be a one-time garnish, with dozens of seedlings crammed into a tiny pot with no nutrients. They are set up to fail.
Instead, head to a reputable nursery or garden center and use this checklist:
- Healthy Leaves: Look for vibrant, green leaves. Yellowing is a red flag for nutrient issues or overwatering. Don’t forget to check the undersides for pests like spider mites or aphids.
- Sturdy Stems: Stems should be strong and upright. If they look pale and stretched out, the plant was desperate for more light.
- The Root Check (The Most Important Part!): Gently slide the plant out of its pot. You want to see healthy, white-ish roots throughout the soil. If you see a thick, tangled mat of brown roots circling the bottom, the plant is ‘root-bound’ and will have a tough time getting settled. Put it back and find a better one.
- Quarantine Your New Arrivals: I learned this the hard way. Always keep new plants separate from your others for a week or two. It gives you time to spot any hitchhiking pests before they infest your whole collection.

The Right Home: Pots, Soil, and Care
The pot and soil are your herb’s entire world. Let’s get it right.
Choosing Containers
Drainage, drainage, drainage. I can’t say it enough. If your pot doesn’t have a hole in the bottom, it’s a vase, not a planter. Excess water has to escape, or you’ll get root rot.
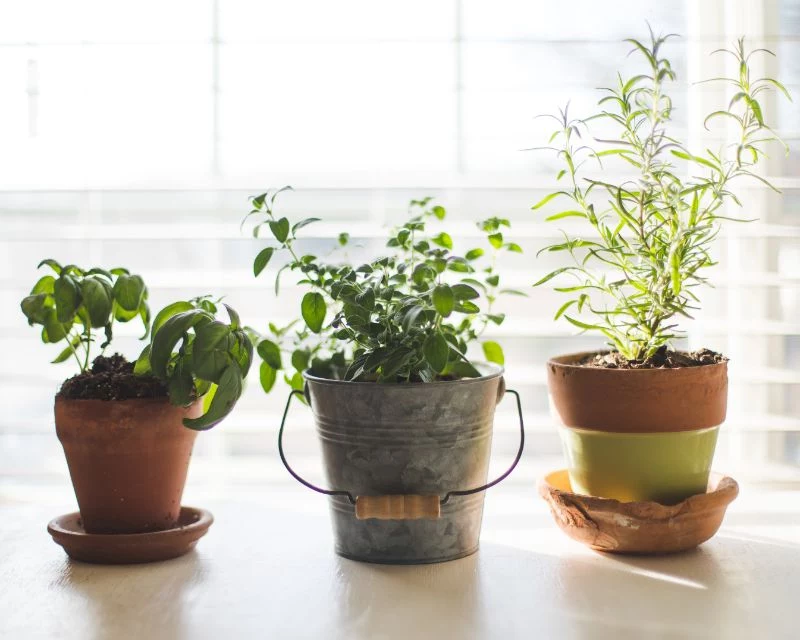
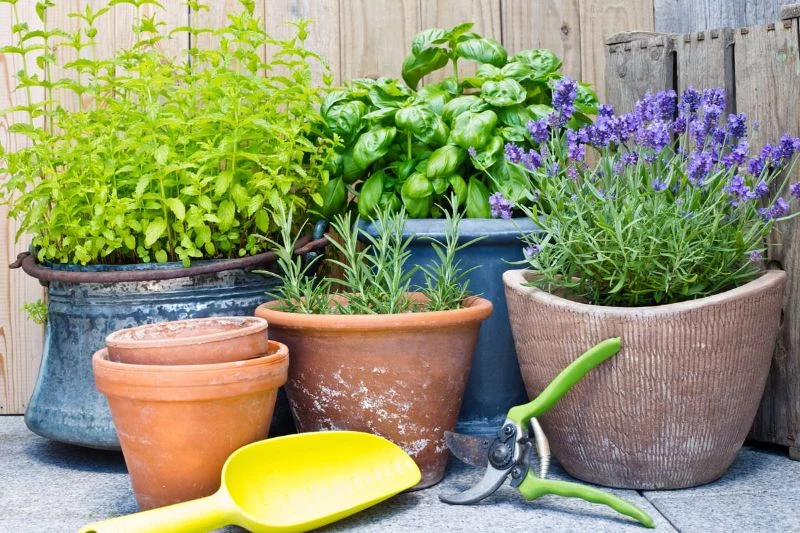
- Terracotta (Clay): This is my go-to for Mediterranean herbs like rosemary, thyme, and sage. The clay is porous, so it breathes and allows the soil to dry out faster, which these guys love. You’ll just have to water them a bit more often.
- Glazed Ceramic & Plastic: These hold moisture much longer, making them a great fit for thirsty herbs like mint, basil, and parsley.
- Pot Size Matters: It’s tempting to put a tiny plant in a giant pot to give it “room to grow,” but this is a classic mistake. All that extra soil holds onto water for too long, which can drown the small root system. The rule of thumb is to choose a pot that’s just 1-2 inches wider than the plant’s current root ball.

The Big Two: How to Water and Feed
This is where most new plant parents stumble. It’s simpler than you think!
For watering, forget a rigid schedule. Instead, use the Finger Test. Stick your index finger about an inch into the soil. Is it dry? Time to water. Is it still damp? Check again tomorrow. When you do water, do it thoroughly. Pour water in until it flows freely out of the drainage hole. Let it sit for a few minutes, then dump any excess water from the saucer. Never let your pot sit in a puddle.
As for feeding, think of the soil like a pantry. The plant will use up all the nutrients in the potting mix after a month or two. So, you’ll need to restock. Grab a balanced, all-purpose liquid fertilizer from any garden center. During the spring and summer when the plant is actively growing, feed it about every 2-4 weeks, but—and this is important—dilute the fertilizer to half the strength recommended on the bottle. It’s always better to under-feed than to over-feed.
The Fun Part: How to Harvest for Endless Herbs
Harvesting is just giving your plant a haircut that encourages it to grow back even fuller. The key is to never take more than one-third of the whole plant at any one time.
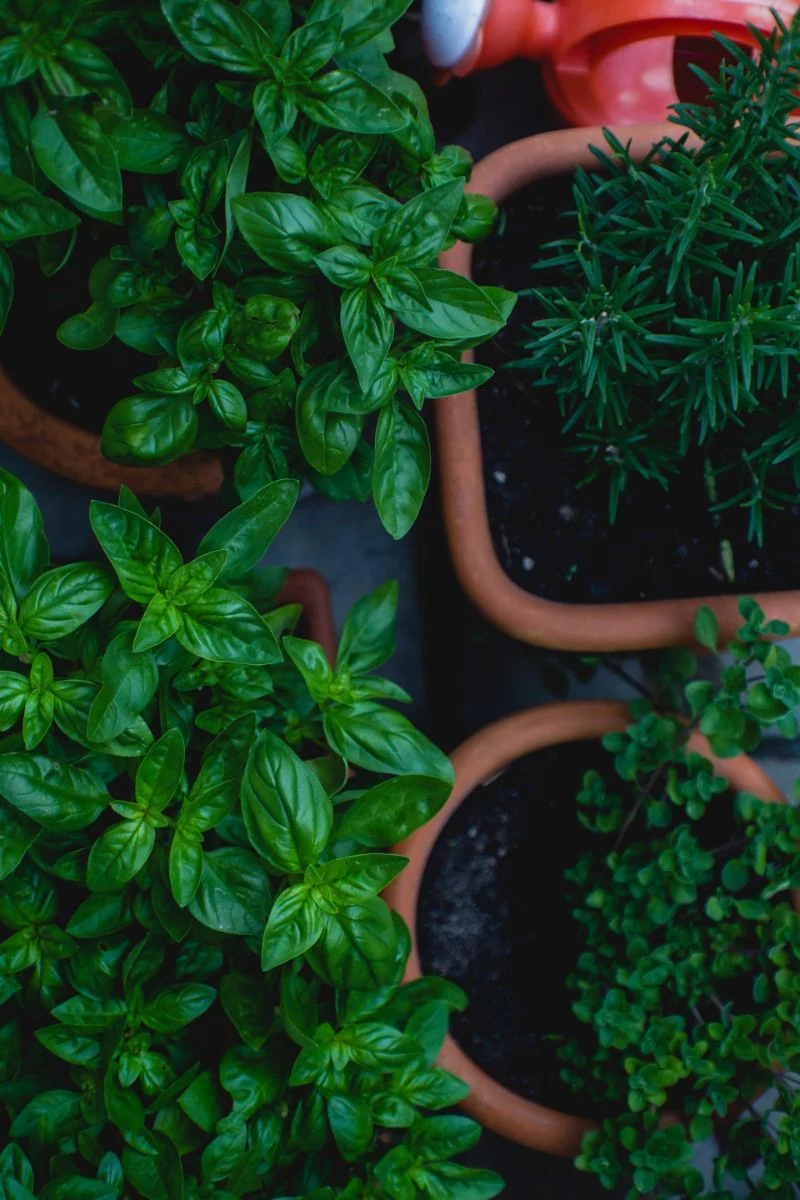
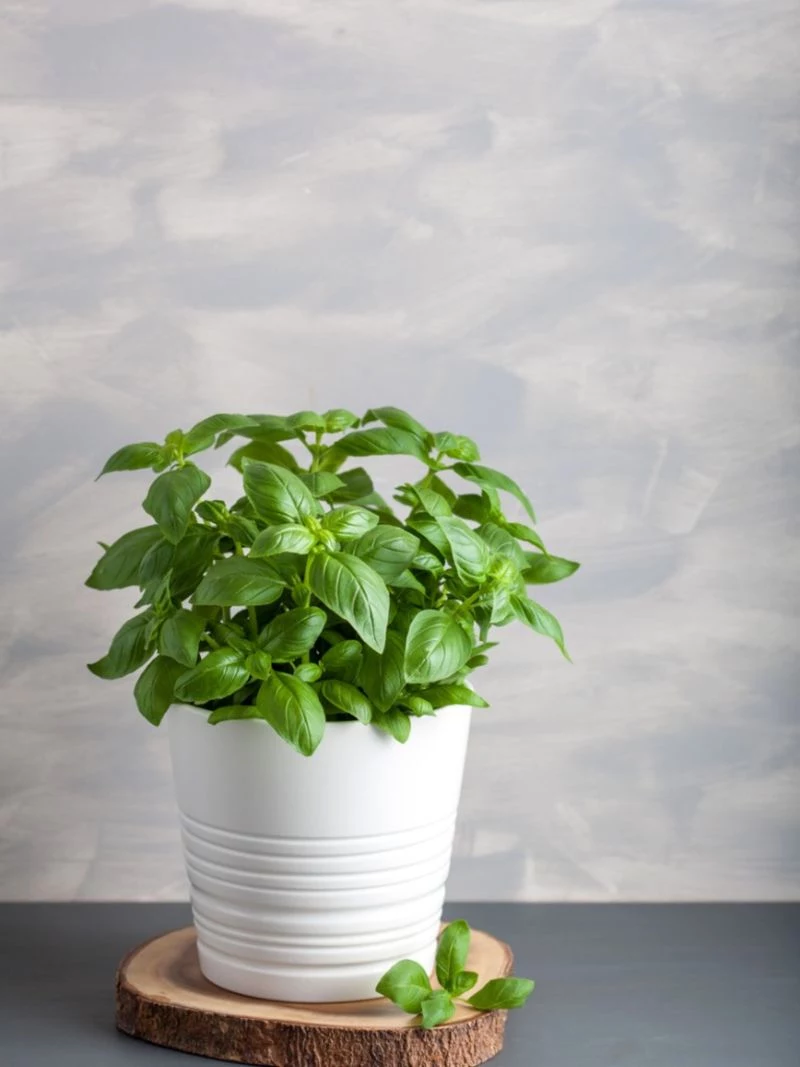
- For bushy herbs like Basil: Don’t just pick off the big lower leaves. Find a spot on the main stem and snip it right above a set of two small, emerging leaves. This signals the plant to split its energy and grow two new stems from that spot, making it bushier over time.
- For spreading herbs like Mint and Oregano: These guys can get wild and leggy. Don’t be afraid to regularly cut back the longest stems by a few inches to keep them compact and encourage new growth from the base.
- For woody herbs like Rosemary and Thyme: You can snip off the top 2-3 inches of any stem. This will give you tender new growth for cooking and keep the plant from getting too woody.
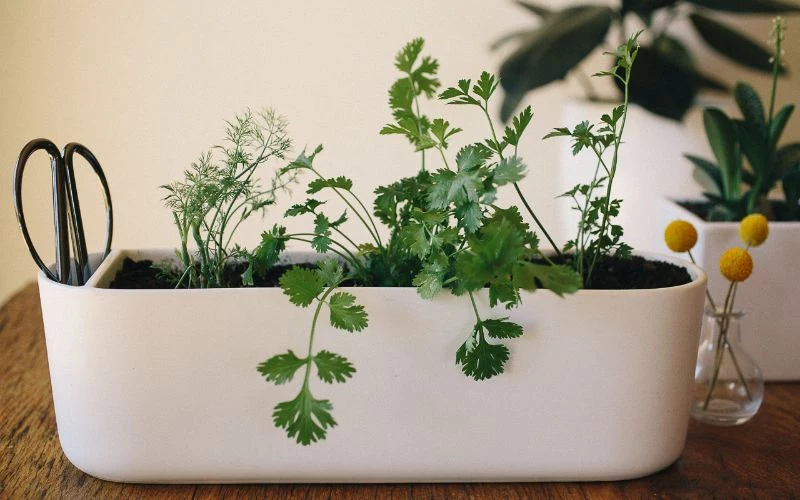
- For herbs that grow from a central point like Parsley and Cilantro: Always harvest the larger, outer leaves first. This allows the new, young leaves to continue growing from the center.
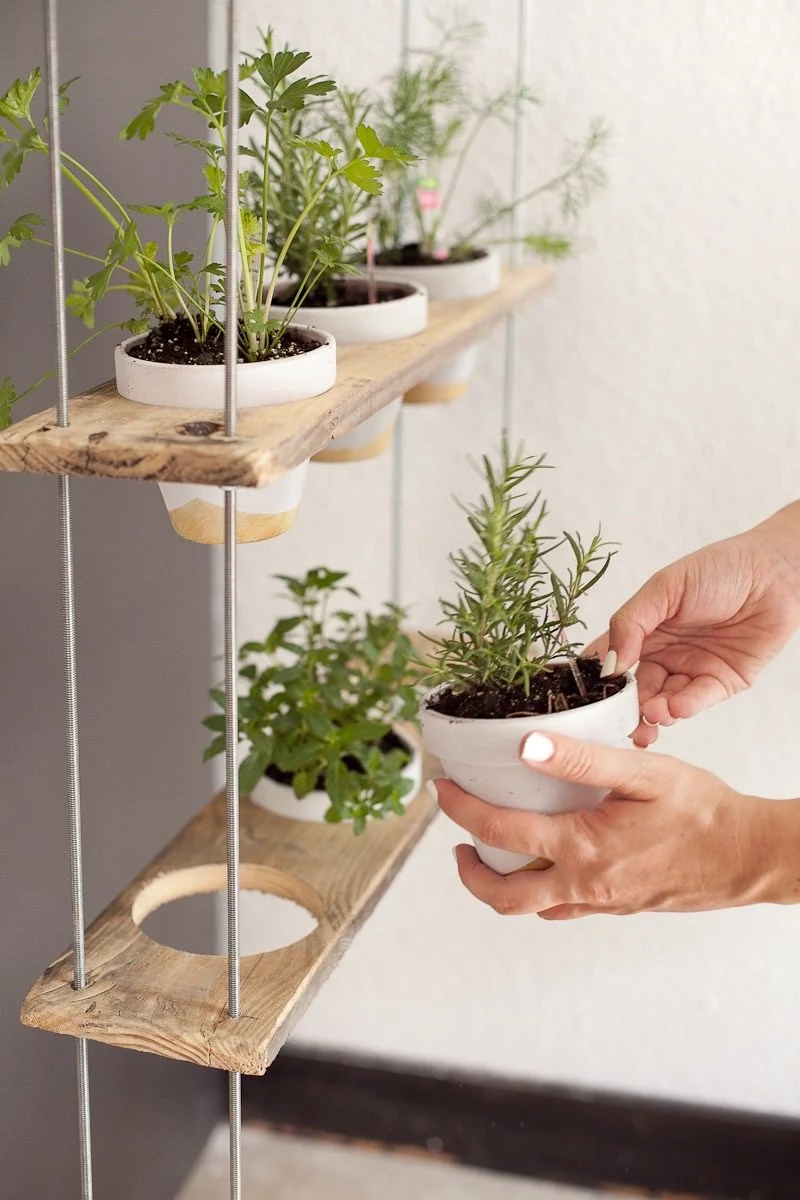
Inspirational Gallery
The biggest killer of indoor herbs isn’t neglect, but over-enthusiastic care. We tend to overwater. Before you reach for the watering can, use the finger test:
- Poke your index finger about an inch into the soil.
- If it feels damp, wait another day or two.
- If it feels dry, it’s time to water thoroughly until it drains from the bottom.
This simple habit prevents root rot more effectively than any gadget.
Your secret weapon is in the soil. Don’t just grab any bag of potting soil, as many are too dense and retain too much water for herbs. Create a custom, well-draining mix they’ll love. Start with a quality organic potting soil (like Black Gold or Espoma) and mix in about 20-30% perlite for aeration and a handful of worm castings for a gentle nutrient boost. This trio creates the light, airy foundation that mimics their natural Mediterranean environment and helps prevent soggy roots.

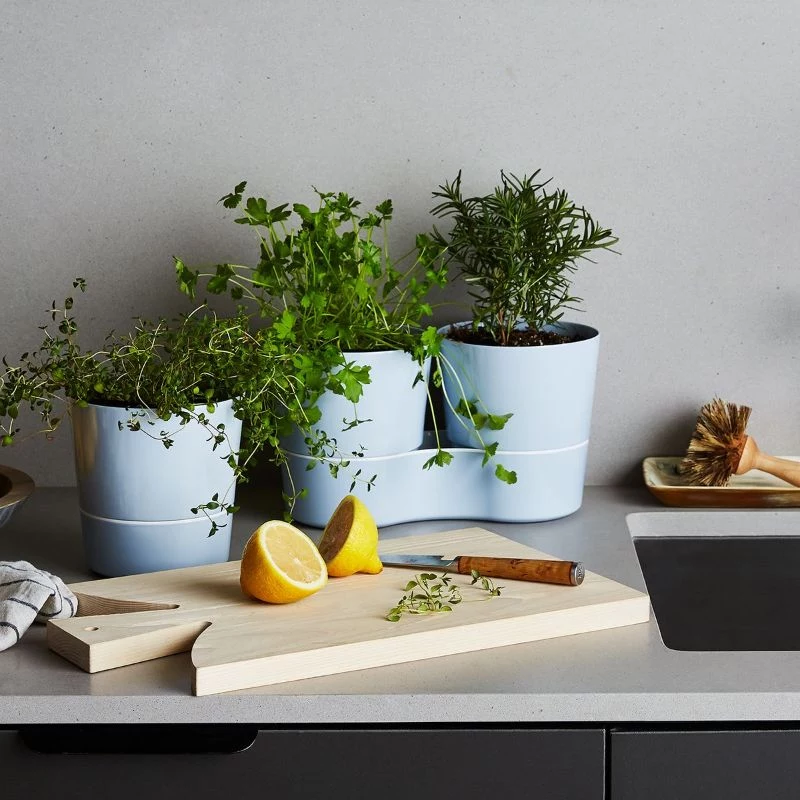
More than 90% of a plant’s nutrient uptake happens through water. The type of pot you choose directly impacts that moisture balance.
The pot is more than a container; it’s part of the plant’s life support. For herbs like rosemary, thyme, or oregano that despise ‘wet feet’, unglazed terracotta is perfect. Its porous nature allows soil to dry out evenly. For thirsty herbs like mint and parsley, a glazed ceramic or plastic pot is a better choice as it retains moisture longer, meaning you water a little less often.
Looking to expand beyond the usual suspects?
Try Lemon Verbena. While basil is the king of summer scents, Lemon Verbena is its sophisticated cousin, offering an intense, pure lemon fragrance that’s more perfume than plant. It thrives in the sunniest spot you have, just like the article’s recommended south-facing window. A single leaf crushed between your fingers releases an incredible aroma, and it makes an unforgettable herbal tea. It’s a sensory delight that feels truly special.

- Enjoy an endless supply of fresh mint for mojitos or tea.
- Create beautiful, free gifts for friends and family.
- Feel like a true gardener by creating new life from an existing plant.
The secret? Water propagation. Simply snip a healthy 4-inch stem of mint just below a leaf node, remove the lower leaves, and place it in a glass of water on your windowsill. In a week or two, you’ll see tiny white roots emerge, ready for potting.
Go beyond just looking at your herbs. Make interacting with them a daily ritual. Run your fingers through your rosemary bush as you pass by to release its woody, resinous scent. Gently rub a basil leaf to get a burst of sweet perfume before you even pick it. This isn’t just for enjoyment; it’s a way to stay connected and notice early if a plant needs a little help.
Aphids & Spider Mites: These tiny pests love the dry, stable conditions of our homes. You’ll often find them on the undersides of leaves or on new, tender growth. They likely hitchhiked in on a new plant.
The Fix: Forget harsh chemicals. Mix a few drops of a pure castile soap, like Dr. Bronner’s, into a spray bottle of water. A gentle spray on the affected areas (including under the leaves) is all it takes to disrupt the pests without harming your herbs. Wipe off the residue with a damp cloth an hour later.


