DIY or Call a Pro? A Straight-Shooting Guide for Homeowners
I’ve been in the home improvement world for a long, long time, and I’ve seen it all. Seriously. I’ve seen homeowners pull off stunning projects that would make a seasoned pro nod in approval. And… I’ve also gotten the panicked 2 a.m. call when a “simple” toilet swap ends up flooding their brand-new floors. The internet is full of five-minute videos that make you feel like you can rewire a kitchen in an afternoon. But those slick videos never show the mess, the unexpected snags, or the very real risks.
In this article
Figuring out whether to do it yourself or hire someone isn’t just about saving a few bucks. It’s about safety, quality, and the long-term health of your home. Honestly, a botched job can cost you way more to fix than hiring a pro would have in the first place. It can even lower your home’s value or, worse, put your family at risk.
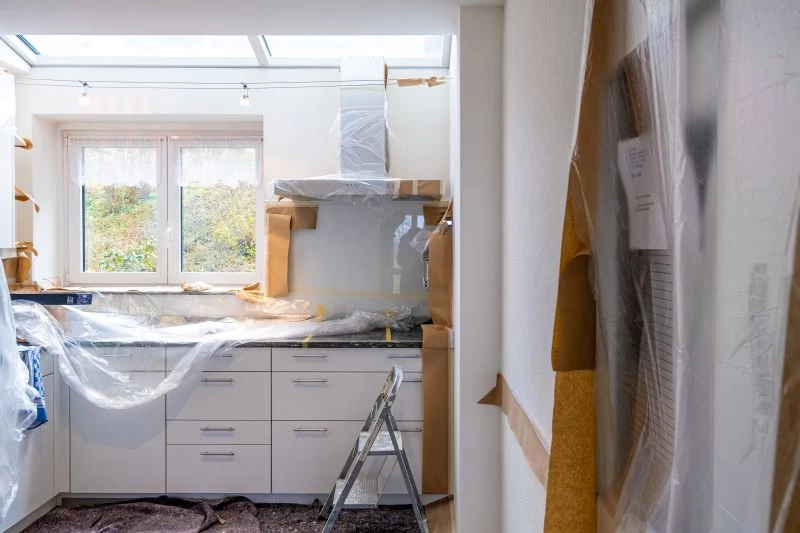
So how do you decide? Before you even think about picking up a tool, you need to have a brutally honest conversation with yourself. Here’s a quick gut check I run through with anyone who asks:
- The Catastrophe Question: If I mess this up, could it cause a fire, a major flood, or a structural collapse? If the answer is even a remote “maybe,” it’s probably a job for a professional.
- The Permit Question: Does this kind of work typically require a permit and official inspections? If so, that’s a huge sign you need a licensed pro who knows the local codes inside and out.
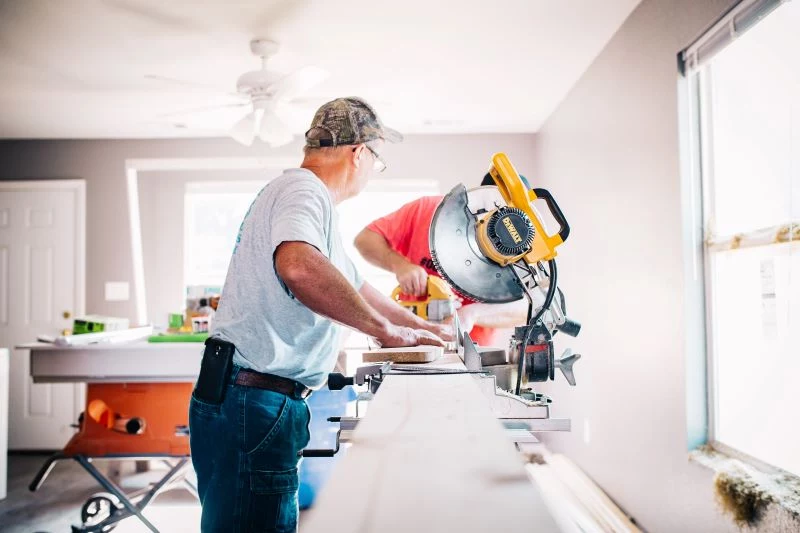
- The Tool Question: Does this job require expensive, specialized tools I’ll only use once? Sometimes, the cost of the tools alone is more than the labor to hire an expert. For example, renting a commercial floor sander for a weekend can run you $100-$150, not including the sandpaper. A pro already has this stuff.
Let’s break down which projects usually fall into which category. This isn’t just a list; it’s a peek into how we think on the job site—what we watch out for and why.
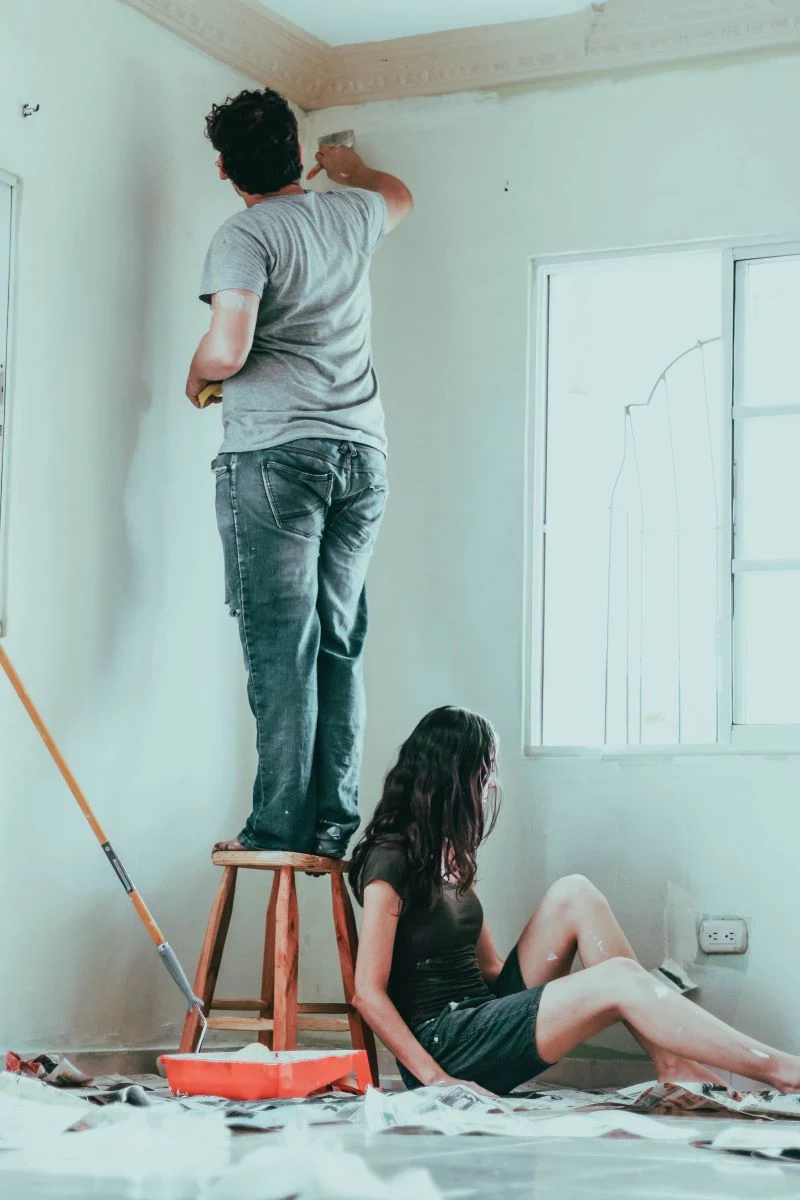
Projects You Can Probably Tackle Yourself
Some jobs are just perfect for a weekend warrior. They give you that amazing sense of accomplishment with very little real risk. Think of these as your entry-level challenges. But even these simple jobs have a right way and a wrong way to do them.
Applying a Fresh Coat of Paint
Painting seems like the easiest DIY job on the planet, right? And for the most part, it is. But the difference between a so-so paint job and a professional-looking one is all about the prep work. We pros spend most of our time getting the room ready; the actual painting part is the quick victory lap at the end.
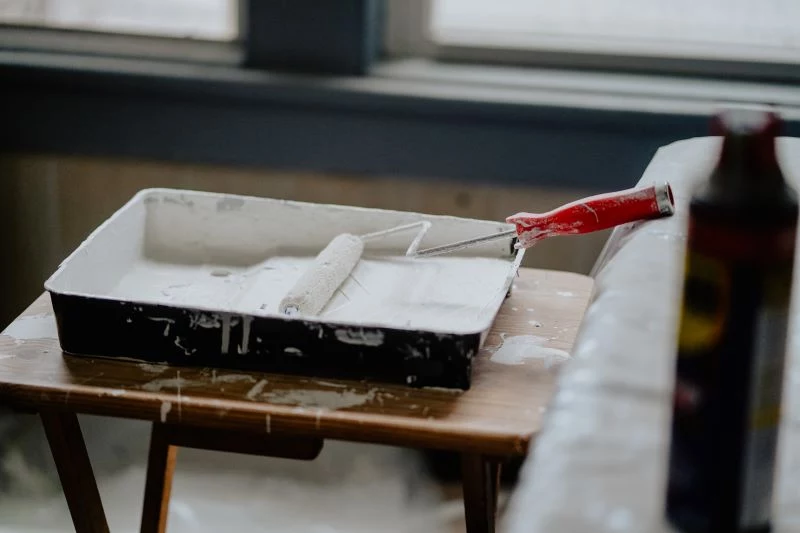
Good to know: a “Pro Prep Kit” isn’t that expensive but makes all the difference. Expect to spend about $70 on quality gear you can reuse. This includes:
- A high-quality 2.5-inch angled brush (around $20)
- A heavy-duty cleaning solution to wash the walls ($5-$10)
- A simple pole sander and some 120-grit sandpaper ($15)
- Good painter’s tape that won’t peel the paint off with it ($8)
- A tube of spackle and a putty knife ($10)
Seriously, don’t skip washing the walls, especially in kitchens and bathrooms where grease and grime build up. Paint just won’t stick to a dirty surface. After cleaning, we give the walls a light scuff-sand to help the new paint grab on. This is also when you fill every tiny nail hole and dent. Once the spackle is dry, sand it so smooth you can’t feel the patch with your eyes closed. That’s the secret.

And please, don’t cheap out on the paint itself. A good gallon of paint (about $40-$60) has more solids and less water, meaning it covers better and lasts longer than the bargain-bin stuff.
Installing Window Dressings
Putting up curtains or blinds can totally change a room’s vibe in under an hour. The only real challenge is making sure the hardware is securely anchored to the wall. A heavy curtain rod can rip right out of drywall if it’s not installed correctly, taking a big chunk of the wall with it.
Your first choice is always to screw directly into a wall stud. A decent electronic stud finder costs about $25-$50 at any hardware store and is one of the best tools a homeowner can own. Some even detect electrical wiring, which can save you from a very bad day.
If you can’t hit a stud, you need a drywall anchor. Heads up! Throw away the flimsy little plastic ones that come in the box. For anything with some weight, like insulated drapes, grab a pack of toggle bolts or beefy screw-in anchors. Check the package—it will tell you the weight rating. For heavy curtains, don’t use anything rated for less than 50 pounds. A pack of these will only set you back about $10 and will save you a lot of grief.
Want a quick win to build your confidence? Go find the wobbliest towel bar in your house. I bet you can make it rock-solid in 10 minutes with two new screw-in anchors for under $5. Try it!
Basic Yard Maintenance
Putting down mulch, planting some flowers, trimming shrubs… these are fantastic, low-risk ways to boost your curb appeal. The work is rewarding and gets you outside. But there’s a crystal-clear line between planting a rose bush and building a retaining wall.
One rule is absolute: Call 811 before you dig. It’s a free national service that sends someone out to mark the location of all your underground utility lines. Hitting a buried power line or gas pipe is beyond dangerous and can be insanely expensive to repair. A simple phone call prevents all of that.
The Gray Area: Proceed with Caution
Okay, now we’re getting into projects that a skilled and patient DIYer can often handle. But they require more precision, have more steps, and the consequences of mistakes are bigger. This is where you need to be really honest about your skill level.
Tiling a Backsplash or a Small Floor
Tiling is a craft. The pros make it look easy because they’ve developed a feel for it over thousands of square feet. A bad tile job is glaringly obvious and a huge pain to fix.
So, what’s the real difference in cost? A pro might charge between $600 and $1,500 in labor for a standard kitchen backsplash. If you do it yourself, your materials (tile, mortar, grout) might only be $200 to $400. But, you’ll also need a wet saw. You can rent one for about $50 a day. The big catch? For a beginner, a backsplash isn’t a single afternoon project. Realistically, you should plan for 2-3 full days to account for prep, cutting, setting, and grouting.
The biggest amateur mistake is not planning the layout. Never just start from one corner. Find the center of the wall and draw layout lines. This ensures you don’t end up with a tiny, awkward sliver of a tile at the most visible end. That planning is what separates a sharp-looking job from a messy one.
Replacing a Faucet or a Toilet
This is probably the most common “advanced” DIY project people try. But since it involves your home’s water supply, the stakes are suddenly much higher. A tiny, slow leak can go unnoticed for weeks, rotting out the floor of your cabinet or your subfloor, leading to thousands in damage.
Quick tip: The most important tool for this job is a basin wrench. It’s a weird-looking, long-handled wrench that costs about $20. It’s designed specifically to reach the nuts holding the faucet in place up behind the sink. Trying to do this with regular pliers is a recipe for a sore back and a lot of cursing. Trust me, just buy the wrench.
And here’s the number one mistake I see: overtightening. Homeowners think tighter is always better. It’s not. Overtightening supply lines can strip the threads, and cranking down on the bolts of a toilet can crack the porcelain base. Connections should be snug, but not Herculean.
Oh, and that wax ring for the toilet? Always use a new one. It costs maybe five dollars and is the single most important part of the job. If that seal is bad, you’ll get leaks and, even worse, sewer gas in your home.
The “Call a Pro, No Exceptions” List
We’ve arrived at the most critical part of this guide. These are jobs that carry serious risks to your safety and the structural integrity of your home. Attempting these without a license and proper training is just not a smart move.
Any Structural Work
This means removing or even cutting into any wall, beam, or joist without knowing for sure if it’s load-bearing. A home is a complex system designed to manage incredible weight. Removing a key piece without a plan can lead to sagging floors, cracked walls, or worse. The fix for a mistake here can easily cost ten to fifteen times what it would have cost to do it right from the start.
Major Electrical Work
While changing a light fixture can be a careful DIY task, pretty much everything else should be left to a licensed electrician. This includes running new circuits, moving outlets, or touching your main electrical panel. A mistake with plumbing gets things wet; a mistake with electricity can burn your house down, sometimes days later inside a wall where you can’t see it.
Besides the obvious danger, there’s the insurance issue. If a fire is traced back to unpermitted, non-professional electrical work, your homeowner’s insurance may have grounds to deny your claim. It’s just not worth the risk.
Major Plumbing and Gas Lines
Like electrical, messing with plumbing and gas lines is a no-go. Moving drain lines requires a deep understanding of venting and slope to work correctly. Get it wrong, and you could end up with drains that don’t drain or, more dangerously, allow sewer gas to seep into your house.
And gas lines? This is the easiest rule of all: Never, ever work on them yourself. A natural gas leak is an explosion waiting to happen. This is a job for a licensed pro, period.
Roofing
The main danger with roofing is obvious: falling. But beyond that, a roof is a complex system of sheathing, underlayment, flashing, and ventilation. The most common leaks I see are caused by improper flashing—the metal pieces that seal joints around chimneys and vents. A small gap there can let water in for years, rotting the structure of your home from the inside out before you ever see a stain on your ceiling.
Finding and Working with a Good Contractor
If you’ve decided a job is out of your league, finding the right professional is your next project. A good contractor is a partner in protecting your investment.
Get at least three detailed bids, but here’s a pro tip: don’t automatically take the lowest one. A bid that’s wildly cheaper than the others is a massive red flag. It often means they’re cutting corners on materials, are uninsured, or just don’t understand the full scope of the work.
Always ask for proof of their license and insurance—this is non-negotiable. And call their recent references! Finally, insist on a clear contract that details the work, a payment schedule (never pay 100% upfront!), and a timeline.
At the end of the day, knowing your limits is a sign of wisdom, not weakness. Your home is probably the biggest investment you’ll ever make. Treat it with respect. Sometimes, the best tool in your toolbox is the phone.


