Stop Killing Your Potted Perennials: A Real-World Guide to Success
I’ve spent years with my hands in the dirt, from running a small nursery to designing container gardens for clients, and I want to share a hard-earned truth. Early on, I made a mistake I see people make all the time: I thought growing a perennial in a pot was just like planting it in the ground. It’s not. Not even close.
In this article
I learned this lesson the expensive way after losing an entire collection of gorgeous Coneflowers one winter. It wasn’t the cold that got them; it was me. Their pots froze solid, thawed in a brief warm spell, and then the soil dried into a brick. The roots, trapped in that pot, had nowhere to run for moisture. That was my wake-up call. A pot isn’t a miniature garden—it’s a self-contained ecosystem where you control everything.
People love perennials because they come back every year, right? Well, in a garden bed, their roots can dive deep to find water and escape the worst of a freeze. In a container, that same plant’s survival is 100% on you. The right pot, the right soil, and a solid plan for the winter aren’t just suggestions. They’re the line between a stunning plant and a sad, empty pot next spring. Let’s get into the techniques that actually work.
Why Your Pot is Its Own Little Planet
Before you even think about buying a plant, you need to understand the world you’re creating inside that container. It has its own rules, and knowing them is the foundation for success.
Good Soil is Everything (And Garden Dirt is a No-Go)
I can’t say this enough: Never, ever use soil from your garden in a pot. Garden soil is a mix of clay, silt, and sand that works great in the ground where worms and microbes keep it aerated. In a pot, it compacts into a dense, airless brick. It either holds too much water and drowns the roots, or it dries into a hard clump that water just runs over.
You need a proper potting mix. These are often called ‘soilless’ mixes for a reason. They’re engineered for containers and usually contain:
- A Base: This is usually peat moss or coconut coir. Both are like a sponge, holding tons of water that your plant’s roots can access. Oh yeah, good to know: coir is a renewable resource and it’s easier to re-wet if it dries out completely.
- Aeration: Those little white specks you see are perlite or pumice. They’re super lightweight volcanic rock that create essential air pockets. Roots need to breathe, and this stuff ensures they don’t suffocate.
- Organic Matter: High-quality compost or earthworm castings are the lifeblood of the mix. They provide a gentle, slow-release source of nutrients and feed the good microbes in the soil.
You can buy excellent bagged mixes from brands like FoxFarm or Pro-Mix, which usually run about $20-$25 for a 1.5 cubic foot bag. Or, you can mix your own to save a little money and get it just right. A bulletproof recipe is one part peat/coir, one part perlite, and one part good quality compost. Mix it on a tarp, and always, always moisten it before you use it. Trust me on this. Dry mix is a pain and can create dry pockets in your pot that kill roots.
Heads up! A common question is, “Can I reuse last year’s potting soil?” The answer is… maybe. If last year’s plant was healthy, you can rejuvenate it by mixing in about 30% fresh compost to replenish nutrients. But if the plant died from a disease, toss that soil. It’s not worth the risk of infecting your new plant. To be frank, I usually start fresh for my most prized plants—for about $20, a new bag of soil is cheap insurance.
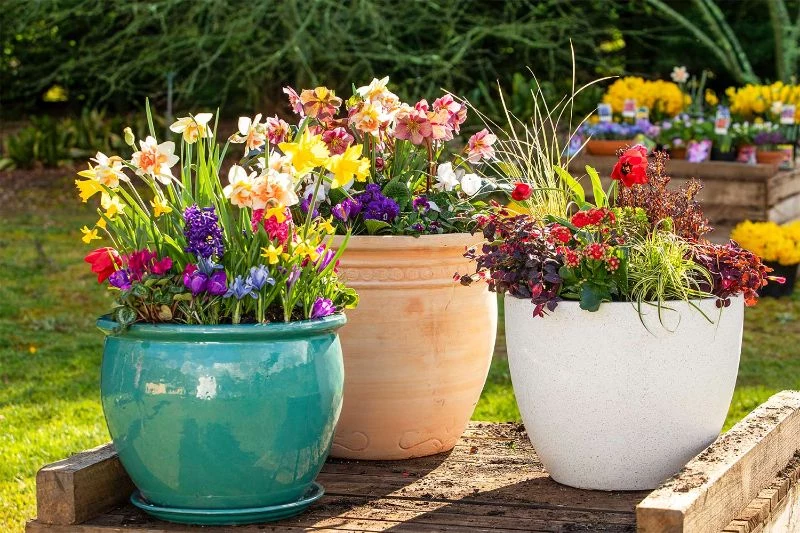
Choosing the Right Pot Material
The type of pot you choose dramatically affects how often you’ll need to water. It’s not just about looks. Each material has its pros and cons:
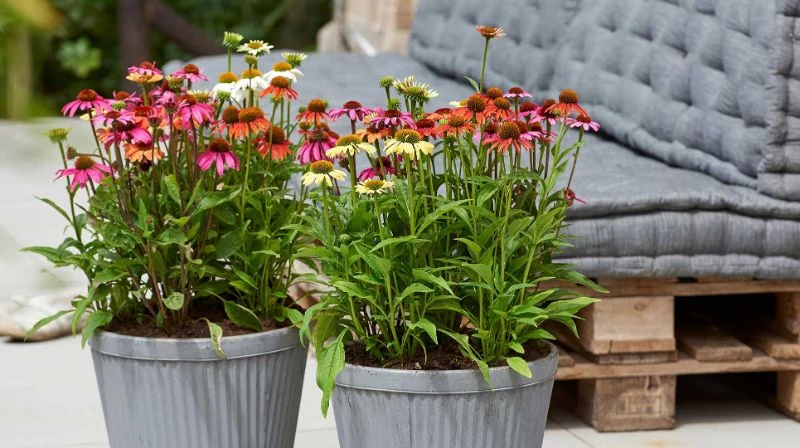
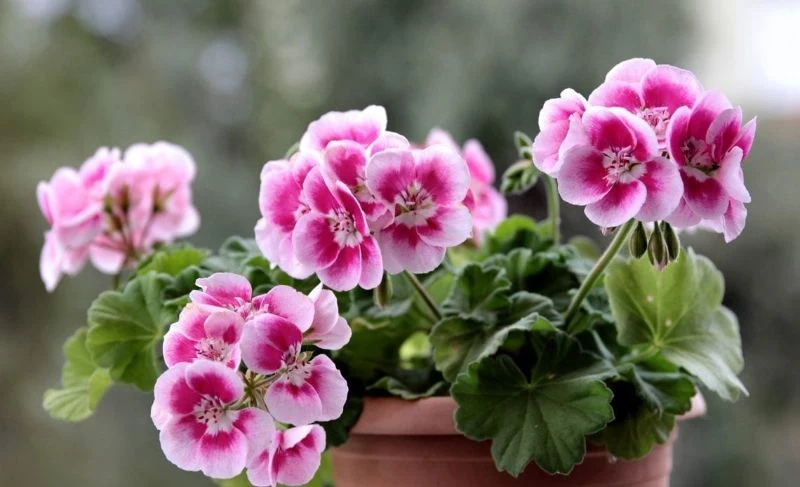
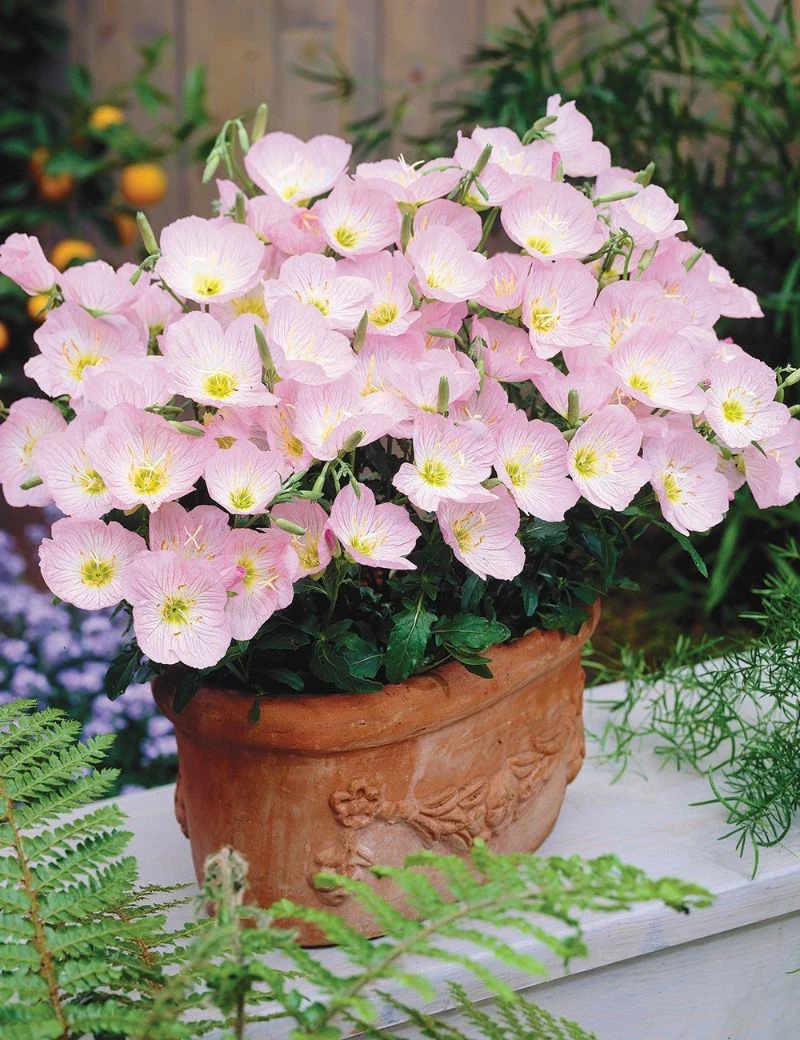
- Terracotta (Unglazed Clay): This is a classic for a reason. It’s porous, so it breathes, letting air reach the roots and excess water evaporate. This is fantastic for plants that hate ‘wet feet’ like Salvia or Sedum. The downside? It’s heavy and dries out fast. You’ll be watering a lot more. Expect to pay between $20 and $60 for a decent-sized pot.
- Glazed Ceramic & Plastic: These are non-porous, so they hold moisture for much longer. This is a huge help for thirsty plants like Astilbe or ferns. They’re often lighter than terracotta, and a simple plastic pot can be as cheap as $15. The risk? It’s easy to overwater, so you have to be disciplined. And a quick tip: avoid dark-colored plastic pots in direct sun, as they can get hot enough to cook the roots.
- Wood: Wooden planters, especially cedar or redwood, are fantastic insulators against both summer heat and winter cold. They offer a great balance but can be pricey, sometimes over $80 for a large one. Make sure they’re made from rot-resistant wood.
- Metal: Honestly, I’d steer clear of metal unless you’re very experienced. They look sleek, but they get scorching hot in the summer and freezing cold in the winter, offering zero protection for the roots.
And for the love of all things green, make sure your pot has a drainage hole! If water can’t get out, the bottom becomes a swamp and the roots will rot. End of story.
By the way, that old advice to put gravel in the bottom of a pot? It’s a myth. It actually makes drainage worse by creating a soggy layer of water just above the gravel, right where the roots are. Just use a piece of screen or a coffee filter over the hole to keep the soil from washing out.
The Right Way to Plant (and Keep It Alive)
Consistency is your best friend here. A methodical approach to planting sets your perennials up for a long, healthy life.
First, pick a good pot. You want something at least 2-4 inches wider than the nursery pot it came in. For a perennial that will grow to be about 2 feet wide, you’ll need a container that’s at least 10 gallons (around 16-18 inches in diameter) to keep it happy for a few years. Fun fact: a 10-gallon pot takes about 1.3 cubic feet of soil, so one standard bag of potting mix should do the trick.
Here’s the planting process I use every single time:
- Prep the Pot. If you’re reusing a pot, scrub it clean and give it a quick rinse with a 1-part-bleach-to-9-parts-water solution to kill any lingering diseases.
- Prepare the Plant. Gently slide the plant out of its pot. If the roots are a tangled, circling mess, you have to break them up. Gently tease them apart with your fingers or even make a few 1-inch deep vertical cuts with a knife. It feels brutal, but it encourages new roots to grow outward.
- Set the Depth. Place the plant in the new pot so the top of its root ball is about an inch below the rim. This headspace makes watering so much easier.
- Backfill. Add your pre-moistened soil around the plant, gently firming it to remove big air pockets. Don’t pack it down hard.
- Water In. This is the most important step! Water slowly and deeply until you see it running freely from the drainage hole. This settles everything and eliminates hidden dry spots.
When it comes to watering, forget a schedule. Use your finger. Push it two inches into the soil. If it feels dry, water. If it’s moist, check again tomorrow. As for feeding, container plants are completely dependent on you. I like to mix a slow-release granular fertilizer into the soil at planting time. Then, during the growing season, I supplement with a half-strength liquid fertilizer every couple of weeks. Stop feeding about six weeks before your first frost to let the plant prepare for winter.
Go Do This Now: Seriously. Go to one of your potted plants and stick your finger two inches into the soil. Is it dry? Damp? Wet? Getting a feel for this is the single most important skill in container gardening. Practice it!
Quick-Fixes for Common Problems
Even with the best care, things can go sideways. Here’s a quick guide to what might be wrong:
- Problem: Yellowing Leaves. This is almost always a watering issue. If the soil is soggy and the leaves are yellow and limp, you’re overwatering. If the soil is dry and the leaves are yellow and crispy, you’re underwatering. See? That finger test is everything.
- Problem: Tiny White Bugs. If you see fine, spider-like webs under the leaves, you’ve got spider mites, which thrive in hot, dry conditions. A good, strong spray of water can knock them off. If you see sticky stuff on the leaves and tiny green or white insects, those are likely aphids. A squirt of insecticidal soap (you can find it at any garden center for about $10) usually takes care of them.
- Problem: The Plant Just Looks Sad. It might be time to repot! After a few years, a perennial can use up all its space and nutrients. Moving it to a slightly larger pot with fresh soil can work wonders.
Surviving the Winter: The Make-or-Break Moment
This is where most people fail. In the ground, the earth is a giant insulator. In a pot, roots are exposed on all sides. The real killer is often the freeze-thaw-freeze cycle that snaps delicate roots, or drying winter winds.
Your strategy depends on your climate. First, go online and look up the “USDA Plant Hardiness Zone Map” to find your zone.
The pros use a simple ‘two-zone rule’ for pots. This means a plant needs to be rated for two zones colder than yours to reliably survive the winter in a container. So, if you live in chilly Zone 6 (where temps can hit -10°F), you should choose plants rated for at least Zone 4 (hardy to -30°F) for them to have a fighting chance in a pot.
For Milder Climates (Zones 8-10)
You’ve got it easy. Just move your pots to a spot sheltered from the wind, like up against the house. Water them once or twice a month during dry spells.
For Transitional Climates (Zones 6-7)
This is the tricky zone. The best bet is moving your pots into an unheated garage or shed once they’ve gone dormant. The goal is to keep them cold and dormant, but protected. Another option is to cluster all your pots together against a north-facing wall and pile shredded leaves or straw all around and over them for insulation.
For Cold Climates (Zone 5 and Colder)
Here, your most reliable method is to use the earth itself. Before the ground freezes, dig a hole in an empty garden bed and just sink the entire pot into the ground, rim-level with the soil. The earth will insulate it perfectly. In spring, just pop it back out. It’s a bit of work, but it’s the closest you can get to a guarantee.
Growing perennials in pots is more work than just sticking them in the ground, but it’s incredibly rewarding. It turns a simple patio or balcony into a living, evolving garden. You’re the steward of that little world, and with these techniques, you can create something beautiful that truly lasts.
Inspirational Gallery
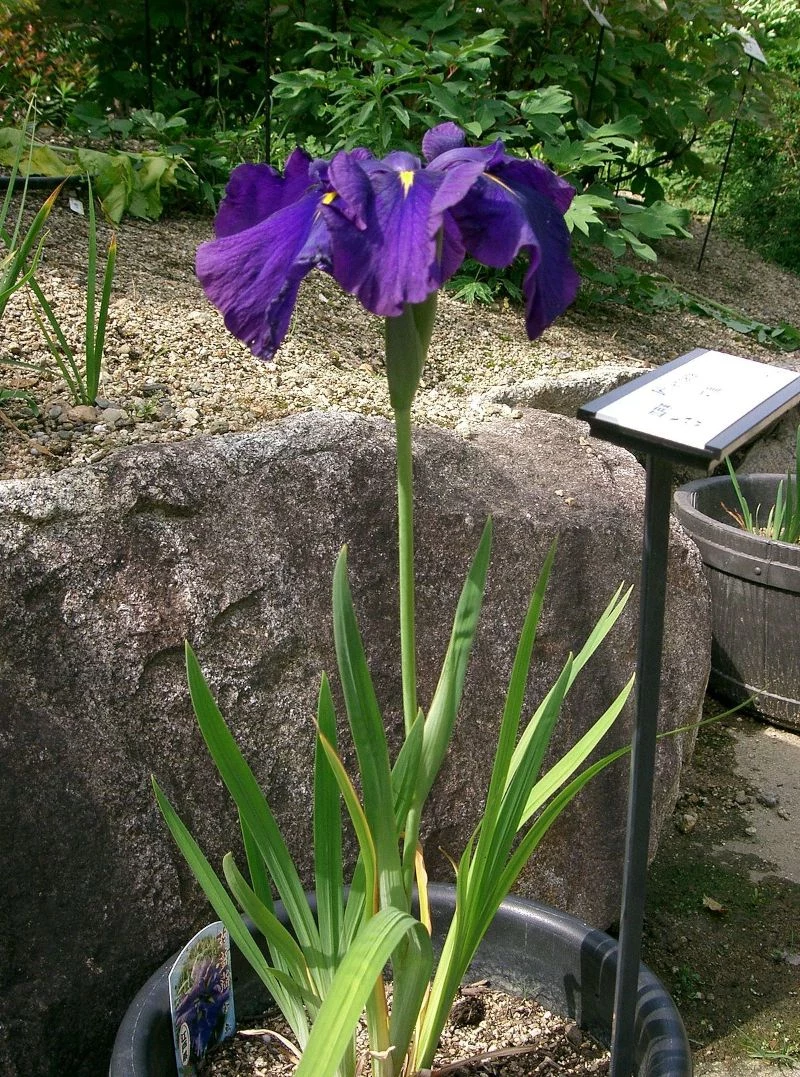
Terracotta Pots: Their classic, earthy look is timeless. Because the clay is porous, it breathes, which helps prevent root rot—a major plus. The downside? They dry out very quickly in summer and offer almost no insulation against winter freezes, making them a risky choice for less-hardy perennials.
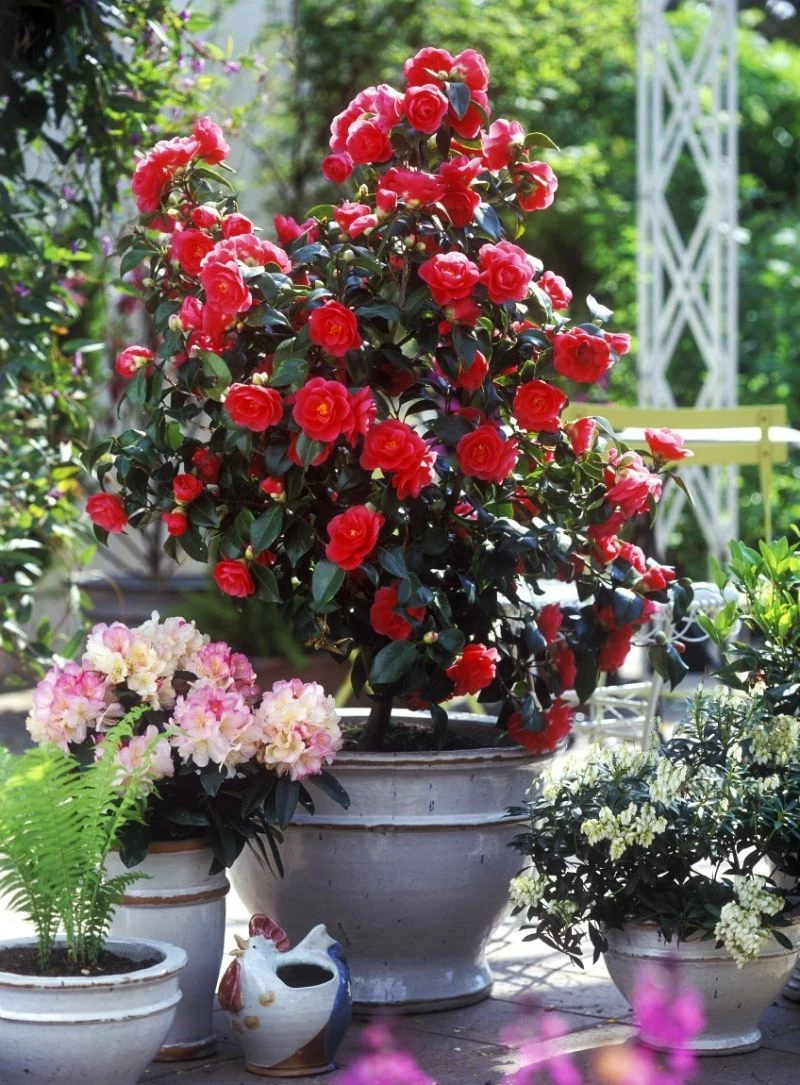
Glazed Ceramic & Plastic: These non-porous pots are champions of water retention, meaning less frequent watering. Their solid walls also provide better insulation against temperature swings. For perennial success, they are often the more forgiving option, especially for plants that can’t tolerate drying out.
The roots of a plant in an above-ground container can experience temperatures up to 30°F (17°C) colder than those of the same plant in the ground.
This is why winter protection is non-negotiable. That ‘hardy to zone 5’ tag on your plant applies to ground planting; in a pot, it’s effectively in zone 3 or 4. The soil can’t borrow warmth from the earth, leaving roots exposed to the harshest cold.
When autumn leaves start to fall, it’s time to put your potted perennials to bed for the winter. Don’t wait for the first hard freeze.
- Move pots together against a sheltered wall, ideally out of the winter wind and sun, which can cause damaging freeze-thaw cycles.
- Insulate the pots by wrapping them in burlap or bubble wrap, or by heaping leaves or straw around the cluster.
- Water them well one last time before the deep freeze sets in, but ensure the pot has excellent drainage to avoid becoming a solid block of ice.
Fell in love with one of your perennials and wish you had more? You probably already do.
Many popular perennials like Hostas, Daylilies, and Sedum ‘Autumn Joy’ are easily multiplied through division. In early spring, just as new growth appears, gently remove the plant from its pot. You can often pull the root ball apart into several smaller clumps with your hands, or use a sharp, clean knife for tougher roots. Ensure each new piece has a good section of roots and a few shoots. Repot them in fresh, high-quality potting mix, and you’ve just expanded your collection for free.
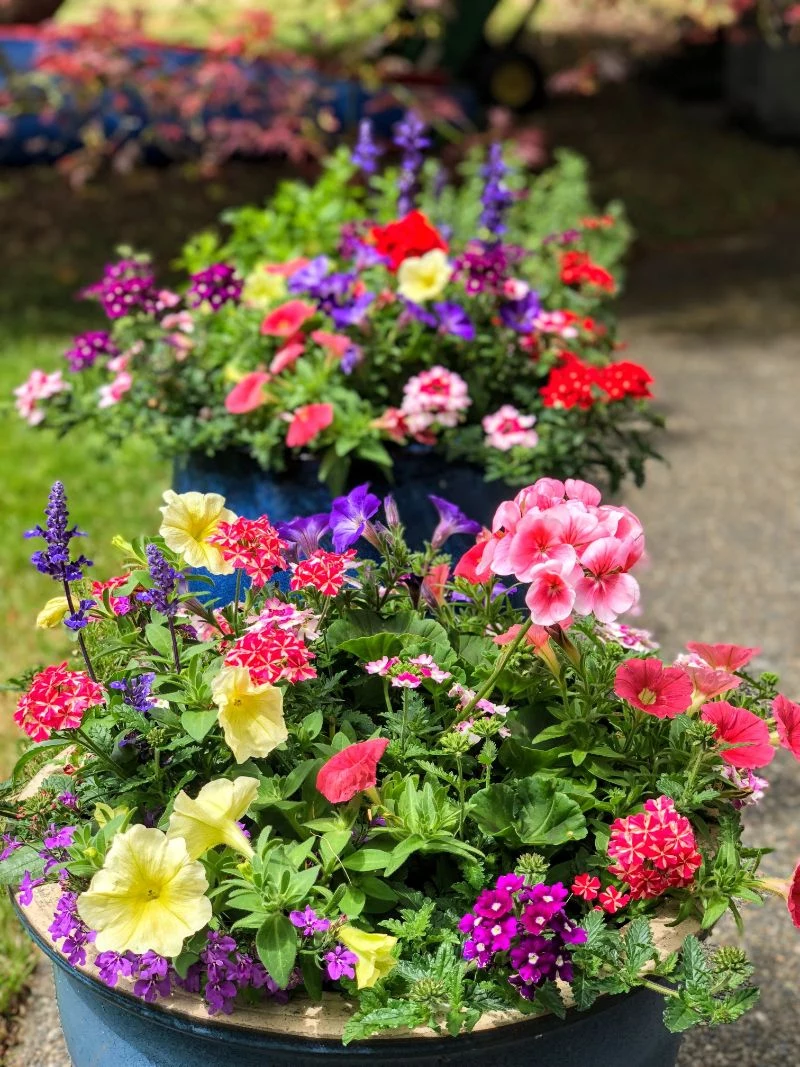
For a single pot that looks professionally designed, think in layers using the ‘Thriller, Filler, Spiller’ method. It’s a simple recipe for a stunning composition that provides interest all season long.
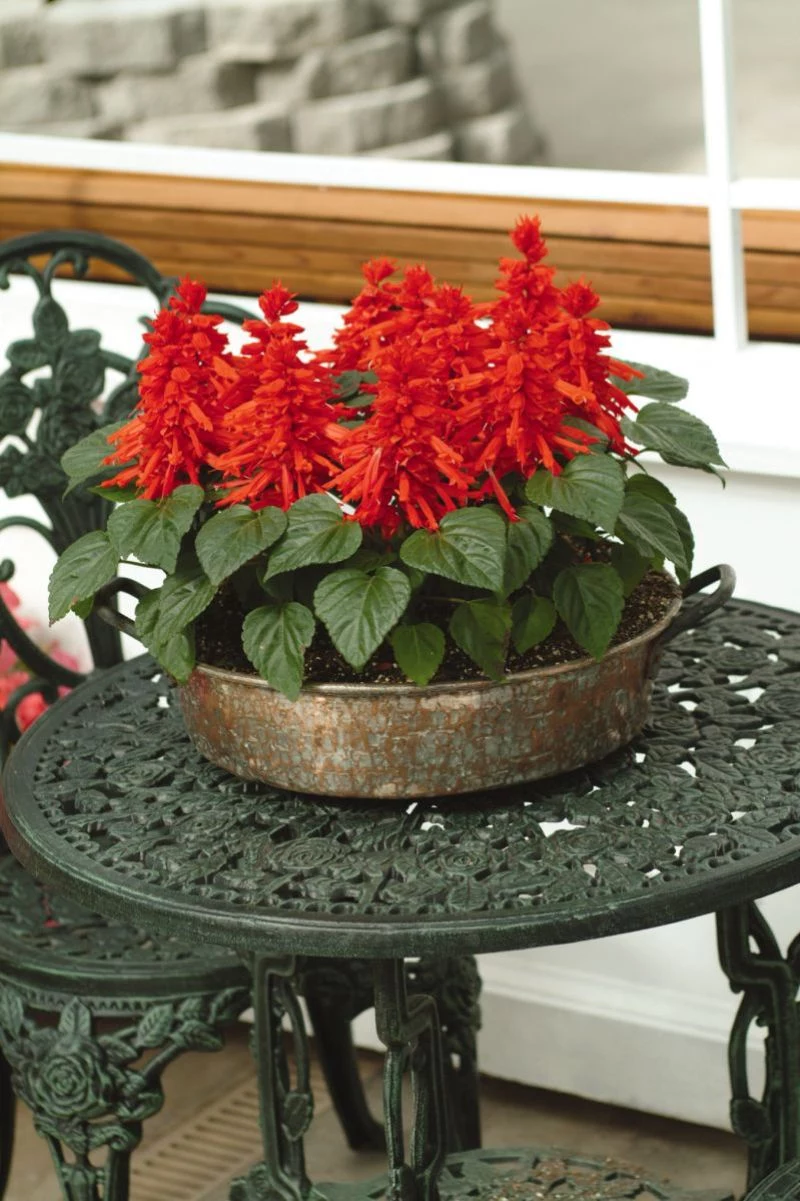
- The Thriller: A tall, dramatic plant for the center. Think Purple Fountain Grass or a striking Salvia ‘May Night’.
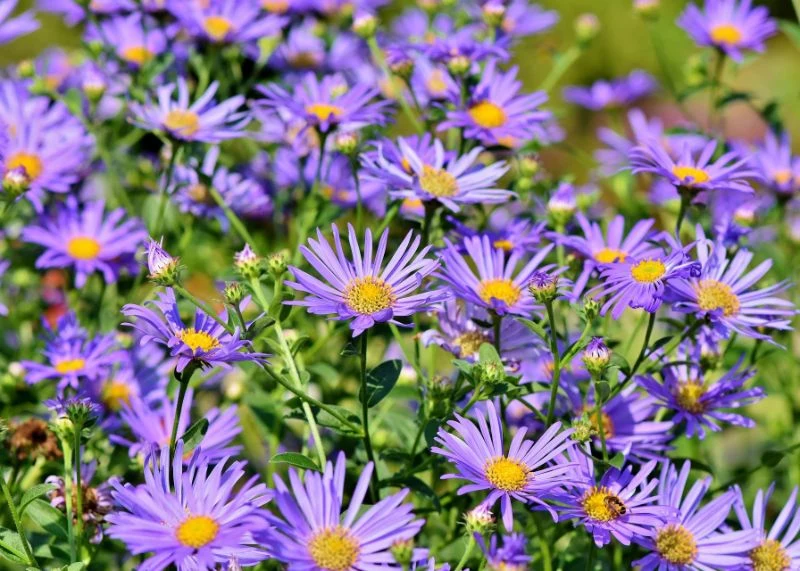
- The Filler: Mounding plants that surround the thriller. Coral Bells (Heuchera) with their colorful foliage or low-growing Asters are perfect.
- The Spiller: Plants that cascade over the pot’s edge. Golden Creeping Jenny or the silvery foliage of Dichondra ‘Silver Falls’ will soften the look.


