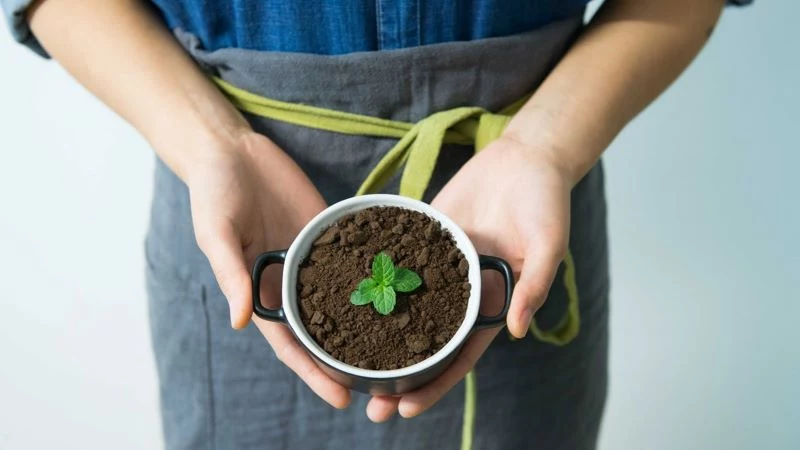
Stop Wasting Your Coffee Grounds: The Gardener’s Guide to Using Them Right
I’ve been obsessed with soil for more years than I can count, and I’ve seen just about every garden trend you can imagine. One that just won’t quit? Using coffee grounds. And I get it. It feels so resourceful to turn your morning brew’s leftovers into ‘black gold’ for your plants. But honestly, a lot of the advice floating around online is either incomplete or just plain wrong.
In this article
My first try was a complete disaster. I proudly lugged a huge bag of used grounds from a local café and dumped them around my poor tomato plants, thinking I was giving them a super-boost of nitrogen. A week later, my plants were yellowing, and the grounds had turned into a hard, water-repellent crust on the soil. Water just beaded up and rolled right off. I had to gently break up that crust and fix the soil to save them. It was a tough lesson, but a valuable one: coffee grounds can be amazing, but only if you know what you’re doing. This guide is built on those hard-won lessons, so you can skip the mistakes and get straight to the good stuff.
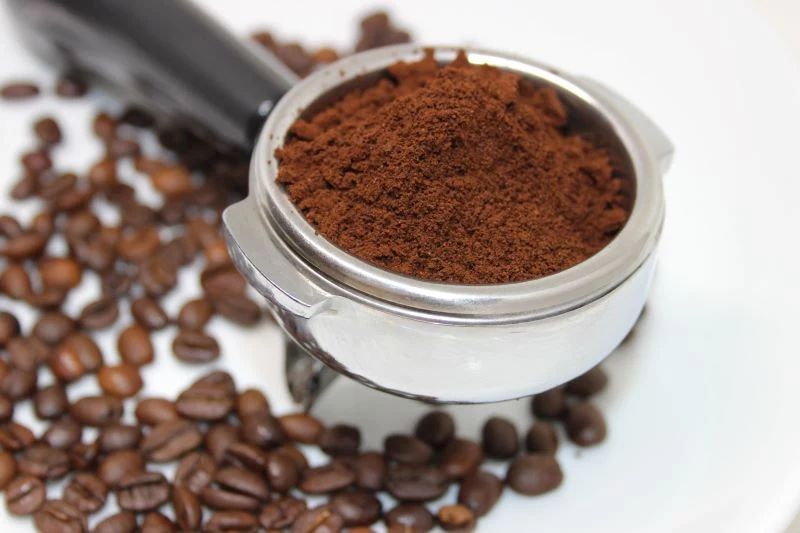
What’s Actually in Your Used Coffee Grounds?
Before you toss anything into your garden, it’s smart to know what it’s made of. Coffee grounds are more complex than you’d think, and understanding them is the key to using them effectively.
The Real Scoop on Nutrients
Coffee grounds do contain some nice nutrients. They have about 2% nitrogen by volume, plus small amounts of phosphorus, potassium, and magnesium. Sounds like a decent fertilizer, right? Well, there’s a catch. The nitrogen is ‘organic,’ which means it isn’t immediately available for your plants. It has to be broken down by soil microbes first, a process called mineralization.
This is where the Carbon-to-Nitrogen (C:N) ratio comes in. It’s basically a measure of microbe food. Coffee grounds have a C:N ratio of about 24:1, which is practically a perfect meal for the little guys in your soil. Because the ratio is so ideal, grounds decompose super efficiently, which is why composting them is my absolute favorite method.
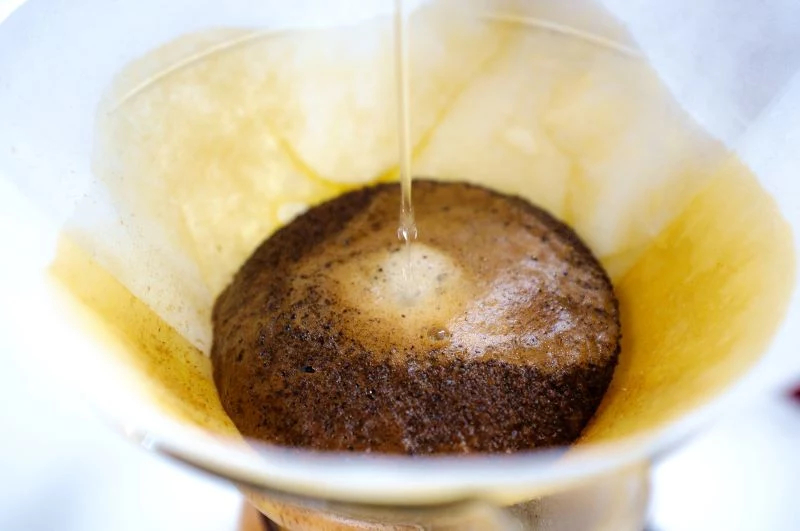
Busting the Great pH Myth
Here’s one of the biggest misconceptions out there: that used coffee grounds are highly acidic. You’ll often hear people recommend them for acid-loving plants like blueberries and azaleas. This is only half-true and super misleading.
Fresh, unbrewed grounds? Yes, those are acidic. But the brewing process changes everything. By the way, here’s a little secret: most of the acid in coffee is water-soluble. That means it ends up in your coffee mug, not in the leftover grounds! I’ve tested used grounds from countless sources, and they consistently have a pH between 6.5 and 6.8, which is very close to neutral. So, adding them to your garden won’t significantly lower your soil’s pH. If you want to see your hydrangeas turn a beautiful blue, you’ll need to use a proper soil acidifier like elemental sulfur, not coffee grounds.
What About Caffeine?
Caffeine is a plant’s natural defense mechanism. In some cases, it can stop other plants from growing, which is a property called allelopathy. This is exactly why you should never put fresh grounds or a thick layer of used grounds around delicate seedlings or newly planted seeds. While brewing removes a lot of the caffeine, there’s still enough left to potentially stunt their growth. Mature, established plants? They’re far less sensitive, so it’s generally not a concern when you use the grounds correctly.
The Best Method, Hands Down: Composting
If you only remember one thing from this whole guide, make it this: the absolute best, safest, and most beneficial way to use coffee grounds is in your compost pile. Think of them as a turbo-booster for your compost.
Why Composting Is the Gold Standard
In a compost pile, we’re always trying to balance “greens” (nitrogen-rich materials) and “browns” (carbon-rich materials). Thanks to their stellar C:N ratio, coffee grounds are considered a “green.” They provide the fuel that gets those decomposing microbes fired up.
When I add a bucket of grounds to one of my compost piles, I can literally feel the temperature rise within a day. A hot pile, one that reaches 130-160°F, is crucial for killing off weed seeds and any bad pathogens. Coffee grounds help you get to that sweet spot and stay there. Oh, and you can absolutely toss the paper coffee filter in there, too! Just tear it up a bit; it counts as a “brown” material and helps balance the mix.
How to Compost Grounds Like a Pro
You can’t just dump grounds on top of the pile. They’ll form a dense, smelly mat that chokes out air and water. Here’s the right way to do it:
1. Collect & Store: I get a 5-gallon bucket filled from a local café every few days. If you’re just using grounds from home, you can keep them in a lidded container for a week or so. And don’t worry if they get a little white or blue mold on them—that’s just decomposition getting a head start! It’s totally fine for the compost pile.
2. Balance the Mix: For every bucket of coffee grounds (your ‘green’), you need at least one bucket of ‘browns.’ Think dried leaves, shredded cardboard, wood chips, or straw.
3. Mix, Don’t Layer: This is key. When you add the grounds, add your browns at the same time. Use a pitchfork to toss them all together with the existing compost. You want it to look like a well-mixed salad. This gives microbes everywhere access to both food sources.
4. Check the Moisture: Squeeze a handful of the mix. It should feel like a damp sponge, releasing just a drop or two of water. If your pile ever starts to smell sour or like ammonia, it’s a sign that it’s too wet and compacted. The fix is easy: just mix in more ‘browns’ like shredded cardboard to absorb moisture and add air pockets.
Quick tip: Earthworms go crazy for coffee grounds. When I turn my piles, the areas with grounds are always swarming with them, which is a fantastic sign of a healthy system.
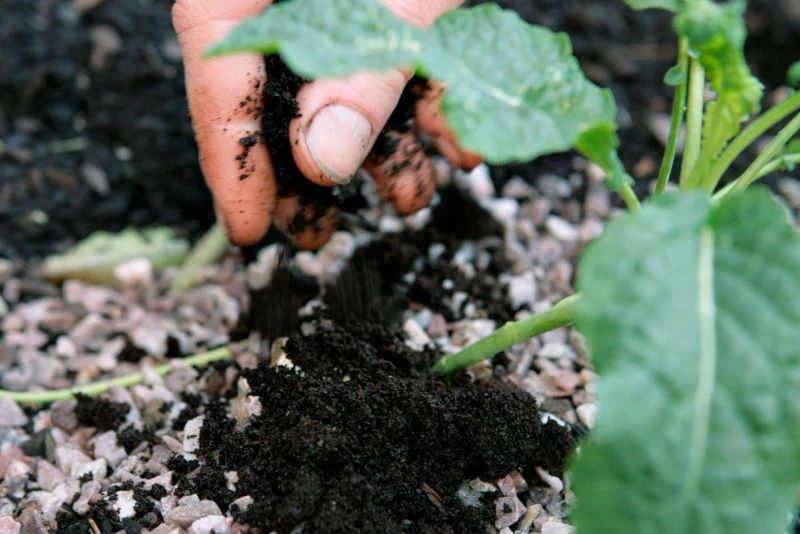
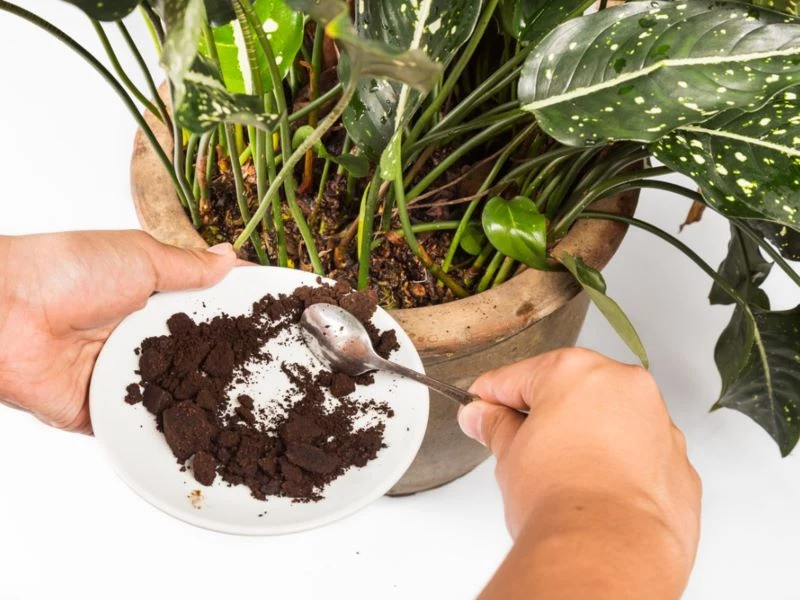
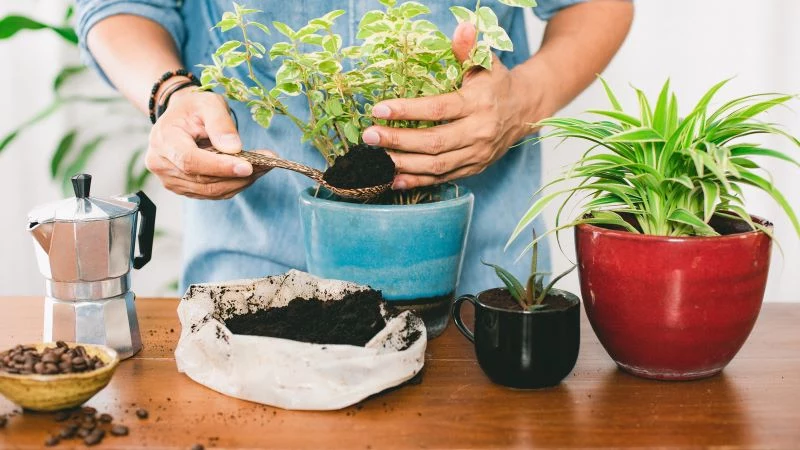
Applying Grounds Directly: A Word of Caution
I know, I know—sometimes you just want to use them right away. You can apply grounds directly to your garden soil, but you have to be careful. Do it wrong, and you can actually starve your plants of nitrogen for a while.
This is what happened to my tomatoes. When you add a material like coffee grounds to the soil, the microbes go into a feeding frenzy to break it down. To do this, they need nitrogen, and they will pull it from the surrounding soil, temporarily outcompeting your plants. This is called ‘nitrogen tie-up.’ Eventually, the nitrogen gets released back, but the short-term damage can set back your veggies and flowers.

The Safe Way to Apply Directly
If you’re going to do it, this is the way. It’s best for amending empty beds in the fall or a few weeks before you plant in the spring. I wouldn’t recommend this method for actively growing annuals.
1. Use a Thin Layer: Spread no more than a half-inch layer of used grounds. For a 100-square-foot bed (that’s about the size of a 10×10 foot plot, or two standard 4×8 foot raised beds), a single 5-gallon bucket of grounds is the absolute max.
2. Mix It In Immediately: This is the most important step. As soon as you spread the grounds, use a rake or hand cultivator to work them into the top 2-4 inches of soil. Before you mix, it will look like a dark, dusty layer on top. After you mix it in correctly, you shouldn’t really see the grounds anymore—the soil will just look darker and richer. This prevents that hard crust from forming and gets the decomposition process started right.
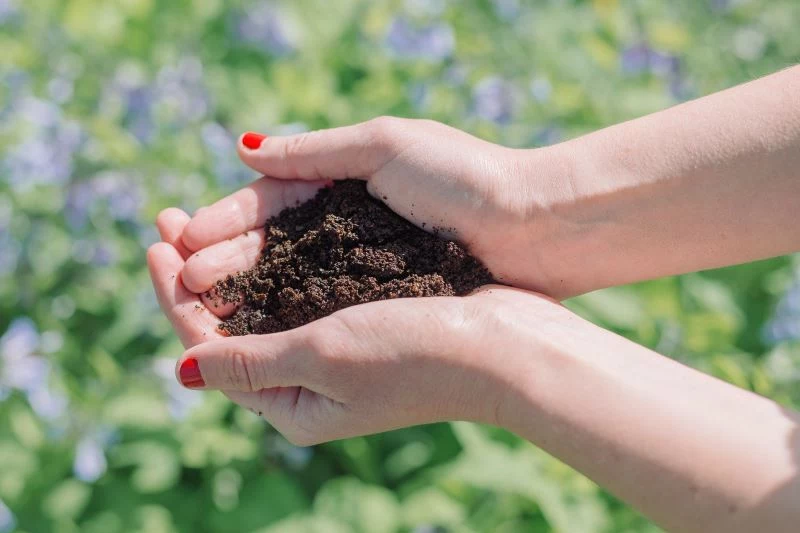
Try This Weekend: Make a “Coffee Tea” Liquid Feed
Looking for a quick and easy win? Make a liquid feed. Think of it as a gentle tonic for your plants rather than a full-blown fertilizer. It’s perfect for giving container plants a little pick-me-up.
Here’s my dead-simple recipe:
• The Shopping List: You just need a 5-gallon bucket (about $5 at any hardware store), 2 cups of used coffee grounds (free!), and some cheesecloth or old fabric for straining ($3 or less).
• The Method: Pop the 2 cups of grounds into the bucket and fill it with water. Let it steep for 24-48 hours—any longer and it can get a bit stinky. Then, strain the liquid to remove the grounds (which can go right in your compost). Dilute the resulting “tea” with an equal amount of water, and you’re ready to go!
Use this as a soil drench around the base of your plants every couple of weeks. It’s great for potted herbs and leafy greens. Just a heads up: I don’t recommend using it as a leaf spray, as wet leaves can sometimes encourage fungal diseases.
So Which Method Is Right For You?
Let’s break it down. Instead of a complicated chart, just think about your goals.
• For a long-term, powerhouse soil builder, composting is the winner, no contest. It’s the safest and most effective way to unlock all the benefits. The only downside is that it takes time and a bit of space.
• If you need to amend an empty bed before planting, direct application works… with care. It’s fast, but it carries the risk of nitrogen tie-up if you don’t mix it in well. Think of this as a pre-season soil conditioner, not a mid-season fertilizer.
• For a quick, gentle boost for container plants, the coffee “tea” is your best bet. It’s incredibly easy and provides a mild, immediate lift. It’s not a complete meal for your plants, but it’s a great supplemental snack.
A Final Word on Pests, Weeds, and Worms
You’ll see a lot of claims online about coffee grounds being a miracle pest repellent. From my experience, the results are… mixed.
• Slugs and Snails: A dry ring of grounds might deter them for a little while, but as soon as it gets damp, the barrier is gone. It’s not a reliable solution.
• Cats: This one actually works pretty well! The strong smell can deter cats from using your raised beds as a litter box. You just have to reapply a fresh layer every few days, especially after rain.
• Worms: If you have a worm bin, your worms will think you’re a hero. They love grounds. But don’t overdo it. A good rule of thumb is to never let grounds make up more than 20% of a feeding. For a standard bin, that’s about one cup of grounds mixed with four cups of other bedding and food scraps to keep things balanced.
My Final Recommendations
At the end of the day, coffee grounds are a fantastic resource, but they aren’t magic. Treat them as one awesome ingredient in your larger soil health recipe.
To put it simply, composting them is always the best idea. Using them carefully as a soil amendment is a good secondary option. And brewing them into a liquid tea is a nice little trick for your potted plants. But please, don’t rely on them to repel pests or change your soil’s pH—you’ll just be disappointed.
And if your plants are truly struggling, coffee grounds aren’t the cure. The best thing you can do is get a real soil test. You can usually get one from a local university extension office—just Google “[Your State] university extension soil test.” It typically costs between $20 and $50 and is the only way to know for sure what your garden truly needs. It’s the best money a serious gardener can spend.


