Don’t Just Build an Outdoor Bar—Build It Right.
I’ve been swinging a hammer for a long, long time, building everything from intricate cabinets to sprawling outdoor kitchens. And you know what project comes up more than any other? The backyard bar. It seems so straightforward, right? A few pieces of wood, a flat top, and you’re ready for summer. But honestly, I’ve seen so many of these projects fall apart in just a couple of years.
In this article
- First Things First: Plan for People, Not Just a Project
- Let’s Talk Materials: Your Defense Against Nature
- My Top 3 Rookie Mistakes (and How to Avoid Them)
- Choosing Your Bar’s Bones: A Pro’s Breakdown
- Building It: A Quick Tools & Materials List
- Adding Power and Water: Know When to Call a Pro
- Don’t Have Time for a Full Build? Make This Simple Bar This Weekend.
- A Final Word of Advice
- Inspirational Gallery
Why do they fail? Because they were built with indoor thinking. An outdoor bar isn’t just a piece of furniture. It’s a tiny building that has to go to war with mother nature every single day—scorching sun, pouring rain, and wild temperature swings. Wood warps, screws turn to rust, and countertops get stained and gross.
Building one that lasts is about way more than a cool design. It’s about getting the materials and construction methods right from the very beginning. So, in this guide, I’m going to walk you through the whole process, just like I would with a new apprentice. We’ll cover everything from the ground up, so you can build something you’re truly proud of—a spot for friends and family that will look great for many seasons to come.
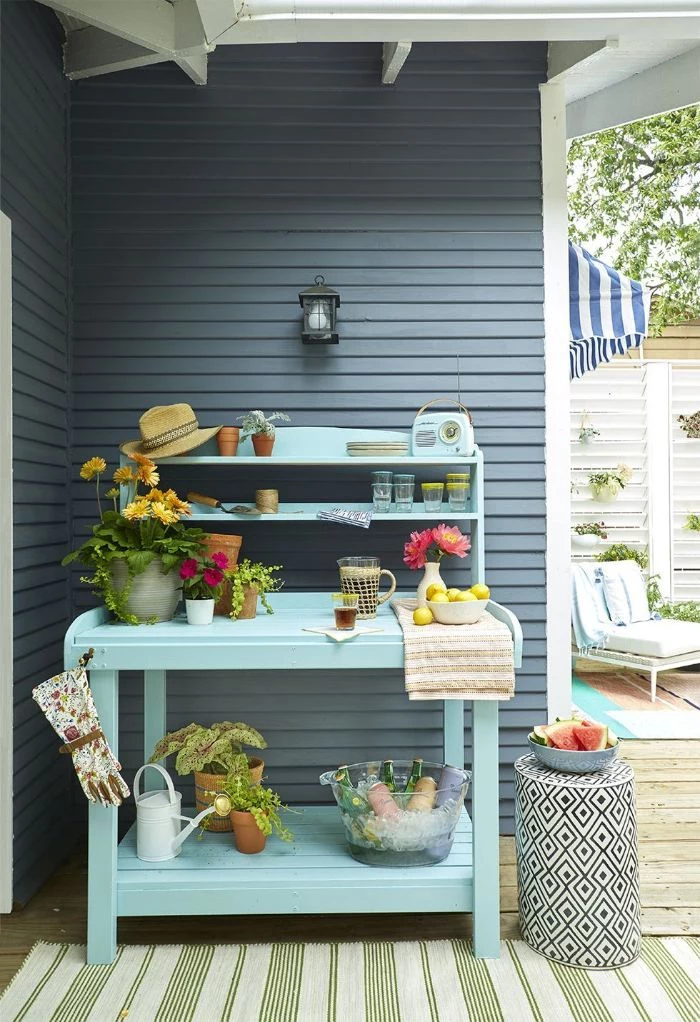
First Things First: Plan for People, Not Just a Project
Before you even think about firing up your saw, we need a solid plan. A little bit of thinking now saves a mountain of headaches (and cash) later. I always start by asking a few simple questions. Seriously, grab a notepad and think these through.
So, What’s This Bar REALLY For?
Let’s be real about how you’ll use this thing. Is it just a pretty surface to set down drinks and a bowl of chips, or is it going to be the command center for serious cocktails and cooking?
- Simple Serving Station: If you just need a place for drinks and snacks, your life is easy. You can focus on maximizing counter space and maybe some open shelving underneath. A great starting point for a simple, straight bar is about 6 feet long and 2.5 feet deep. It’s big enough to be useful without taking over your whole patio.
- Active Bartending Hub: If you’re picturing yourself mixing up fancy cocktails, you might want to plan for drop-in components. Things like an insulated ice bin or a speed rail (that metal rack for your most-used bottles) need to be planned for from the start, so you can frame the openings correctly.
- The Grill Master’s Outpost: Adding a grill or a side burner changes everything. This is a big one. You absolutely must use non-combustible materials for the countertop and the framing around the grill. You also have to think about proper ventilation and keeping a safe distance from your house.
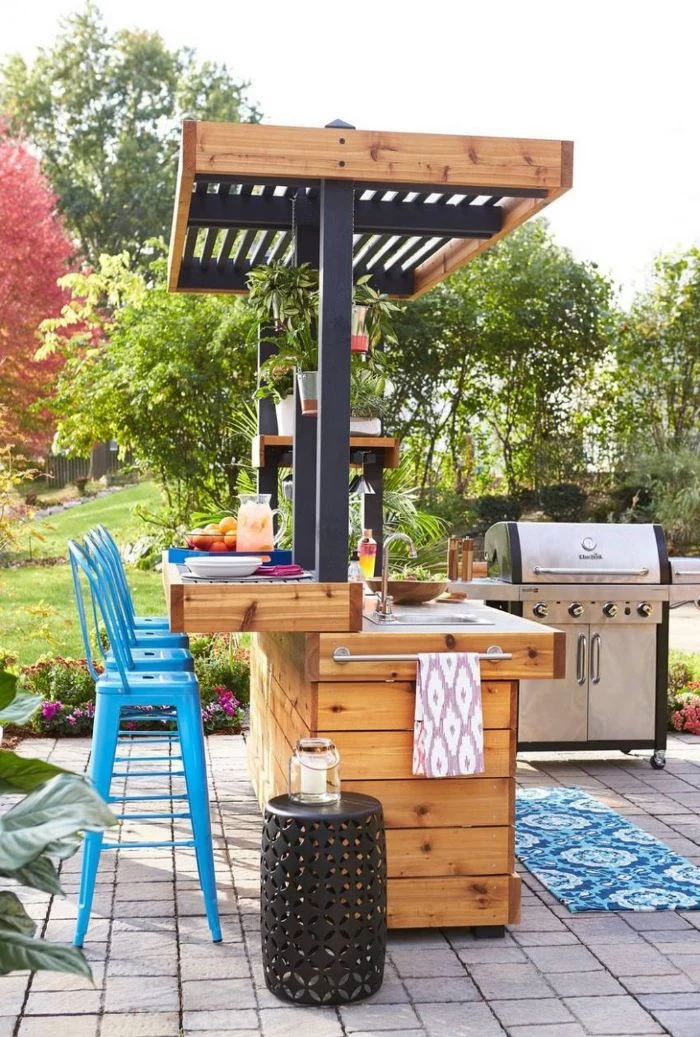
Where on Earth Should It Go?
Placement is everything. I’ve seen gorgeous, expensive bars built in the absolute worst spots, making them a pain to actually use. Take a walk around your yard and consider this stuff:
- Sun & Shade: Think about when you’ll use the bar most—probably late afternoon, right? Where is the sun at that time? Placing it in a spot that gets blasted by direct sun will bake you and your guests. Plus, UV rays are the #1 enemy of your materials.
- Wind Tunnels: Is there a spot where the wind always seems to whip through? Don’t build your bar there, unless you enjoy chasing napkins across the lawn and having grill smoke blown back in your face.
- The Commute to the Kitchen: How far are you willing to trek for more ice, a forgotten lime, or a roll of paper towels? The closer to your back door, the more you’ll actually use it. And hey, if you’re thinking about adding power or a sink, being closer to the house can slash your installation costs dramatically.
- Foot Traffic: Make sure your new bar doesn’t create a roadblock. It shouldn’t block the main path from the house to the garden or the kids’ play area.
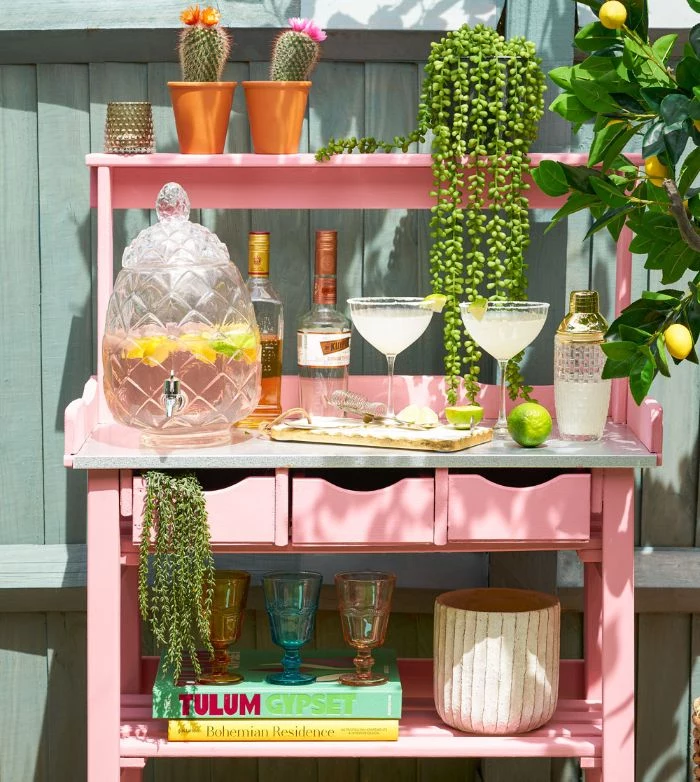
Let’s Talk Materials: Your Defense Against Nature
Okay, this is the core of building something that lasts. The big villains outdoors are moisture and ultraviolet (UV) light. Moisture rots wood and rusts metal. UV light destroys finishes and makes wood and plastics brittle. Your material choices are your primary weapons.
Using something like interior-grade plywood or untreated pine is a recipe for disaster. I guarantee it will soak up water, swell, and start rotting before the season is even over. And don’t forget the little things! Using standard zinc-plated screws is a classic rookie mistake. They’ll rust in a flash, leaving ugly black streaks on your wood and eventually failing completely. Every single piece, down to the last screw, has to be rated for the outdoors.
My Top 3 Rookie Mistakes (and How to Avoid Them)
I’ve seen these happen over and over. Let’s make sure you don’t make them, too.
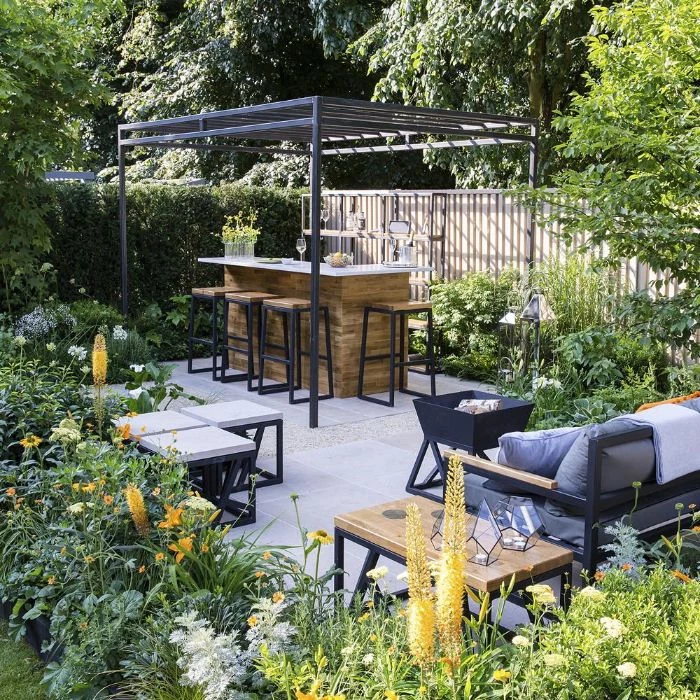
- Building Directly on Dirt or Grass. Please, don’t do this. Your beautiful bar will sink, go out of level, and the wood base will rot in no time. At the absolute minimum, you need to sit your frame on solid concrete deck blocks to keep it off the ground.
- Forgetting Countertop Thickness. This one gets everyone. You want a 42-inch high bar top, so you cut your frame to 42 inches. But then you add a 2-inch thick countertop… and suddenly your bar is 44 inches tall, which feels awkward. Always subtract your countertop’s thickness from your final desired height to get your frame height!
- Staining Wet Pressure-Treated Wood. It’s so tempting to finish the project right away, I get it. But fresh pressure-treated (PT) wood is full of water. If you try to seal it, the stain will just sit on the surface and peel off in a few months. It’s a total waste of time and money. Do the water droplet test: sprinkle a little water on the wood. If it beads up, it’s too wet. If it soaks in, you’re good to go.
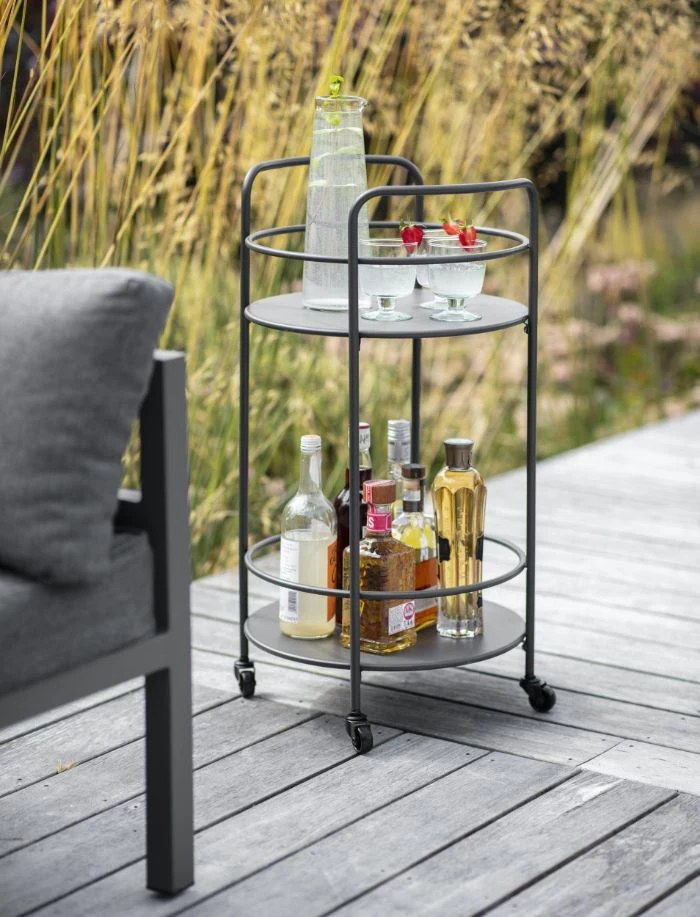
Choosing Your Bar’s Bones: A Pro’s Breakdown
Your frame and countertop choices define the look, the budget, and how long this thing will survive. Here’s the real-world rundown on the common options.
Wood for the Frame and Siding
The frame is the skeleton. It has to be tough and rot-resistant.
- Pressure-Treated (PT) Pine: This is the budget-friendly workhorse of outdoor building. An 8-foot 2×4 will run you about $8-$10. It’s chemically treated to fight off rot and bugs. The catch? It’s sold wet, so it will shrink and twist as it dries. Let the frame sit and dry out for a couple of weeks before you attach any pretty siding. And a heads-up: never use it for a surface where you’ll be prepping food.
- Cedar and Redwood: These woods are naturally beautiful and smell amazing when you cut them. They contain natural oils that resist rot. They’re also lightweight and easy to work with. The trade-off is cost. That same 8-foot board in cedar could be $25 or more. They’re also soft, so they can dent easily.
- Exotic Hardwoods (like Ipe): If you’ve got a bigger budget, this is the top-tier choice. These woods are incredibly dense and rot-resistant. The downside? They are a real pain to work with. You’ll need expensive carbide-tipped blades to cut them, and you have to pre-drill every single screw hole.
- Composite Materials: This is your low-maintenance option. Made from wood fibers and plastic, they won’t rot, warp, or give you splinters. But they can be pricey, and the dark colors get scorching hot in the sun. Some folks feel they just don’t have the charm of real wood.
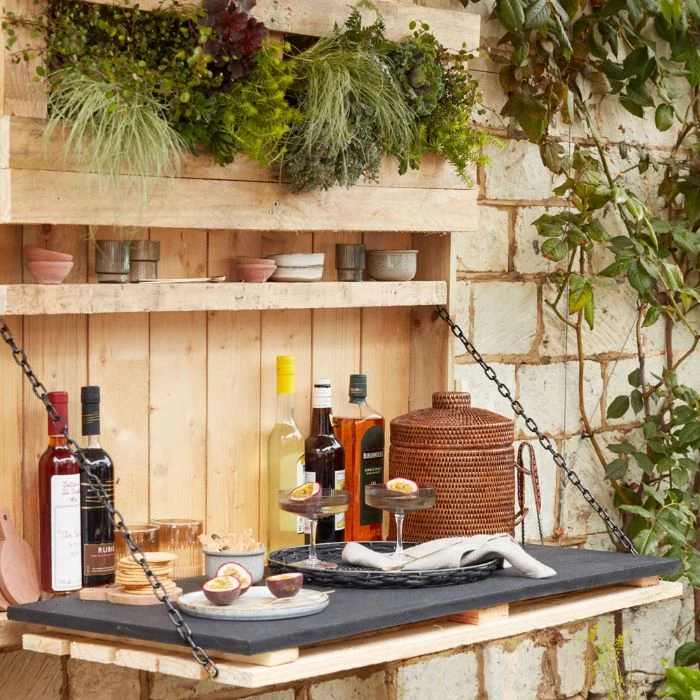
Countertop Options: Looks vs. Function vs. Budget
The countertop takes the most abuse. This is a huge decision.
A poured concrete top gives you a cool, modern look and is tough as nails. For a standard 6-foot bar, you might spend around $150-$200 on materials (concrete mix, melamine for the mold, and some rebar). It’s a fantastic DIY project, but it is HEAVY. Your frame needs to be built like a tank to support it. You’ll also need to seal it once a year to prevent stains from things like wine or lemon juice.
Granite is a classic for a reason. It’s durable, handles heat, and looks premium. But it’s not a DIY job, and it’s heavy. Having a 6-foot granite top professionally installed could easily run you $1,200-$2,000, or even more. If you go this route, choose a denser, darker stone, as lighter ones can be more porous and prone to staining outdoors.
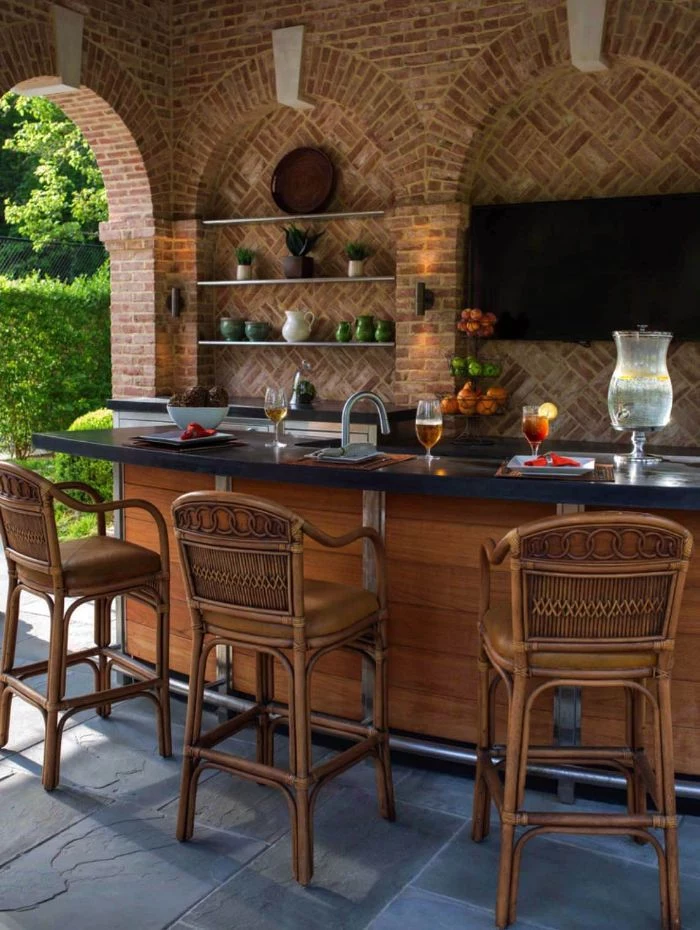
Personally, I have a real soft spot for soapstone. It has a beautiful, soft feel and develops a dark, rich patina. It’s non-porous, so it won’t stain, which is a huge plus. It is softer than granite, so it can get scratches, but you can usually just sand them out and re-oil the surface.
Then there are the ultra-compact surfaces like Dekton. These are basically indestructible. They won’t fade in the sun, they don’t stain, and you can’t scratch them. The catch? The price tag. This is a premium material that requires certified professional installation.
Building It: A Quick Tools & Materials List
Feeling overwhelmed at the hardware store? Don’t be. For a simple 6-foot bar frame using pressure-treated wood, here’s a rough shopping list to get you started:
- Lumber: About ten 8-foot pressure-treated 2x4s should be enough for the frame.
- Fasteners: A 1-pound box of 3-inch ceramic-coated or stainless steel deck screws. Don’t cheap out here—these are what hold it all together and prevent rust stains.
- Tools: A good circular saw or miter saw, a power drill, a 4-foot level, a speed square, and a tape measure.
- Safety Gear: Always wear safety glasses and a dust mask, especially when cutting treated wood.
As for time, if you’re handy, you could probably get the frame for a simple bar built in a solid weekend. Finishing, cladding, and countertop work will add another weekend or two. Just be realistic and don’t rush it.
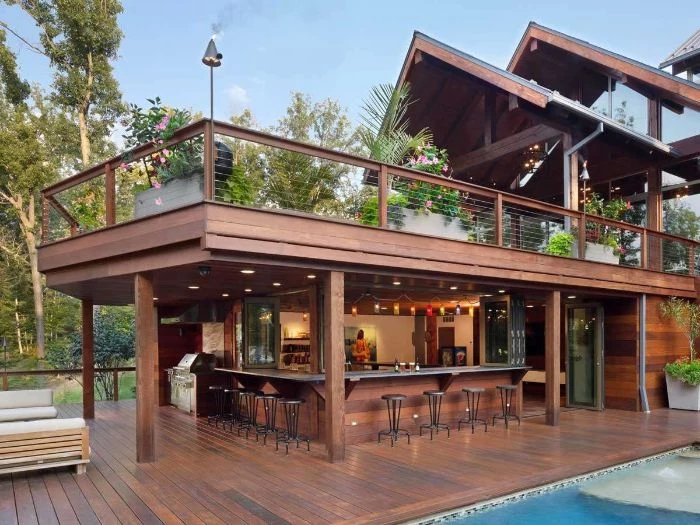
Adding Power and Water: Know When to Call a Pro
Okay, this is where I get serious. Adding a sink or some outlets can make your bar incredible, but this is NOT the place to DIY if you’re not qualified. I’m a carpenter. I can build the structure, but for the final hookups, you need to hire licensed electricians and plumbers. It’s about safety, and it’s the law.
I’ll never forget this one job I visited. The homeowner had just run a standard orange extension cord from his garage and zip-tied an indoor power strip to the leg of the bar. It’s a miracle he didn’t start a fire or worse. Any outdoor outlet MUST be a GFCI (Ground Fault Circuit Interrupter) installed by a pro. It’s non-negotiable.
Same goes for plumbing. In cold climates, you need a proper way to shut off and drain the water lines for winter. A forgotten pipe full of water will freeze, burst, and cause a massive headache in the spring.
Don’t Have Time for a Full Build? Make This Simple Bar This Weekend.
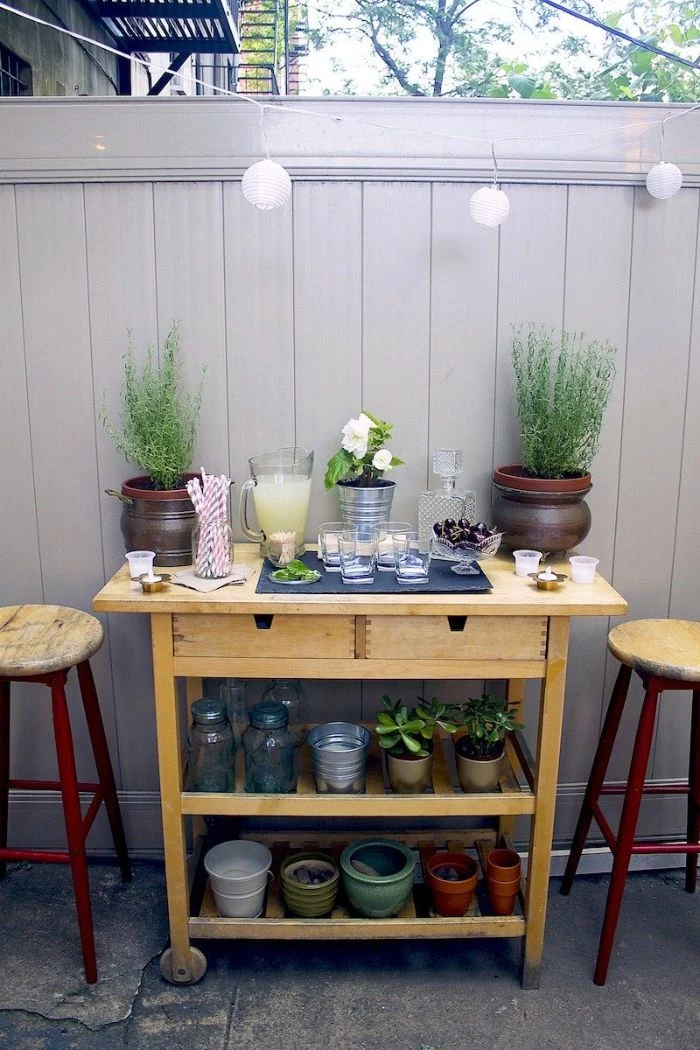
Feeling inspired but short on time? You can still get in on the action. For a super-fast and easy serving station, go grab four concrete deck blocks, four 8-foot 4×4 posts, and a few 6-foot deck boards.
Set the deck blocks on level ground to form a rectangle. Cut your 4×4 posts to bar height (around 40 inches, so the top will be about 42 inches). Set the posts in the blocks, check for level, and then screw your deck boards across the top. Done. It’s not a fancy built-in, but it’s a solid, usable bar you can put together in a couple of hours.
A Final Word of Advice
Building an outdoor bar is one of the most rewarding projects you can tackle. It instantly becomes the heart of your backyard. Just remember to take your time with the planning. Spend a little extra on the right materials—it will pay you back tenfold in longevity. And please, be smart and safe when it comes to utilities.
Build it right, and you won’t just have a bar for a summer. You’ll have a piece of craftsmanship that your family and friends will enjoy for years and years.
Inspirational Gallery
The Countertop Conundrum: While beautiful indoors, quartz is not always the best choice for a fully exposed outdoor bar. The resins that bind the quartz can yellow and degrade under direct, intense UV light. For a truly bulletproof surface, look to materials like sintered stone (brands like Dekton or Neolith) or natural granite, which are specifically engineered to withstand sun, frost, and thermal shock without fading.
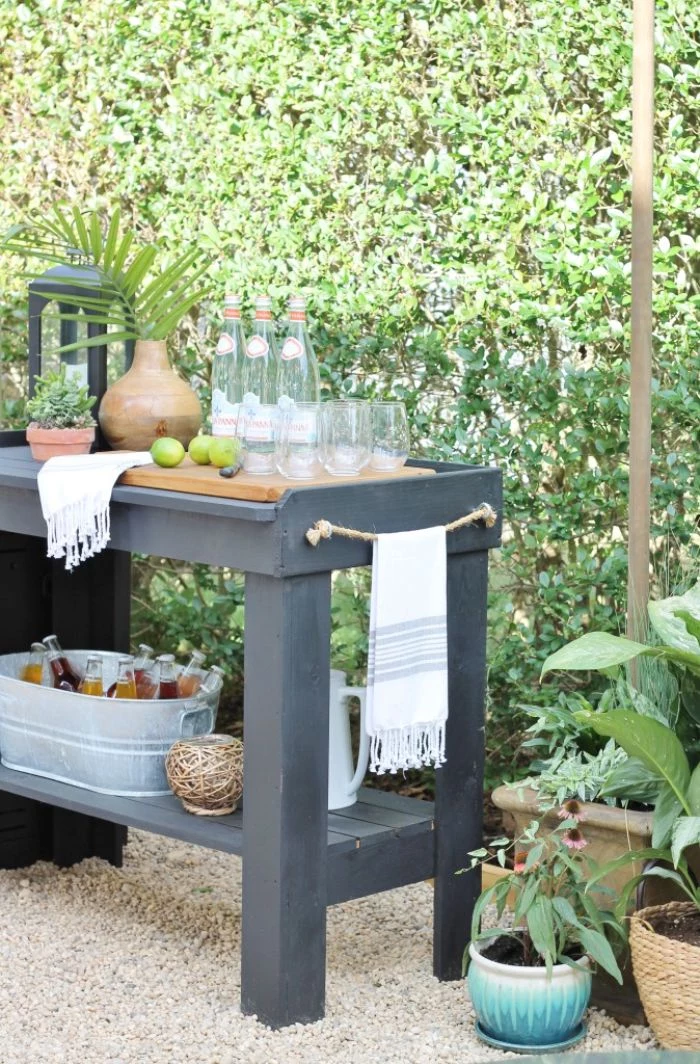
- Keep your most-used spirits within easy reach with a stainless steel speed rail.
- Incorporate a drop-in ice chest for a truly professional feel.
- Plan for a small, concealed trash bin with a hinged door.
- Add a built-in bottle opener and cap catcher right on the bar frame.
The secret? These small, integrated details transform a simple counter into a functional and impressive bartending station.
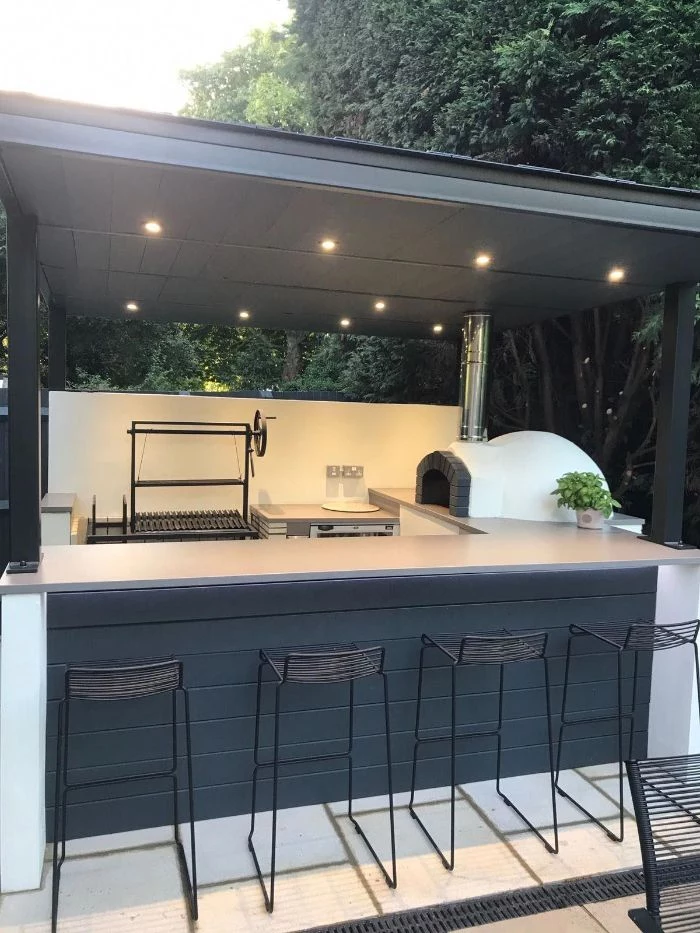
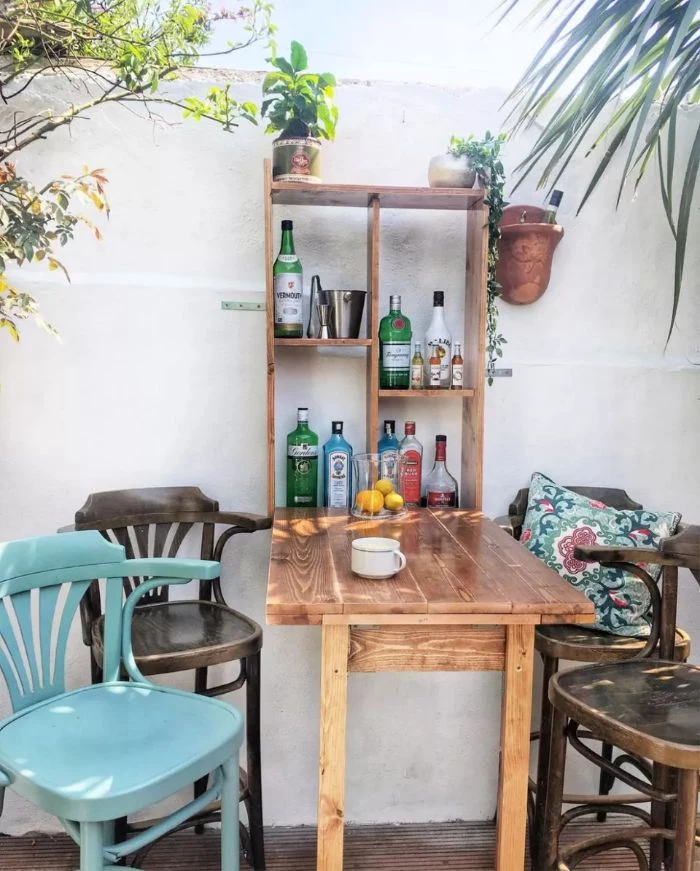
The standard bar height is 42 inches from the floor to the top of the counter. This accommodates most commercial bar stools, which typically have a seat height of 30 inches.
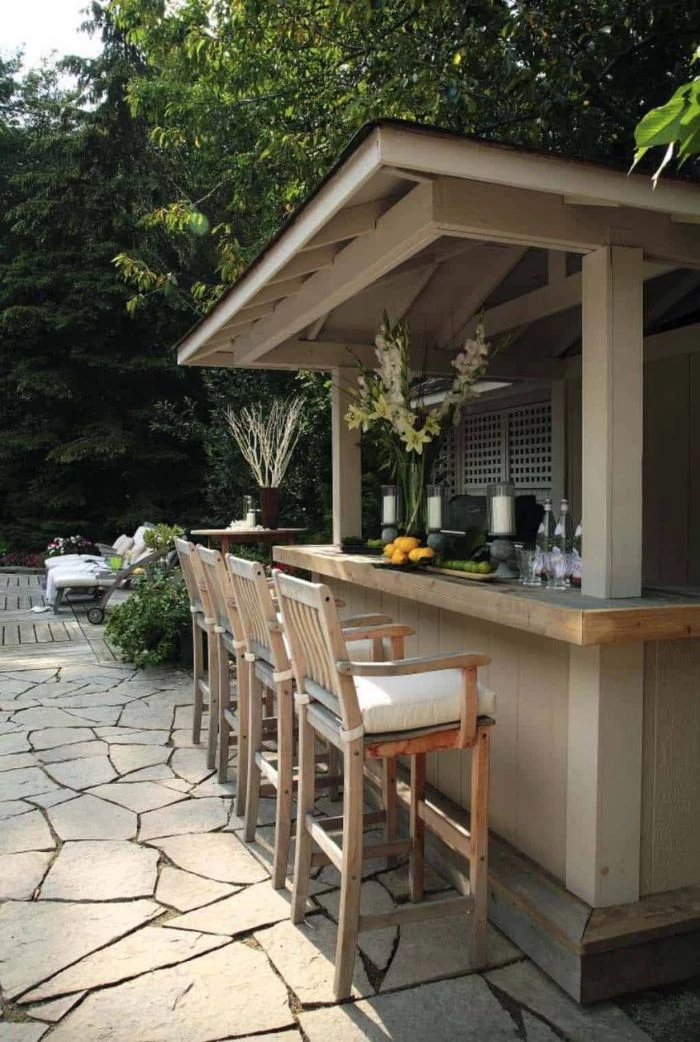
Don’t just think about the bar; think about the lighting that brings it to life after sunset. Low-voltage landscape lighting is your best friend here. Consider using LED strip lighting tucked under the countertop lip for a dramatic, floating effect. A couple of discreet directional spotlights can highlight the back bar shelving, while well-placed path lights ensure safe passage for your guests.
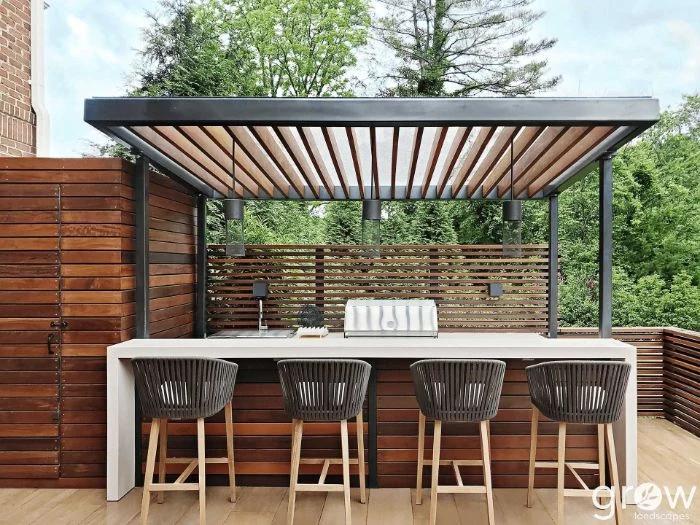
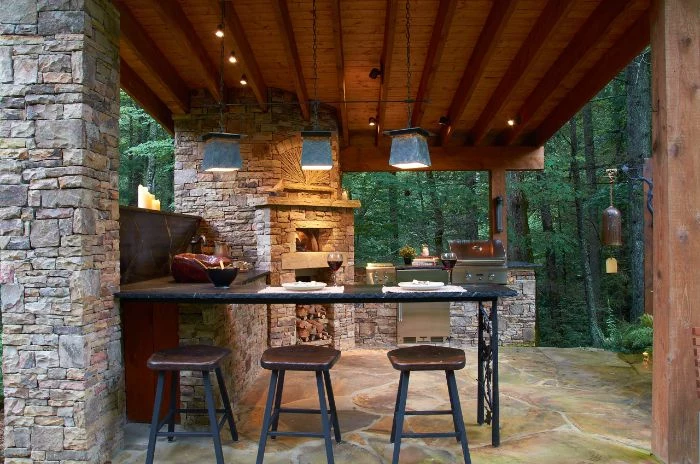
Do I really need an outdoor-rated refrigerator?
Absolutely. An indoor mini-fridge will work overtime and struggle to maintain a cool temperature on a hot day, leading to a short lifespan and lukewarm drinks. True outdoor refrigerators, like those from U-Line or Perlick, are built with beefier compressors, better insulation, and weather-resistant components (like stainless steel) to handle temperature swings and humidity with ease.
For the ultimate rustic or industrial vibe, consider a poured-in-place concrete countertop. You can customize the color, thickness, and even embed unique objects like bottle caps or stones. Just remember, proper sealing is non-negotiable to prevent staining from acidic spills like citrus juice or wine. A food-safe sealer like Tuff-Duck or a high-quality tung oil finish is essential.
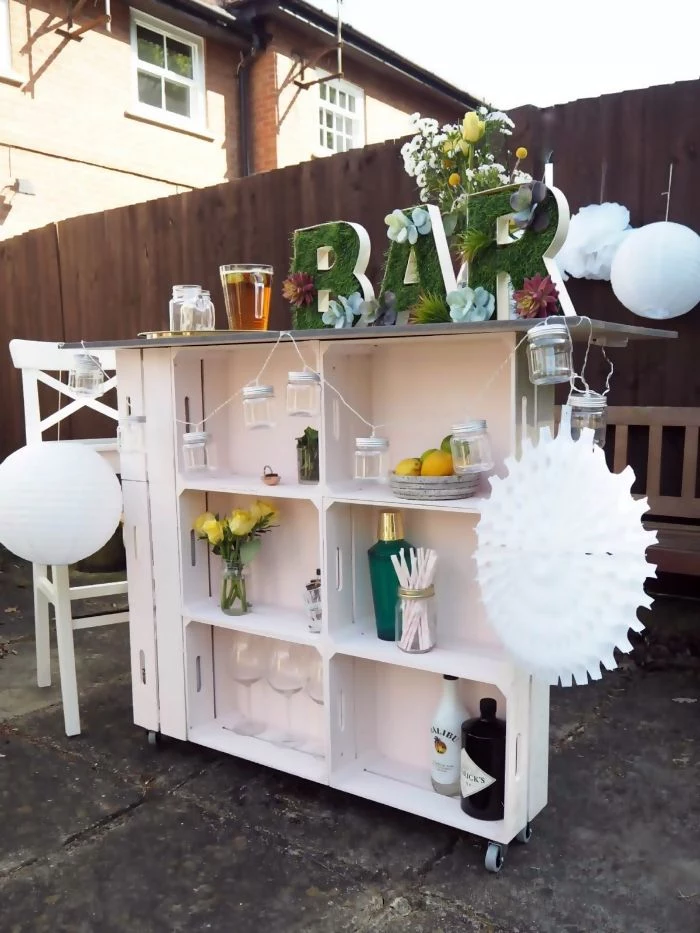
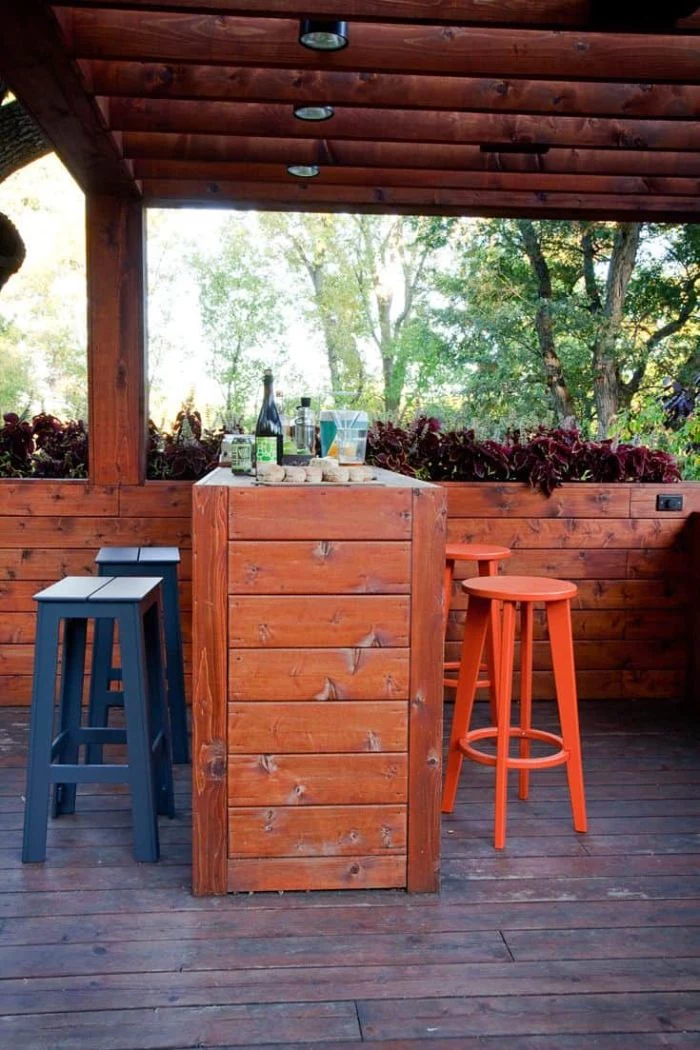
Pressure-Treated Lumber: The budget-friendly workhorse. It’s resistant to rot and insects but can be prone to warping if not properly sealed and maintained.
Steel Framing: Systems like those from Fortress or Trex offer perfect dimensional stability—no warping or twisting. It’s a higher initial cost but offers incredible longevity and is non-combustible, a key benefit if a grill is nearby.
For fire-prone areas or for ultimate durability, steel framing is the superior choice.
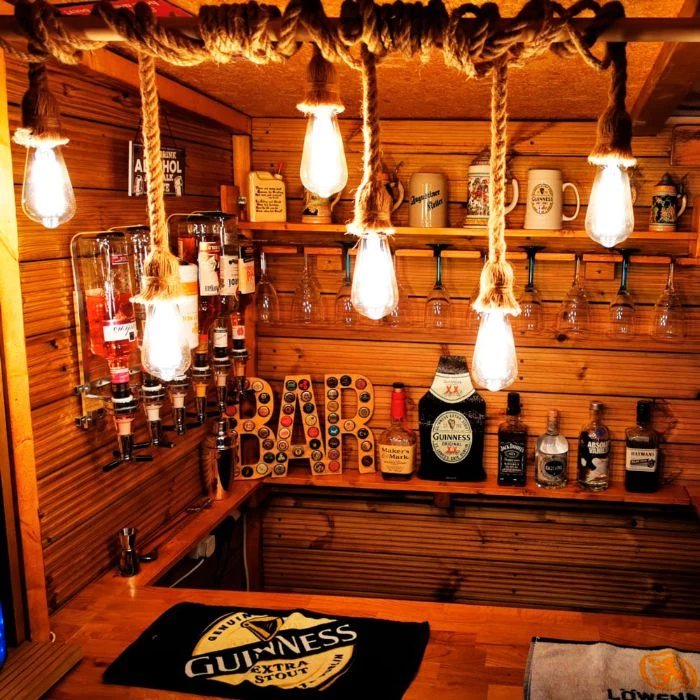
According to the National Association of Home Builders, an outdoor kitchen can add up to a 71% return on investment, making a well-built bar more than just a lifestyle upgrade.
This means that using quality materials and thoughtful construction isn’t just about making it last; it’s a genuine investment in your home’s value. When potential buyers see a durable, professional-looking outdoor bar, they see a valuable extension of the living space, not a future problem to tear down.
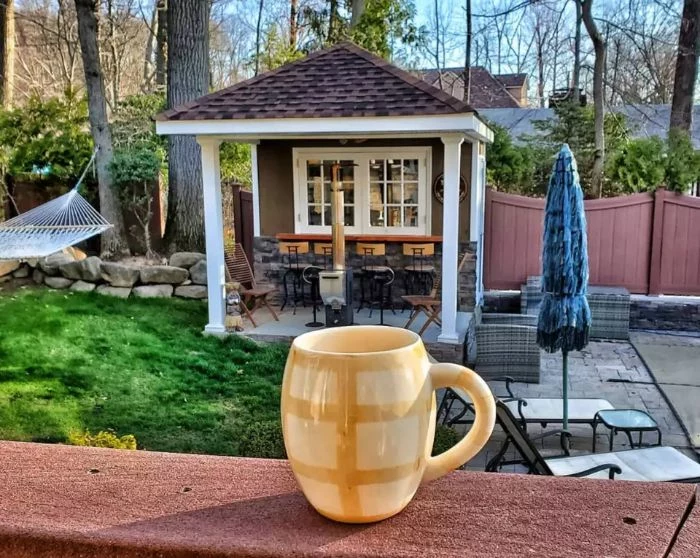
A comfortable guest is a happy guest. A simple but transformative addition to your bar design is a foot rail. Typically made from brass, stainless steel, or black iron pipe, it should be mounted 6 to 10 inches off the ground. This small detail provides crucial ergonomic support, encouraging friends to linger longer.
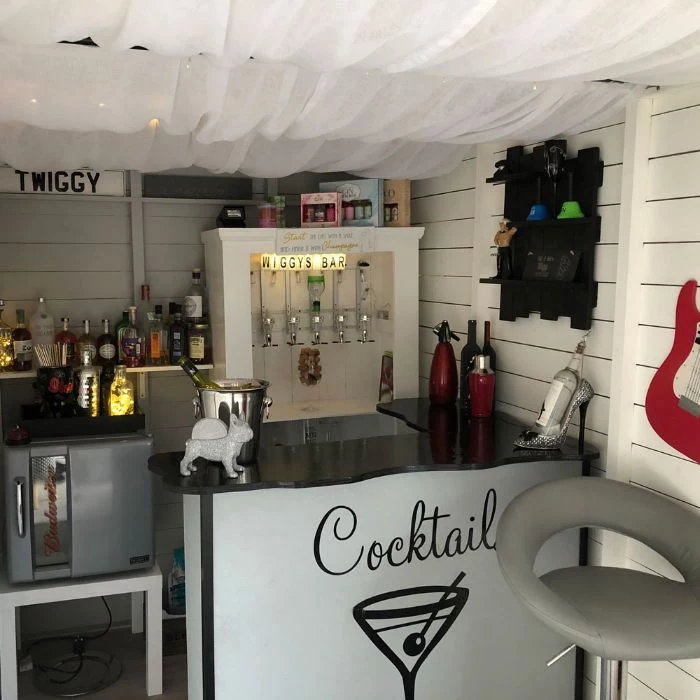
- Cedar is naturally resistant to rot and insects.
- It has a rich, warm color that greys beautifully over time if left untreated.
- It’s relatively lightweight, making it easier to work with than dense hardwoods.
The secret? For a classic, durable, and aromatic bar frame, Western Red Cedar is an outstanding choice that balances cost and performance.
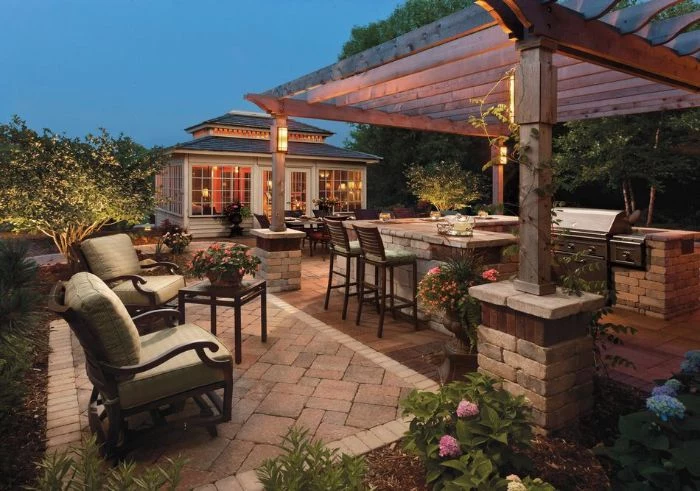
Think about your bar’s relationship with the rest of your yard. Does it complement your patio material? Does it frame a nice view, or does it block it? A great trick is to use materials that echo your home’s exterior—match the stone veneer to your foundation or the wood stain to your deck for a seamless, intentional look.
What’s the best wood for a bar that will face harsh weather?
For a truly long-lasting structure, tropical hardwoods like Ipe or Teak are the gold standard. They are incredibly dense, naturally resistant to rot and insects, and have a Class A fire rating, similar to concrete. The downside is the cost and the difficulty in working with them—pre-drilling is a must. However, an Ipe bar can easily last for decades with minimal maintenance.
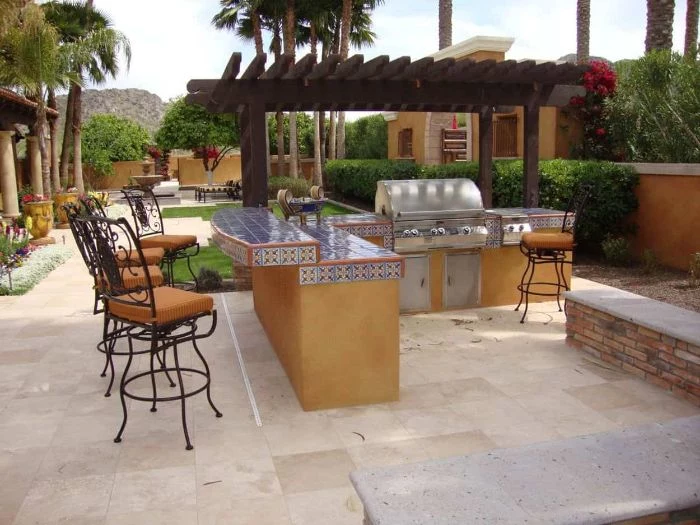
Did you know? Stainless steel isn’t all the same. For outdoor use, you must use 304-grade stainless steel for all hardware—screws, hinges, and handles. It contains chromium and nickel, which provide superior corrosion and rust resistance compared to cheaper grades.
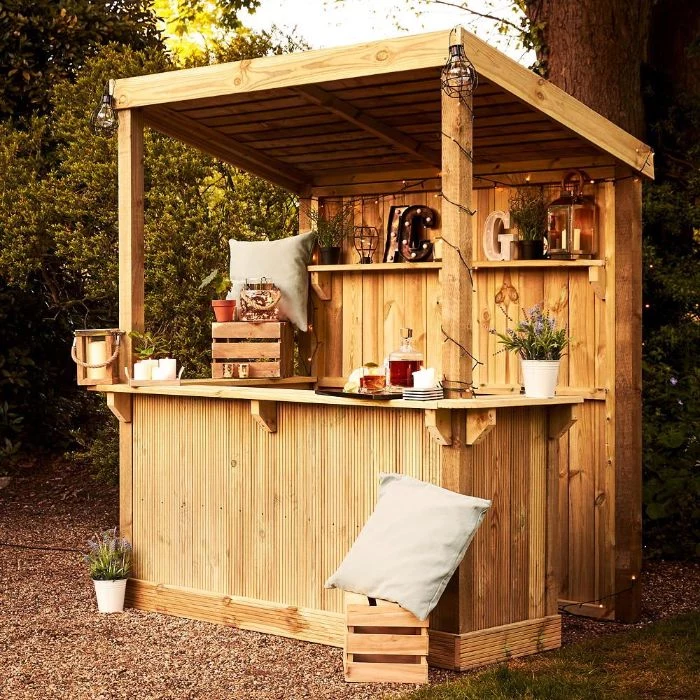
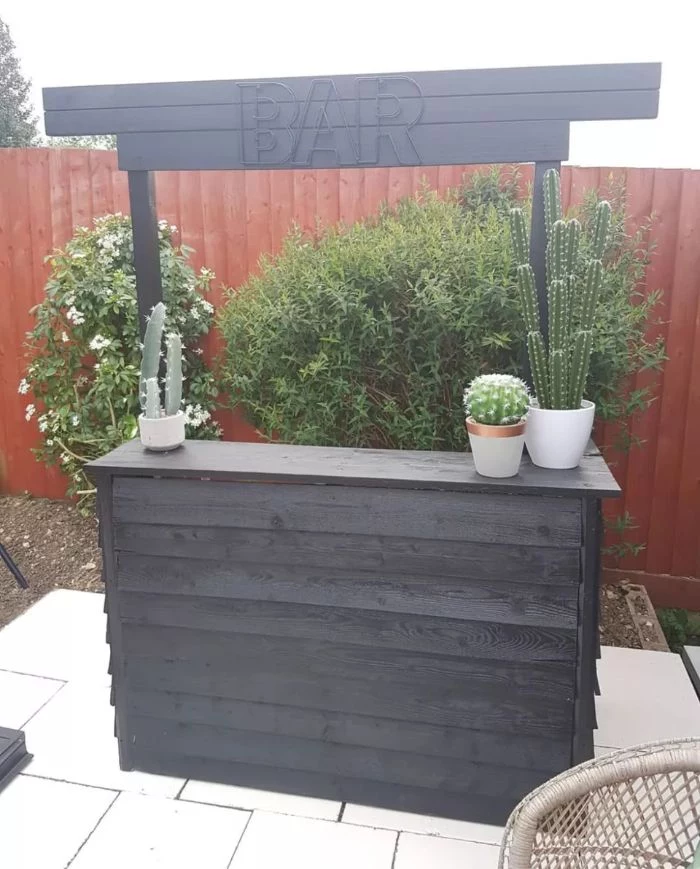
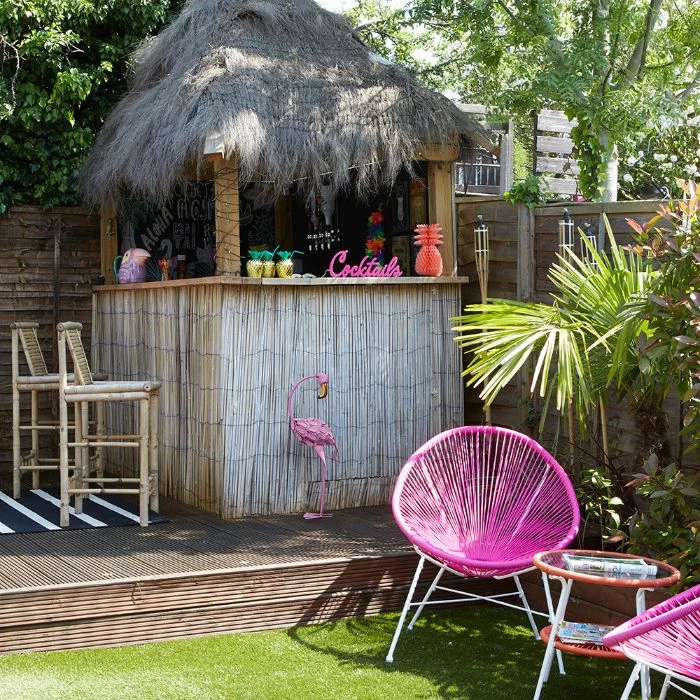
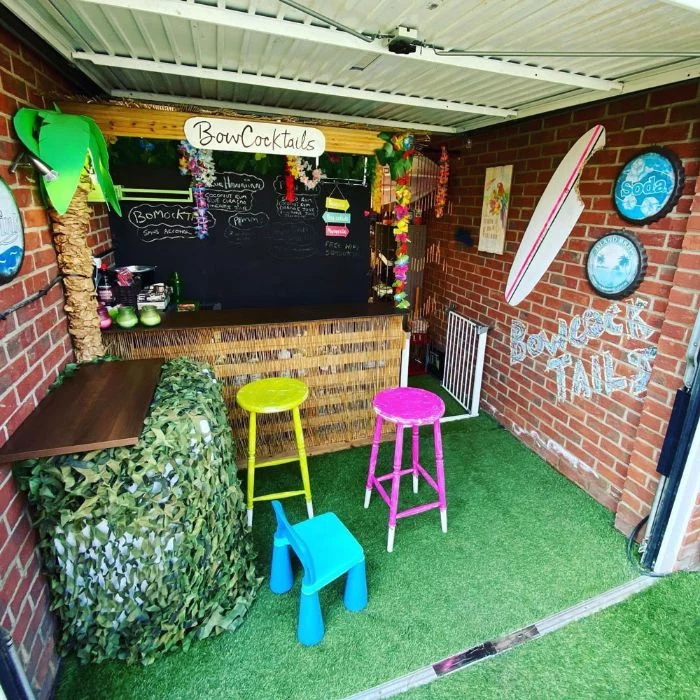
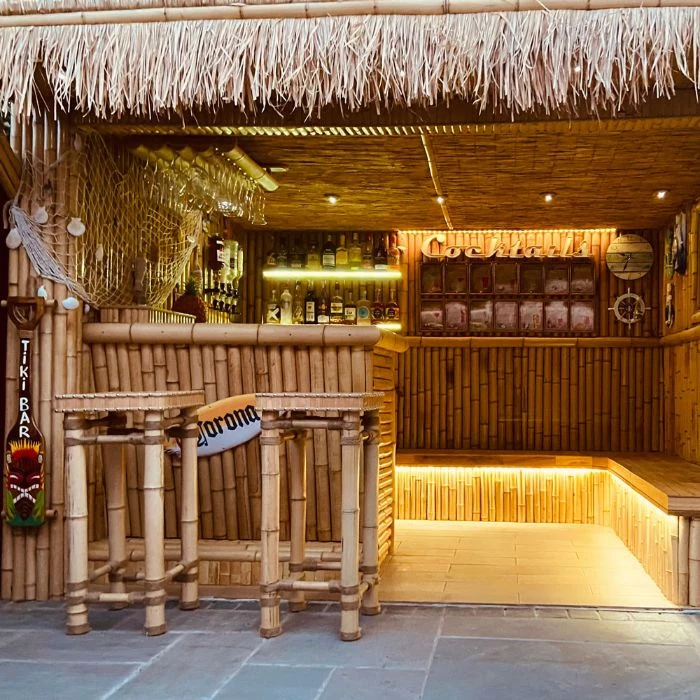
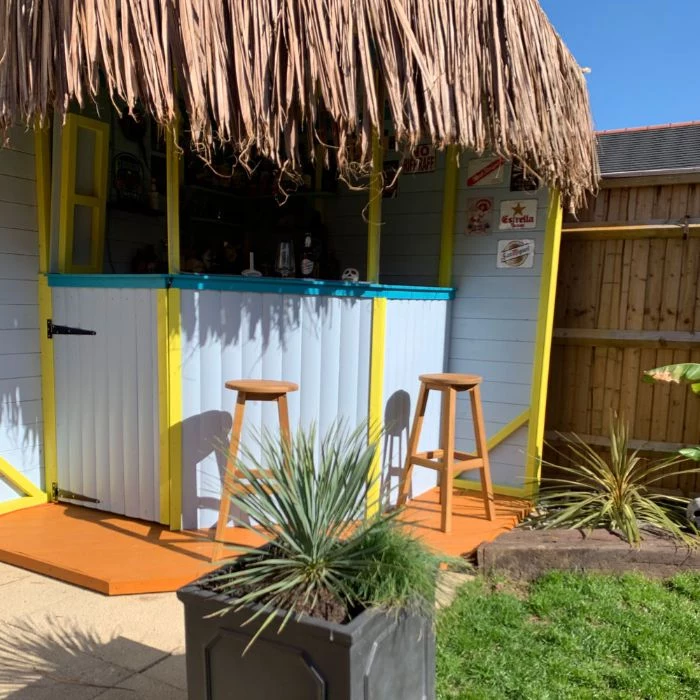
Create a transportable tiki paradise. Instead of a permanent structure, build your bar onto a heavy-duty rolling cart. Use bamboo cladding for the sides, a thatched mini-roof for shade, and stock it with rum, tropical juices, and fun glassware. You can roll it out for parties and store it in the garage during winter.
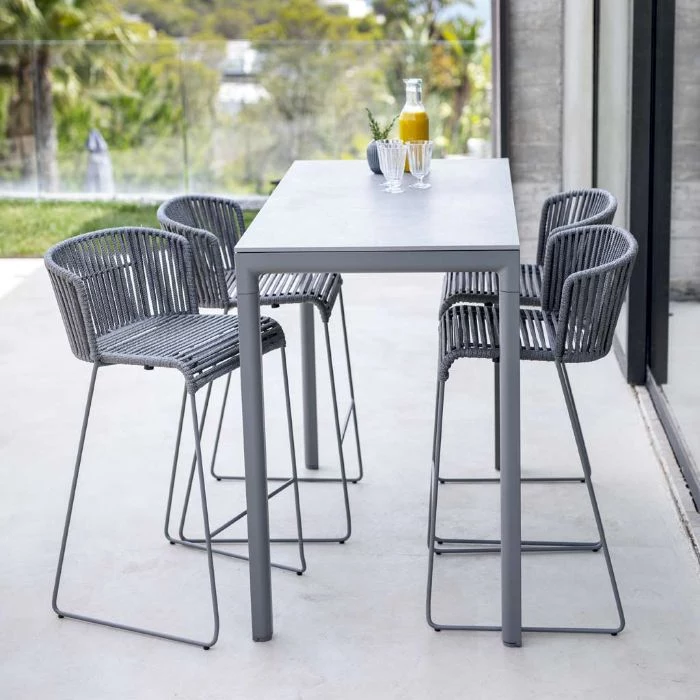
Winter is Coming: A Quick Checklist
- Empty and clean any outdoor refrigerators, then turn them off at the breaker.
- If you have a sink, shut off the water supply and drain the lines completely to prevent pipes from freezing and bursting.
- Cover the entire bar structure with a heavy-duty, waterproof tarp, securing it tightly against wind.
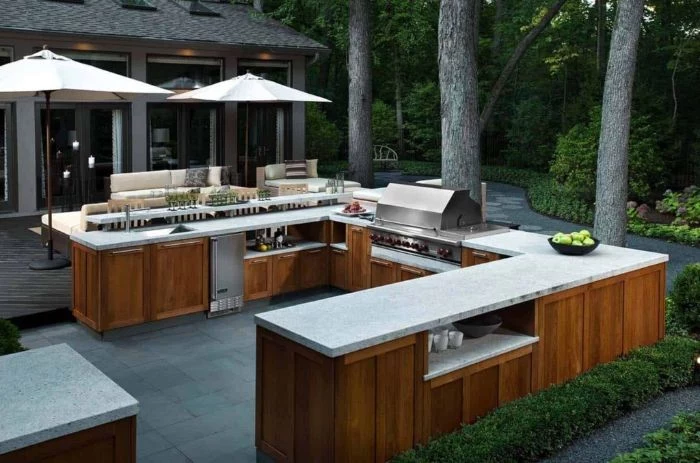
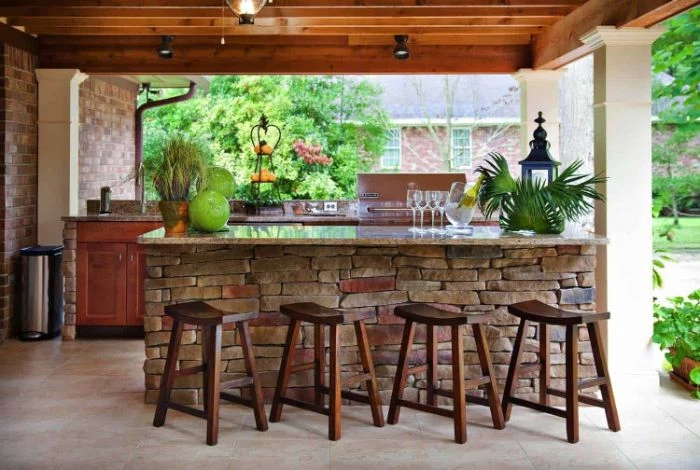
A common mistake: Forgetting about power. If you dream of running a blender, charging phones, or adding lighting, you need electricity. Plan for at least one GFCI (Ground Fault Circuit Interrupter) protected outdoor outlet to be installed by a licensed electrician. Integrating it into the bar structure itself is far cleaner than running extension cords across the patio.
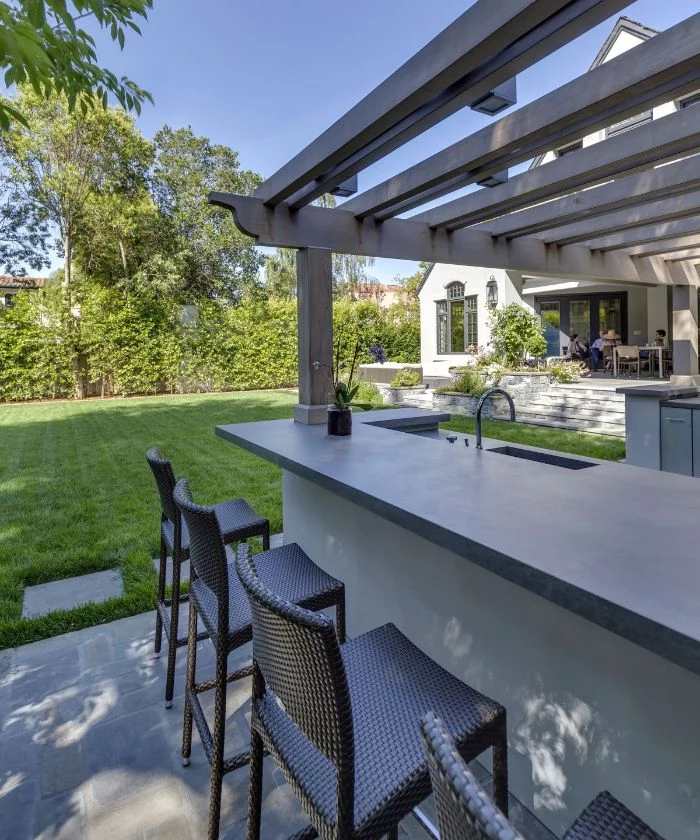
Epoxy Flood Coat: Often used for indoor bar tops, it creates a super glossy, thick finish. However, most standard epoxies have poor UV resistance and will yellow and become brittle in direct sunlight.
Marine Spar Varnish: This is the time-tested solution for wood outdoors. Products like Epifanes or Pettit Captain’s Varnish contain UV blockers and flexible oils that allow the wood to expand and contract with temperature changes without cracking the finish.
For any wood top exposed to the elements, marine varnish is the far safer bet.
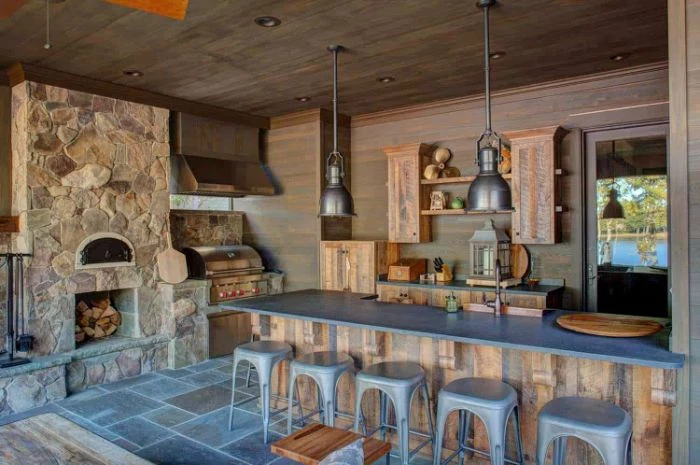
The average American spends 7 hours per week outdoors for leisure. A well-designed bar can turn that time into a high-quality social experience.
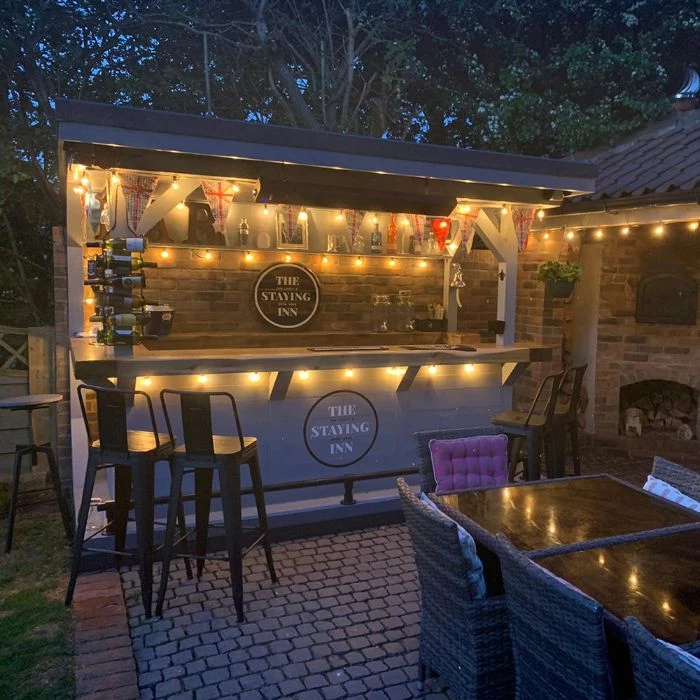
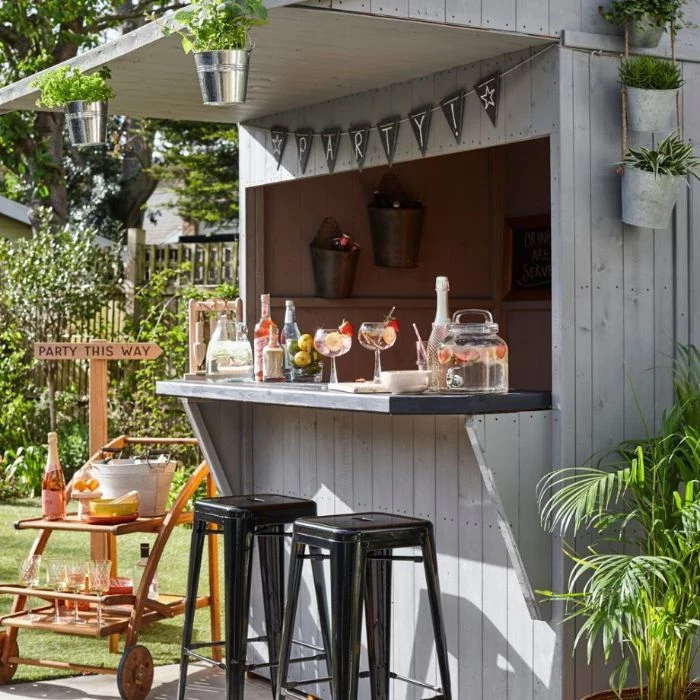
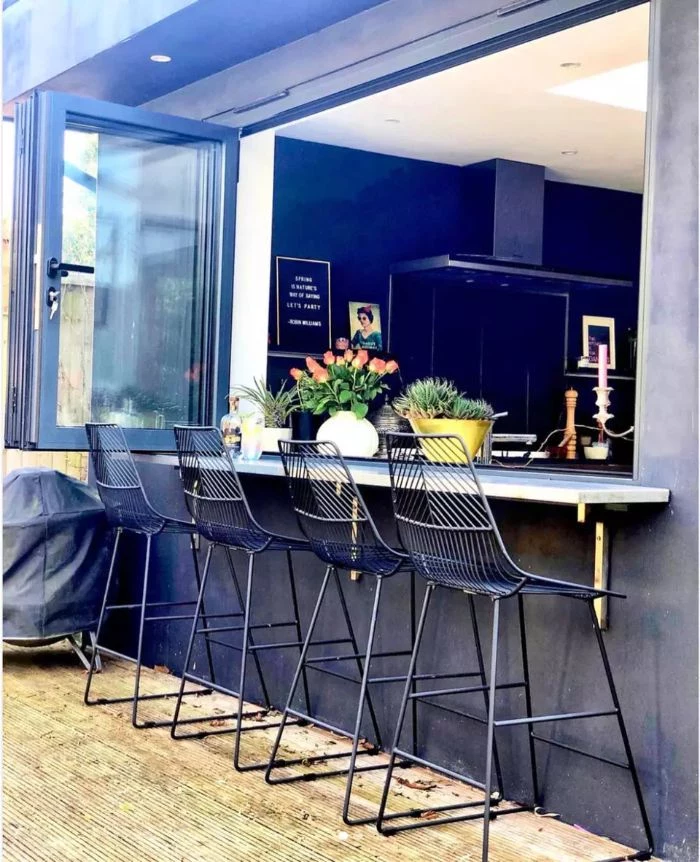
Your bar stools are more than just seats; they’re a key design element. For a modern look, consider sleek, backless aluminum stools from a brand like Article. For a more traditional or coastal vibe, look for all-weather wicker or teak stools from Frontgate or Pottery Barn. Always check the materials—powder-coated aluminum and resin wicker are built to last outside.
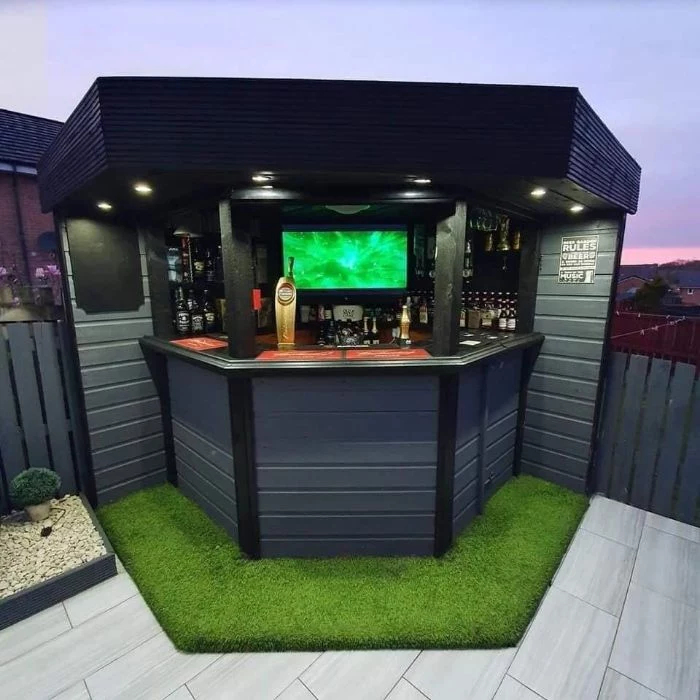
How do I create a living wall on my bar?
Integrate a vertical planter system into the back wall of your bar. These are available as modular panels or fabric pockets. Plant a mix of trailing plants like string of pearls, edibles like mint and basil for cocktails, and colorful flowers like calibrachoa. It adds a vibrant, green backdrop and puts fresh garnishes right at your fingertips.
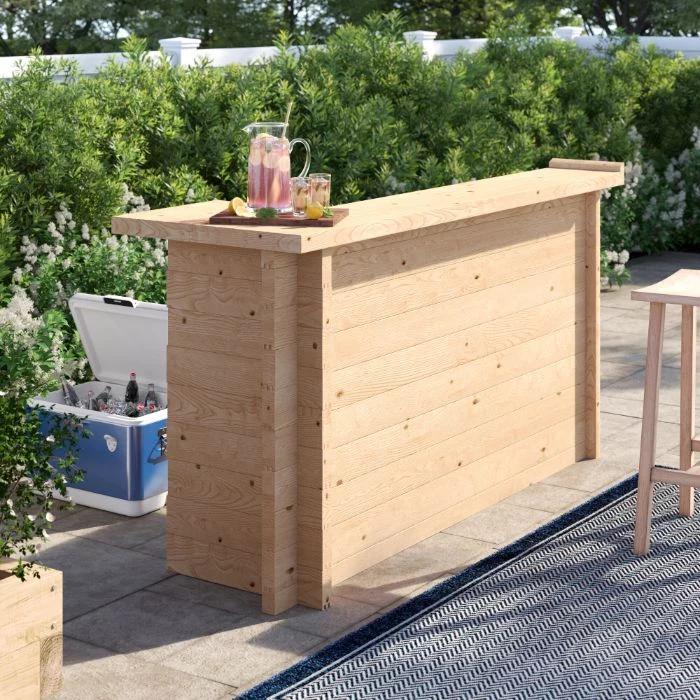
Important point: The most beautiful bar will fail if it’s not built on a solid, level foundation. Whether it’s a concrete slab or a deck, ensure the base is perfectly level and can support the weight of the structure, countertops, and appliances. Use a long level and shims during construction—don’t just eyeball it!
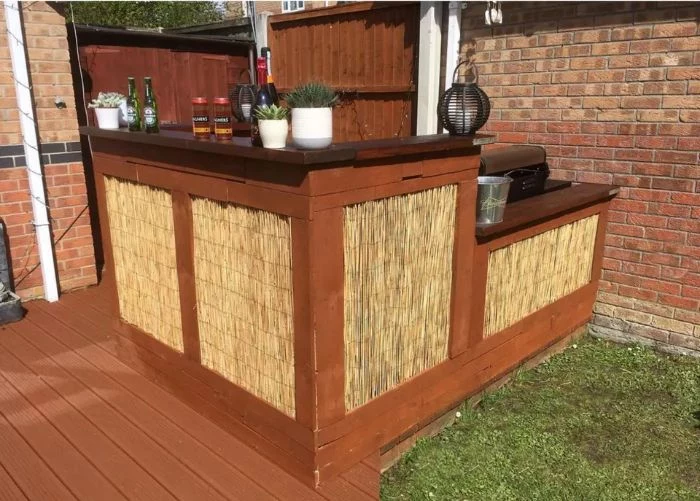
Upcycle with style. An old, solid wood door can be sanded, sealed with marine varnish, and laid across two sturdy barrels or a custom-built frame for a unique, character-filled bar top. The history is built right in!
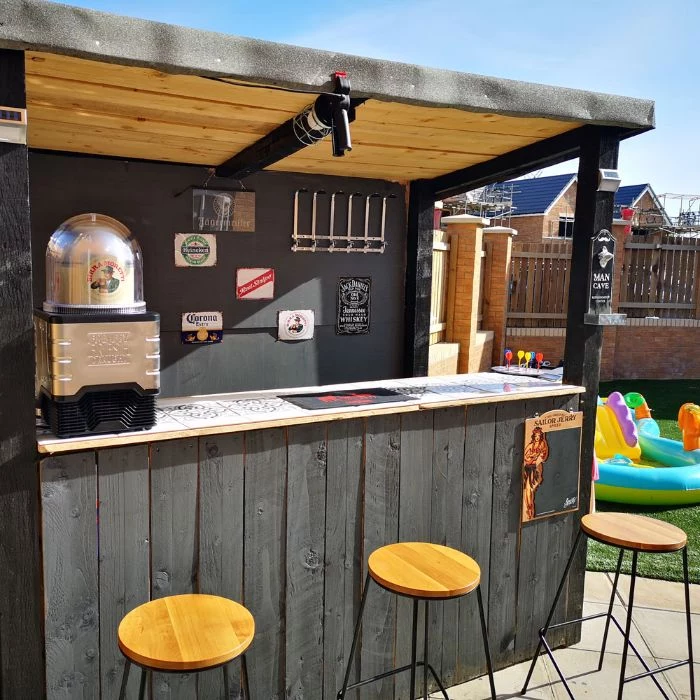
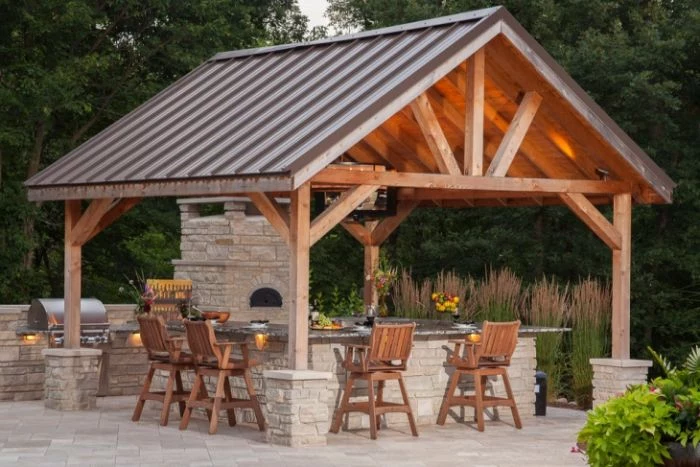
- Creates a stunning, continuous look with no grout lines.
- Can be formed into any shape or thickness.
- Stands up to extreme heat, cold, and UV rays without fading.
The secret? Sintered stone, like Dekton. It’s a high-tech blend of natural materials fused under immense pressure, making it one of the most durable and versatile countertop options for the outdoors.
Give your bar a voice. Integrate a discreet outdoor-rated Bluetooth speaker, like the Sonos Move or a pair of Polk Audio Atrium speakers, into your design. Plan a small, sheltered nook for it or build it right into the shelving. It’s the perfect way to set the mood without cluttering up your countertop.
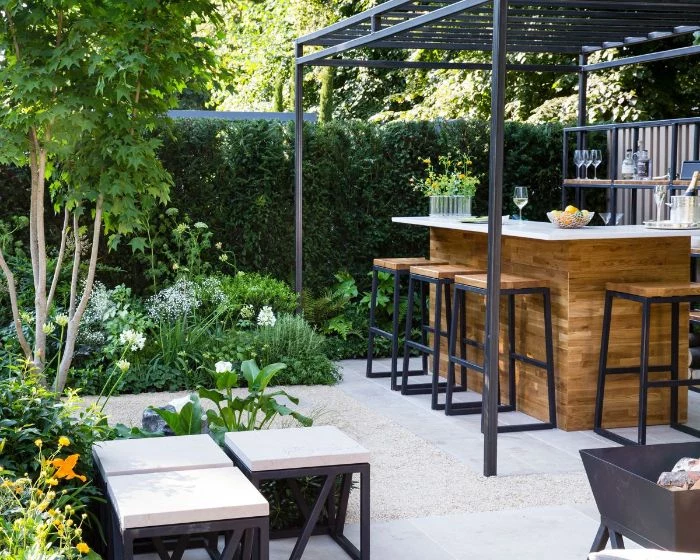
Don’t underestimate the power of cladding. Covering a simple pressure-treated wood frame with a more decorative material elevates the entire project. Options range from affordable corrugated metal panels for an industrial look, to thin stone veneer for a rustic feel, or horizontal ipe slats for a high-end modern aesthetic.


