Forget the Box: A Real-Deal Guide to Making Fresh Pasta at Home
I’ve spent a huge part of my life with flour, water, and eggs. It all started in a bustling little trattoria kitchen where I learned from a chef who treated his pasta board like a sacred space. He was the one who taught me that fresh pasta isn’t just a meal; it’s a feeling. It’s that subtle, rough texture on a hand-cut noodle that just grabs the sauce, or the delicate chew of a raviolo that pops with flavor. Look, store-bought pasta is fine, but making your own… that’s how you really connect with the heart of rustic cooking. It demands a bit of patience, sure, but the payoff is absolutely incredible.
In this article
This guide isn’t about getting bogged down in fussy, overly complex recipes. It’s about the core fundamentals I picked up through years of trial and error. We’ll walk through the dough, the shaping, and a few simple sauces that let your amazing pasta be the star of the show. The goal here is to help you understand what’s happening at every step, so you can learn to feel the dough and know what it needs, just like a baker knows their bread.
What’s Actually Happening in That Dough?
Honestly, understanding the ‘why’ behind the process makes you a much better cook. Pasta dough seems so basic—and it is—but getting it right every single time comes from knowing what’s going on with your ingredients.
Flour: The Heart of Your Pasta
Your choice of flour is the single most important decision you’ll make. The main difference between them is protein content, which forms gluten when mixed with water and kneaded. Gluten is what gives pasta its structure and that signature, satisfying chew.
Here’s a quick rundown of the usual suspects:
- ’00’ Flour: This is the classic choice for rich egg pastas. It’s ground incredibly fine, which creates a silky, tender noodle that feels luxurious. Don’t get too hung up on the name; ’00’ refers to how fine it is, not its protein level. I always reach for this when I’m making delicate filled pastas like ravioli or long, elegant noodles.
- All-Purpose (AP) Flour: You can absolutely make fantastic pasta with regular AP flour! Its protein content is pretty similar to ’00’. The final noodle might be a tiny bit less delicate, but with good technique, nobody will know the difference. Don’t let a lack of fancy flour stop you from trying this.
- Semolina Flour: This is a coarse, golden flour made from hard durum wheat. It’s the traditional pick for the eggless pastas you find in Southern Italy. Its high protein content gives the pasta a much firmer, more rugged texture that can handle a hearty sauce. The dough feels almost sandy at first because it absorbs water differently.
By the way, a little mixing and matching can be a game-changer. For a noodle with a little more oomph, I sometimes swap out about a quarter of my ’00’ flour for semolina. It gives me that perfect sweet spot between tenderness and a sturdy bite.
A quick heads up: Using a cheap kitchen scale is the fastest way to level up your pasta game. Flour gets packed down in measuring cups, so volume is always a guess, but weight is always exact. A simple $15 scale from Amazon or Target will make you feel like a pro overnight.
Hydration: The Role of Eggs and Water
The liquid you add is what brings the flour to life. For a classic egg pasta, a great starting point is 100 grams of flour per 1 large egg. But think of this as a guideline, not a biblical law. The size of your eggs varies, and even the humidity in your kitchen can change how much moisture the flour absorbs. You’ll learn to adjust by feel.
- For Egg Dough: The egg yolks provide fat, which enriches the dough, giving it a beautiful golden color and a tender texture.
- For Eggless Dough: Semolina-and-water doughs are a whole different beast—leaner and firmer. A fantastic starting ratio is 2:1 flour to water by weight. So, for 400g of semolina, you’d start with about 200g of warm water. This is the stuff of orecchiette and cavatelli.
- A Little Olive Oil: Just a teaspoon or two of olive oil can make the dough more pliable and easier to work with. I find it especially helpful when I’m using AP flour because it helps soften the final texture a bit.
Kneading: It’s All About the Gluten
Kneading isn’t just mixing. It’s the physical act of building a strong, elastic gluten network. An under-kneaded dough will be limp and tear easily; a properly kneaded one will be smooth and supple. Plan on kneading for a solid 8-10 minutes. The dough will literally transform from a shaggy, hopeless mess into a smooth, beautiful ball. You’ll know it’s ready when you poke it and it springs back slowly.
Let’s Make Some Dough: The Classic Method
This is the old-school way, right on the counter. Working on a wooden board is great because it has a bit of texture and lets you feel the dough and control how much flour you’re working in. A clean countertop works just fine, too.
Ingredients:
- 400g (about 3 1/4 cups, but weigh it!) ’00’ or All-Purpose flour
- 4 large eggs
- 1 teaspoon extra virgin olive oil (optional but recommended)
- A pinch of fine sea salt
Yields: ~1.25 lbs of pasta // Serves: 4-5 hungry people
The Process:
- Make the Well: Dump the flour onto your work surface and use your fingers to shape it into a large, wide crater. Make sure the walls are thick and high—a common rookie mistake is making them too low, leading to an egg-pocalypse all over your counter.
- Add the Wet Stuff: Crack your eggs right into the well. Add the olive oil and salt.
- Start Mixing: Grab a fork and gently beat the eggs, just like you’re making scrambled eggs. Once they’re mixed, slowly start pulling in flour from the inner walls. It’ll get thicker and thicker until you have a paste that’s too much for the fork.
- Bring It All Together: Time to get your hands dirty. Use your hands or a bench scraper to push the remaining flour walls into the center and start incorporating everything. It will look like a complete disaster. This is normal. Trust the process. (Seriously, a $10 bench scraper is your best friend for this part and for cleanup afterward.)
- Knead, Knead, Knead: Once it forms a single mass, start kneading. Push the dough away from you with the heel of your hand, fold it over, give it a quarter turn, and repeat. Do this for 8-10 minutes. It will feel stiff at first, but after about five minutes, you’ll feel it start to soften up. The final dough should feel incredibly smooth, like a high-quality stress ball. It shouldn’t be sticky at all.
- The All-Important Rest: This step is non-negotiable. Wrap the dough tightly in plastic wrap and let it rest on the counter for at least 30 minutes. An hour is even better. This lets the gluten relax, making the dough a thousand times easier to roll out. Skip this, and the dough will just spring back at you in frustration.
Dough Troubleshooting:
- Feels Too Dry? If the dough is crumbly and just won’t come together, don’t just pour in more water. Instead, wet your hands and continue kneading. Repeat once or twice. This adds moisture incredibly slowly and gives you way more control.
- Feels Too Wet? If the dough is sticky and clinging to everything, it has too much moisture. Just lightly dust your board and your hands with flour as you knead. The key is lightly—too much extra flour now will make your pasta tough.
From Blob to Beautiful: Rolling & Shaping
This is where the magic happens. You can either go old-school with a rolling pin or use a pasta machine for super consistent results.
Using a Pasta Machine
A hand-crank machine is a fantastic tool. The Marcato Atlas 150 is a total workhorse that will run you about $70-$90, and it’s worth every penny if you get serious about this. If you’re on a budget, you can find other reliable models for around $35 to get started.
- Divide and Conquer: Cut your rested dough into four pieces. Keep the ones you aren’t using covered so they don’t dry out.
- Flatten and Flour: Lightly flour one piece of dough and flatten it with your palm.
- First Pass: Set your machine to its widest setting (usually ‘0’ or ‘1’) and run the dough through.
- Laminate It: Fold the sheet of dough into thirds, like a business letter. Turn it 90 degrees and feed it through the widest setting again. Do this 2-3 times. This is like a final mini-knead that makes the dough much stronger and smoother.
- Thin It Out: Now, start running the dough through the machine, going down one setting at a time. Don’t skip settings, or you might tear the dough. I usually go to a ‘6’ for fettuccine or a ‘7’ for filled pasta—you should almost be able to see the shadow of your hand through it.
A Few Hand-Shaped Classics
- Fettuccine/Tagliatelle: Let your thin sheet of pasta dry for a few minutes until it feels like leather but is still flexible. Flour it well, then loosely roll it into a log. Use a sharp knife to cut ribbons—about 1/4 inch for fettuccine, a little wider for tagliatelle. Immediately fluff them with your hands to unspool them.
- Orecchiette (‘Little Ears’): Using your semolina-water dough, roll it into a long, skinny rope. Cut off a small piece. Using your thumb, press and drag the piece across a wooden board. It will magically curl over your thumb into the perfect little ear shape.
- Ravioli: Lay one sheet of pasta down. For a classic filling, mix about 1 cup of drained whole-milk ricotta, 1/2 cup of cooked and squeezed-dry chopped spinach, 1/4 cup of grated Parmesan, a pinch of nutmeg, and salt and pepper. Place small spoonfuls of this filling about 1.5 inches apart. Brush a little water around the filling, then place a second sheet of pasta on top. Press firmly around the filling to push out all the air pockets (trapped air makes them burst!). Cut them with a fluted pastry wheel or a knife.
Quick Win: Feeling lazy? Don’t have time for perfect shapes? Just roll out your dough and cut it into rough, random squares or triangles. This is called maltagliati (‘badly cut’), and it’s a totally legit, rustic, and delicious pasta shape. Zero stress required!
The Finish Line: Cooking and Saucing Like a Pro
You can make the world’s most beautiful pasta, but it’s all for nothing if this final step goes wrong. This is where most home cooks stumble.
Cooking the Pasta
Use a massive pot with tons of water (at least 4-6 quarts). And salt that water generously! A chef once told me it should taste like a calm sea. This seasons the pasta from the inside out. Fresh pasta cooks FAST, usually in just 1-3 minutes. It’s done when it floats to the top and has a firm but tender bite.
The Golden Rule: Marry the Pasta and the Sauce
Please, I’m begging you: never, ever just dump sauce on top of a pile of drained pasta. The real magic happens when you finish cooking the pasta in the sauce.
- Have your sauce simmering in a wide pan right next to your boiling pasta.
- A minute before the pasta is done, use tongs or a spider strainer to move it directly from the water into the sauce pan. A little water clinging to it is a good thing.
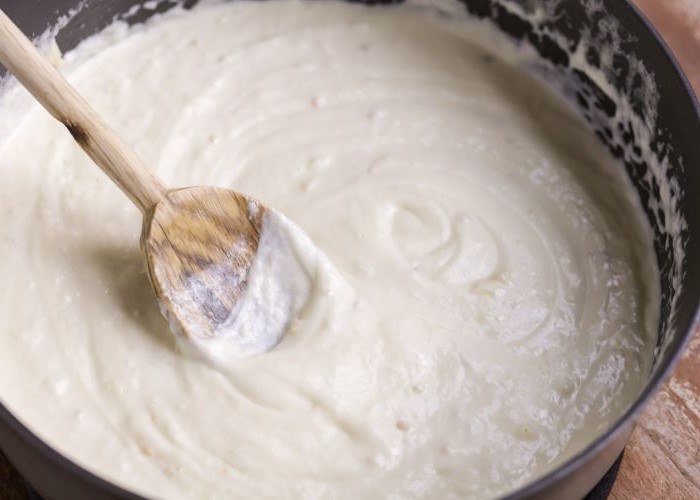
- Now for the secret ingredient: add a small ladleful of the starchy pasta water to the pan. This water is liquid gold. The starch helps the sauce emulsify and cling to every noodle, creating a creamy texture without any cream.
- Toss everything together over medium heat for about a minute. You’ll literally see the sauce and water come together into a perfect, glossy coating. This is the single biggest difference between amateur and professional pasta dishes.
Three Simple Sauces to Let Your Pasta Shine
Master these three, and you’ll understand the soul of great pasta dishes. Here are some good starting points for ingredients, assuming you’re saucing about half the dough recipe (for two people).
1. Cacio e Pepe (Cheese and Pepper)
A Roman classic that’s all about technique. Use a sturdy pasta like spaghetti or tonnarelli.
- The Gist: Toast about 1.5 tsp of VERY coarse black pepper in a dry pan until it smells amazing. Add a ladle of starchy pasta water. In a separate bowl, mix about 1 cup of finely grated Pecorino Romano cheese with a little bit of cool water to form a thick paste (this is the trick to prevent clumping!). Add your al dente pasta to the pepper-water pan, take it off the heat, then add the cheese paste and toss like crazy. It should melt into a perfectly creamy sauce.
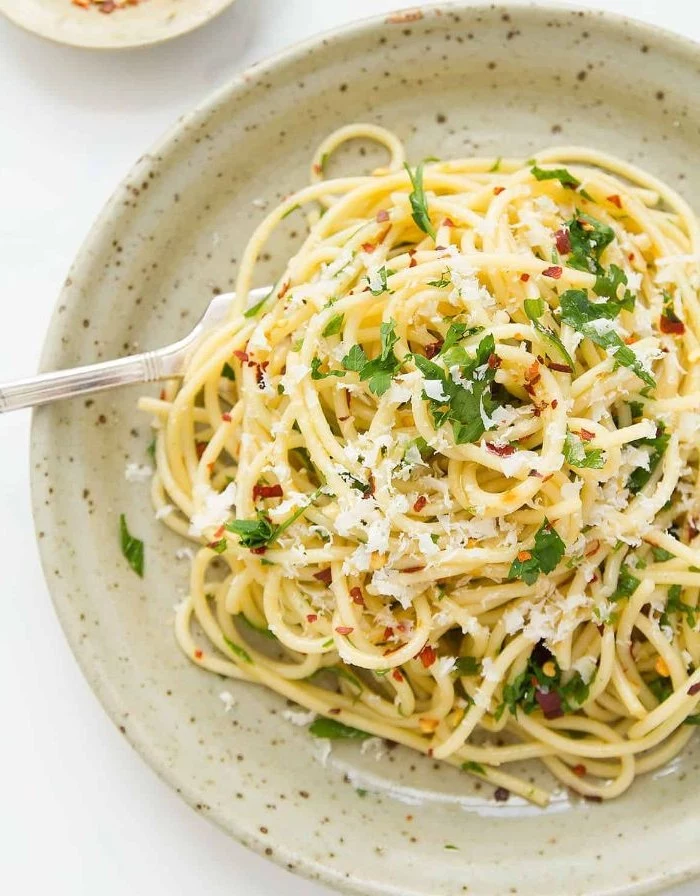
2. Aglio, Olio e Peperoncino (Garlic, Oil, and Chili)
This one teaches you about flavor infusion and heat control. Perfect with spaghetti.
- The Gist: Gently heat 4-6 thinly sliced garlic cloves and a generous pinch of red chili flakes in a good amount of olive oil over low heat. You want to infuse the oil, not fry the garlic. If the garlic turns brown, it’s bitter—throw it out and start over. It’s a lesson in patience! Transfer the cooked pasta to the pan, add a splash of pasta water and a handful of fresh parsley, and toss to combine.
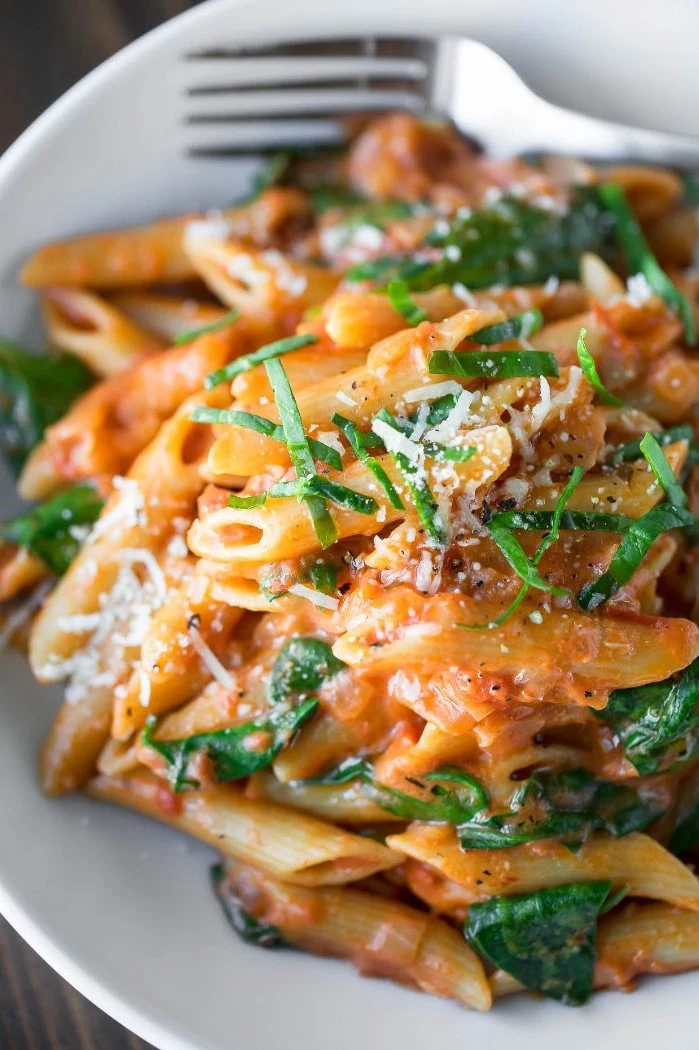
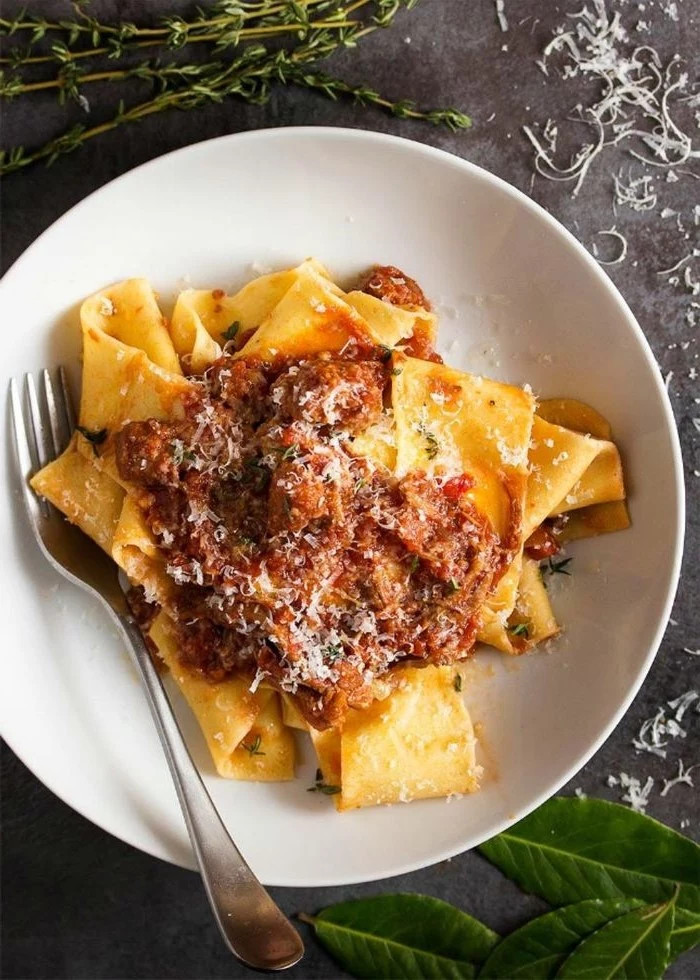
3. Sugo di Pomodoro Semplice (Simple Tomato Sauce)
This is all about balance and the beauty of quality ingredients. Use one 28-oz can of good San Marzano tomatoes.
- The Gist: Gently sauté a whole, peeled garlic clove in olive oil until fragrant, then toss the clove. Crush the tomatoes into the pan with your hands. Add salt and let it simmer for just 15-20 minutes to keep the flavor fresh and bright. Tear in a few leaves of fresh basil at the very end, off the heat. Finish your pasta in this sauce. It’s simple perfection.
Final Tips & Storage
- In the Fridge: You can keep fresh pasta for a day or two. Dust the noodles generously with semolina flour to stop them from sticking, then arrange them in loose nests on a tray and cover.
- In the Freezer: For longer storage, spread the pasta in a single layer on a baking sheet and freeze solid. Then you can toss it all into a freezer bag. It’ll keep for a month. Cook it directly from frozen—don’t thaw it!
Don’t be afraid to mess up. My first dozen batches of dough were either rock hard or a sticky mess. It’s how you learn. Be patient, pay attention, and enjoy the simple, profound joy of turning flour and eggs into something truly special.
Inspirational Gallery
- A sturdy bench scraper for dividing and handling the dough.
- A pasta machine, like the classic Marcato Atlas 150, for uniform sheets.
- A simple drying rack (or even clean coat hangers!) to prevent sticking.
The secret to a smooth workflow? Having these three tools ready before you even touch the flour.
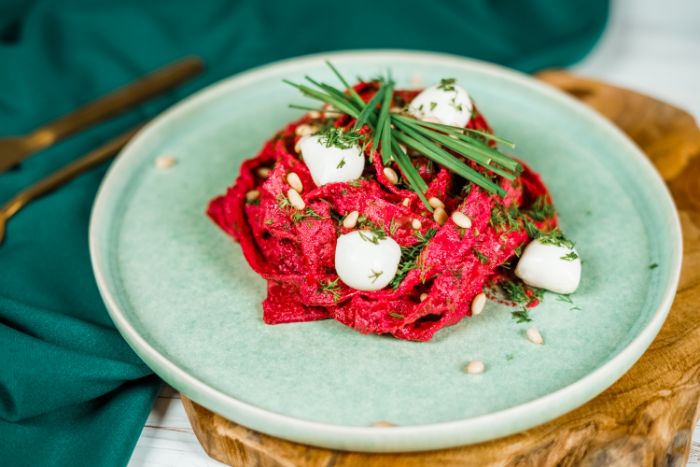
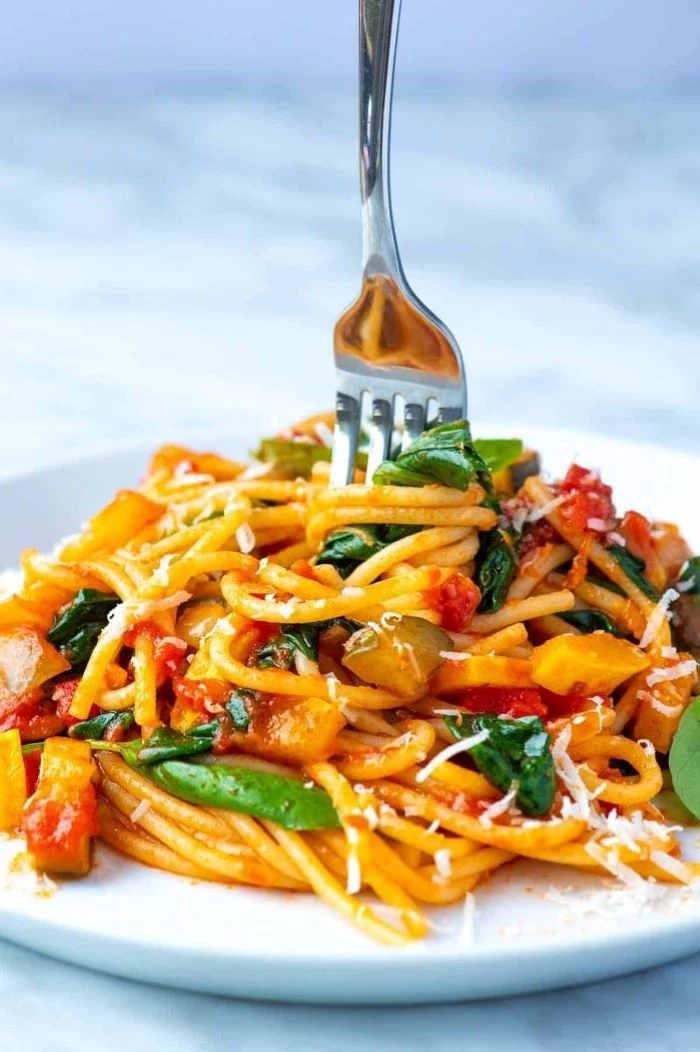
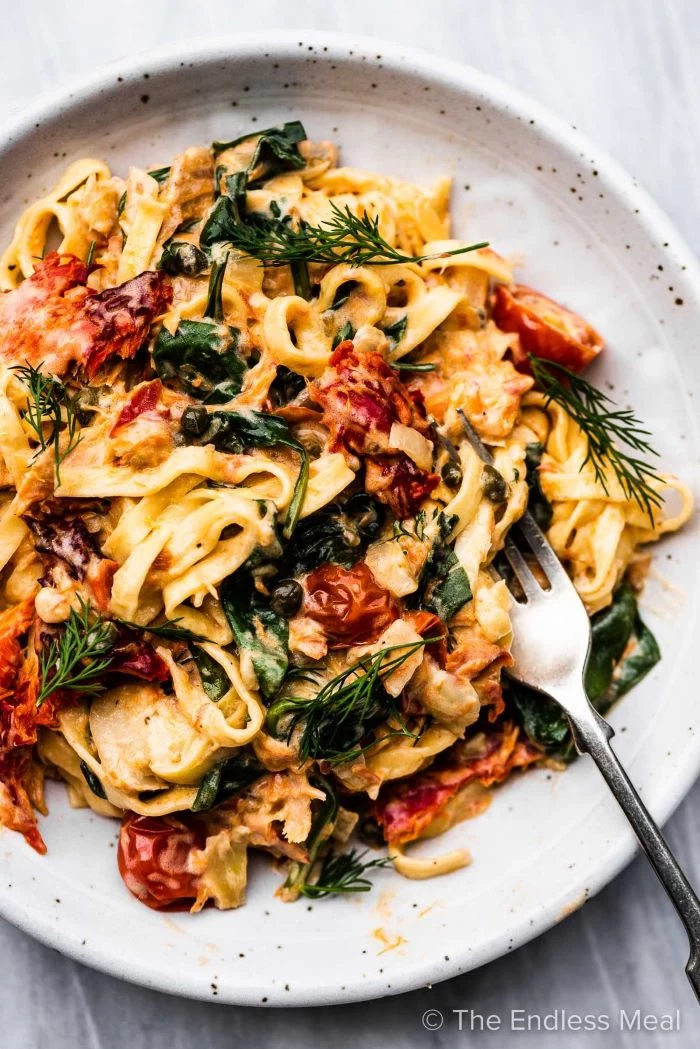
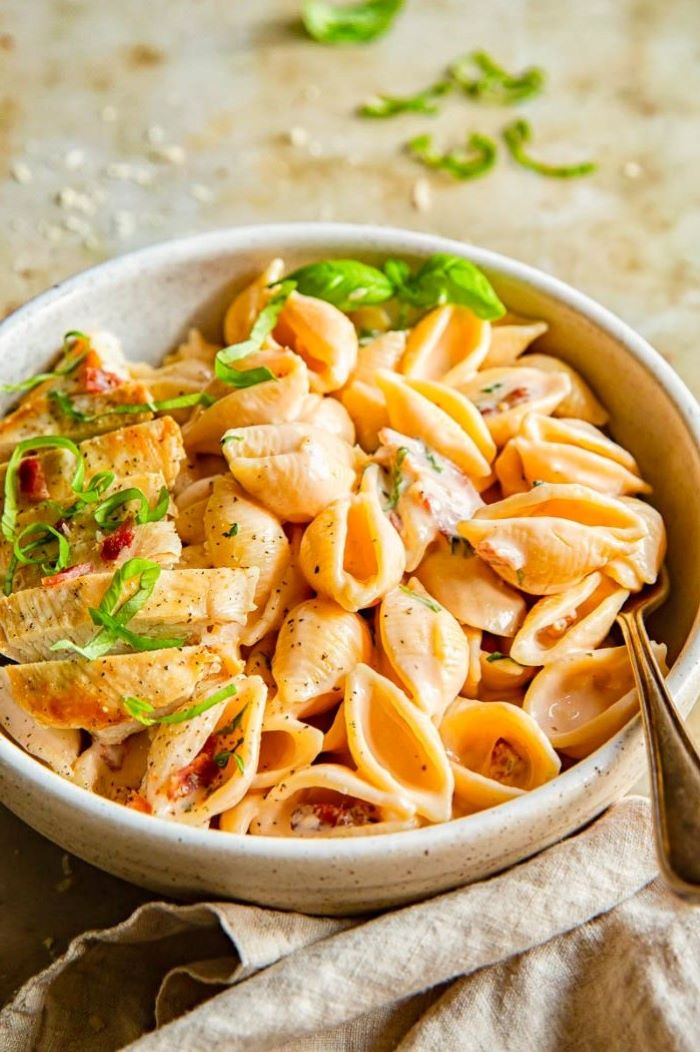
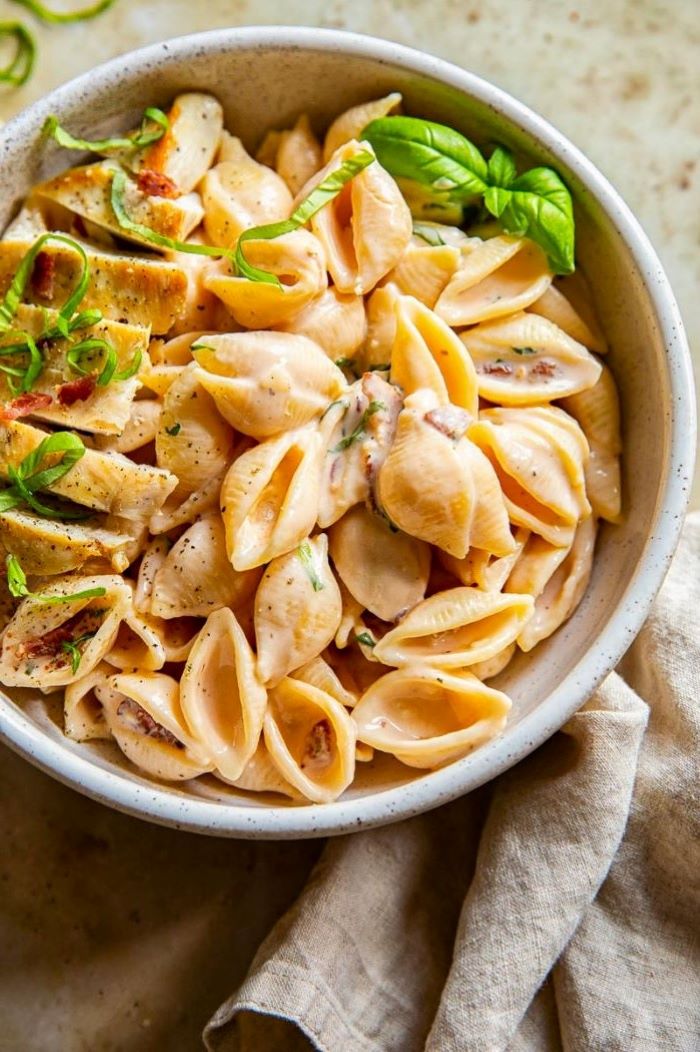
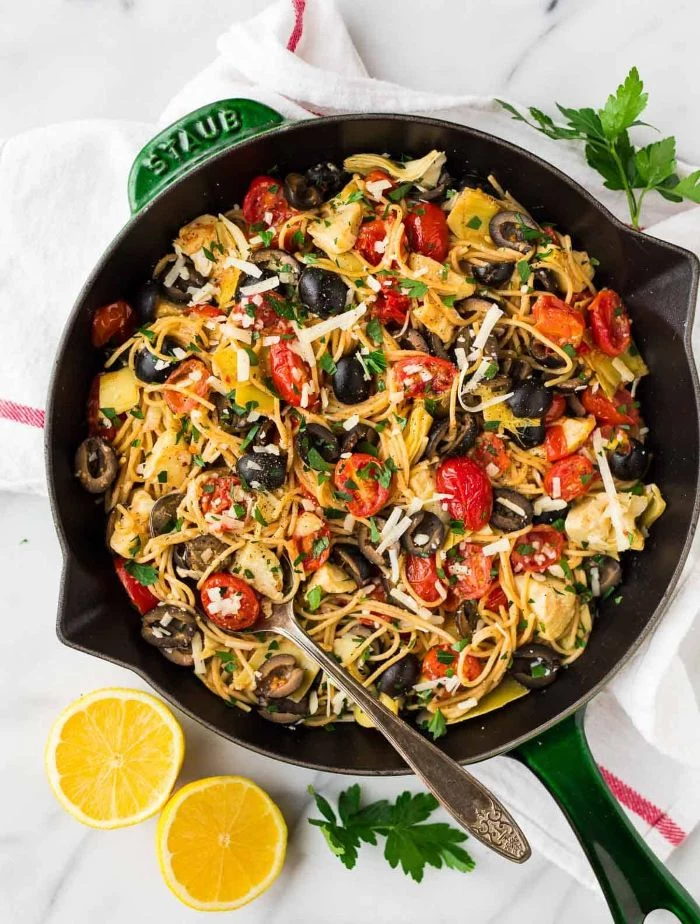
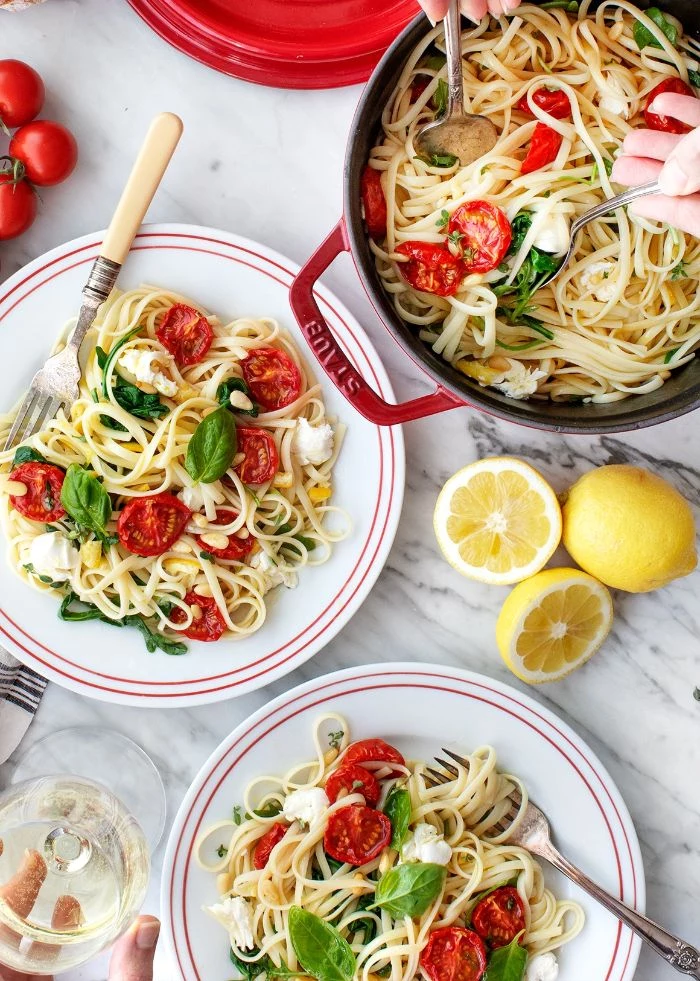
The rough, porous texture of fresh, hand-cut pasta is no accident. It’s designed to be the perfect canvas, creating microscopic nooks and crannies that sauce clings to, ensuring every single bite is packed with flavor.
My dough feels too dry and crumbly, or way too sticky. What did I do wrong?
Don’t panic; this is almost always fixable. If it’s too dry, wet your hands and continue kneading. Repeat until the dough feels pliable. If it’s too sticky, resist adding a mountain of flour. Instead, lightly dust your work surface and the dough with flour and knead it in. The key is to make small adjustments, as the dough’s hydration can even be affected by the humidity in your kitchen.
The single most skipped step: Letting the dough rest. After kneading, wrap your dough tightly in plastic wrap and let it sit at room temperature for at least 30 minutes. This allows the gluten to relax, making the dough infinitely easier to roll out and giving the final pasta a more tender bite.
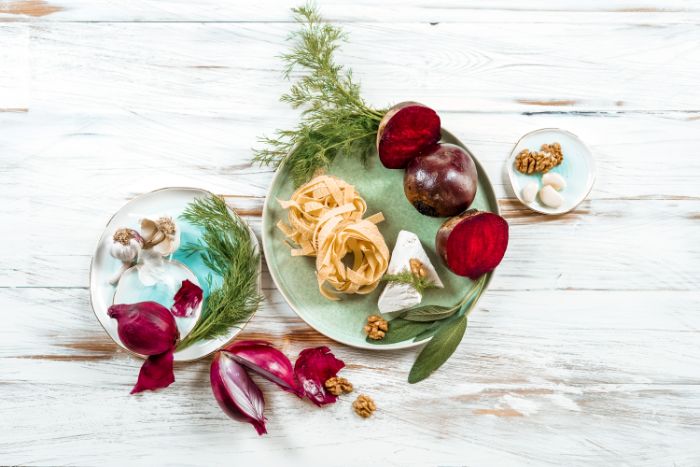
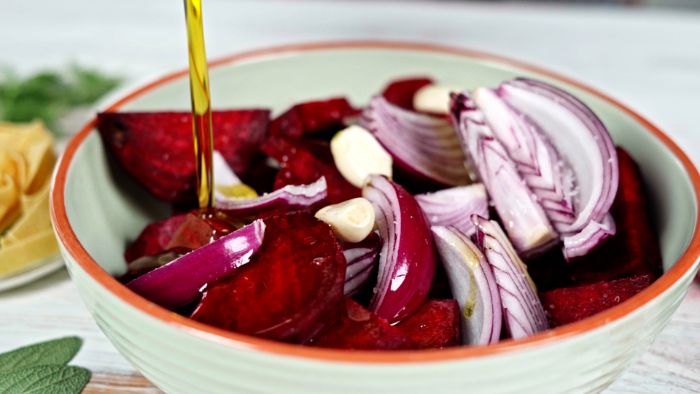
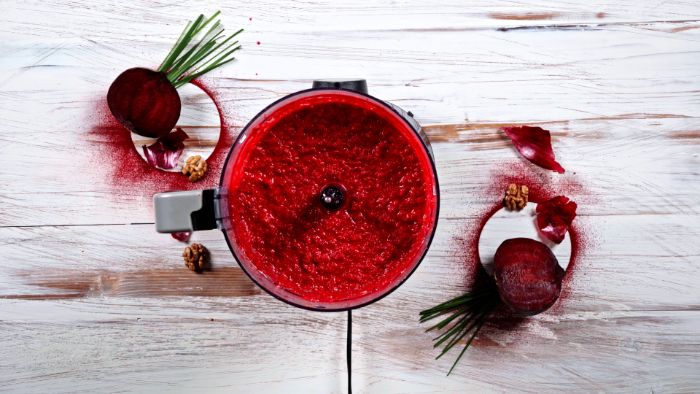
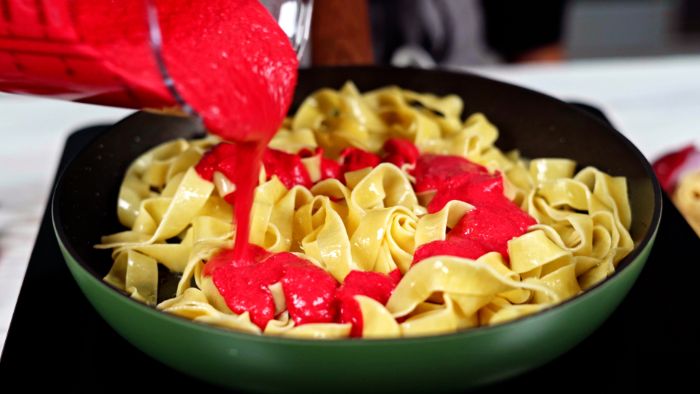
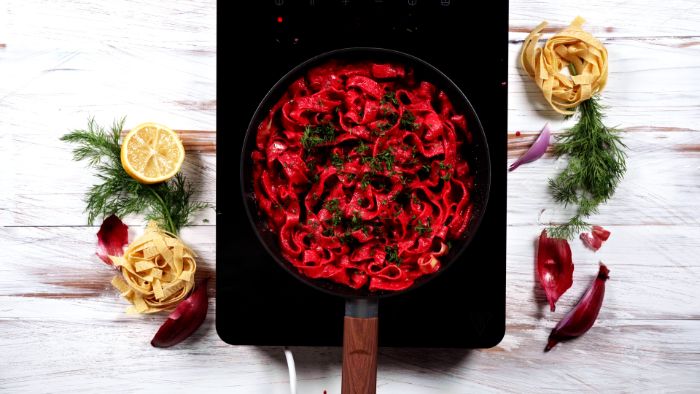
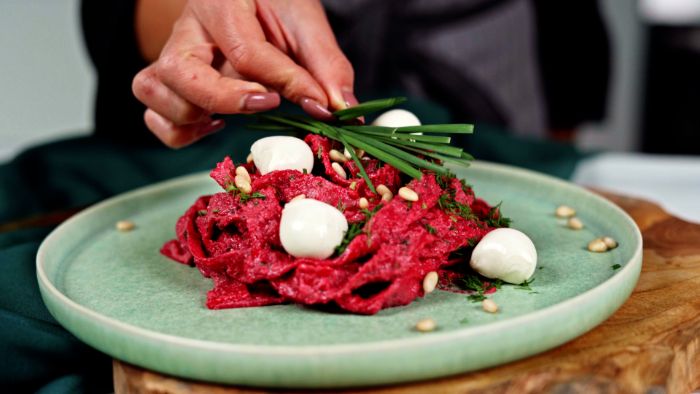
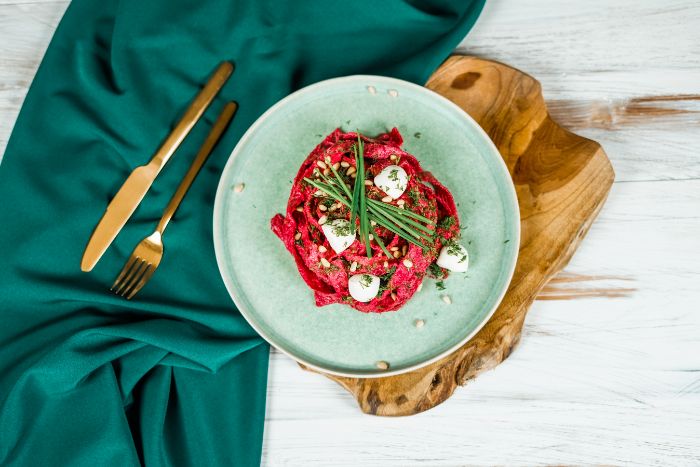
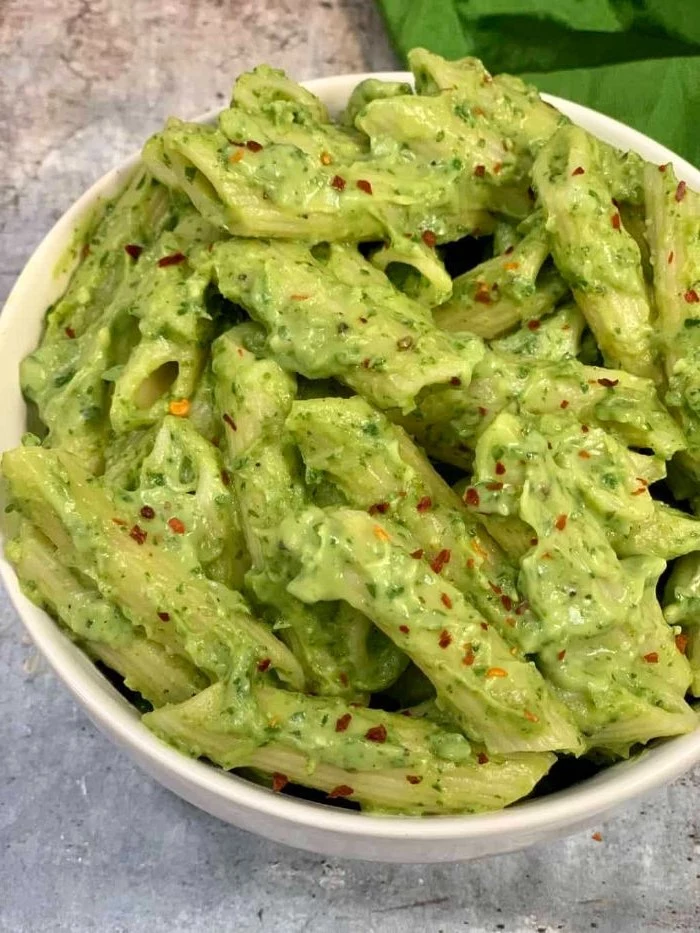
Want to add a splash of color to your pasta? It’s easier than you think. For a vibrant green, blend a handful of blanched spinach into your eggs before mixing with flour. For a stunning pink or deep red, use pureed roasted beets. A touch of squid ink will create a dramatic black pasta that pairs beautifully with seafood.

A well-known kitchen rule states pasta water should be ‘as salty as the sea’.
While you don’t need to be that extreme, generous salting is crucial. The pasta absorbs the salt as it cooks, seasoning it from the inside out. This is your only chance to season the noodle itself. As a guide, use about 1 to 1.5 tablespoons of coarse sea salt for every 4 quarts (or 4 liters) of water.
Pasta Machine: Brands like Marcato or Imperia offer speed and consistency. You get perfectly even sheets, which is ideal for delicate ravioli or uniform noodles. It’s a game-changer if you make pasta often.
Hand Rolling: Using a long wooden rolling pin (a *mattarello*) is the traditional way. It’s a workout, but it yields a pasta with a uniquely rustic, slightly uneven texture that some chefs swear by. The connection to the dough is unparalleled.
Yes, you can absolutely freeze fresh pasta! Here’s how:
- Dust the freshly cut noodles or shaped pasta generously with semolina flour to prevent sticking.
- Arrange them in a single layer on a baking sheet.
- Freeze until solid (about 15-20 minutes), then transfer to an airtight freezer bag or container.
It will keep for up to a month. Cook directly from frozen, adding an extra minute or two to the cooking time.
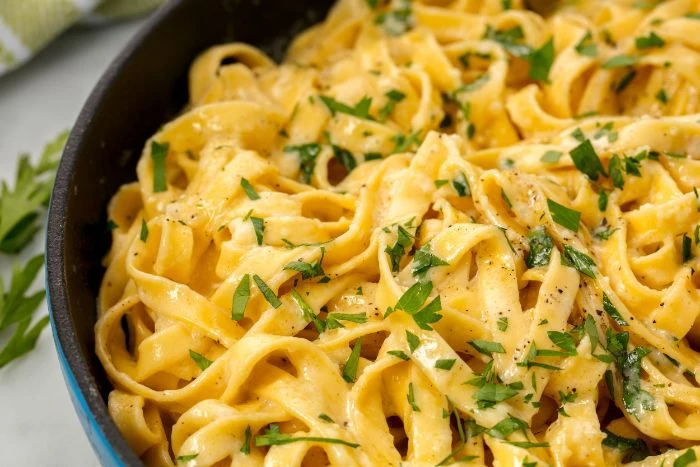
For an exceptionally rich and golden dough, try using only egg yolks instead of whole eggs. A yolk-heavy dough is incredibly flavorful and tender, perfect for luxurious dishes like tajarin with butter and sage or carbonara. A common ratio to start with is 1 cup of ’00’ flour to 4-5 large egg yolks.
- Effortlessly divide your main dough ball into manageable pieces.
- Scrape up stubborn, dried bits of dough from your work surface.
- Easily scoop and transfer chopped herbs or other ingredients.
The secret? A simple, inexpensive metal bench scraper. It’s the most underrated tool in a pasta maker’s arsenal.
Create stunning laminated pasta by placing fresh herb leaves, like parsley or basil, between two thin sheets of dough. Roll the sheets together through your pasta machine on a slightly thicker setting. The herbs will be beautifully suspended within the noodle. It’s a show-stopping technique for simple butter or oil-based sauces.
Is there a perfect pasta shape for my sauce?
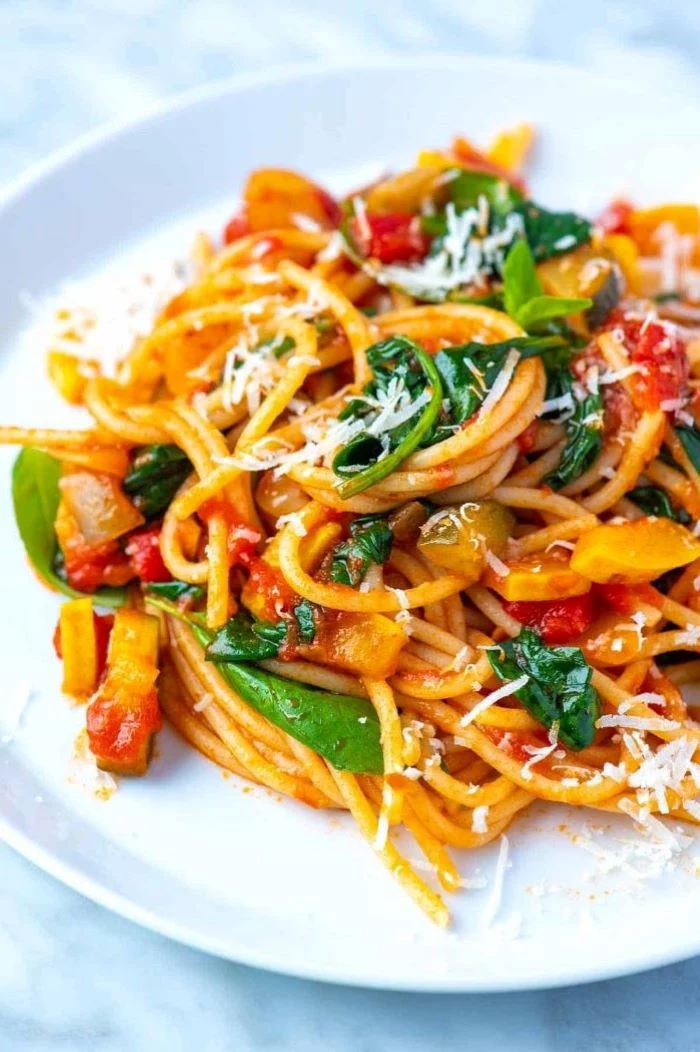
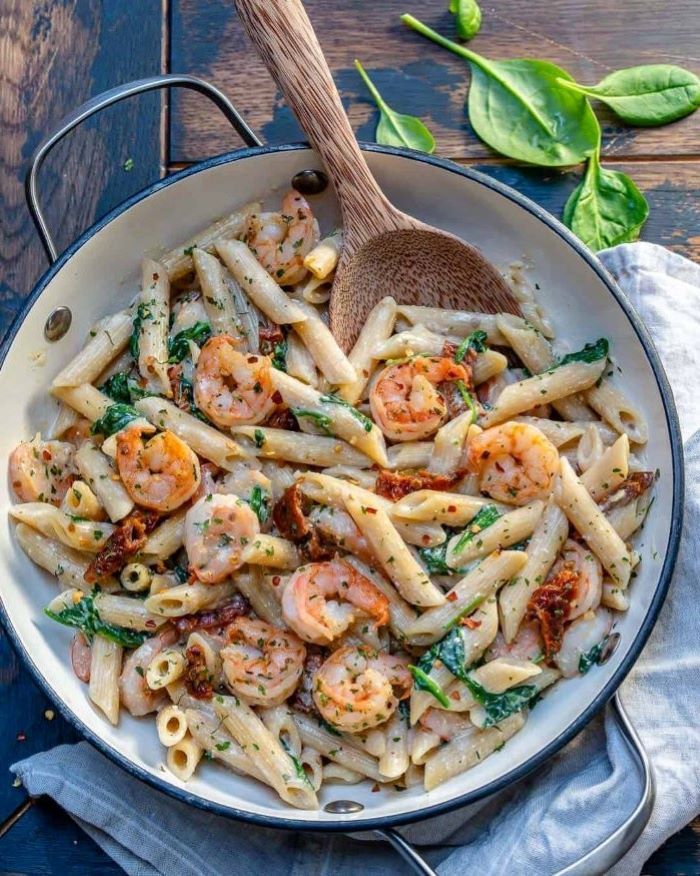
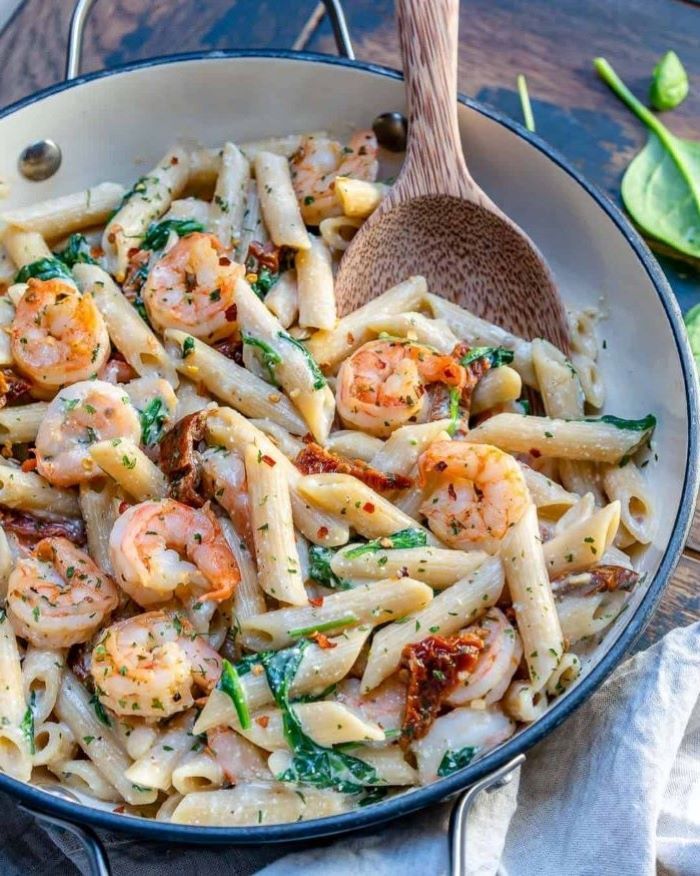
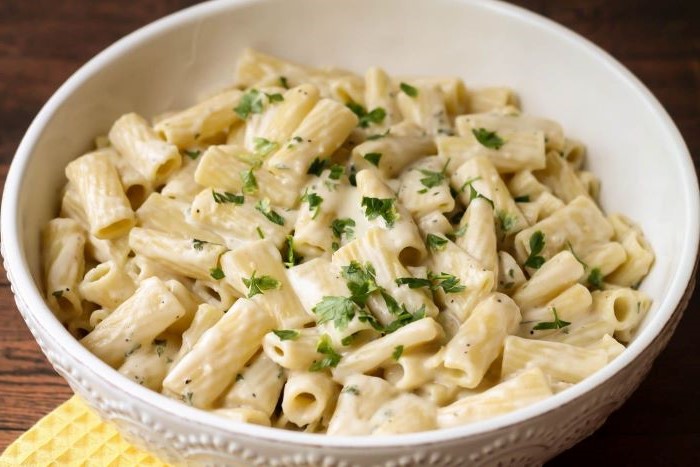
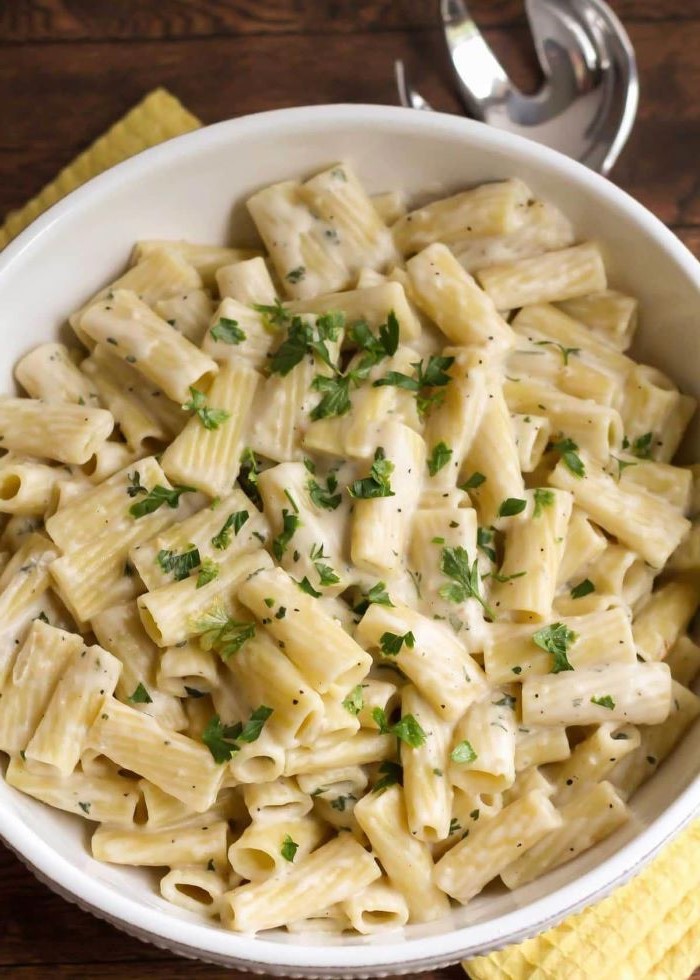
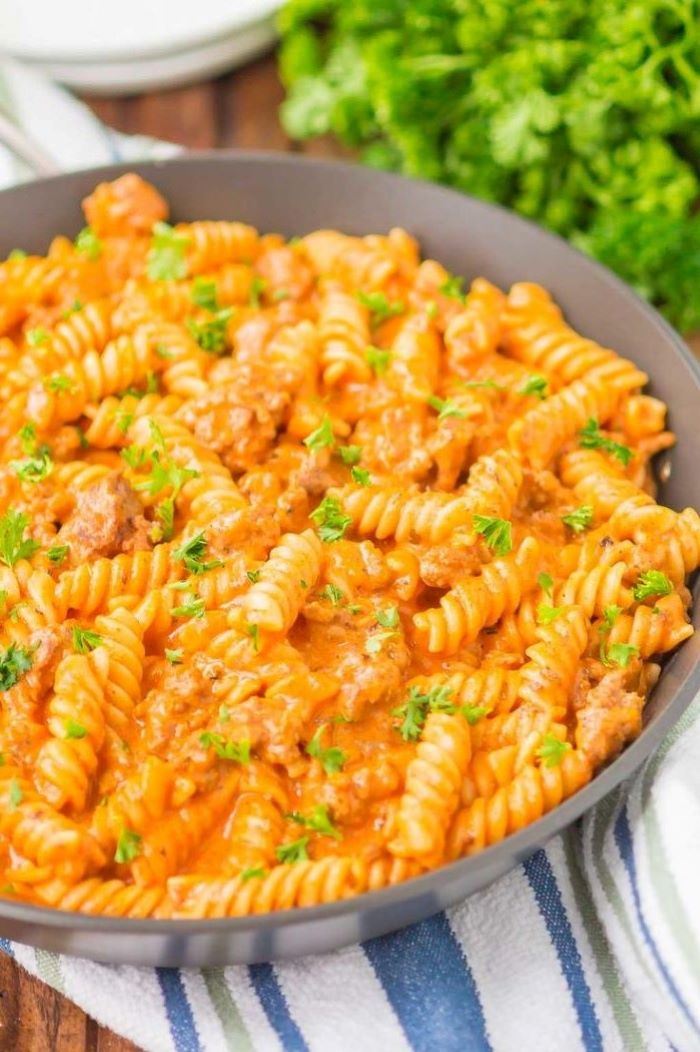
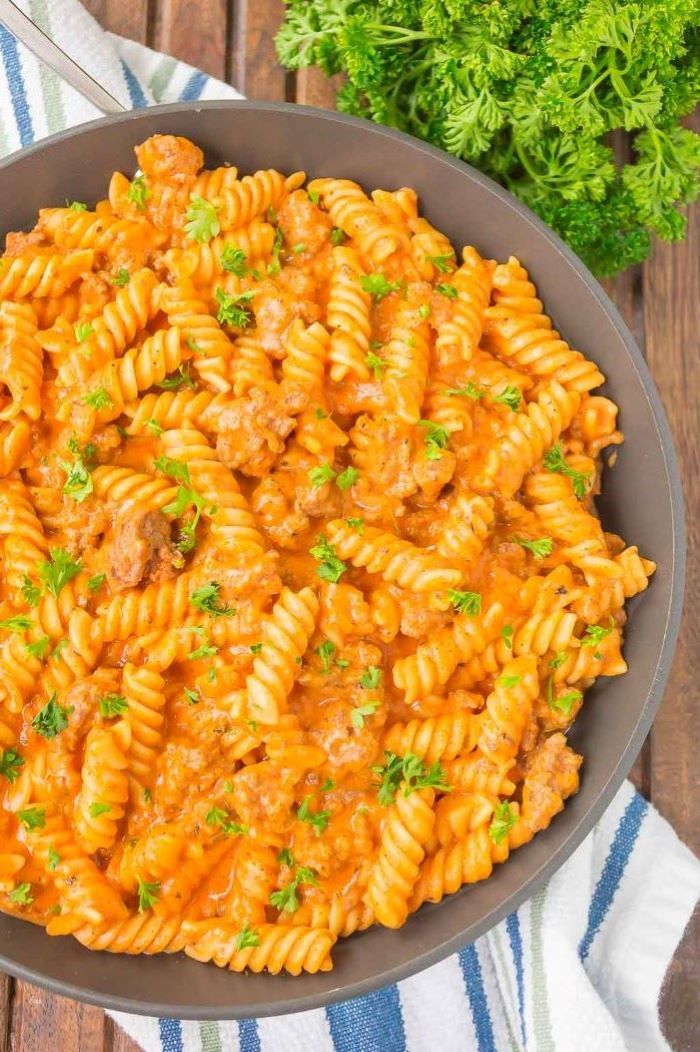
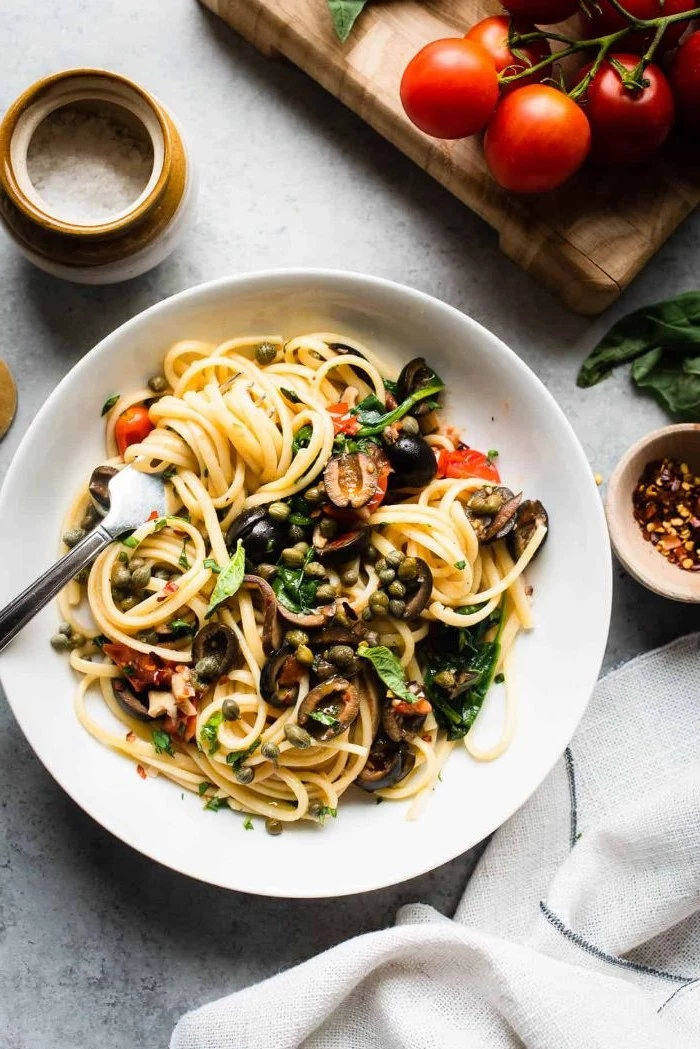
Absolutely. Think of it as a partnership. Long, thin pastas like spaghetti or linguine are best with light olive oil or cream-based sauces. Sturdy, tube-shaped pastas like penne or rigatoni are perfect for catching thick, chunky meat or vegetable sauces. The little nooks and crannies are your best friend!
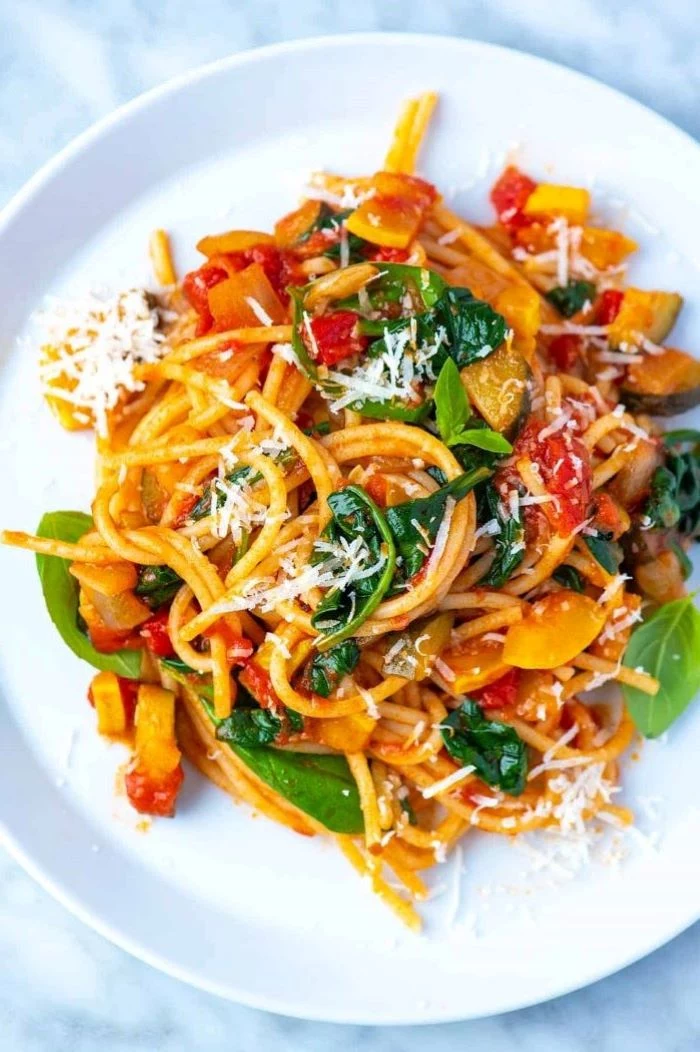
The Pro Dusting Trick: While you might be tempted to use all-purpose flour for dusting your counter and fresh noodles, switch to semolina flour. Its coarse, sandy texture acts like tiny ball bearings, preventing the pasta from sticking to surfaces and to itself far more effectively than fine flour, which can get gummy when it absorbs moisture.
Travel to Puglia in Southern Italy with orecchiette, or ‘little ears’. This rustic shape is traditionally made without a machine, simply by pressing your thumb into a small disc of dough. Their unique cup shape and rougher texture are perfect for catching sauces like a classic broccoli rabe and sausage.
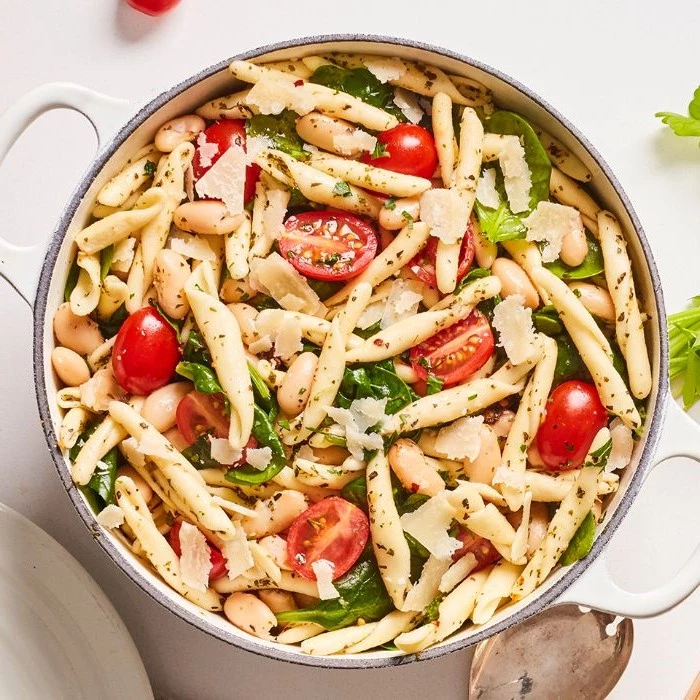
No eggs? No problem. The original pasta of Southern Italy is often just two ingredients: semolina flour and water. This creates a dough with more ‘bite’ and less tenderness than its egg-based cousins. It’s the authentic choice for shapes like cavatelli and orecchiette and proves you don’t need a fridge full of ingredients to create something delicious.
How long do I cook fresh pasta?
Forget the 8-10 minutes on a pasta box. Fresh pasta cooks incredibly fast, often in just 90 seconds to 3 minutes, depending on its thickness. It’s done when it floats to the surface and has a pleasant ‘al dente’ chew. The best way to know? Fish one piece out and taste it.
A game-changing technique: Never just pour sauce over a pile of cooked pasta. Always undercook your pasta by about a minute, then use a slotted spoon to transfer it directly into the pan with your simmering sauce. Add a splash of the starchy pasta water and toss everything together over the heat for 30-60 seconds. This emulsifies the sauce and allows the pasta to absorb the flavor directly.
When a recipe calls for ’00’ flour, it’s referring to that super-fine, powdery grind that creates a silky noodle. Look for Italian brands like Caputo ’00’ Pizzeria (blue bag) or Antimo Caputo ’00’ Pasta & Gnocchi flour. For a high-quality American alternative, King Arthur’s ’00’ Pizza Flour is an excellent and widely available choice.
The repetitive, physical motion of kneading dough can be a deeply meditative act. Put on some music, focus on the feeling of the dough transforming under your hands, and let the worries of the day melt away. The process itself is just as rewarding as the final meal.
Egg Dough: Rich, golden, and tender. Common in Northern Italy. Best for delicate filled pastas like ravioli and long, silky noodles like tagliatelle. The star of dishes where the pasta itself shines.
Semolina & Water Dough: Chewier, more robust, and stands up to heartier sauces. The standard in Southern Italy. Ideal for hand-formed shapes like orecchiette and cavatelli that need structure.
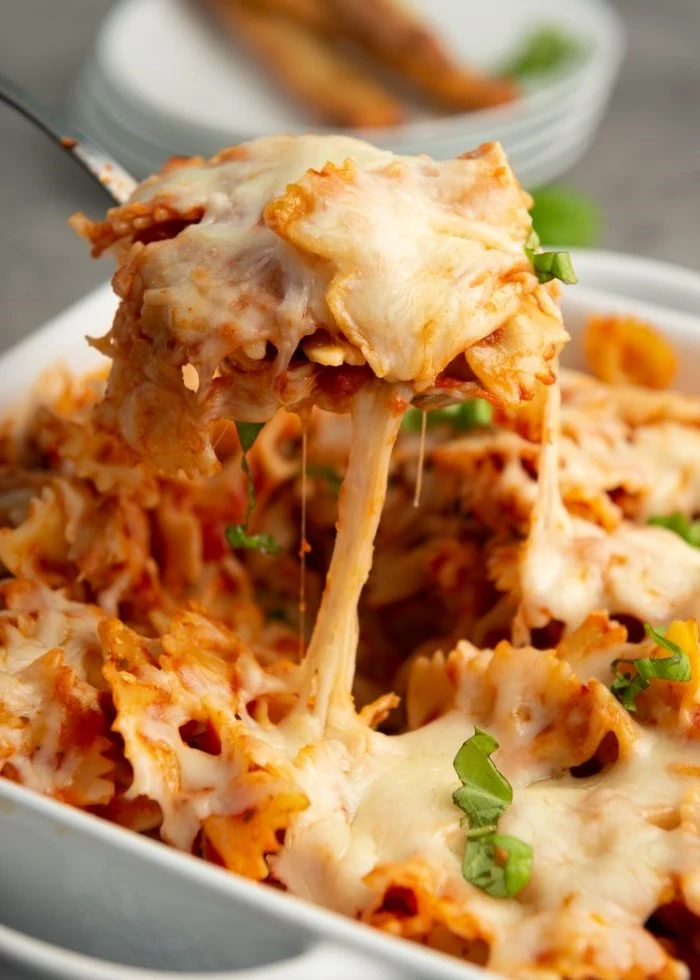
- Farfalle (Bow Ties): Simply pinch the center of a small, flat rectangle of dough.
- Garganelli: Roll a small square of dough diagonally around a wooden dowel or chopstick, pressing the seam to seal.
- Maltagliati (‘Badly Cut’): The most rustic of all. Simply cut your pasta sheet into irregular, diamond-like shapes. Perfect for hearty bean soups.
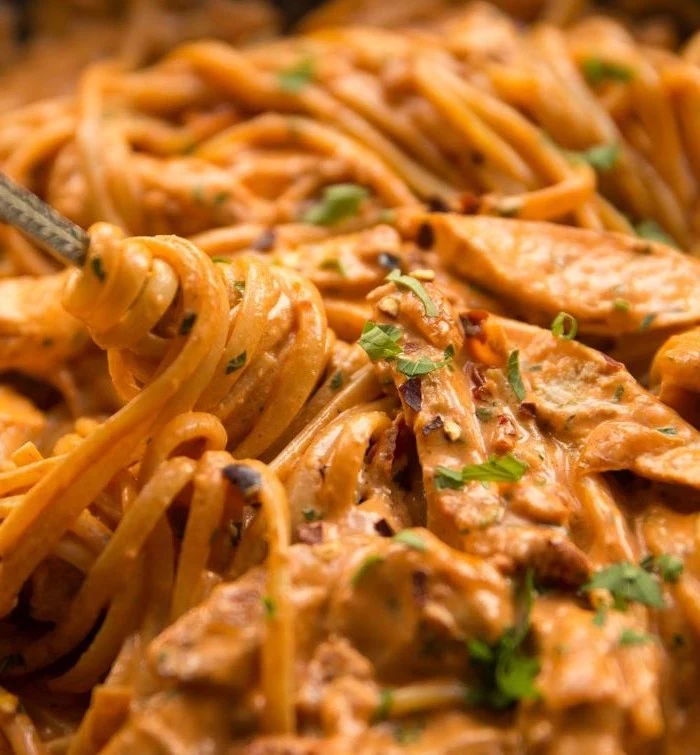
Bronze dies, used in high-end commercial pasta production, create a rougher, more porous noodle surface.
You can replicate this superior texture at home! Hand-rolling your pasta with a wooden pin or using a pasta machine with brass rollers, like some models from Bottene, creates a surface that’s less slick than standard rollers. This micro-texture is what makes the sauce cling so beautifully.
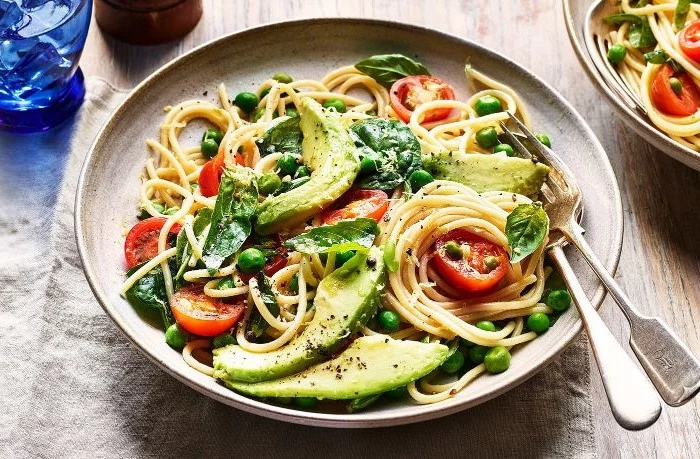
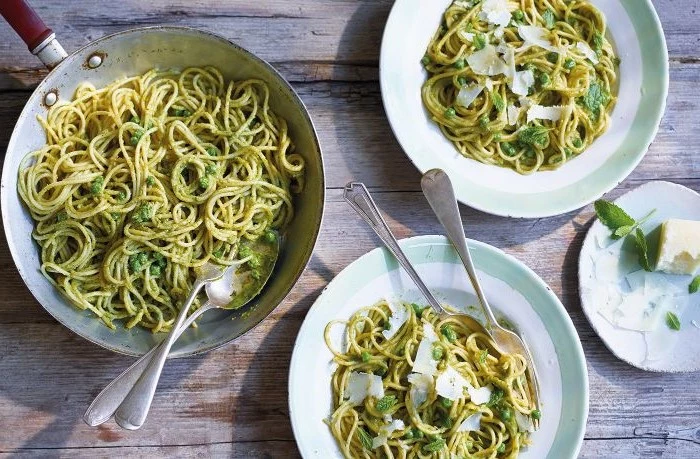
- A vibrant, golden hue that speaks of quality.
- A silky, tender chew that feels luxurious.
- An incredibly rich, deep flavor that stands on its own.
The secret? Using high-quality, farm-fresh eggs with deep orange yolks. They make a world of difference.
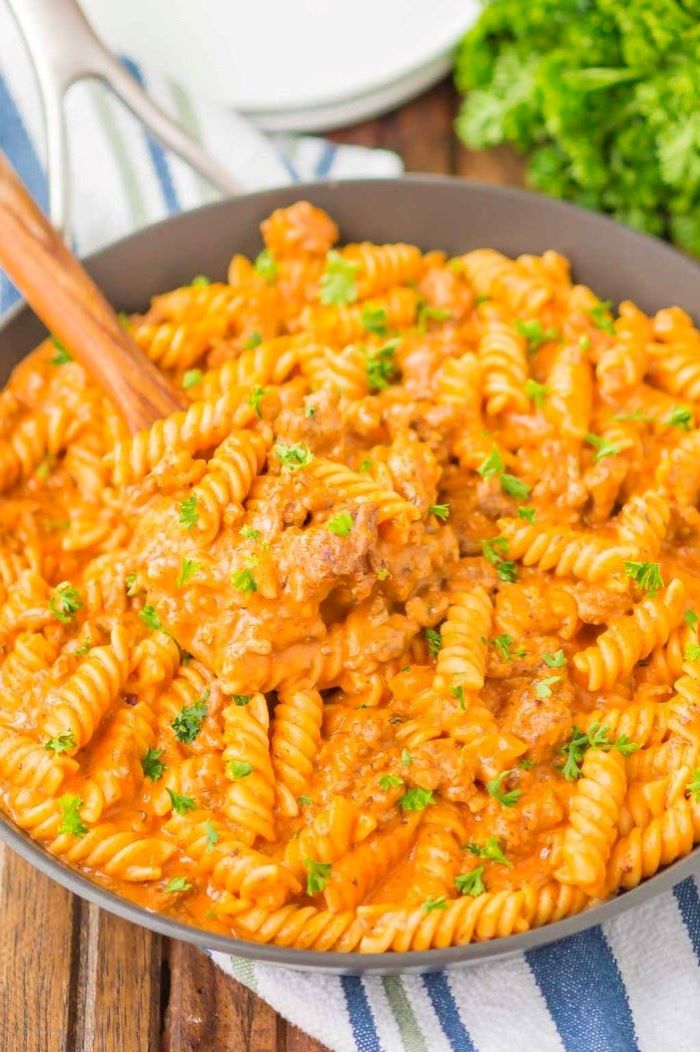
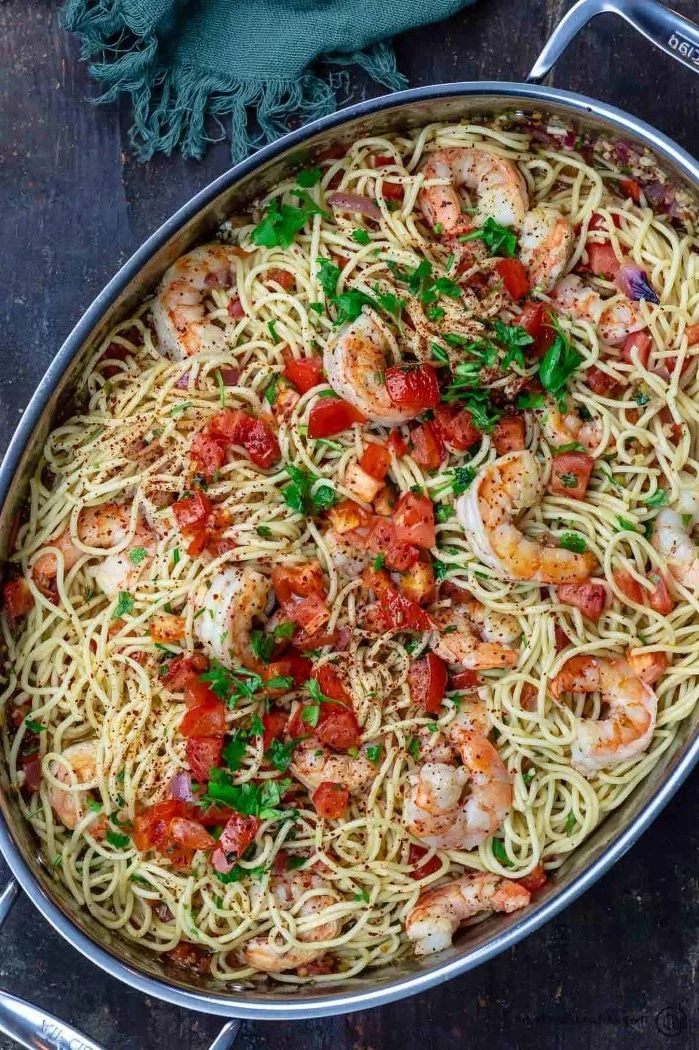
Before you drain your pasta, save a cup of the cloudy cooking water. This starchy, salty liquid is culinary gold. When you’re finishing your pasta in the sauce, a few splashes of this water will help the sauce emulsify, creating a smoother, creamier consistency that coats every single noodle perfectly.


