Thinking About Vintage Wallpaper? Read This First.
So, you’ve fallen in love with a roll of authentic vintage wallpaper. I get it. For years, I’ve been the person people call to hang everything from delicate, hand-printed papers to the tough stuff you find in commercial buildings. And let me tell you, nothing—and I mean nothing—adds character to a room like the real deal. It’s not just a pattern; it’s a vibe, a piece of the past.
In this article
But here’s the tough love: hanging vintage paper is a whole different ballgame than the modern stuff. I’ll never forget a job early in my career. I was so cocky, I rushed the prep on a beautiful, geometric-print paper. The seams looked perfect when I left, but I got a call two days later. Tiny bubbles had appeared everywhere. Why? The paper expanded on the wall because I didn’t let it rest long enough. It was a painful lesson in patience, and it’s exactly why this guide exists. I want to help you avoid those heartbreaking (and expensive) mistakes.
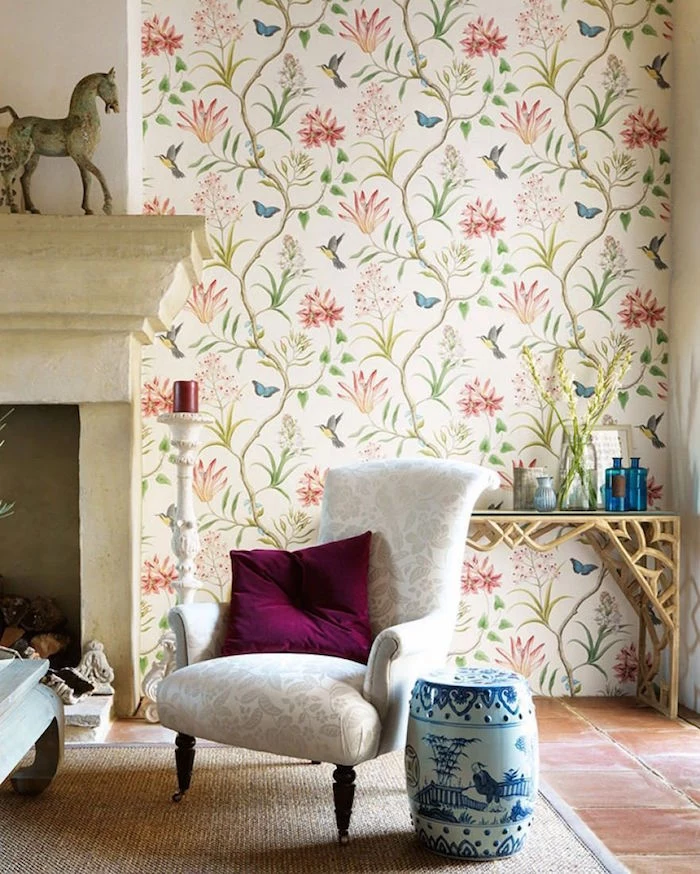
First Things First: Why Vintage Paper is Such a Diva
Before you even think about mixing paste, you need to understand what you’re working with. Modern, pre-pasted wallpaper from a big-box store is designed to be forgiving. Vintage paper is not. It demands respect.
The biggest difference comes down to the material itself. Most true vintage papers are, well, just paper. Made from wood pulp, they are super porous, meaning they drink up water like a sponge. This is where most DIY projects go wrong. When you apply a water-based paste, the paper swells. If you hang it too soon, it’ll keep expanding on your wall, leading to bubbles and warped seams. Modern papers, on the other hand, usually have a vinyl or acrylic coating, which makes them way less absorbent and easier to handle.
And then there’s the paste. You can’t just grab any old tub from the hardware store. For these delicate papers, you need a paste that lets the wall breathe. I pretty much stick to high-quality clay-based or cellulose powder pastes. Stay far away from modern “all-purpose” adhesives. They create a non-porous seal that can trap moisture, leading to mold down the road and making it a nightmare to remove later without shredding your wall. A good traditional paste, like Roman Pro-880 or a similar professional-grade product, creates a strong bond that can still be reversed with steam years from now. It’s the considerate way to do things.
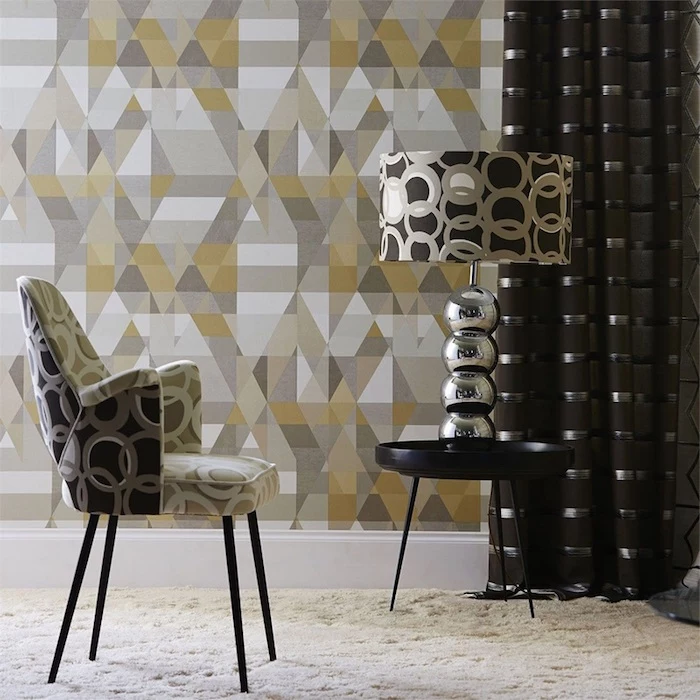
Finding Your Paper (and How Much to Actually Buy)
Alright, let’s talk about the fun part: sourcing the wallpaper. You can find amazing rolls at estate sales, antique shops, or specialty online stores like Hannah’s Treasures or Rosie’s Vintage Wallpaper. When you find a pattern you love, unroll a bit and inspect it. Does it feel brittle or smell musty? A strong mildew scent is a red flag for water damage, and the paper might be too weak to hang.
Now for the most important question: how much do you need? Here’s a simple way to figure it out:
1. Measure the width of all the walls you want to cover and add them together to get the total width.
2. Multiply that total width by the height of the room (in feet). This gives you your total square footage.
3. Don’t subtract for doors or windows unless they are massive. It’s better to have extra.
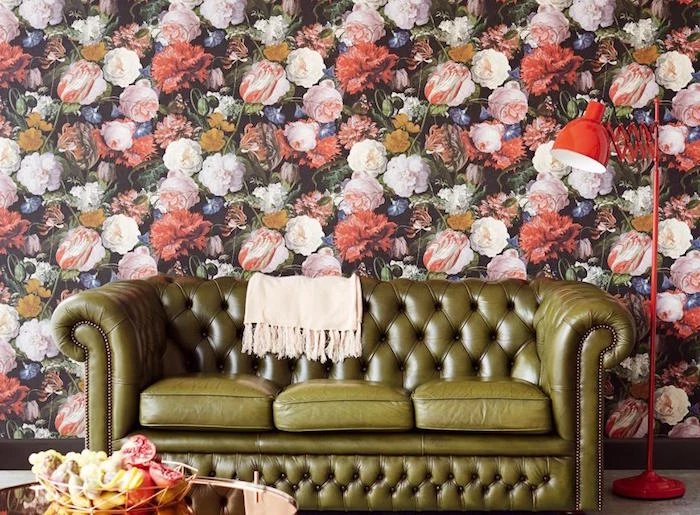
4. Check the roll’s label for its square foot coverage. Divide your room’s total square footage by the roll’s coverage. This tells you how many rolls you need at a minimum.
5. And here’s the pro step: Add 15-20% more to your order. This covers you for mistakes and, more importantly, for the pattern repeat. A large, dramatic pattern might mean you waste a good bit of paper on each strip to get it to line up perfectly. Don’t skimp here!
Oh yeah, and what about cost? Be prepared. A common vintage pattern might run you $80 to $150 per roll, but a rare, hand-printed design can easily top $400. It’s an investment.
Prep Work Is 80% of the Job—No, Really
I tell every client the same thing: a perfect wallpaper job on a bad wall will still look bad. The prep work is what separates a professional finish from an amateur mess.
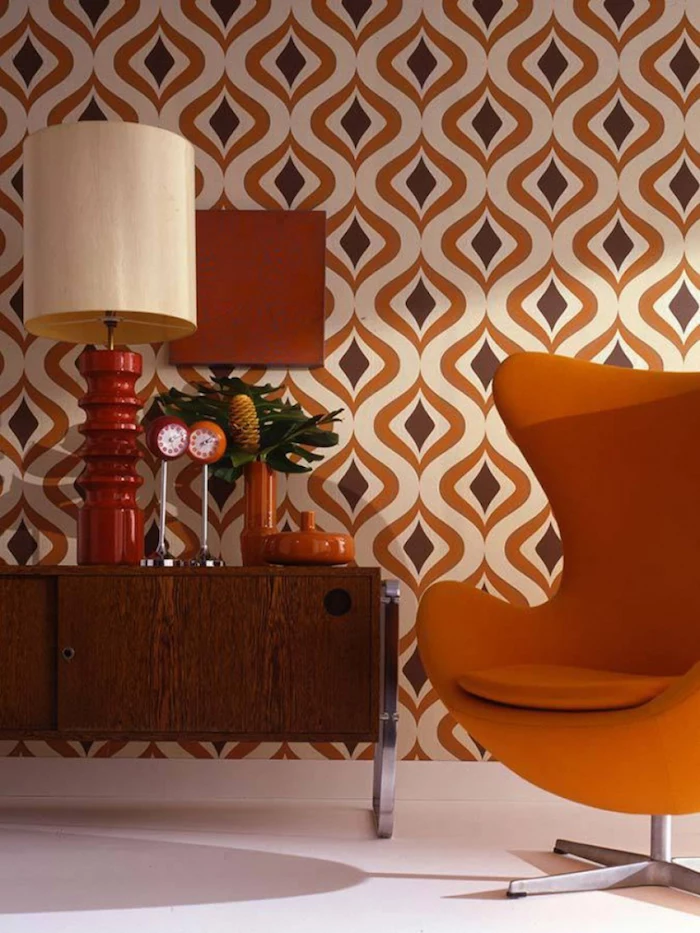
First, clean the walls with a gentle cleaner to get rid of any dust or grime. A simple solution of water and a little dish soap usually does the trick. Then, fill any holes or cracks with spackle, let it dry, and sand it completely smooth. You shouldn’t be able to feel the patch when you run your hand over it.
Now for the step you’ll be tempted to skip. Do not skip it. You have to prime the walls with a wallpaper-specific primer, often called a “size.” I use products like Zinsser Gardz or Roman R-35. This isn’t the same as paint primer. A wallpaper primer seals the wall and creates the perfect surface for the paste to grip. It stops the wall from sucking the moisture out of the paste too quickly, which is what causes seams to fail. A gallon will cost you about $25-$40 and is worth every penny.
The Nitty-Gritty: Hanging, Smoothing, and Trimming
Okay, deep breath. It’s time to hang. Before you cut anything, plan your layout. You want the most complete, beautiful part of the pattern to be in the most visible area, like behind a sofa. Try to avoid having a tiny, awkward sliver right next to a door frame.
Start by drawing a perfectly vertical “plumb line” with a level to guide your first piece. Don’t just use the corner of the room—they are almost never truly straight! Lay your first strip on a clean pasting table and apply a thin, even coat of paste. Then, it’s time for the secret technique: “booking.” Gently fold the ends of the pasted strip in toward the middle (pasted side to pasted side) without creasing the folds. Let it rest for 5-10 minutes. This allows the paper to fully expand before it goes on the wall, and it’s your best defense against bubbles.
When you’re ready, unfold the top half and hang it, smoothing from the center out with a soft wallpaper brush. A good brush is about $20, but it’s way better than a cheap, $5 plastic smoother that can tear or polish the paper. Once the top is set, unfold the bottom and smooth it down. Use a sharp utility knife with a fresh blade to trim the top and bottom. Seriously, snap off the blade tip for every single cut to keep it clean.
Tackling Corners Like a Pro
Corners are where people get nervous, but there’s a trick to it. For an inside corner, smooth the paper into the corner and run it onto the next wall by about half an inch. Then, take your next strip and overlap it, aligning it with a new plumb line you’ve drawn on the second wall. The slight overlap in the corner will be virtually invisible with most patterns.
For an outside corner, wrap the paper around the corner by at least an inch. Make small relief cuts at the top and bottom if it starts to bunch up. Then, smooth it down firmly. This method is much more durable than trying to end a seam right on the edge, which is a guaranteed recipe for peeling.
What About Outlets and Switches?
Easy peasy. First—and this is a big one—turn off the power to that room at the breaker box. Safety first, always. Then, remove the cover plate. Hang the wallpaper right over the outlet opening. Once the strip is in place, take your sharp utility knife and carefully cut an X from corner to corner over the opening. This gives you four triangular flaps you can then trim away neatly, following the inside edge of the electrical box. Smooth the paper down around the box, and once it’s dry, you can put the cover plate back on for a seamless look.
Troubleshooting and When to Call for Backup
Even with perfect prep, things can happen. If you notice a bubble after the paper has dried, it’s likely that spot didn’t get enough paste or you hung the paper too quickly. You can sometimes fix it by pricking the bubble with a tiny pin and using a smoother to gently push the air out. For a small tear, a dab of seam adhesive can work wonders.
But sometimes, you just have to know when to call a pro. If the paper is incredibly rare or expensive, the room has a tricky curved staircase, or you discover some serious wall damage, it might be time to step back. Remember that story about the ruined mural? That’s a true story. The cost of hiring a specialist from the start would have been a fraction of the cost of losing that irreplaceable paper.
Expect to pay more for a paperhanger than a painter. A good painter might charge $400-$600 per day, but a wallpaper specialist could be in the $600-$900 range. You’re paying for a niche skill, extreme precision, and the insurance of knowing your expensive paper is in good hands.
Ultimately, hanging vintage wallpaper is a craft. It takes patience and a willingness to slow down. But when you’re done, and you’re looking at that gorgeous, character-filled wall, the effort is more than worth it. You’ve brought a piece of design history back to life.
Inspirational Gallery
Did you know? Many pre-1960s wallpaper inks are not colorfast. What seems like a durable pattern can easily bleed or smudge with the slightest moisture.
This is why the ‘less is more’ approach is critical, not just for paste but for cleaning, too. Never use a wet cloth. For dust, a gentle feather duster is your best bet. For more significant grime, a special dry-cleaning sponge (often called a soot sponge) can lift dirt without water, preserving the paper’s delicate artistry.
True Vintage Roll: The real deal, often found as ‘new old stock’. Its charm lies in its absolute authenticity, from paper texture to period-perfect color variations. However, it can be brittle, quantities are limited, and it requires expert handling.
Historical Reproduction: A modern paper, often from specialists like Bradbury & Bradbury or Adelphi Paper Hangings, that meticulously recreates a historical pattern. It offers the vintage aesthetic on durable, modern material that’s far more forgiving to install. The best choice for high-traffic areas or for beginners who want the look without the high-stakes risk.
When you find only a small, precious fragment of a pattern you adore, don’t despair. Think beyond the wall. A single, beautifully preserved panel can be professionally framed to become a stunning piece of art. Other ideas include lining the back of a bookshelf, decoupaging a plain lampshade, or adding a surprise detail inside dresser drawers. It’s a way to honor the pattern’s history without the challenges of a full installation.
I found the perfect vintage paper! Can I just hang it on my painted drywall?
Please don’t. Modern latex and acrylic paints can react unpredictably with traditional wheat or cellulose pastes. The moisture can cause the paint layer to bubble or peel, taking your precious wallpaper with it. For an unflappable foundation, pros seal the wall first. Use a shellac-based primer like Zinsser’s B-I-N or a quality oil-based primer. This creates an impermeable barrier, ensuring the paste adheres properly and can be removed cleanly years later.
The hunt is part of the fun. Finding the right vintage wallpaper is a treasure hunt that rewards patience. Here are the best places to look:
- Specialty Retailers: Online stores like Hannah’s Treasures or Rosie’s Vintage Wallpaper curate vast, well-preserved collections. They are the most reliable source for quality and condition.
- Online Marketplaces: Etsy and eBay can be goldmines, but scrutinize listings carefully. Ask the seller about brittleness, storage conditions, and water spots before buying.
- Architectural Salvage: Local architectural salvage yards sometimes rescue unused rolls from old estates. It’s a gamble, but you might find a rare, local gem.
- It gives you precious extra time for positioning.
- It allows you to slide the paper for perfect seam alignment without tearing.
- It prevents the wallpaper from drying too quickly.
The secret? Sizing the wall. This professional trick involves applying a thin, even coat of your wallpaper paste directly onto the wall’s surface just before you hang the pasted sheet. It creates the perfect amount of ‘slip’ for stress-free adjustments.
Forget the plastic smoothers you see in DIY kits; they can easily catch on and tear fragile, dampened vintage paper. Your toolkit should feel more like an artist’s than a construction worker’s. Here’s what the experts use:
- A soft, natural-bristle smoothing brush to gently work out air bubbles.
- A wooden seam roller for delicate but firm pressure on seams.
- A fresh, snap-off utility knife with a new blade for every single cut to prevent snagging.
- Clean, damp natural sponges for carefully wiping away any excess paste immediately.
To step into a room with genuine vintage wallpaper is to feel an immediate connection to the past. It’s not just a pattern; it’s the tangible atmosphere of a bygone era.
The ultimate heartbreak: Miscalculating the amount of paper needed. Unlike modern prints, you can’t just go buy another roll of that 1950s geometric pattern. The dye lot, and often the entire stock, is finite. Always buy at least 15-20% more than your measurements suggest. This surplus is your insurance policy for mistakes during hanging and for any potential future repairs. What’s leftover can be used for creative small projects.
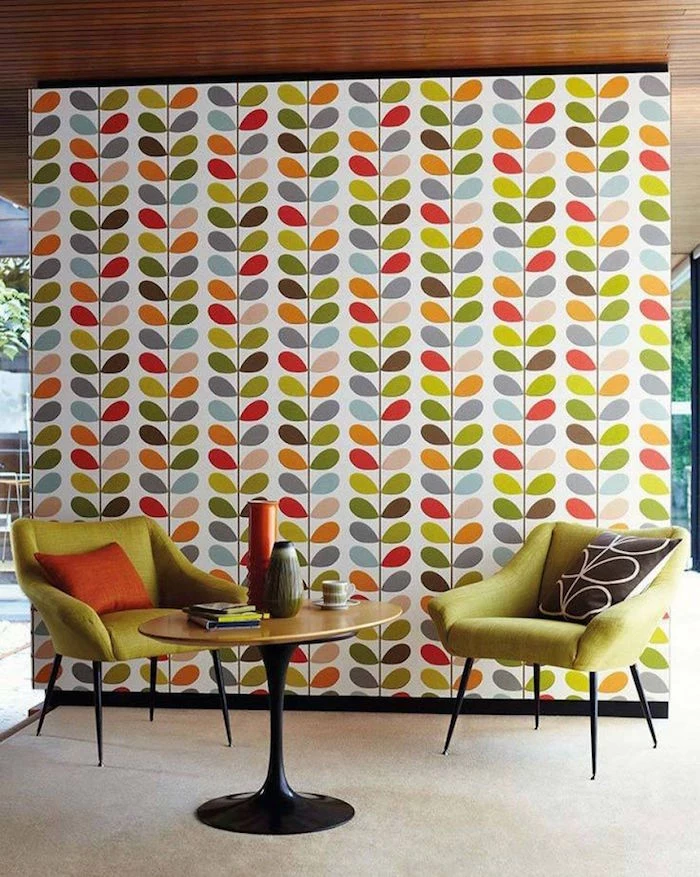
Don’t relegate vintage patterns just to period-correct homes. One of the most striking contemporary design trends is the juxtaposition of an ornate, historical wallpaper—like a William Morris Arts and Crafts design—with minimalist, modern furniture. Using a bold vintage floral in a powder room or as a feature wall behind a sleek, contemporary headboard creates a dynamic dialogue between old and new, adding warmth and personality that modern finishes alone often lack.


