The Real Secret to Mexican Food? It’s All About Building Flavor
I’ve spent more than two decades in professional kitchens, but my real education didn’t come from a fancy school. It came from small, family-run spots where tradition was everything. I learned from experts who measured spices by the feel in their palms and from taqueros who could flip tortillas with their eyes closed. They all taught me the same core lesson: authentic Mexican cooking isn’t about a long list of complicated recipes. It’s about understanding how to build incredible layers of flavor from simple, honest ingredients.
In this article
It all starts with the chili, the corn, and the bean. From there, it grows.
A lot of people think this food is heavy or overly complex, but it really doesn’t have to be. The best dishes are all about technique. This guide isn’t just a set of instructions; it’s about explaining the ‘why’ behind each step. We’re going to cover the foundational skills that turn a good home cook into a great one.
The Soul of the Kitchen: Mastering Chilies and Salsas
Honestly, everything starts with the salsa. It’s not just a dip you put out with chips; it’s a core component that can make or break an entire meal. And to make a great salsa, you have to understand the chili pepper.
Let’s get one thing straight: a chili’s flavor is so much more than just heat. The heat, by the way, comes from a compound called capsaicin. But the real magic is in the pepper’s flesh. When chilies are dried, their flavors get concentrated and complex. Toasting them gently in a dry pan wakes everything up, releasing these incredible aromatic oils. You’ll know they’re ready from the nutty, fragrant smell. But be careful. If you burn them even slightly, they will turn your entire dish bitter. I’ve seen it happen a thousand times. It’s a mistake you only make once.
Good to know: Dried chilies are the backbone of many sauces. Here’s a quick rundown of the most common ones you’ll see. You can usually find them in the international aisle of a larger grocery store, at a Latin market, or easily online.
- Ancho: These are wrinkly and dark reddish-black. They bring a sweet, smoky flavor, almost like raisins. They’re on the mild side.
- Guajillo: Look for the smooth, bright red ones. They add a tangy, bright, almost berry-like flavor with a medium heat that’s more about warmth than pain.
- Pasilla: These are long, skinny, and nearly black. Their flavor is deep and complex, with hints of cocoa and prune. Also quite mild.
- Árbol: Small, skinny, and bright red. This one is all about clean, sharp heat. Use it when you want to kick things up a notch. Hot!
A Foundational Toasted Red Salsa
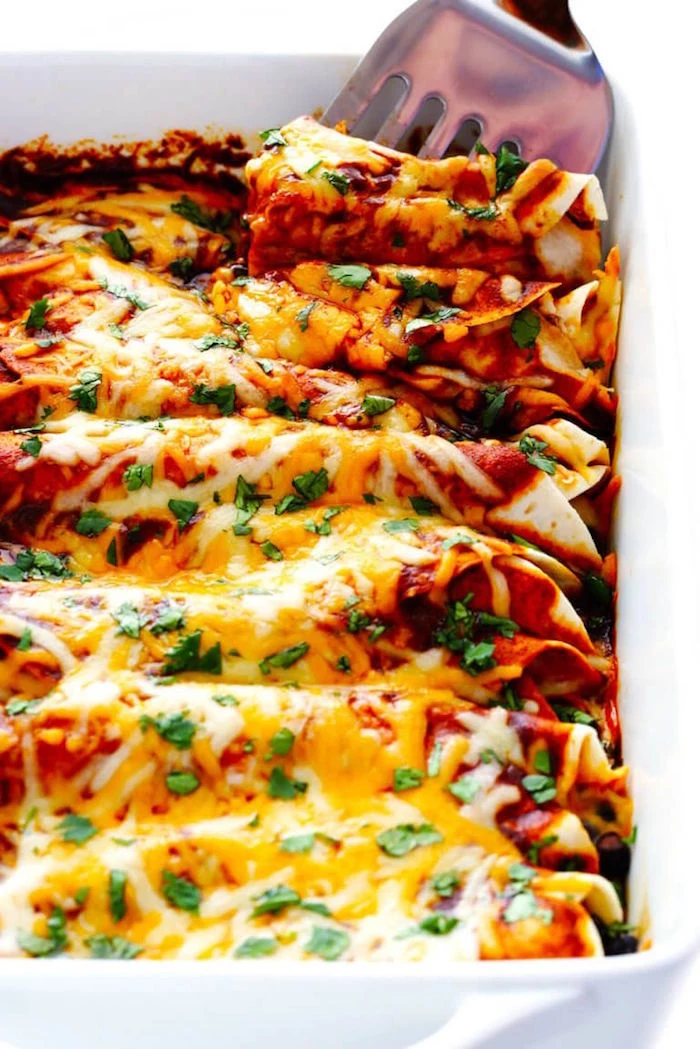
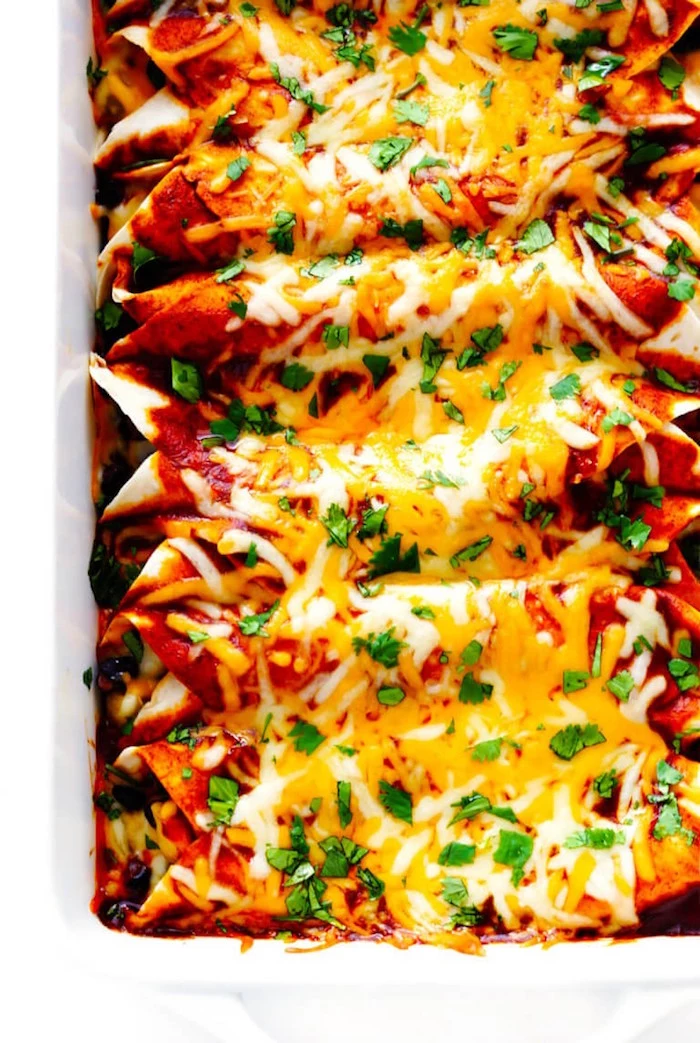
Think of this as a master technique, not just a single recipe. Once you nail this, you can adapt it for anything. This is the kind of salsa that forms the base for amazing enchiladas, chilaquiles, or a sauce for stewed meats. Plan on about 45 minutes from start to finish, with 20 minutes of active work.
Here’s what you’ll need:
- 4-5 large dried ancho chilies
- 2-3 dried guajillo chilies
- 4 medium Roma tomatoes
- Half a white onion, in chunks
- 2-3 cloves of garlic, skin still on
- 1 teaspoon of Mexican oregano
- Salt to taste
- A bit of chicken stock or water for thinning
The Process:
- Prep the Chilies: Snip the stems off the chilies with scissors, then slit them open and shake out the seeds and veins. The seeds can add bitterness, so give them a good shake. A quick safety tip: consider wearing gloves for this. Chili oils can stay on your skin and are no fun if you accidentally touch your eyes later.
- Toast Everything: Get a heavy, dry skillet or a comal (a traditional flat griddle, but a cast-iron skillet works perfectly) over medium heat. Lay the chilies flat on the hot surface and press them down for 15-20 seconds per side. They’ll get super fragrant. At the same time, toss the tomatoes, onion, and garlic on the skillet. Turn them every so often until they get soft with nice blackened spots all over. That char adds an incredible smoky depth.
- Soak the Chilies: Put the toasted chilies in a bowl and cover them with very hot water. Let them soak for 20-30 minutes until they’re soft and pliable. Don’t skip this—it’s key for a silky-smooth sauce.
- Blend it Up: Peel the roasted garlic. Toss the softened chilies, roasted veggies, oregano, and a good pinch of salt into a blender. Add about a half-cup of the chili soaking water (or stock) and blend until it’s completely smooth. This might take a couple of minutes in a standard blender. You’re looking for the consistency of heavy cream.
- Fry the Salsa: This is the pro step that most home cooks miss, and it makes all the difference. Heat a tablespoon of lard or neutral oil in a saucepan. When the oil shimmers, carefully pour in the blended salsa. It will hiss and spatter, so pour it away from you! Cook it for 5-7 minutes, stirring constantly. You’ll see the color deepen to a rich brick-red. This step marries all the flavors and cooks off any raw, acidic taste.
And that’s it. You’ve built a foundational sauce. For more heat, toss in a toasted árbol chili. For a tangy green version, swap the tomatoes for roasted tomatillos.
Make-ahead tip: This salsa is a perfect thing to make on a Sunday. It keeps in an airtight container in the fridge for a week and freezes beautifully for up to 3 months.
The Heart of the Meal: The Magic of Masa
Corn is more than just a vegetable in this cuisine; it’s the foundation of everything. But the corn used for tortillas and tamales isn’t the sweet corn you eat off the cob. It’s field corn that has gone through an ancient, magical process called nixtamalization.
Basically, dried corn is simmered in an alkaline solution (usually water with food-grade calcium hydroxide, or ‘cal’). This unlocks key nutrients like niacin, softens the tough outer hull, and, most importantly, changes the corn’s structure so it can form a pliable dough, or ‘masa.’ You can’t just grind cornmeal and make a tortilla; it won’t work. The stuff you buy in a bag, masa harina, is simply this special corn that has been dried and ground into a flour.
Crafting Perfect Tamales
Making tamales is a project, often a social one for holidays. While the fillings are endless, a truly great tamale lives or dies by its masa.
For the Masa Dough (makes about 2 dozen):
- 1 package (around 8 ounces) dried corn husks
- 4 cups masa harina for tamales
- 1 ½ teaspoons baking powder
- 2 teaspoons salt
- 1 ⅓ cups pork lard or vegetable shortening, at room temp
- 6 to 7 cups warm chicken or vegetable broth
The Method:
- Prep the Husks & Masa: Soak the corn husks in very hot water for at least an hour until they’re soft. In a big bowl, whisk together the masa harina, baking powder, and salt. Heads up! Make sure you buy masa harina specifically labeled for tamales (a common brand is Maseca, which has different packaging for different grinds). It’s coarser than the kind for tortillas and is essential for a light, fluffy result.
- Whip the Fat: This is the secret to light tamales. In a stand mixer (or with a hand mixer), beat the lard or shortening on high speed for a solid 3-5 minutes. It should get very white and fluffy, almost like frosting. You’re whipping air into it.
- Combine and Hydrate: On low speed, add the dry masa mix to the whipped fat a little at a time. Then, slowly pour in the warm broth until the dough is very soft and spreadable, like a thick cake batter.
- The Final Whip: Once it’s all combined, crank the mixer to medium-high and let it go for 10-15 minutes. No, that’s not a typo. This is the other secret. It makes the tamales incredibly tender.
- The Float Test: This is the classic quality check. Drop a small blob of masa into a glass of cold water. If it floats, it’s ready. If it sinks, you need to whip it longer to get more air in there. This is a non-negotiable step.
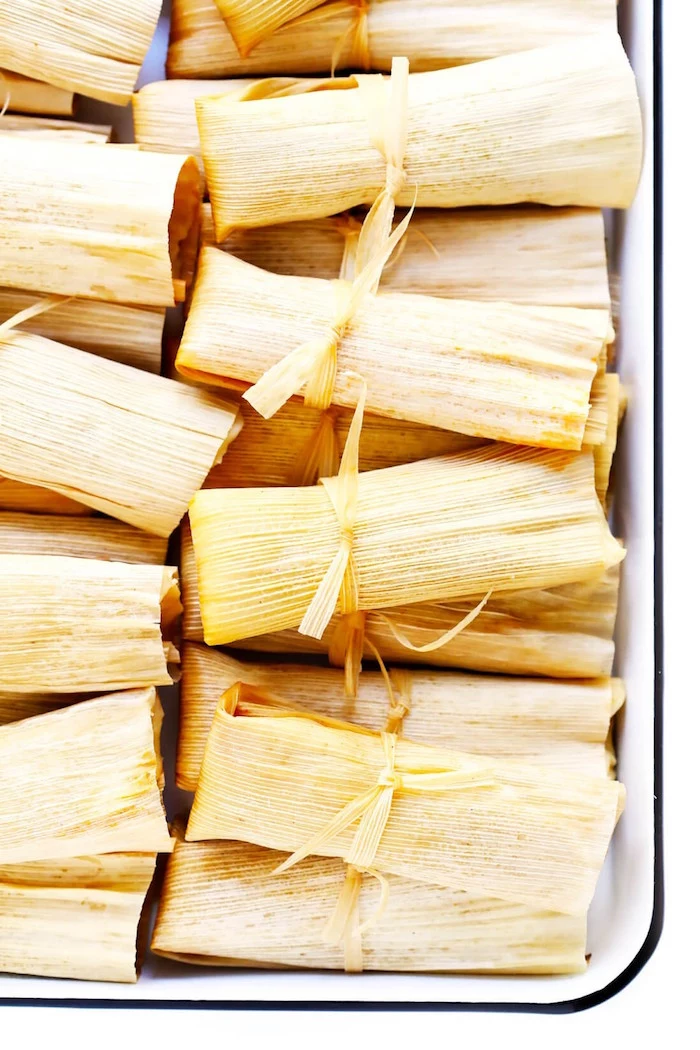
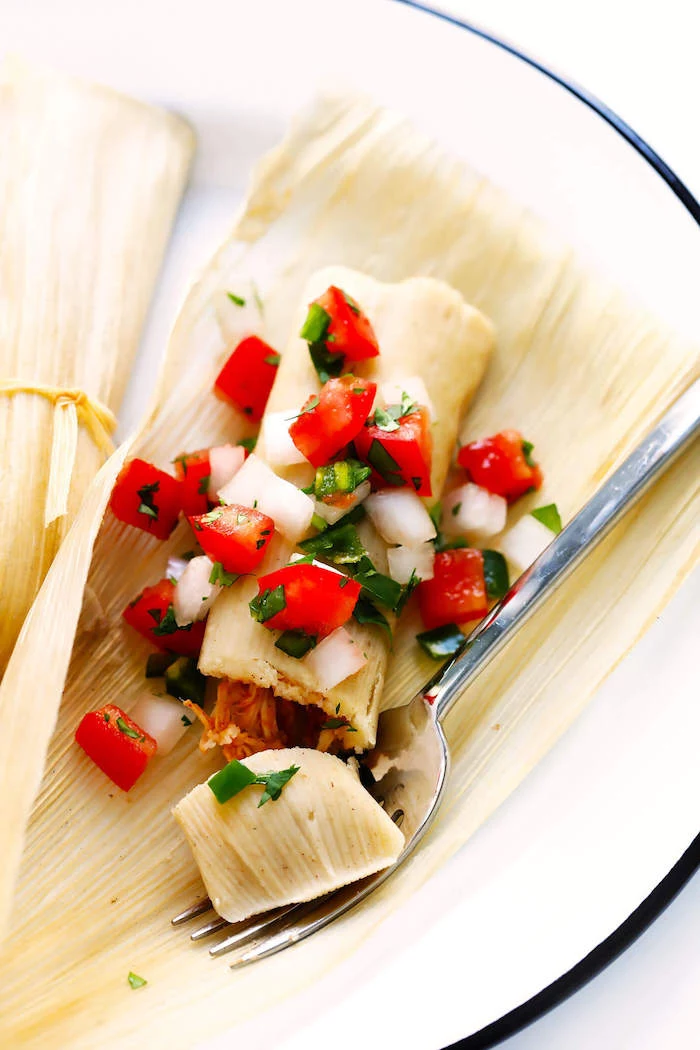
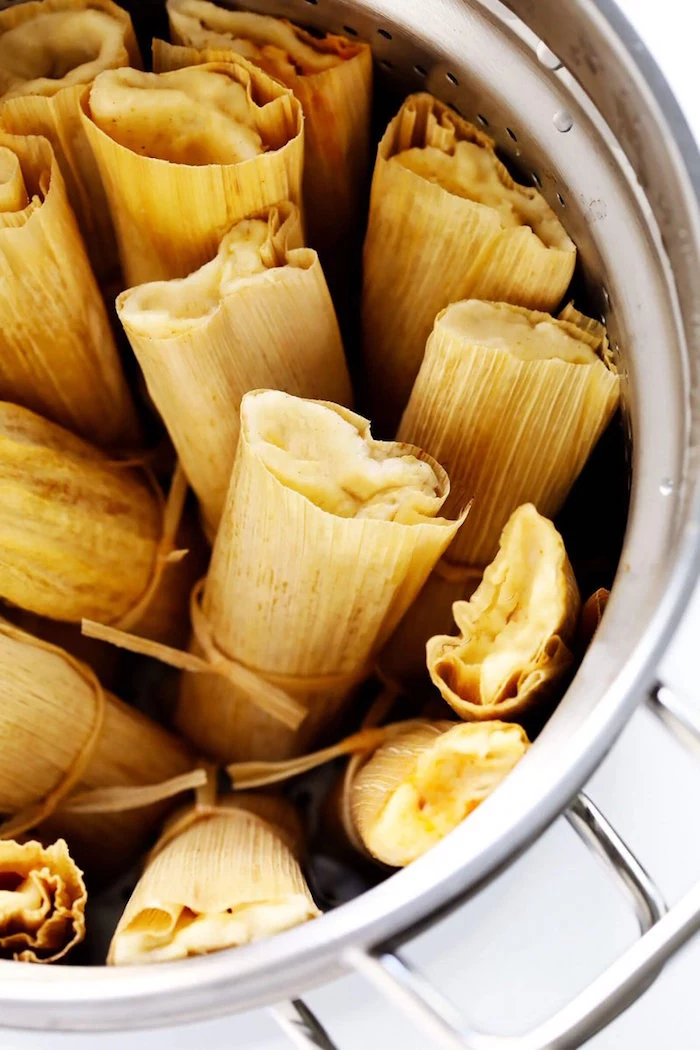
To assemble, just spread a thin layer of masa on a softened husk, add your filling (like that salsa roja with some shredded pork), fold it up, and steam the tamales standing upright in a pot for about 1 to 1.5 hours. They’re done when the husk peels away cleanly.
If your tamales come out dry or heavy, it’s almost always because the masa was too stiff or you didn’t whip it long enough. The float test is your best friend here.
Mastering the Pan: Searing and Stewing
So many iconic dishes depend on cooking meat properly—not just cooking it through, but developing deep, savory flavors through browning and slow simmering. That beautiful brown crust you get from searing meat is called the Maillard reaction, and it’s pure flavor.
True Carnitas (The Home Kitchen Way)
Traditionally, carnitas are slow-cooked in their own lard in giant copper pots. We can get that same incredible result in a heavy Dutch oven. This is a weekend treat, and the ingredients will likely cost you around $25-$30.
- 4 lbs pork shoulder (Boston butt), cut into 2-3 inch chunks
- 1 lb pork lard (you can find this at most grocery stores or a butcher shop)
- 1 orange, halved
- 1 onion, halved
- 4-5 cloves of garlic
- 1 tablespoon salt
Look, I know a pound of lard can be intimidating. But this is a celebration dish. I’ve seen the ‘healthy’ versions made with water, and they just produce bland, stringy pork. To get that signature texture—impossibly tender inside with crispy, crunchy edges—you have to use the lard. Trust me on this. Do it right just once.
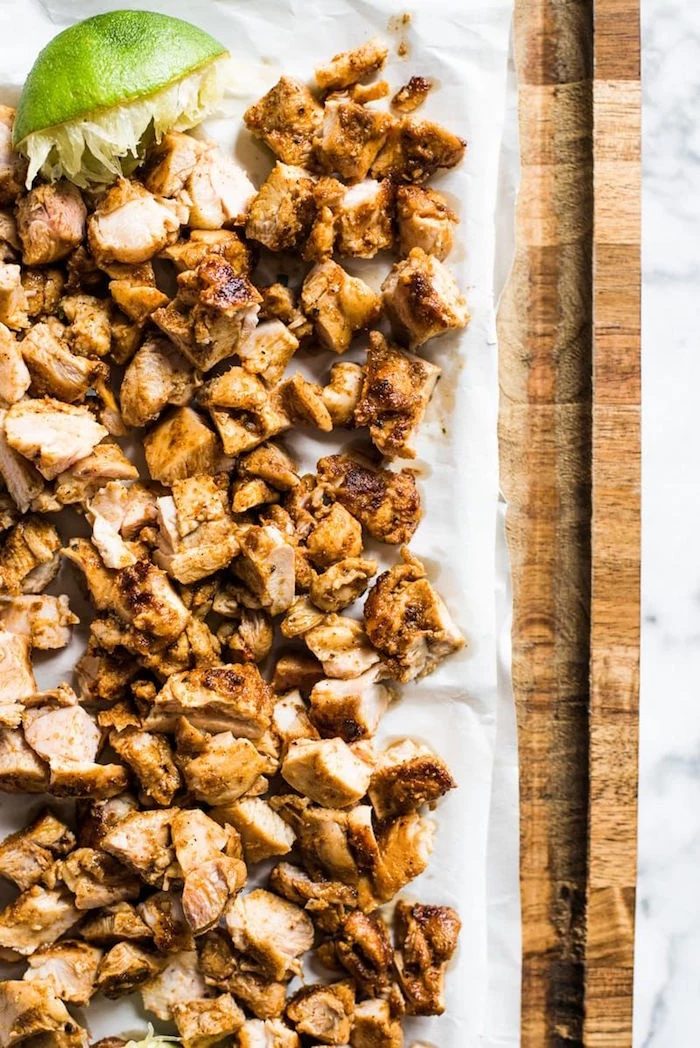
Just melt the lard, add all the ingredients, and let it simmer gently for 2.5 to 3 hours until the pork is fall-apart tender. Then, pull the meat out, put it on a baking sheet, and pop it under the broiler for a few minutes to get those amazing crispy bits. That’s it. Serve with warm corn tortillas, onion, cilantro, and a squeeze of lime.
Pro-tip: Leftover carnitas are amazing. They keep in the fridge for 4-5 days and get even better when you reheat them in a hot, dry skillet.
Essential Sides: Rice and Beans Done Right
Rice and beans are never an afterthought; they’re prepared with just as much care as the main event.
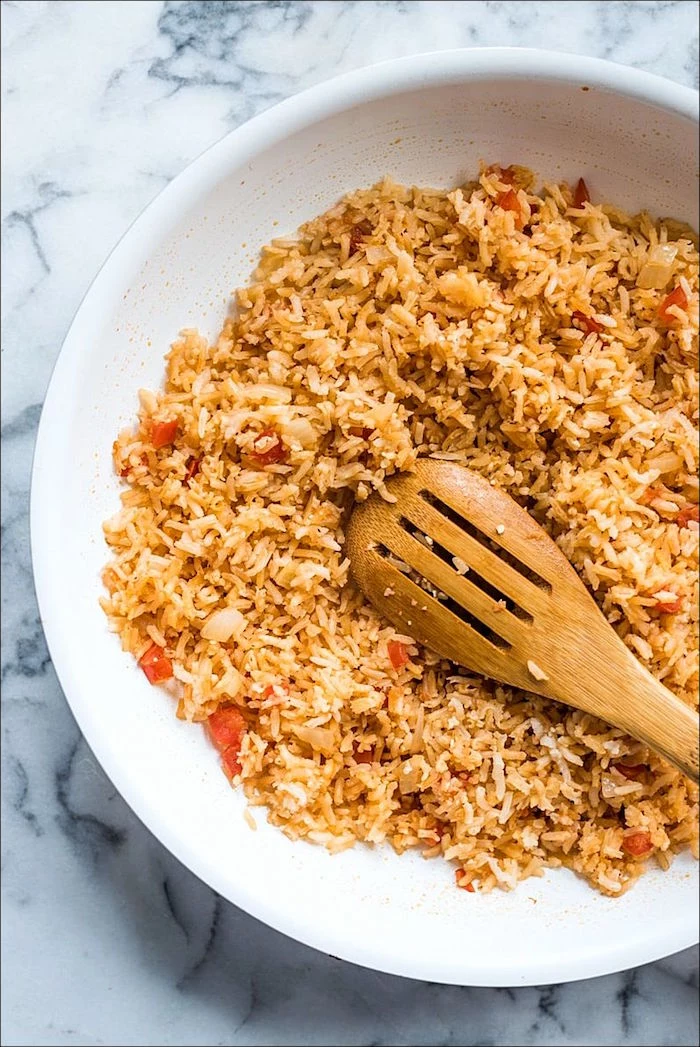
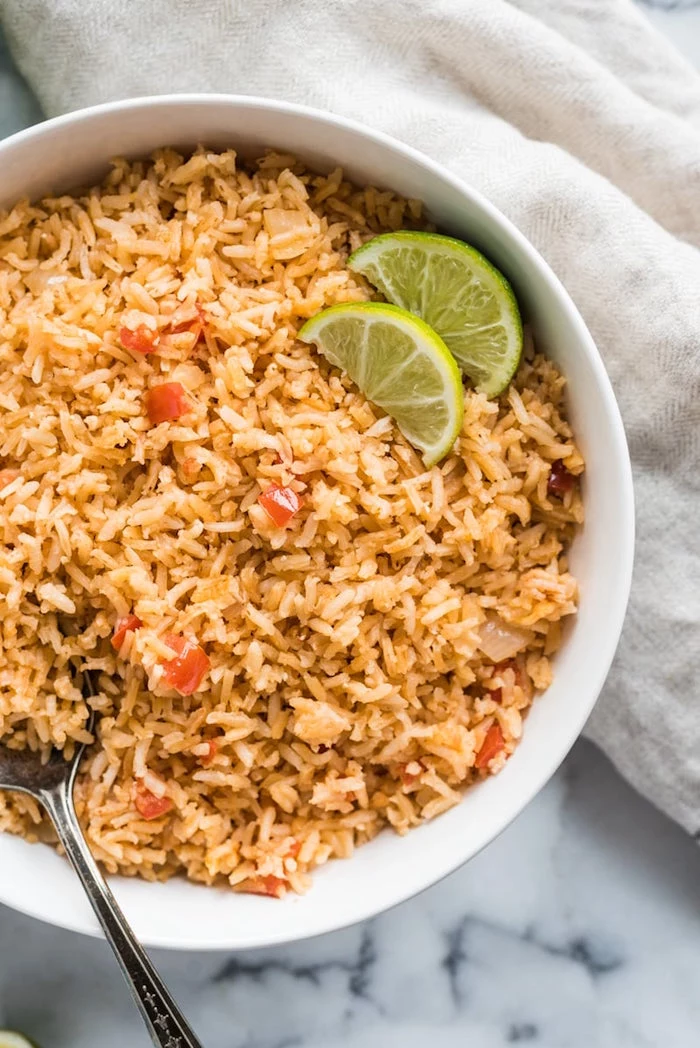
The secret to fluffy, separate-grain Mexican-style rice is toasting the dry rice in oil before you add any liquid. For beans, nothing beats starting from scratch. Canned is convenient, but the flavor doesn’t compare.
Quick guide to cooking beans: It’s easy! Take 1 lb of dried pinto beans, put them in a pot, and cover with 2 inches of water. Add half an onion and a few cloves of garlic. Let them simmer for 2-3 hours until tender (or about 30-40 minutes in a pressure cooker). That’s your base for real refried beans. Just mash them in a hot skillet with some lard or bacon fat and a little of their cooking liquid until creamy.
Don’t Have 3 Hours? Start Here.
Feeling inspired but not ready for an all-day project? Here’s a 5-minute win. Take one dried ancho chili, snip off the stem, and shake out the seeds. Toast it in a dry pan for 20 seconds per side until it’s fragrant. Let it cool, then grind it in a spice grinder with a tablespoon of coarse sea salt. Boom. You’ve just made an incredible finishing salt to sprinkle on eggs, avocado, or grilled chicken for an instant flavor boost.
Ultimately, this cuisine is a rich system of traditions. Don’t be intimidated. Just start with one thing. Make a great salsa this weekend. Learn the techniques, respect the ingredients, and understand the ‘why.’ That’s how you stop following a recipe and start really cooking.
Inspirational Gallery
Don’t fear the lard (manteca). While modern cooking often defaults to oil, traditional Mexican recipes for things like refried beans and tamales rely on high-quality pork lard. It provides a unique, savory depth of flavor and a superior, lighter texture that vegetable oil simply cannot replicate. Look for minimally processed leaf lard for the purest taste.
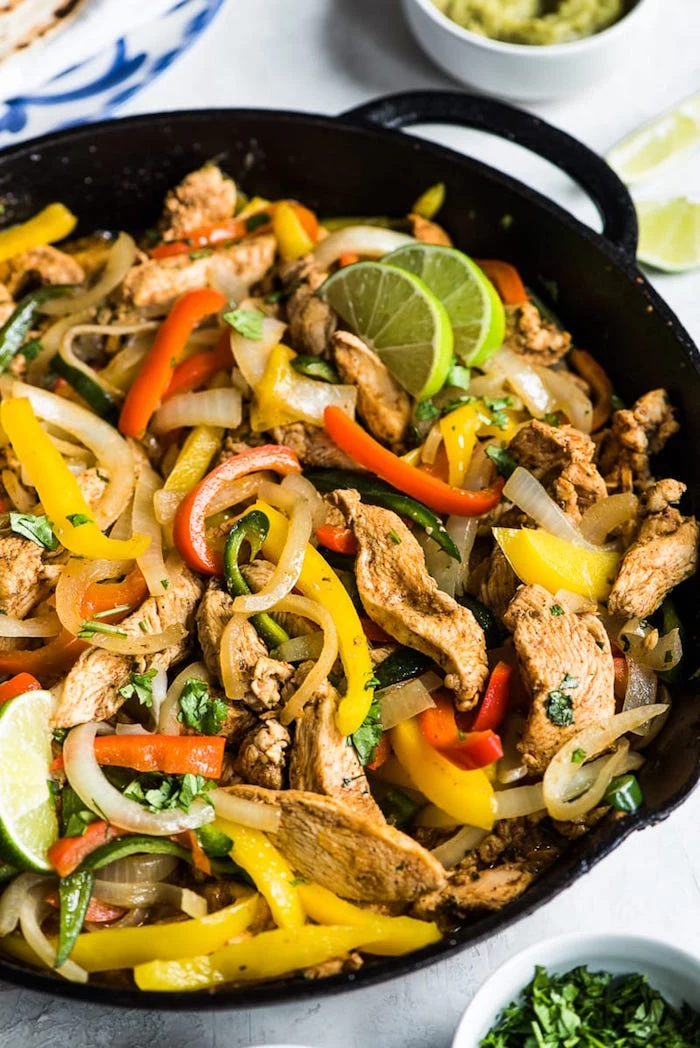
- Perfectly puffed, tender tortillas.
- A deeper, more complex flavor in your salsas.
- Evenly roasted vegetables with a hint of smoke.
The secret? A simple cast-iron comal or griddle. This inexpensive tool is the workhorse of the Mexican kitchen, providing the consistent, dry heat needed to toast, roast, and cook ingredients to perfection.
More than 64 distinct varieties of corn are native to Mexico, each with its own unique flavor, color, and texture profile.
This incredible biodiversity is why a tortilla from Oaxaca tastes so different from one made in the Yucatán. When you see heirloom corn masa harina from brands like Masienda, you’re not just buying flour; you’re tasting a piece of Mexico’s agricultural heritage.
Crucial Tip: Salt is not just for seasoning; it’s for transformation. When making salsas or guacamole, add your salt and lime juice to the chopped onions and chilies first. Let them sit for ten minutes. The salt will draw out moisture and soften their harsh bite, creating a more cohesive and deeply flavored base before you even add the tomatoes or avocado.
How do I get that authentic, slightly smoky flavor in my salsa roja?
The technique is called ‘tatemado,’ or charring. Don’t be shy about placing your tomatoes, onions, garlic (unpeeled), and chilies directly on a hot, dry comal or under a broiler. You want them blackened in spots. This process caramelizes their natural sugars and adds a smoky complexity that is the hallmark of a great table salsa.
Canned Chipotles in Adobo: A pantry powerhouse. These smoked and dried jalapeños are rehydrated in a tangy, sweet red sauce. A little goes a long way.
Dried Ancho Chilies: The workhorse. These are dried poblano peppers with a mild heat and sweet, raisin-like flavor, essential for many mole and adobo sauces.
For a quick, smoky crema, blend one or two chipotles from a can of La Costeña with sour cream and a squeeze of lime.
Your spice cabinet is a good start, but for true flavor, you need to think fresh. The ‘holy trinity’ of fresh Mexican herbs brings any dish to life:
- Cilantro: Use both the leaves and the tender stems, which carry even more flavor.
- Mexican Oregano: More floral and citrusy than its Mediterranean cousin. If you can’t find it fresh, dried is still better than the wrong kind.
- Epazote: This pungent herb is the traditional flavor of black beans, said to reduce their gassiness and add a unique, earthy taste.
- Crisp, bright acidity that cuts through richness.
- A vibrant, jewel-like color that makes any dish pop.
- A satisfyingly fresh crunch.
The key is quick-pickled red onions. Simply slice a red onion thinly, cover it in a jar with fresh lime juice, a pinch of salt, and maybe a sliced habanero. In 30 minutes, you have the perfect topping for cochinita pibil, tacos, or tostadas.
That stone mortar and pestle, the molcajete, isn’t just for decoration. Grinding garlic, chilies, and spices with coarse salt in a molcajete crushes the ingredients’ cell walls, releasing essential oils and creating an emulsion. This produces a salsa with a texture and depth of flavor that a blender’s sharp, cutting blades can never achieve.
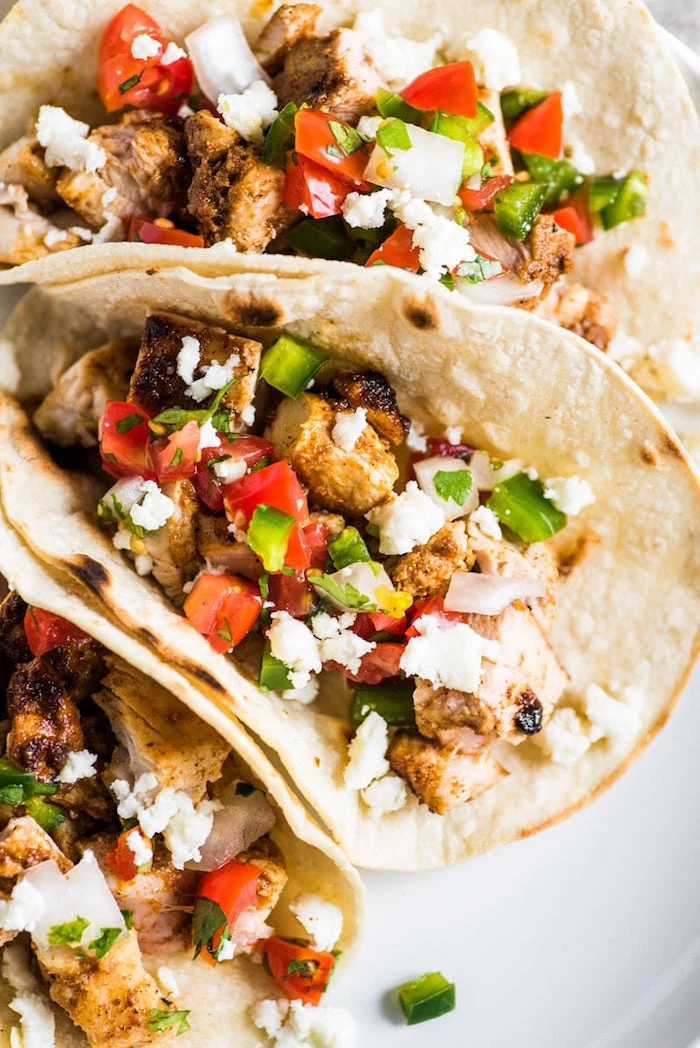
My tortillas always crack when I fold them. What’s wrong?
The problem is almost always heat and moisture. Cold, dry tortillas will break. The best way to warm them is one by one on a hot, dry comal or skillet for about 30-45 seconds per side, until they are soft and pliable. Stack the warmed tortillas in a clean kitchen towel or a tortilla warmer to keep them steamy and flexible until you’re ready to serve.
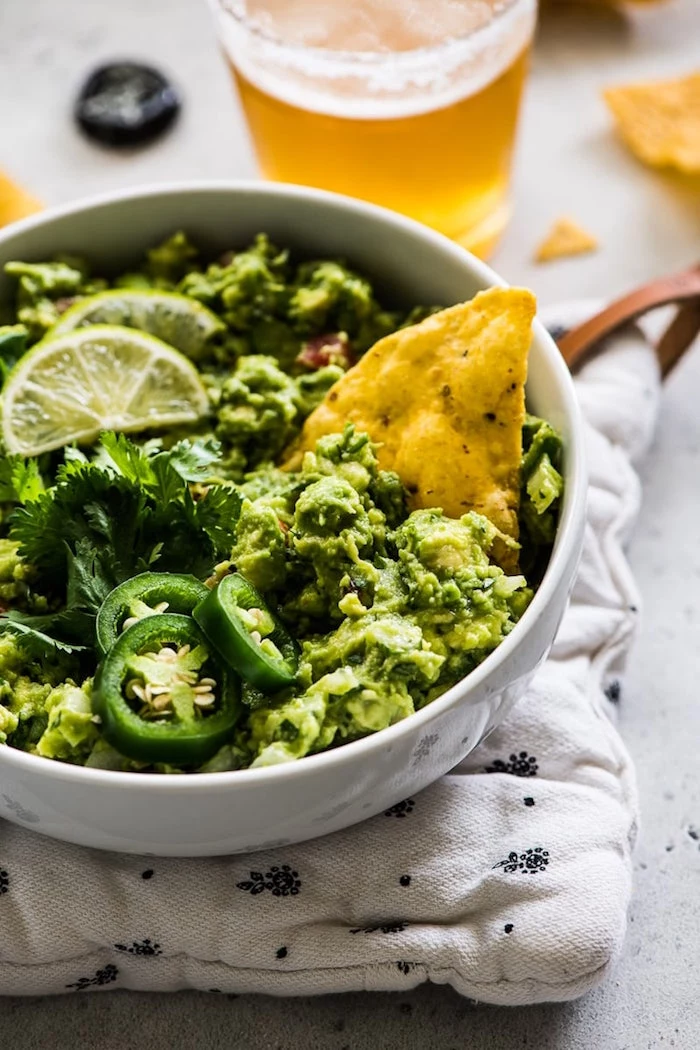
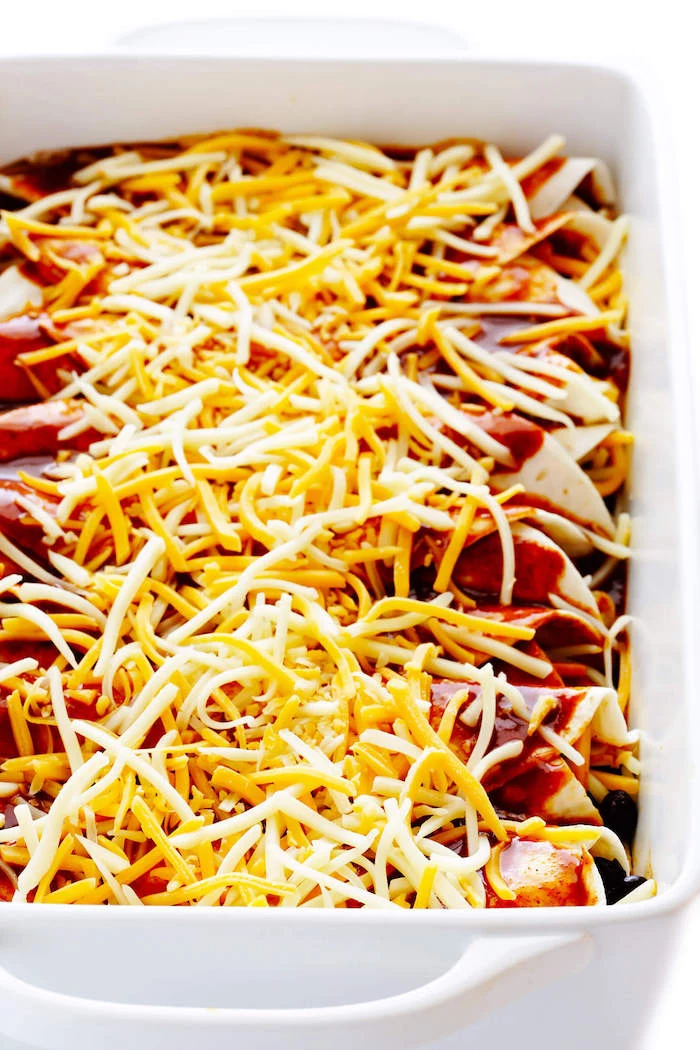
A Common Mistake: Using the wrong cheese. That bag of pre-shredded ‘Mexican Blend’ has its place, but for authenticity, seek out the real thing.
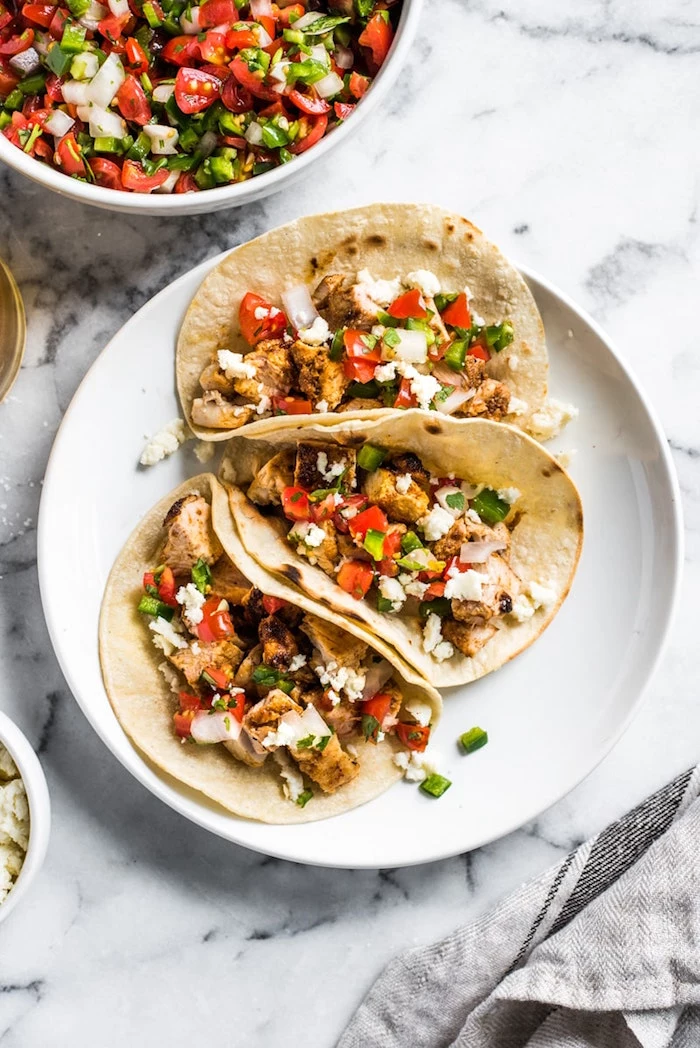
- Cotija: A hard, salty, aged cheese. It doesn’t melt; you crumble it over the top as a finisher, like Parmesan. Perfect for elotes and tacos.
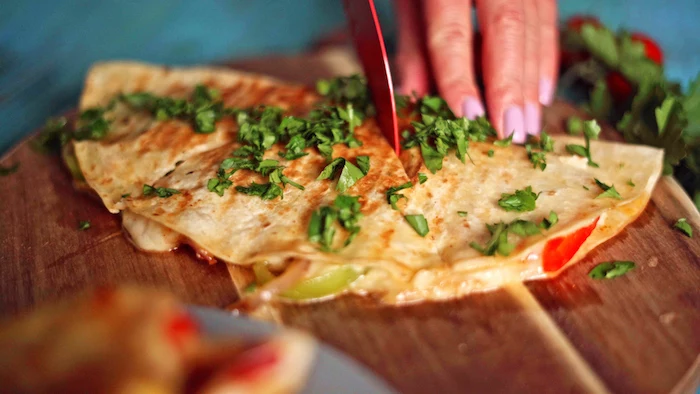
- Queso Oaxaca: A mild, stringy melting cheese, similar to mozzarella. It’s the cheese of choice for quesadillas.
- Queso Fresco: A soft, moist, and slightly salty fresh cheese. It crumbles easily and adds a creamy freshness to salads, beans, or enchiladas.
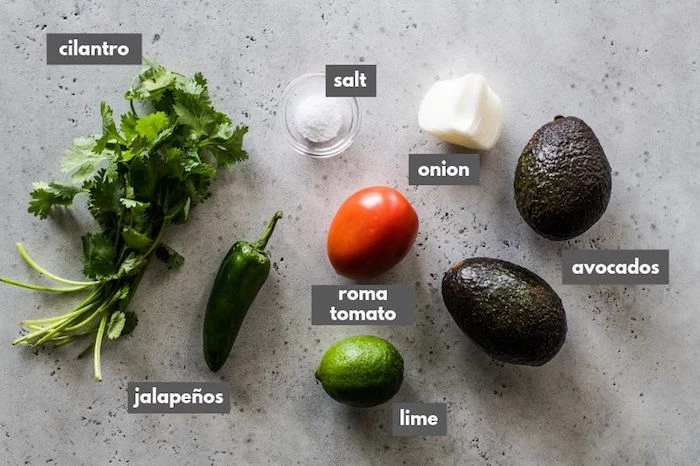
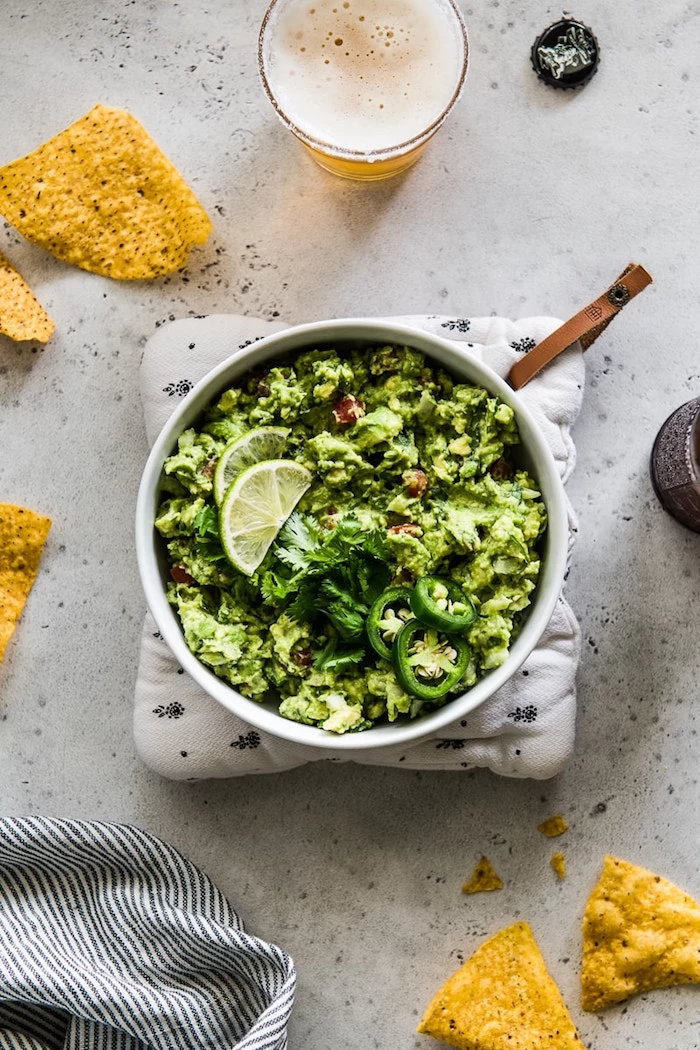
Important: Don’t just dump your spices in. Toasting whole spices like cumin seeds, coriander, and peppercorns in a dry pan for a minute until fragrant unlocks their aromatic compounds. Grind them right before using for an explosive flavor boost that pre-ground spices can’t match.
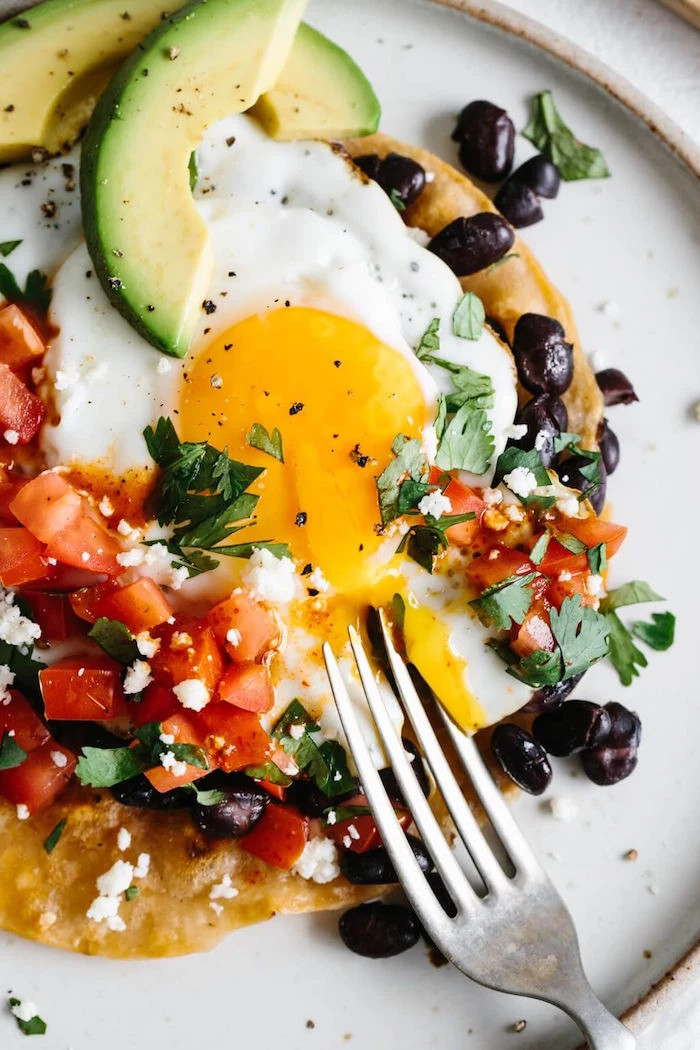
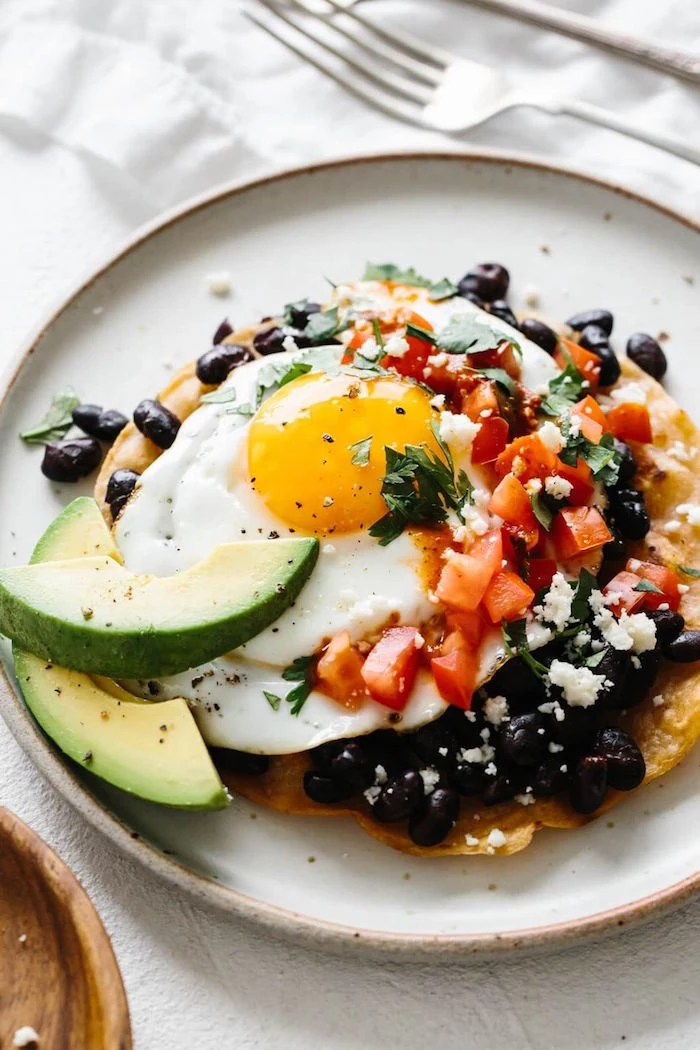
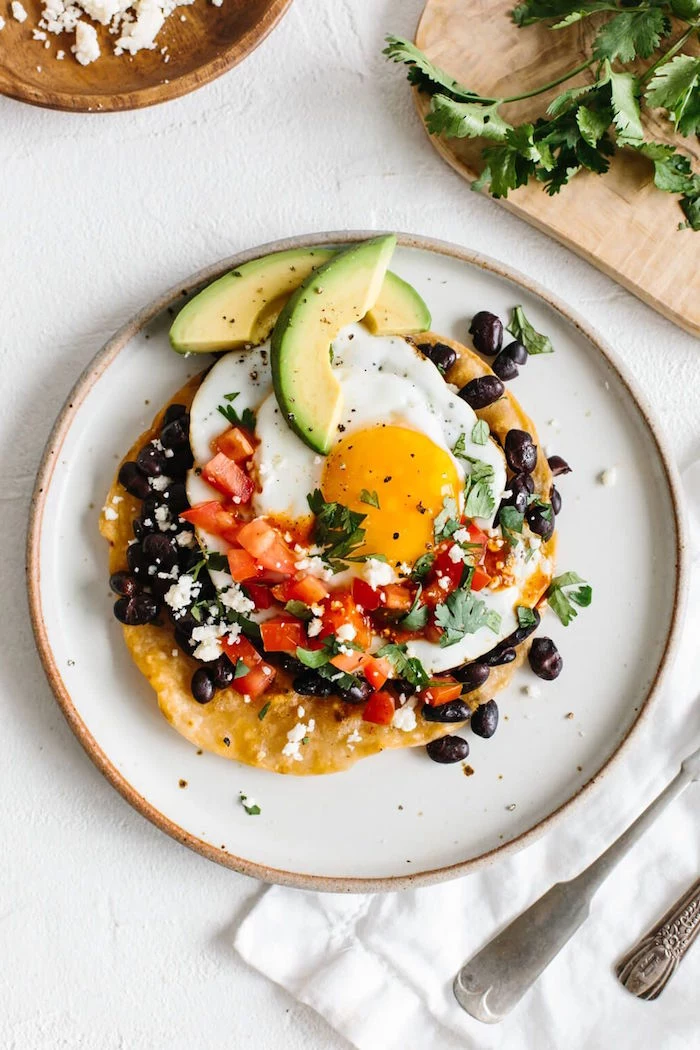
The word ‘avocado’ is derived from the Nahuatl word ‘āhuacatl,’ which also means ‘testicle,’ likely a reference to its shape and tendency to grow in pairs.
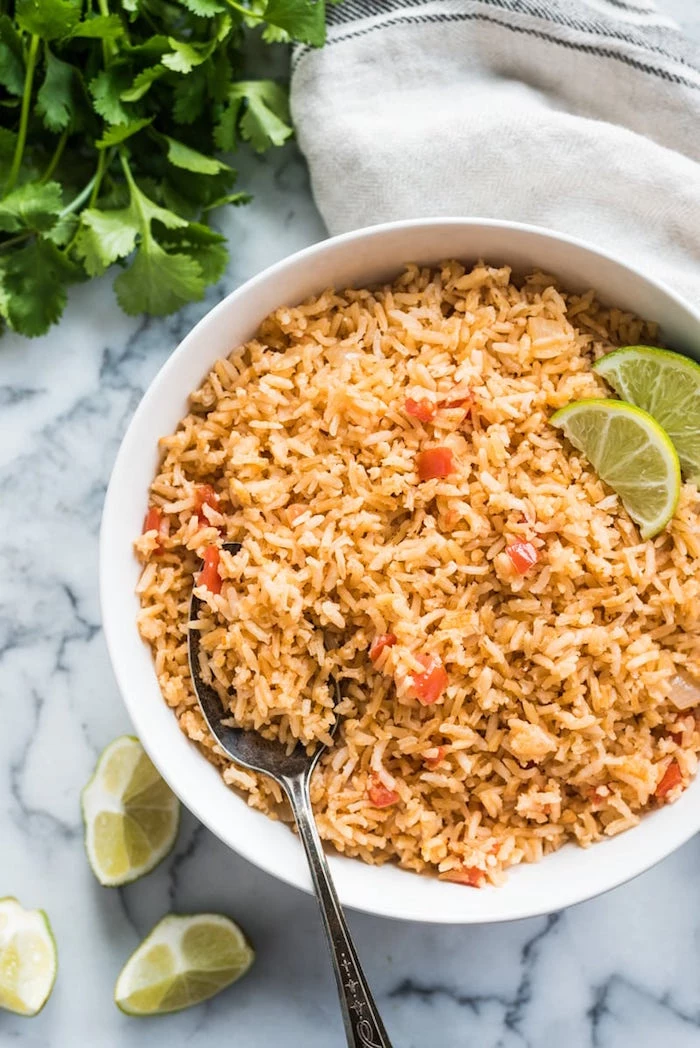
Unlock a new layer of flavor by thinking about your cooking liquid. Instead of just water, consider these options:
- For rice: Use chicken or vegetable broth instead of water and add a tablespoon of the tomato-onion-garlic purée from your salsa-making.
- For braising meats: A splash of Mexican beer (like Negra Modelo) or even orange juice can add complexity and help tenderize the cut.
- For rehydrating chilies: Use hot chicken stock to add an instant savory backbone to your sauce base.
Masa Harina: This is not cornmeal. Masa harina is flour made from corn that has been treated with an alkaline solution in a process called nixtamalization. This process unlocks nutrients (like niacin) and creates the distinct pliable, tortilla-friendly dough.
Cornmeal: This is simply finely ground dried corn. It’s great for cornbread or polenta, but it will not form a cohesive dough for tortillas.
Stick to a trusted brand like Maseca for reliable results when making tortillas, sopes, or tamales.
The secret to great refried beans is about building flavor in stages. Start by frying chopped onion and garlic in lard or bacon fat. Add the cooked beans along with some of their cooking liquid, mashing them partially with a potato masher. Let them simmer, stirring occasionally, until they thicken to your desired consistency. The goal isn’t a smooth purée, but a rustic texture with some whole beans remaining.
- Adds a savory, umami depth.
- Provides a silky, mouth-coating richness.
- Helps emulsify the fats and liquids.
The secret ingredient? A single chicken bouillon cube (like Knorr Suiza) crumbled into your pot of beans as they cook. It’s a trick used in countless Mexican households to give beans that irresistible, ‘moreish’ quality.
Fact: The capsaicin that gives chilies their heat is not water-soluble, which is why drinking water doesn’t help. It is, however, soluble in fat and alcohol. This is why dairy products like milk or crema are so effective at soothing the burn.
This principle is also why cooking chilies in oil or lard helps distribute their heat and flavor more effectively throughout a dish. The fat acts as a vehicle, carrying the capsaicin and other flavor compounds.
Is it okay to use cilantro stems?
Absolutely! In fact, you should. The stems of the cilantro plant are packed with even more of its signature bright, aromatic flavor than the leaves. Finely chop the tender upper stems and add them to your salsas, guacamoles, and marinades along with the leaves. Avoid only the thick, tough lower parts of the stalks.
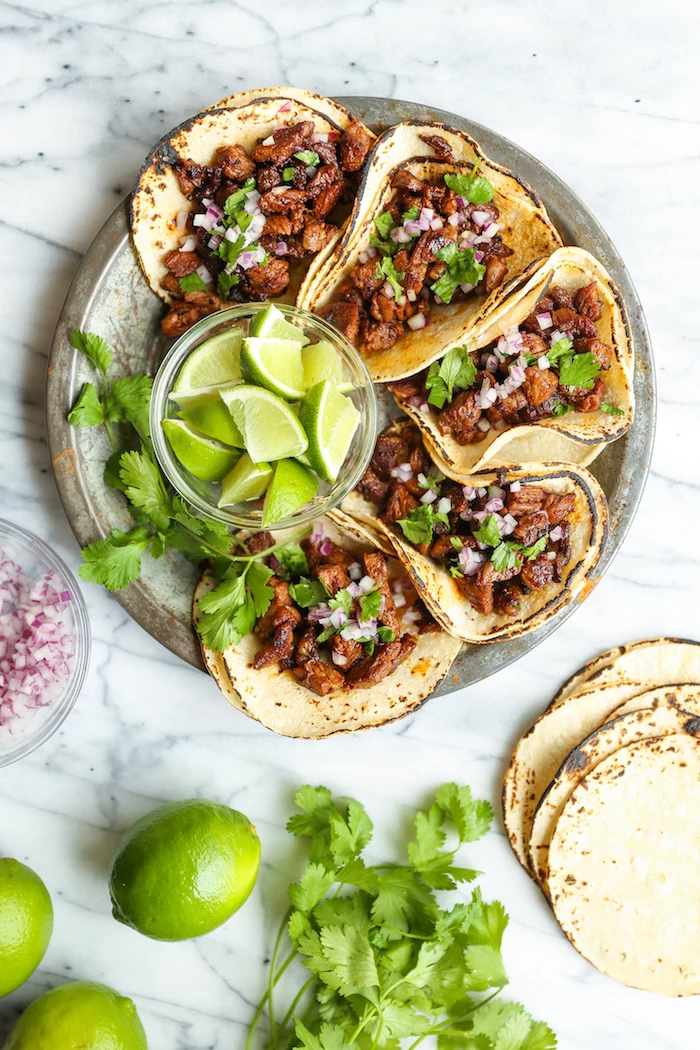
Sweet vs. Savory Onions: White onions are the default in most traditional Mexican cooking. They have a sharper, more forward flavor that holds up well to cooking and provides a clean, pungent crunch when used raw as a garnish. Save the sweeter red onions for things like pickled onions (cebollas curtidas) or ceviche, where their milder flavor and vibrant color are assets.
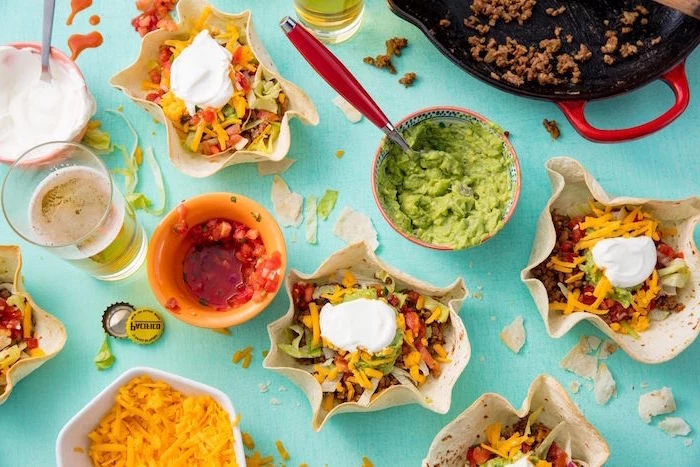
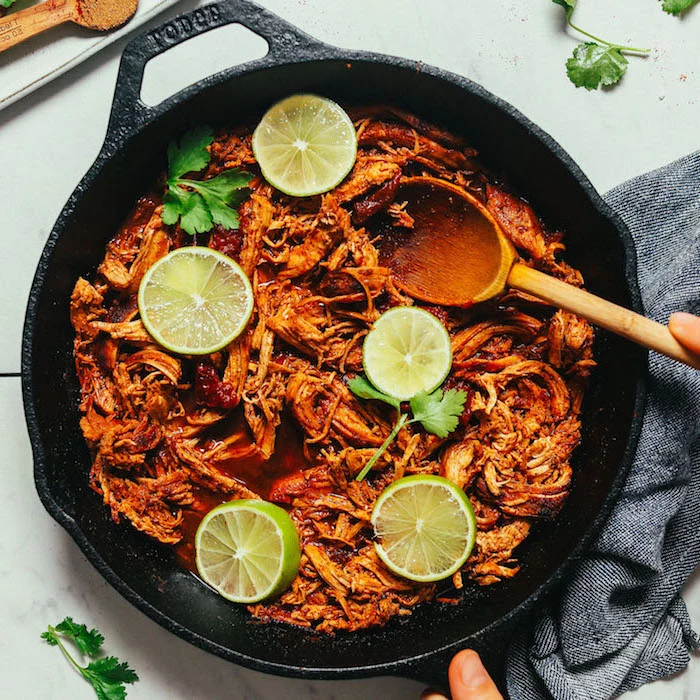
Go beyond a simple sprinkle of cilantro. A great dish engages all the senses, and texture is key. Elevate your tacos with a variety of garnishes:
- For Crunch: Finely shredded cabbage or thinly sliced radishes.
- For Creaminess: A dollop of Mexican crema or crumbled queso fresco.
- For Acidity: Pickled jalapeños or a generous squeeze of fresh lime.
- For Freshness: Diced white onion and, of course, fresh cilantro.
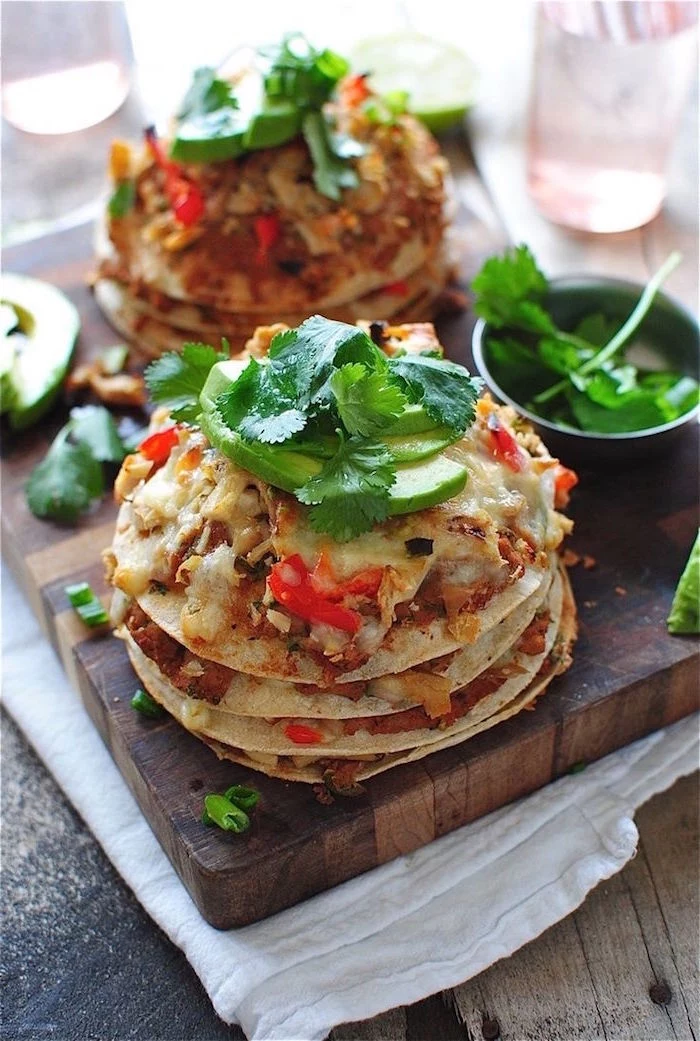
The ‘mole poblano,’ one of Mexico’s most famous dishes, is said to contain between 20 and 30+ ingredients, including multiple types of chilies, nuts, seeds, spices, and a small amount of dark chocolate.
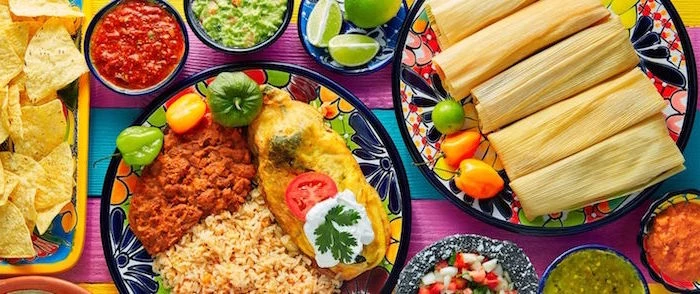
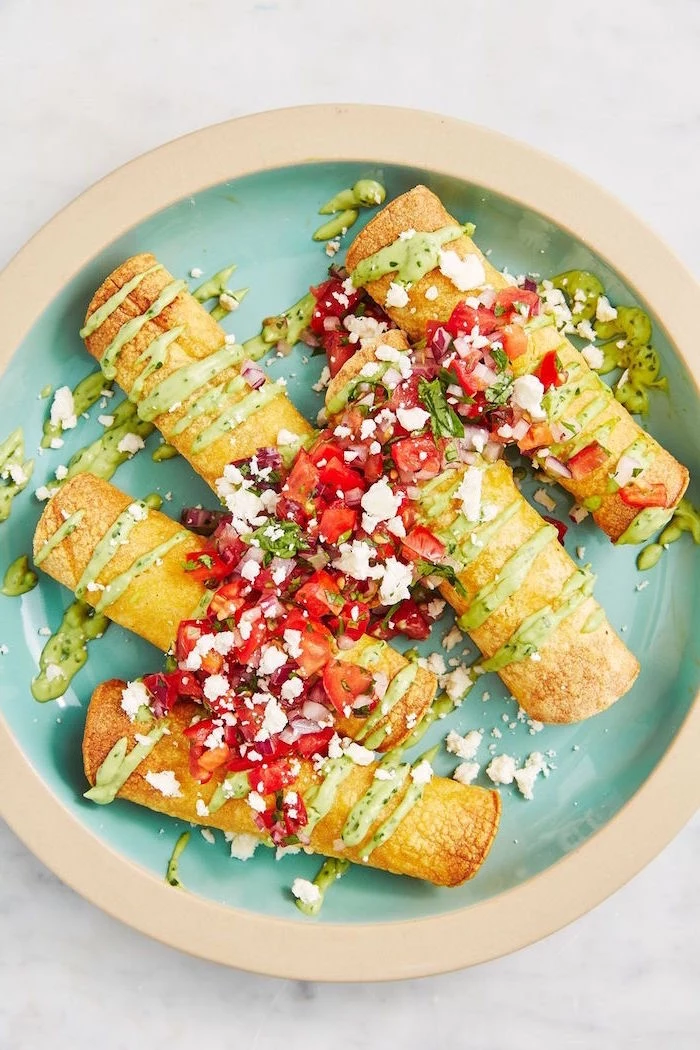
A surprising flavor balancer: a pinch of sugar. When making a rich, chili-based adobo or sauce, you’re balancing smoky, spicy, and acidic flavors. If your sauce tastes a little flat or overly bitter from the chilies, a tiny pinch of sugar or a bit of piloncillo (unrefined cane sugar) won’t make it sweet, but it will round out the edges and make all the other flavors sing in harmony.
When you take your beautifully seared carne asada or carnitas off the heat, resist the urge to chop it immediately. Let the meat rest on a cutting board for 5 to 10 minutes. This allows the juices to redistribute throughout the cut. Slicing too early means all that incredible flavor will spill out onto the board instead of staying in the meat, resulting in a dry, disappointing taco filling.


