For as long as I can remember, the real start of the holiday season isn’t the first snowfall—it’s the smell of butter, sugar, and spices warming up the kitchen. I learned the ropes ages ago from an old-school European master baker who taught me something that completely changed my cookie game: a beautiful decoration is pointless if the cookie itself is a mess.
Think of the cookie as your canvas. If that canvas spreads into a blob in the oven, the masterpiece is ruined before you even pick up a piping bag. So many people jump straight to the fun decorating part, but honestly, your success is pretty much decided the moment you start mixing the dough. Let’s get into the nitty-gritty of making cookies that are not only delicious but also perfectly shaped and ready for their close-up.
The Foundation: A Perfect No-Spread Cookie Dough
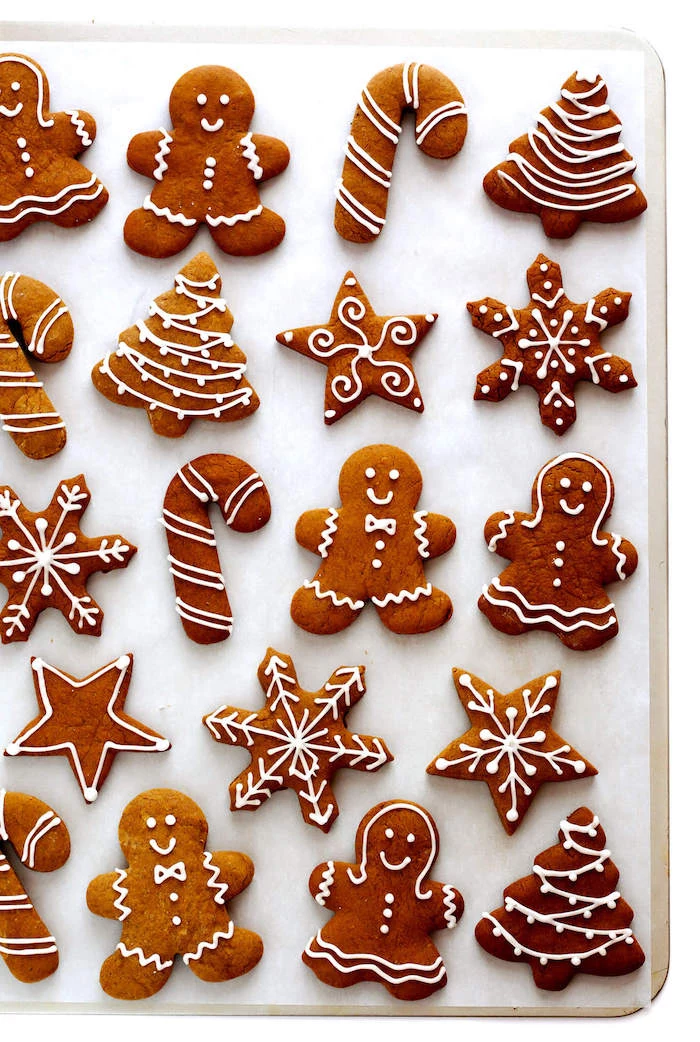
The number one enemy of a sharp, detailed cutout cookie is spread. You know, when your cute gingerbread people look like they’ve enjoyed the holiday feasts a little too early. It all comes down to controlling a few key things in your dough.
First up is the fat. Butter is king for flavor, but it’s tricky. When you cream cold butter and sugar, you’re creating tiny air pockets that give the cookie a little lift. But here’s the catch: if your butter is too soft or you over-whip it, you create too much air. That air expands, and the fat melts way too fast in the oven, causing your cookie to spread out. The sweet spot for butter temperature is around 65°F. It should give a little when you press it but still feel cool.
Next is the flour, which provides the structure. All-purpose flour is your go-to here. And you might notice my go-to recipe is missing something. There’s no baking powder or baking soda. Why? Because those are leaveners designed to make things puff up, which is the exact opposite of what we want for sharp, defined edges. We’re relying only on the air from the creaming process for a very slight, tender lift.
And finally, the most important tool you have is temperature. Chilling the dough isn’t a suggestion; it’s a non-negotiable rule. Chilling solidifies the butter. When you put a cold cookie in a hot oven, the flour and egg have time to set and build the cookie’s structure before the butter fully melts. This is what stops the spread in its tracks.
My Workhorse Sugar Cookie Recipe
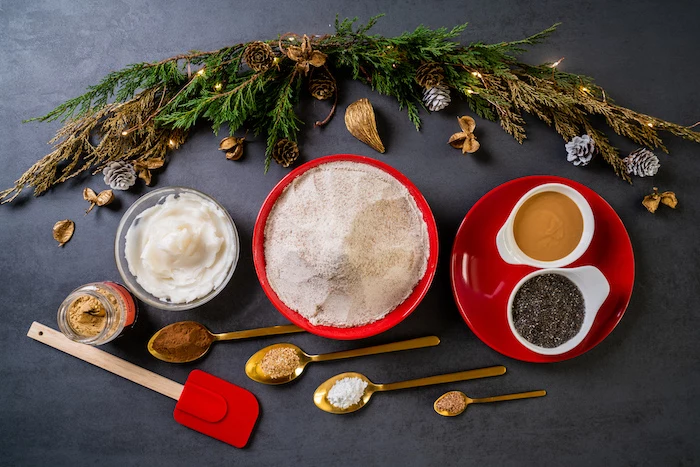
This is the recipe I’ve relied on for years. It’s sturdy, delicious, and holds its shape like a champ. A quick note: using a kitchen scale for baking is a game-changer for consistency. They’re only about $15 online and worth every penny.
Unsalted Butter: 227g (1 cup), cool but pliable
Granulated Sugar: 200g (1 cup)
Large Egg: 1, at room temperature
Vanilla Extract: 1 teaspoon (use the good stuff!)
All-Purpose Flour: 400g (about 3 1/4 cups)
Salt: 1/2 teaspoon
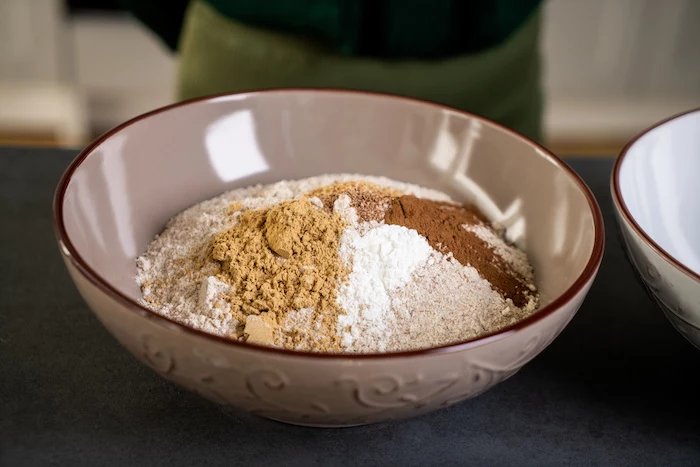
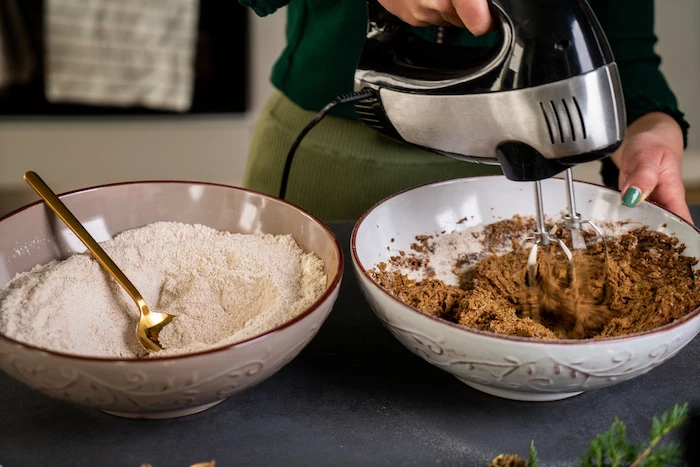
In a stand mixer with the paddle, cream the butter and sugar on medium for about 2-3 minutes. You want it to look like damp sand, not light and fluffy—we’re avoiding adding too much air. Add the room-temp egg and vanilla, mixing on low just until the yolk disappears. In a separate bowl, whisk your flour and salt, then add it to the mixer on the lowest speed until it’s just combined. Don’t overdo it, or you’ll get tough cookies.
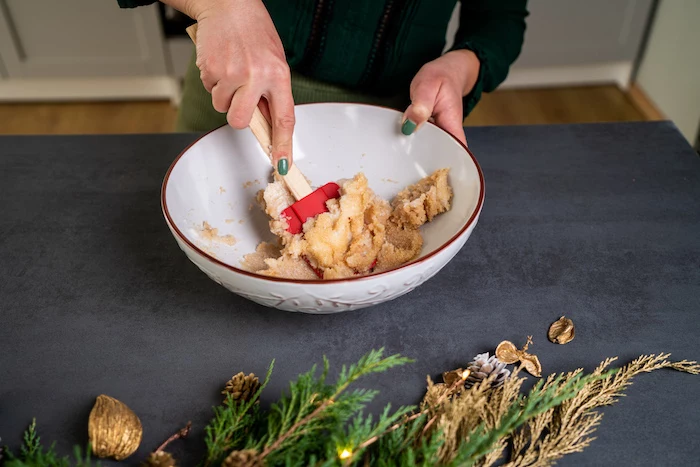
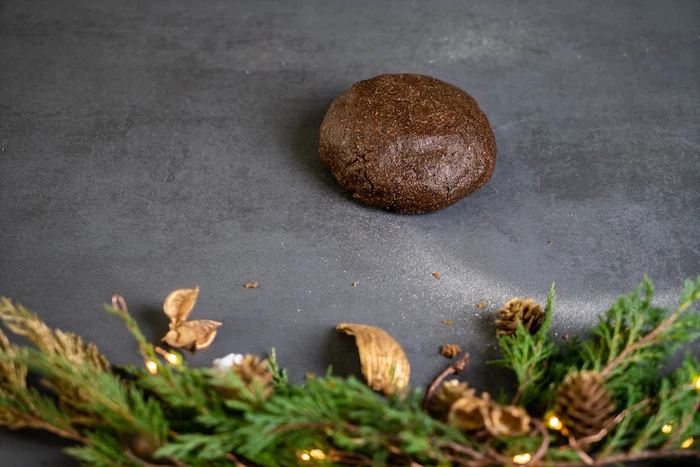
The dough will look crumbly, and that’s normal! Dump it onto your counter and gently knead it a couple of times to bring it together. Divide it in half, press each into a 1-inch thick disk, wrap tightly in plastic, and refrigerate for at least two hours. Honestly, 24 hours is even better. It lets the flour fully hydrate and makes the flavor way better.
Heads up! If you only have a hand mixer, the process is the same, it just takes a bit more patience. No mixer at all? You can do this by hand with a sturdy spatula and some muscle. Just make sure your butter is a little softer to start, or your arm will get a serious workout.
Quick Dough Troubleshooting:
Dough too crumbly? If it’s just not coming together, add a tiny splash (like, half a teaspoon) of cold milk or water.
Dough too sticky? It might be a bit warm. Try dusting your hands and the dough with a tiny bit more flour, but don’t go crazy, or you’ll dry it out. Chilling it again is usually the best fix.
Baking for Sharp Edges
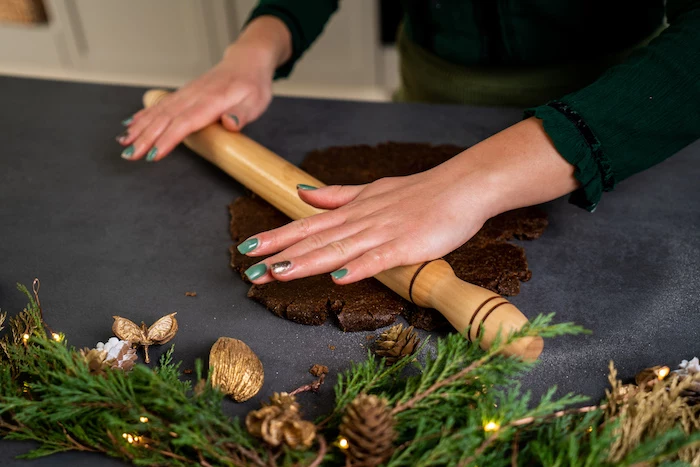
When you’re ready to bake, only work with one dough disk at a time. To get perfectly even cookies (which means they bake evenly), use rolling pin guides. You can buy fancy ones, or just grab two identical wooden dowels from a craft store. I always roll my dough to a 1/4-inch thickness.
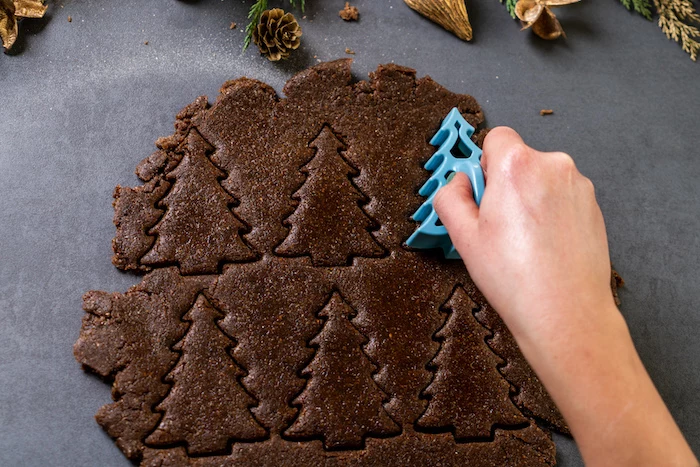
Cut your shapes close together and place them on a baking sheet lined with parchment paper. And now for my ultimate secret weapon: once the baking sheet is full, slide the entire pan into the freezer for 10-15 minutes. This final, intense chill is what makes the difference between a gingerbread man and a gingerbread blob. It guarantees the sharpest edges possible.
Bake at 350°F (175°C) for 10-12 minutes. You’re looking for the barest hint of golden brown on the very edges. Let them cool on the pan for five minutes before moving them to a wire rack. And please, let them cool completely. Decorating a warm cookie is a one-way ticket to a melted, soupy mess.
Mastering Royal Icing
Royal icing is the go-to for cookie decorating because it dries hard, which means you can stack, pack, and ship your creations without a single smudge. It sounds fancy, but it’s really simple.
The magic ingredient is meringue powder. This is basically dried, pasteurized egg whites mixed with a stabilizer. It’s way safer and more consistent than using raw egg whites. You can find it in the baking aisle at stores like Walmart or Michaels, or online. A can of Wilton meringue powder costs about $8-$12 and will last you for ages.
The Royal Icing Recipe I Swear By
Sifted Powdered Sugar: 455g (about 4 cups)
Meringue Powder: 30g (4 tablespoons)
Warm Water: 90-120ml (6-8 tablespoons)
Clear Vanilla Extract: 1 teaspoon (optional)
In a stand mixer with the whisk attachment, combine the sifted powdered sugar and meringue powder. Sifting is a must to avoid lumps! With the mixer on low, slowly pour in 6 tablespoons of warm water. Once it’s combined, crank the speed to medium-high and whip for 4-5 minutes until it’s bright white and forms stiff, glossy peaks. This is your base icing. Always keep it covered with a damp cloth or plastic wrap touching the surface, because it dries out in a flash.
Pro Tip: Got leftover icing? Don’t toss it! Scrape it into an airtight container, press a piece of plastic wrap directly onto the surface of the icing to prevent a crust from forming, and pop it in the fridge. It’s good for at least a week. Just let it come to room temp and give it a good stir before using it again.
The Art of Icing Consistency
Okay, this is where beginners often get tripped up. Getting the right icing consistency is everything. You’ll create different consistencies from your stiff base by adding water with a small spray bottle, just a few drops at a time.
Piping Consistency (For Outlines & Details): Think of this as your structural icing. You want a texture that’s like toothpaste. When you lift your spatula, a peak should form and hold its shape, maybe with a tiny curl at the very tip. This is what you’ll use to build a ‘dam’ around the edge of your cookie and to add fine details on top later.
Flood Consistency (For Filling In): This is your thinner, smoother icing for filling the areas you just outlined. The gold standard here is the ’10-second rule.’ When you drizzle a ribbon of icing back into the bowl, the line should disappear completely into the surface in about 10 seconds. If it vanishes instantly, it’s too thin. If a line is still visible after 15 seconds, it’s too thick.
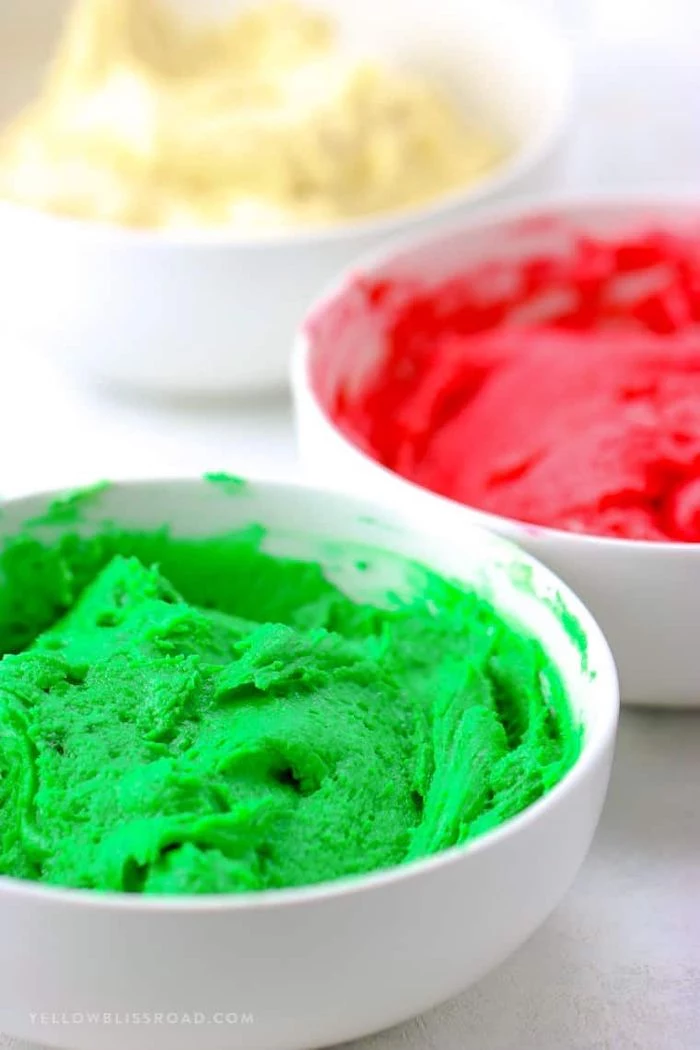
A word on coloring: use gel-based food colors, not the liquid drops from the grocery store. Liquids will mess up your carefully crafted consistency. I recommend starting with a kit from AmeriColor or ChefMaster, which you can find online for $15-$25. They have amazing color payoff without a bitter aftertaste. By the way, deep colors like red and black develop over time. Color your icing, cover it, and let it sit for a few hours (or even overnight) to get the true, deep shade.
Decorating: Let the Fun Begin!
With your cooled cookies and perfect icing, it’s time to decorate. You’ll need piping bags and a scribe tool (a long needle tool, but a simple toothpick works great, too).
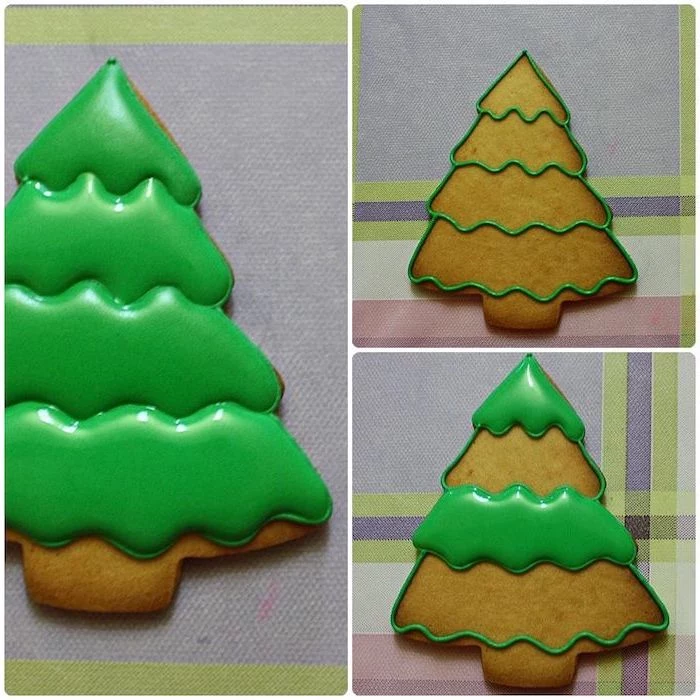
First, outline your cookie with the piping-consistency icing, creating a dam. Let it set for 10-15 minutes. Then, fill the inside with your flood-consistency icing. Don’t overfill! Use your scribe tool or toothpick to nudge the icing into corners and pop any air bubbles. Popping bubbles is crucial for getting that flawless, glassy finish.
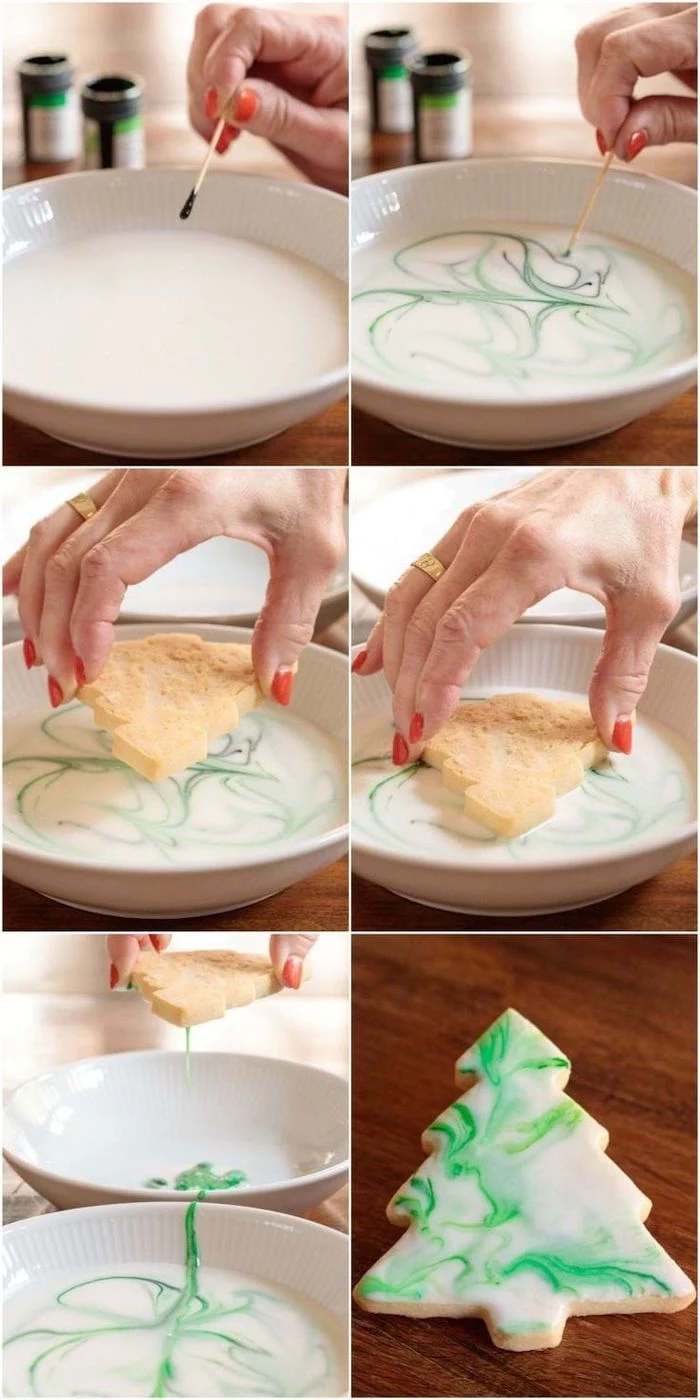
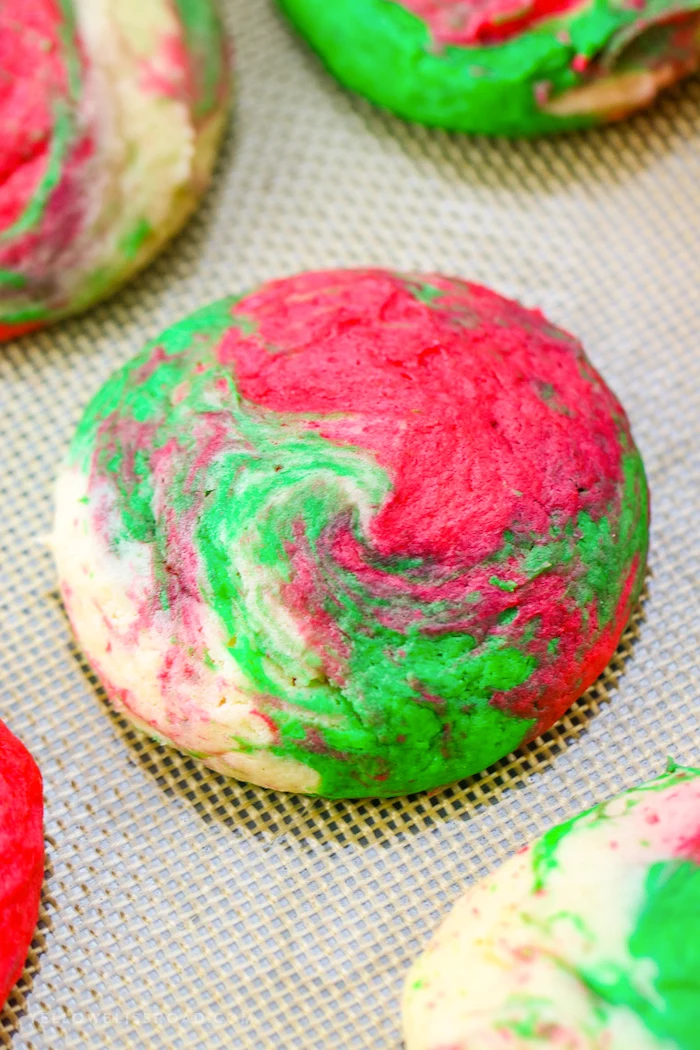
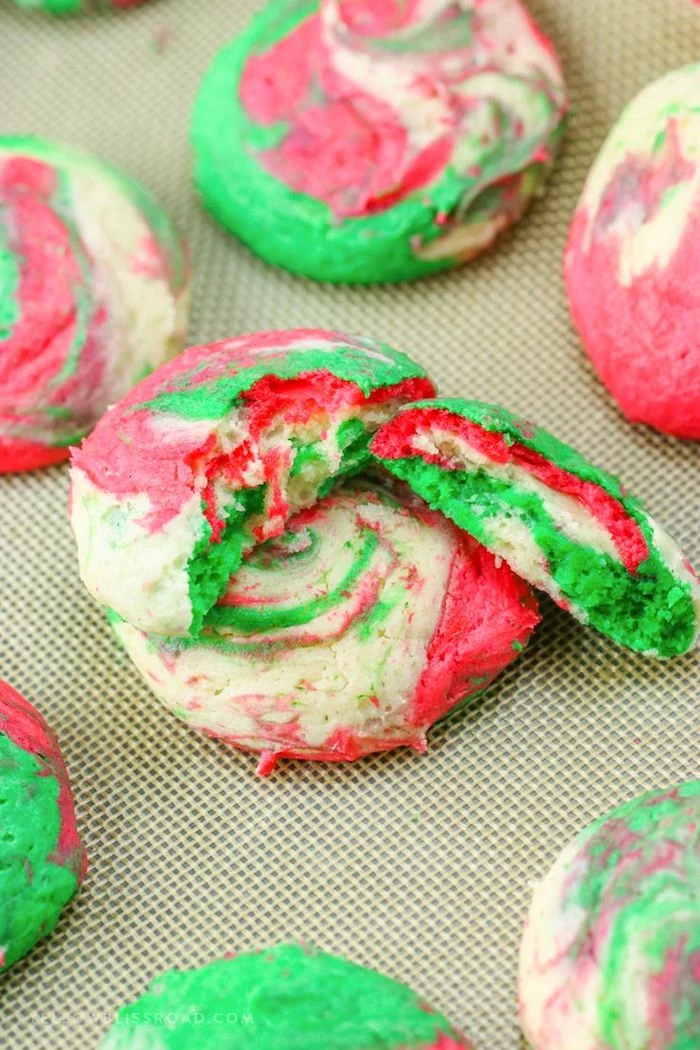
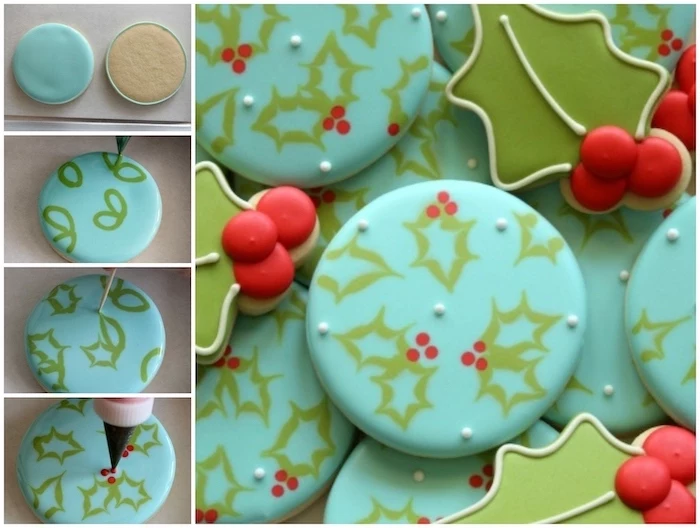
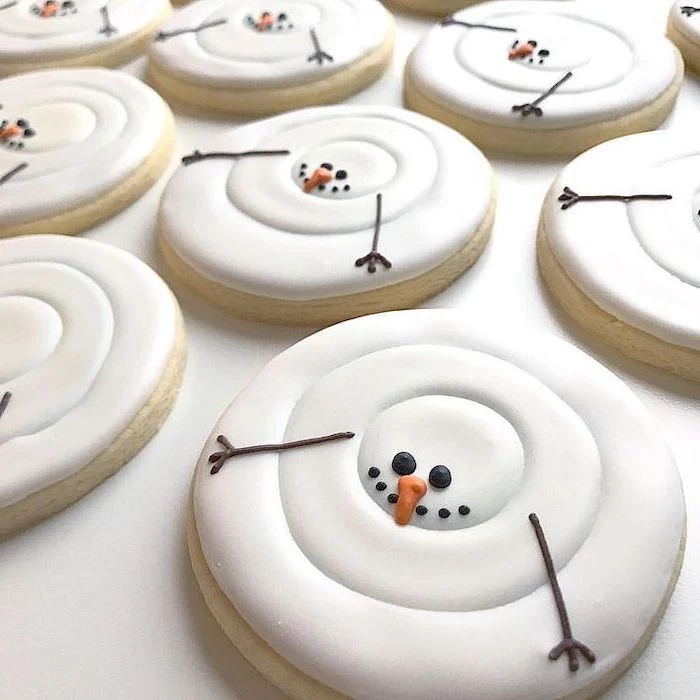
While the flood icing is still wet, you can do some simple but impressive ‘wet-on-wet’ designs. Drop dots of another color for polka dots, or pipe lines and drag a toothpick through them for a marbled look.
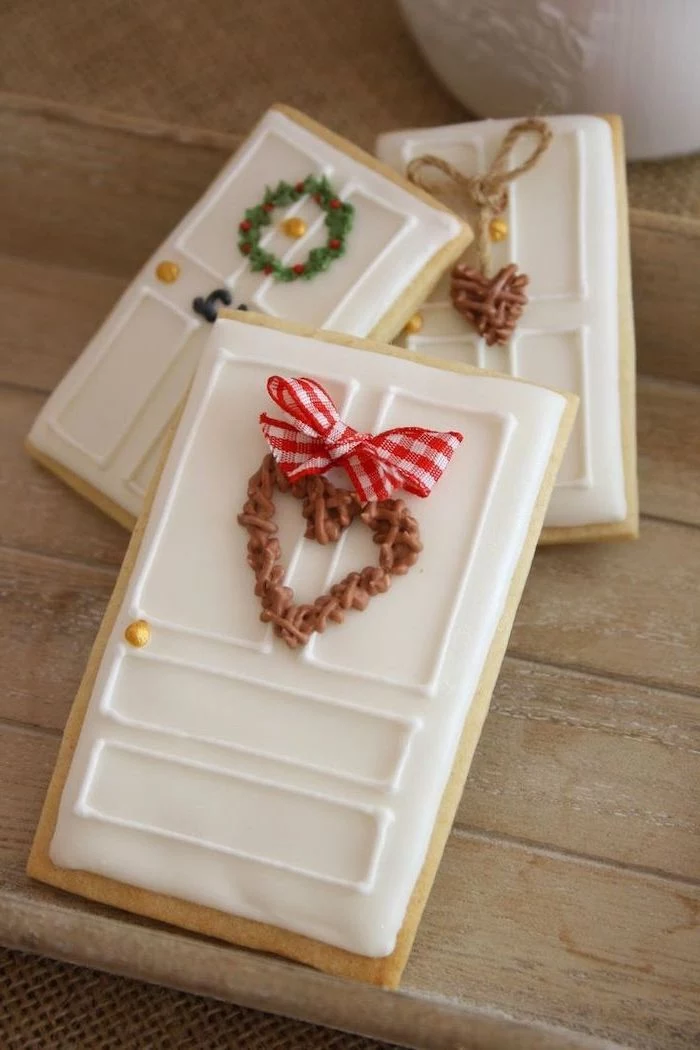
For more detailed, 3D designs, you have to work in layers. Let your flooded base dry completely—and I mean completely. This can take 8-24 hours depending on humidity. A small fan pointed at the cookies can speed this up. Once the base is rock hard, you can pipe details on top with your outline icing to add texture, letters, or other raised elements.
Storing Your Masterpieces (And Your Dough!)
This is the part everyone asks about! How do you keep all your hard work safe?
Raw Dough: This dough freezes like a dream. Double-wrap your raw dough disks in plastic wrap, then pop them in a freezer bag. They’ll be perfect for up to 3 months. Just thaw them overnight in the fridge before you plan to roll them out.
Baked, Undecorated Cookies: You can bake the cookies ahead of time. Once completely cool, store them in an airtight container at room temperature for up to a week, or freeze them for a few months.
Finished, Decorated Cookies: This is the big one. Let the royal icing dry COMPLETELY. Do not rush this. Give it a full 24 hours in the open air. Once they are 100% hard, you can store them in a single layer in an airtight container at room temperature. If you need to stack them, place a sheet of parchment paper between each layer. Do not put them in the fridge—the condensation will ruin the icing!
A Final Thought…
Look, baking and decorating is a skill that takes practice. Your first batch probably won’t look like the flawless ones you see online, and that is more than okay. My first attempts certainly didn’t! But when you understand the ‘why’ behind each step—why you chill the dough, why consistency matters—you empower yourself to fix problems and get better with every batch. So just have fun with it. The real reward is the joy of making something wonderful (and delicious) with your own two hands.
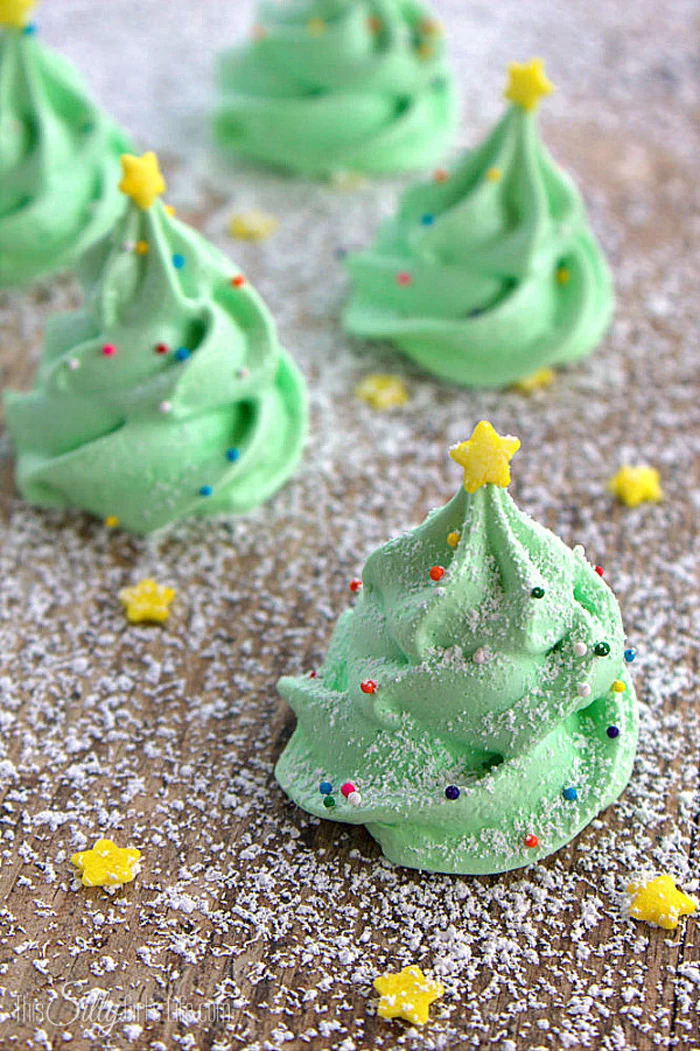
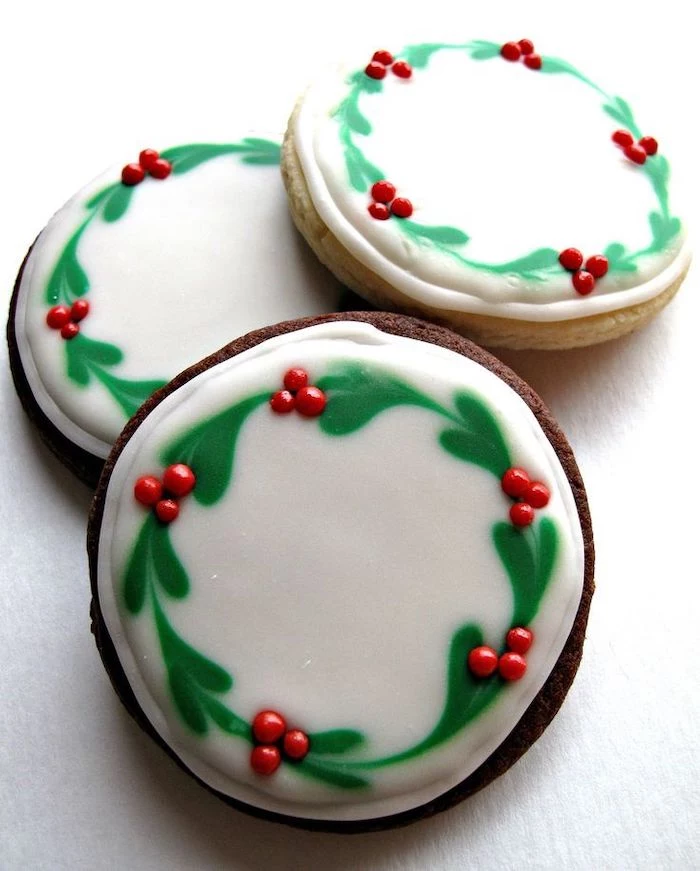
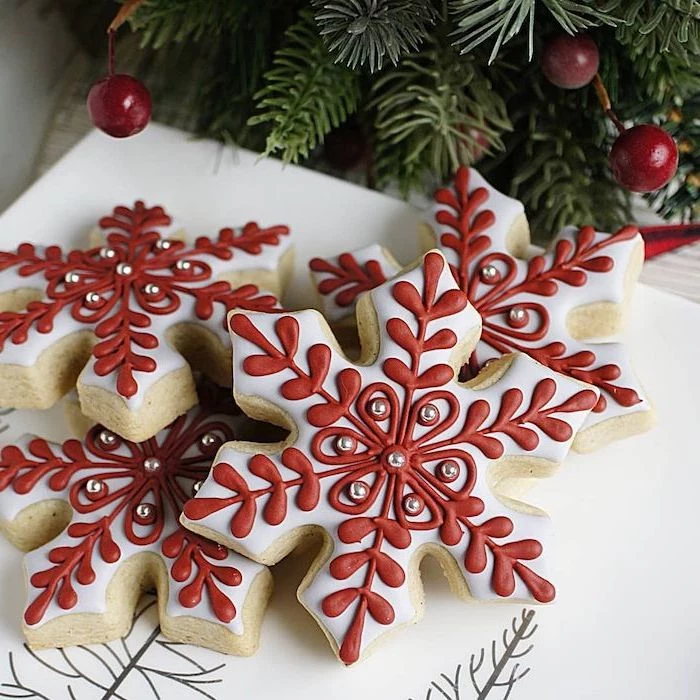
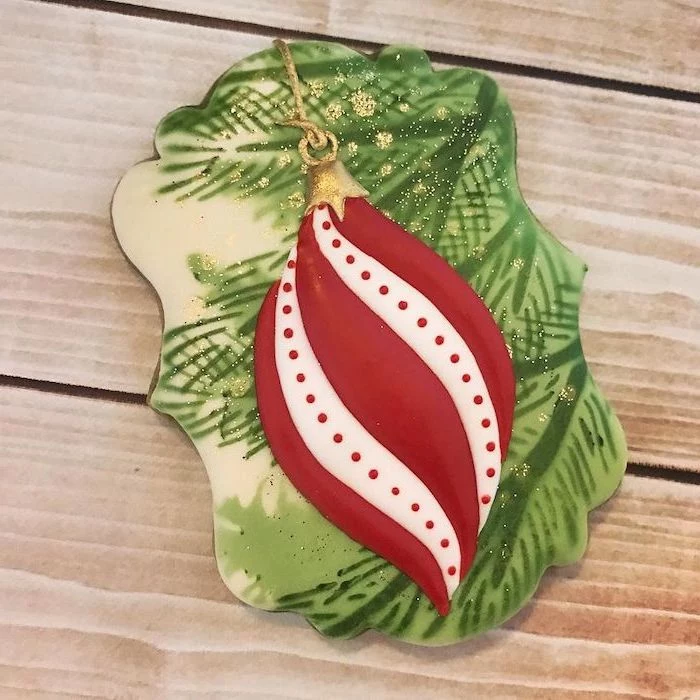
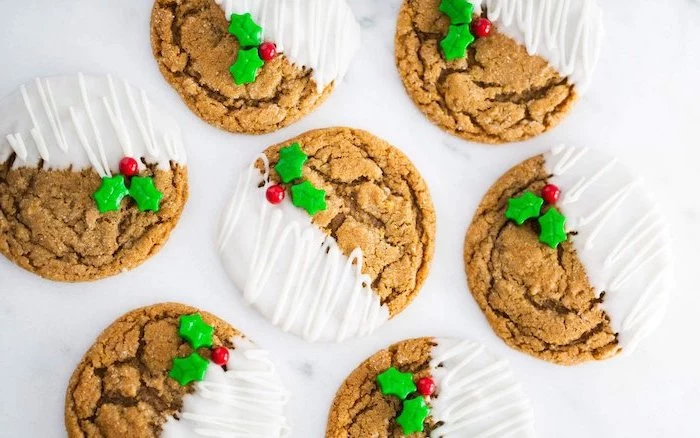
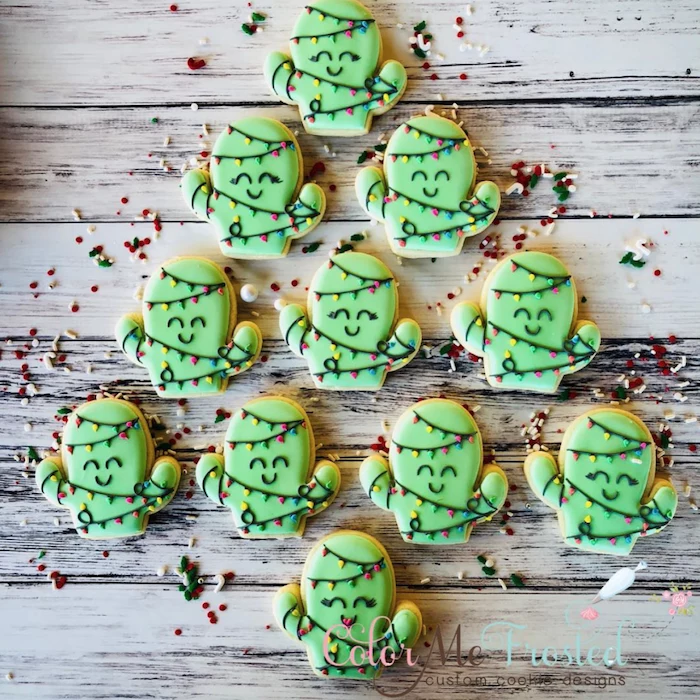
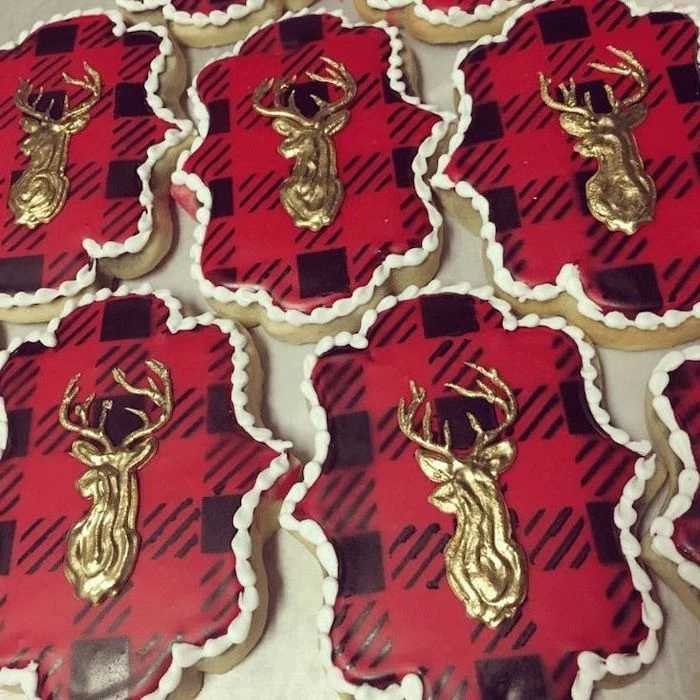
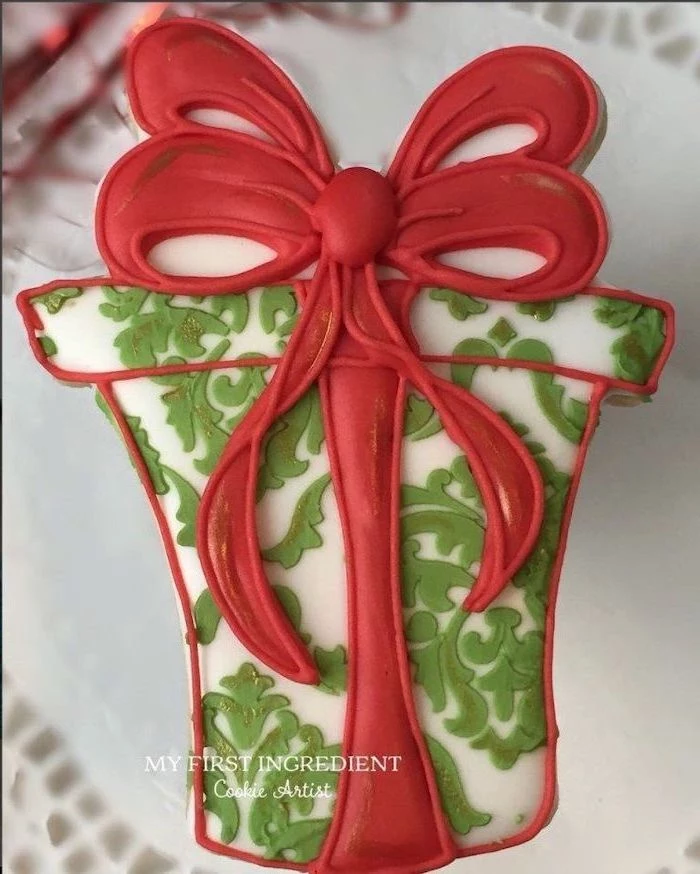
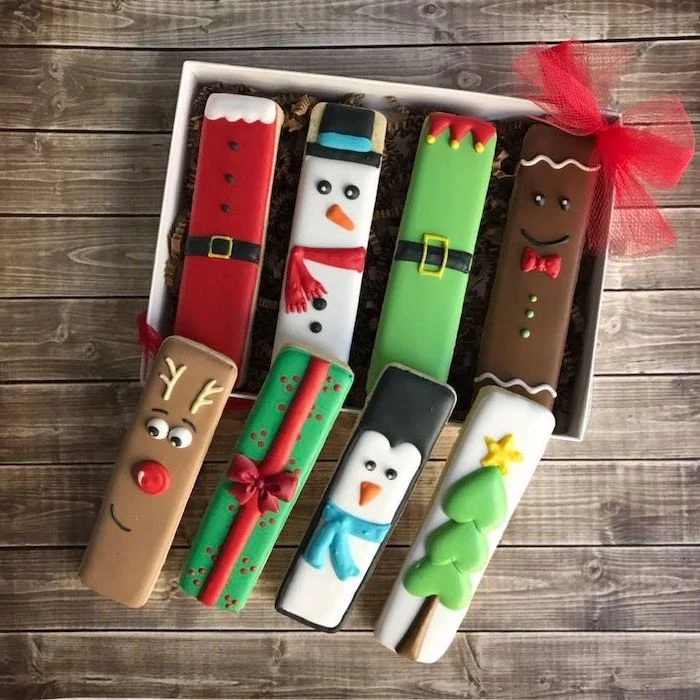
Inspiration Gallery
For perfectly uniform cookies, consider your rolling pin. While a classic American-style pin with handles works, many bakers swear by a French-style tapered pin. It gives you a better feel for the dough’s thickness, allowing you to apply pressure more precisely and avoid thin spots that burn or thick spots that underbake.
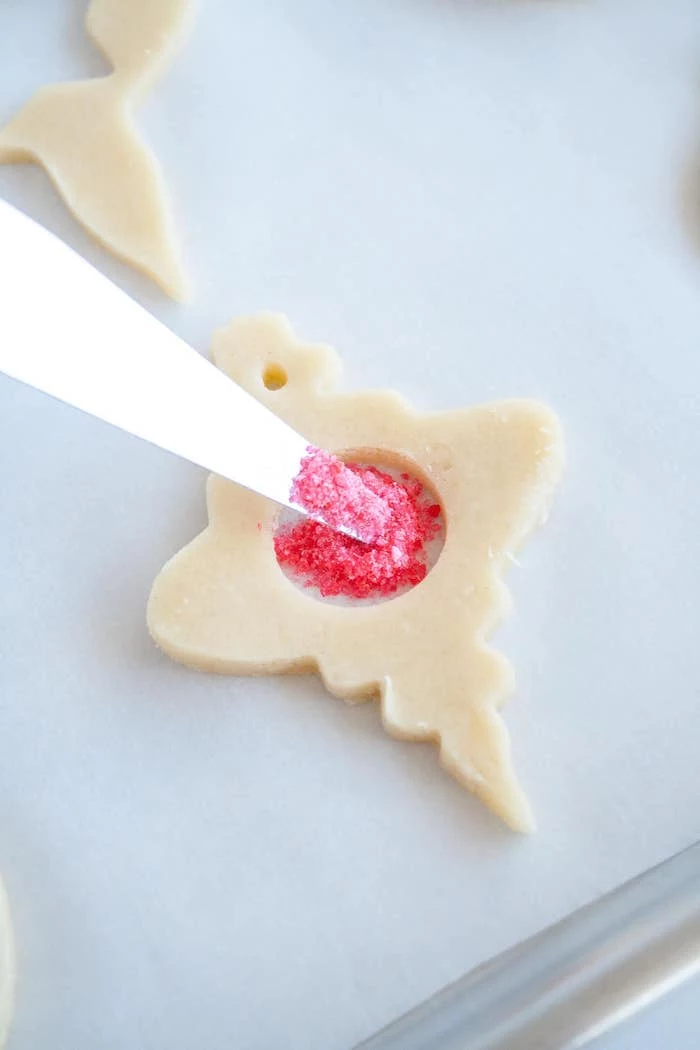
Create a sharper, cleaner edge by chilling your cut-out cookie shapes on the baking sheet for 10-15 minutes in the freezer right before they go into the oven.
This re-solidifies the butter, ensuring it melts more slowly and drastically reduces any potential spread.
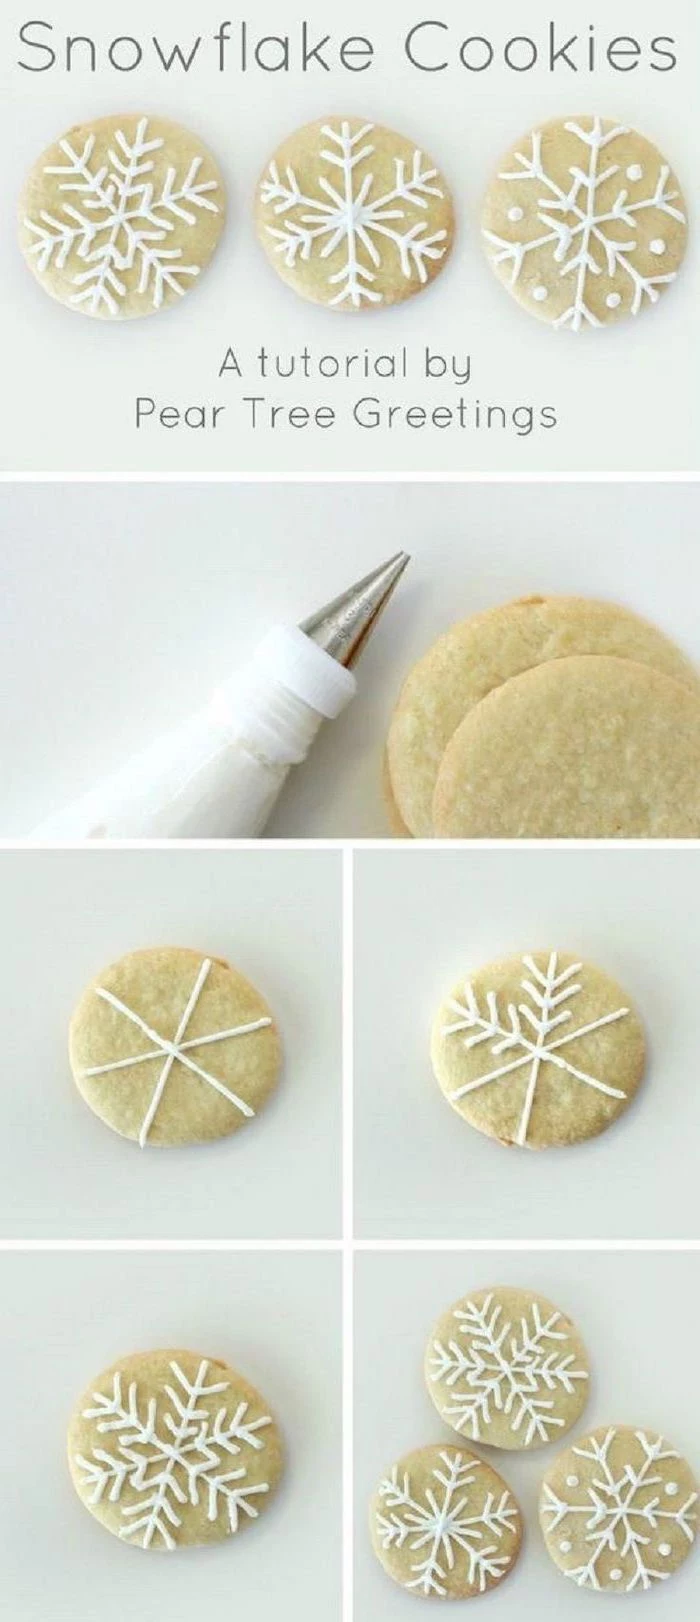
The secret? This final chill is the ultimate insurance policy for intricate shapes like snowflakes and reindeer.
The Golden Rule of Butter: Don’t just soften it, ‘temper’ it. The ideal temperature, around 65°F (18°C), is crucial. If your butter is too warm and greasy, your cookies will spread. If it’s too cold and hard, it won’t cream properly. Let it sit at room temperature for about an hour, or use the microwave in 5-second bursts with caution.
Did you know? The practice of creating elaborately decorated gingerbread houses began in Germany in the early 1800s, largely inspired by the Grimm’s fairy tale of
Achieving the right royal icing consistency is an art, but it’s one you can master. Think in terms of a countdown:
Flood (10-second icing): When you drizzle a line of icing back into the bowl, it should disappear in about 10 seconds. Perfect for filling in the main area of the cookie.
Piping (20-second icing): A thicker consistency for creating outlines and dams to hold the flood icing.
Stiff: Holds its shape completely. Use this for details like writing, rosettes, or cementing gingerbread house walls.
Can I freeze my dough for later?
Absolutely! It’s a fantastic time-saver. For cutout cookies, the best method is to roll the dough into flat discs about 1-inch thick, wrap them tightly in plastic wrap, and then place them in a freezer bag. They’ll keep for up to 3 months. Thaw overnight in the refrigerator before rolling and cutting.
Parchment Paper: Creates a thin layer of air under the cookie, which can lead to slightly puffier, more tender bottoms. Edges are crisp. Best for single use.
Silicone Mat (like Silpat): Conducts heat more evenly, resulting in perfectly uniform, golden-brown bottoms. They can sometimes inhibit spread *too* much, making cookies slightly thicker. A great reusable option.
For the sharpest possible edges as described in the article, parchment paper often has a slight advantage.
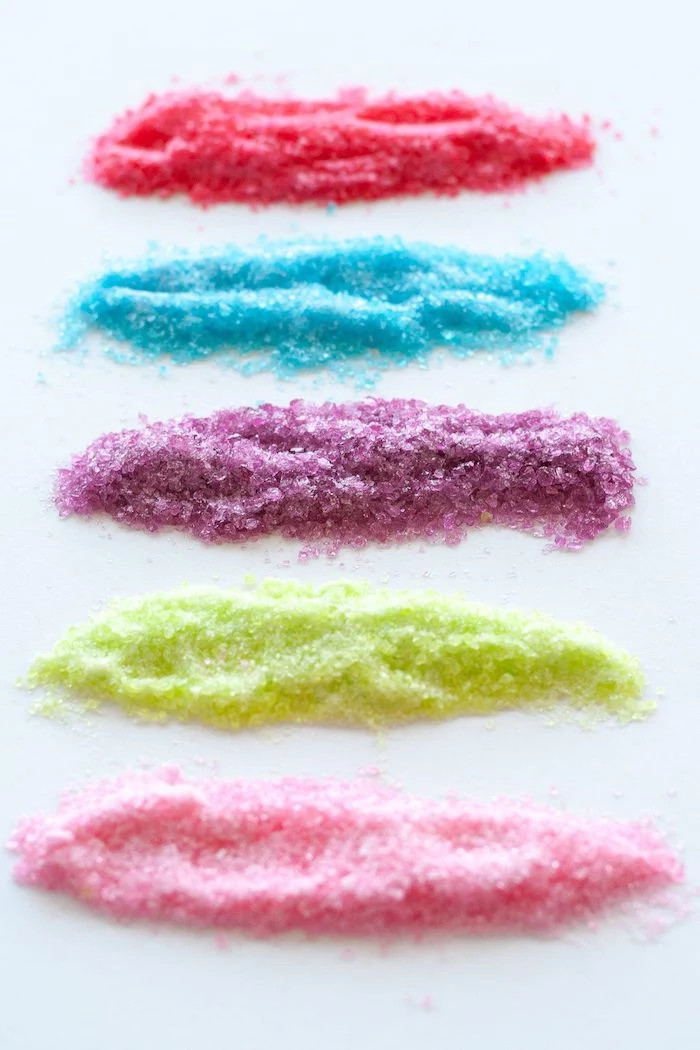
Infuses your cookies with a deep, complex flavor from the inside out.
Adds beautiful, natural flecks of color to the dough itself.
Creates a wonderfully fragrant kitchen before you even start baking.
The secret? Make your own flavored sugar. Simply process a cup of granulated sugar with the zest of two oranges, half a vanilla bean (scraped), or a tablespoon of dried lavender in a food processor until fully combined.
Beyond the dough, think about your flavor palette. A classic sugar cookie is a blank canvas. Try adding a quarter teaspoon of ground cardamom for a warm, spicy note, or the finely grated zest of a lemon or orange to the dough for a bright, fresh finish that beautifully cuts through the sweetness of the icing.
Important: Once you add the flour, mix only until it’s just combined. Over-mixing develops gluten, the protein that gives bread its chewiness. In a cookie, too much gluten development will make your delicate cutouts tough and cracker-like instead of tender and melty.
Your decorating toolkit doesn’t have to be complex. For professional results, focus on three key items:
A Scribe Tool: This simple needle-like tool (or a toothpick in a pinch) is a game-changer for popping air bubbles in flood icing and guiding it into tight corners.
Tipless Piping Bags: These disposable bags allow you to cut the tip to any size you need, eliminating the fuss of couplers and metal tips for basic outlining and flooding.
A Small Offset Spatula: Perfect for lifting delicate cutouts from your work surface or spreading small amounts of icing smoothly.
Why are my icing colors bleeding into each other?
This common frustration happens when a wet icing color seeps into an adjacent, not-yet-fully-dried color. To prevent it, allow your outline to dry for at least 30 minutes before flooding. For multi-color designs, let each colored section crust over completely before adding a color next to it. A small fan directed at your cookies can speed up this drying process significantly.
The ‘watercolor’ cookie trend is easier than it looks. You need two things: high-quality gel food coloring (like Wilton or Chefmaster) and a clear, high-proof alcohol like vodka (it evaporates quickly without leaving a taste). Place a tiny drop of gel color on a palette, add a few drops of vodka to dilute it, and paint directly onto your dry, white royal icing base with a food-safe brush.
Meringue Powder: Made from dried egg whites, cornstarch, and stabilizers. It’s incredibly stable, consistent, and food-safe. This is the go-to for most professional cookie decorators. Brands like Genie’s Dream or Wilton are baker favorites.
Fresh Egg Whites: Can create a slightly less chalky taste, but results can be inconsistent. There’s also a small risk of salmonella, so using pasteurized egg whites is highly recommended.
For reliability and perfect results every time, meringue powder is the clear winner.
Looking for a new holiday cookie tradition? Explore the world’s cookie jar for inspiration:
Pfeffernüsse (Germany): Chewy, spicy cookies flavored with black pepper and other spices, covered in a simple glaze.
Linzer Cookies (Austria): A sandwich of almond-based shortbread with a peek-a-boo window of raspberry or apricot jam.
Speculoos (Belgium/Netherlands): Thin, crunchy, and heavily spiced with cinnamon, nutmeg, cloves, and cardamom.
A single teaspoon of high-quality pure vanilla extract, like those from Nielsen-Massey, contains the flavor compounds of several whole vanilla beans.
This is why investing in pure extract over imitation vanilla makes such a significant difference in your cookies. The flavor is deeper, more complex, and won’t bake out in the heat of the oven, providing a rich, aromatic foundation for your holiday spices and decorations.
Create a stunning, shimmering effect with edible luster dust. After your royal icing is completely dry (wait at least 8-12 hours), mix a small amount of gold, silver, or pearl luster dust with a few drops of clear extract or vodka to form a paint. Use a fine-tipped, food-safe brush to add metallic accents, paint entire sections, or splatter for a modern, abstract look.
The fatal flaw in many recipes: Not specifying the type of flour. The protein content in flour directly impacts structure. While all-purpose flour works well, for an even more tender, less-glutenous cookie, try swapping a few tablespoons of your all-purpose flour for cornstarch. Or, use a lower-protein flour like King Arthur’s Pastry Flour for an exceptionally delicate crumb.
What causes those frustrating little craters and pits in my dried royal icing?
This is usually caused by two things: microscopic air bubbles or over-thinned icing. When you mix your icing, do it on a low speed to avoid incorporating too much air. After flooding a cookie, give it a gentle shake and use your scribe tool to pop any visible bubbles. If your icing is too thin, the water content separates as it dries, causing sinkholes.
Vibrant, concentrated color with just a single drop.
Doesn’t thin out your icing, preserving the perfect consistency.
The colors stay true and don’t darken or change significantly as they dry.
The secret? Using gel-based food coloring instead of the liquid kind from the supermarket. Professional brands like Americolor or Chefmaster are worth the small investment for bakery-quality results.
Don’t let a few leftover, slightly stale cookies go to waste. You can revive their soft texture by placing them in an airtight container with a single slice of fresh sandwich bread overnight. The cookies will absorb the moisture from the bread, making them tender and delicious again by morning. The bread will be dry, but your cookies will be saved!
The iconic Springerle cookies of Germany and Austria get their intricate, raised designs not from a cutter, but from being pressed into beautifully carved wooden molds before being left to dry overnight.
This drying period creates a delicate crust on the surface, which allows the cookie to rise from the bottom up during baking, perfectly preserving the detailed impression on top. It’s a testament to how patience can yield beautiful results.
A baker’s secret weapon: A thin, flexible metal cookie spatula, often called a fish spatula. Its ultra-thin edge can slide cleanly under even the most delicate, warm cookies without breaking them. Brands like OXO make excellent, widely available versions. It’s far superior to thick, clunky turners for this specific job.
John combines 12 years of experience in event planning, interior styling, and lifestyle curation. With a degree in Visual Arts from California Institute of the Arts and certifications in event design, he has styled luxury weddings, corporate events, and celebrity celebrations. John believes in creating memorable experiences through innovative design and attention to detail.
To provide the best experiences, we use technologies like cookies to store and/or access device information. Consenting to these technologies will allow us to process data such as browsing behavior or unique IDs on this site. Not consenting or withdrawing consent, may adversely affect certain features and functions.
Functional
Always active
The technical storage or access is strictly necessary for the legitimate purpose of enabling the use of a specific service explicitly requested by the subscriber or user, or for the sole purpose of carrying out the transmission of a communication over an electronic communications network.
Preferences
The technical storage or access is necessary for the legitimate purpose of storing preferences that are not requested by the subscriber or user.
Statistics
The technical storage or access that is used exclusively for statistical purposes.The technical storage or access that is used exclusively for anonymous statistical purposes. Without a subpoena, voluntary compliance on the part of your Internet Service Provider, or additional records from a third party, information stored or retrieved for this purpose alone cannot usually be used to identify you.
Marketing
The technical storage or access is required to create user profiles to send advertising, or to track the user on a website or across several websites for similar marketing purposes.