My Step-by-Step Guide to a Flawless Christmas Tree (The Secret is Layering)
I’ve decorated more Christmas trees than I can count, from simple, cozy trees in family living rooms to giant 15-footers that anchor a whole hotel lobby. And I’ll let you in on a little secret: a stunning tree has almost nothing to do with buying the most expensive ornaments. It all comes down to having a solid method.
In this article
It’s a structured process, a craft you can learn. So many people get frustrated when they just start throwing things on the tree. They toss on lights, hang a few ornaments, and then stand back wondering why it looks… well, a little thin or just messy. The magic is in layering. You build the look from the inside out, creating depth and a rich, professional finish.
This guide is my exact playbook. This isn’t about chasing fleeting trends; it’s about the fundamentals that make a tree look incredible, year after year. Let’s walk through it together.
First Things First: Your Game Plan & Shopping List
Before you even think about fluffing a branch, let’s get you set up for success. A little prep saves a ton of headaches. Here’s a quick rundown of what you’ll likely need. Oh, and for budget? You can pull off a gorgeous tree for a couple of hundred dollars, but if you’re starting from scratch with a quality artificial tree, plan for a bigger investment.
Your Essential Toolkit:
- The Tree: Real or artificial, make sure it’s the right size for your space.
- Tree Stand: And a sturdy one at that! Don’t try to save money here.
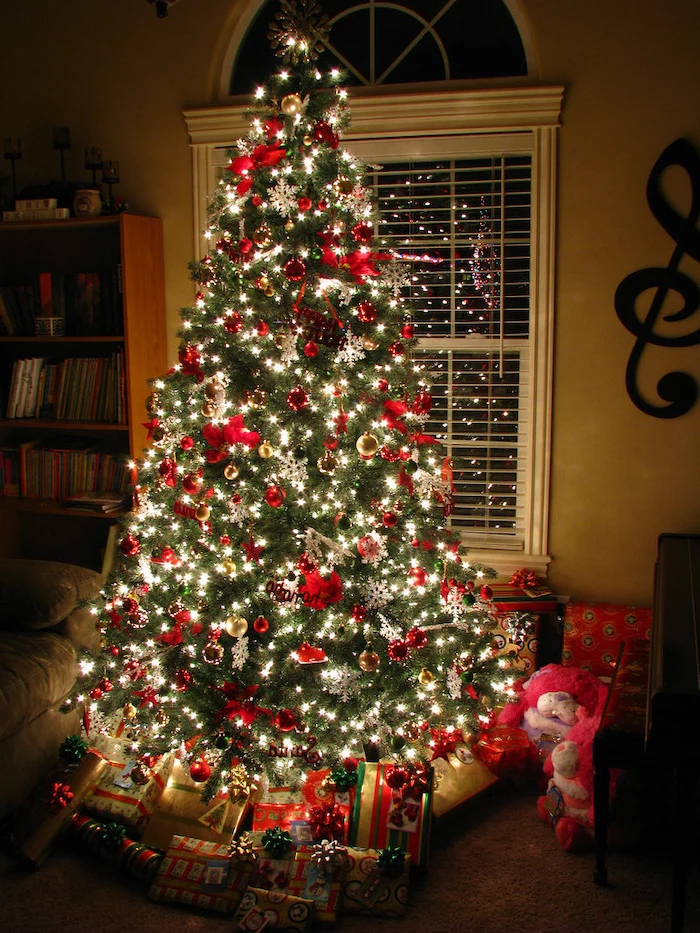
- Lights: I strongly recommend LEDs. A good rule of thumb is 100 lights per vertical foot of tree. So for a 7.5-foot tree, you’ll want at least 750 lights, but 1,000-1,500 is where the magic really happens.
- Extension Cords: Grab a heavy-duty one, preferably with a built-in surge protector.
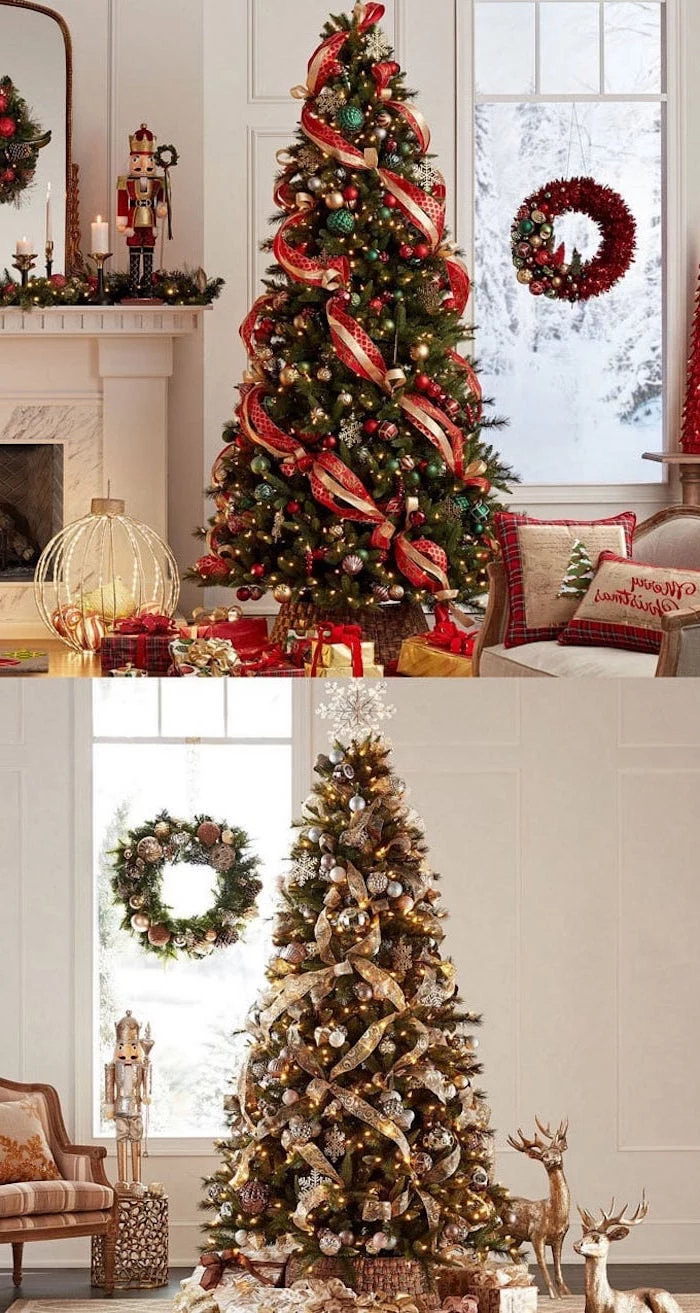
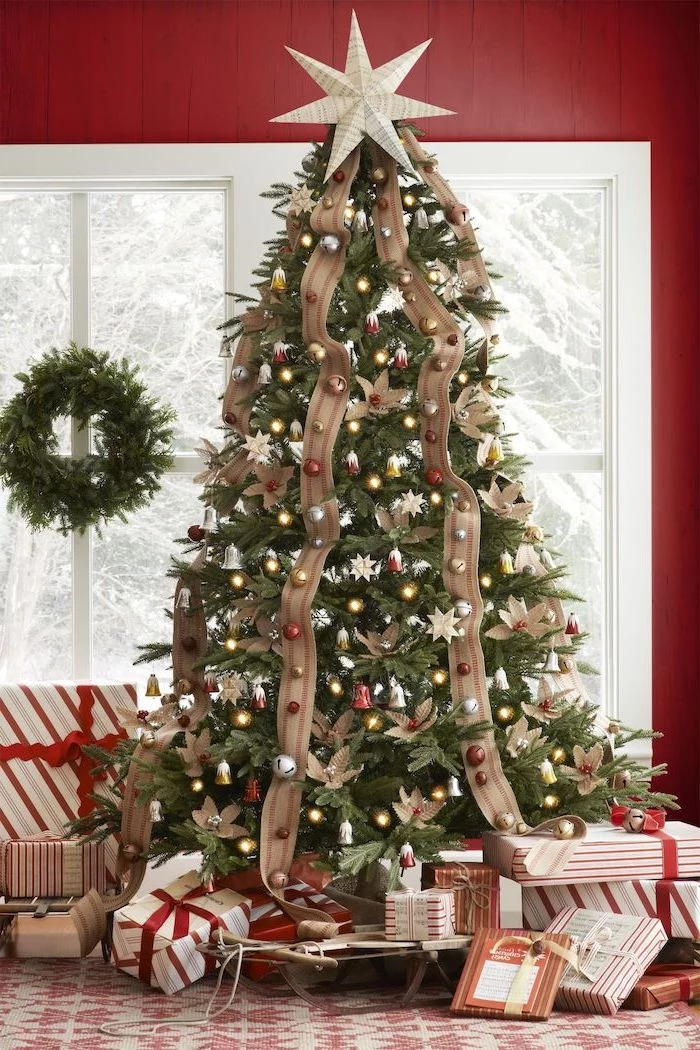
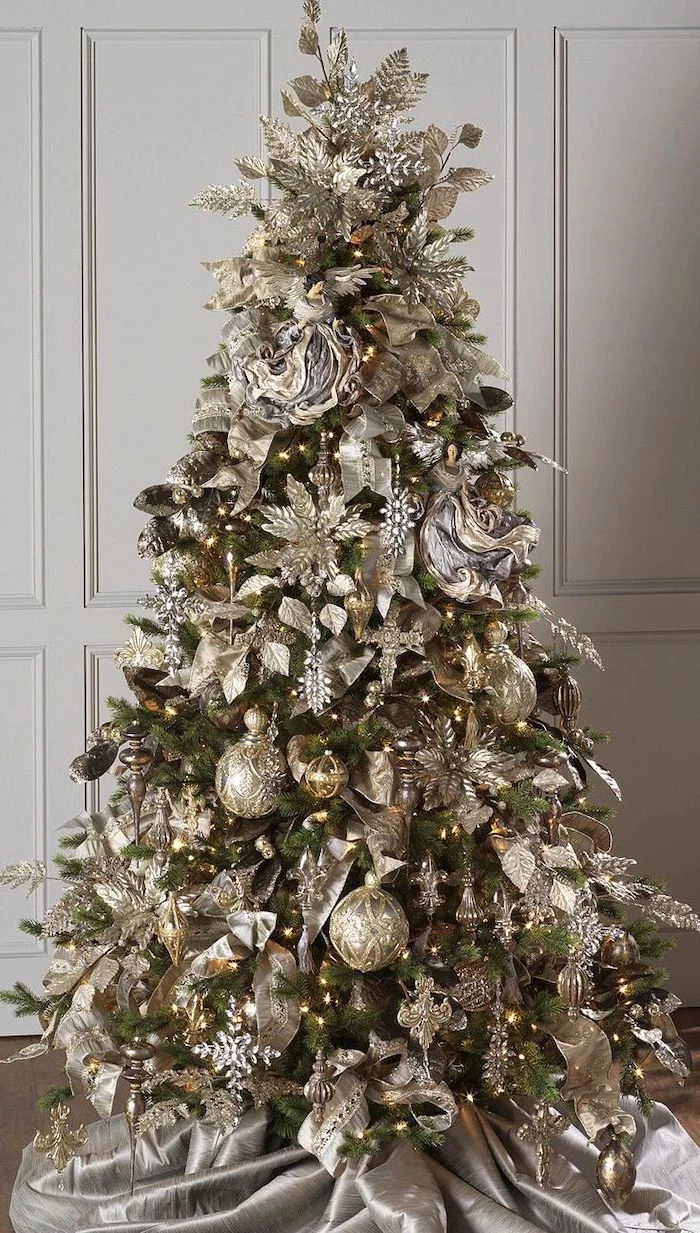
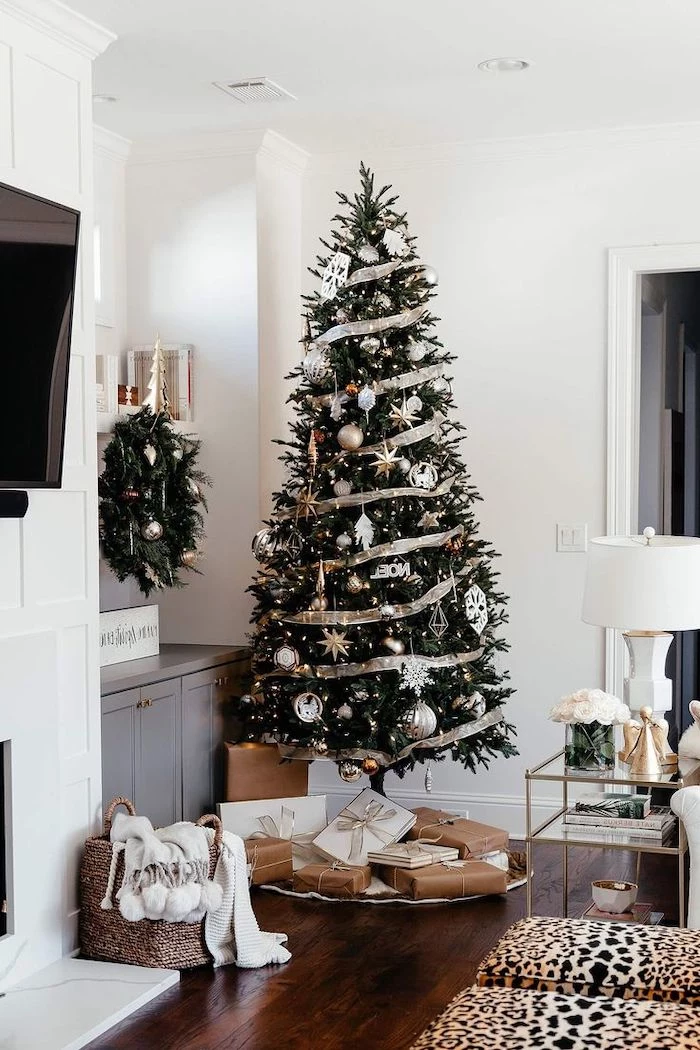
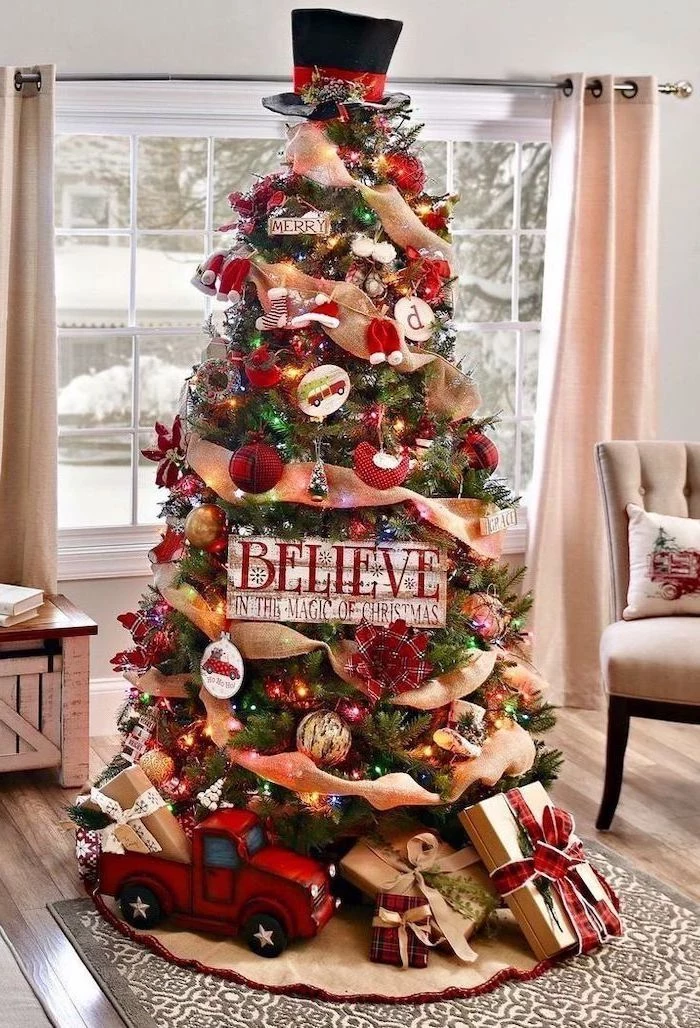
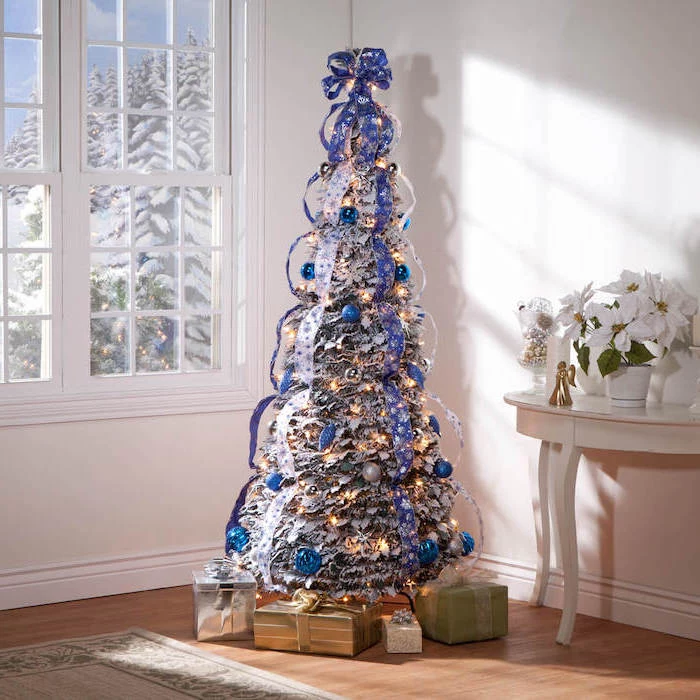
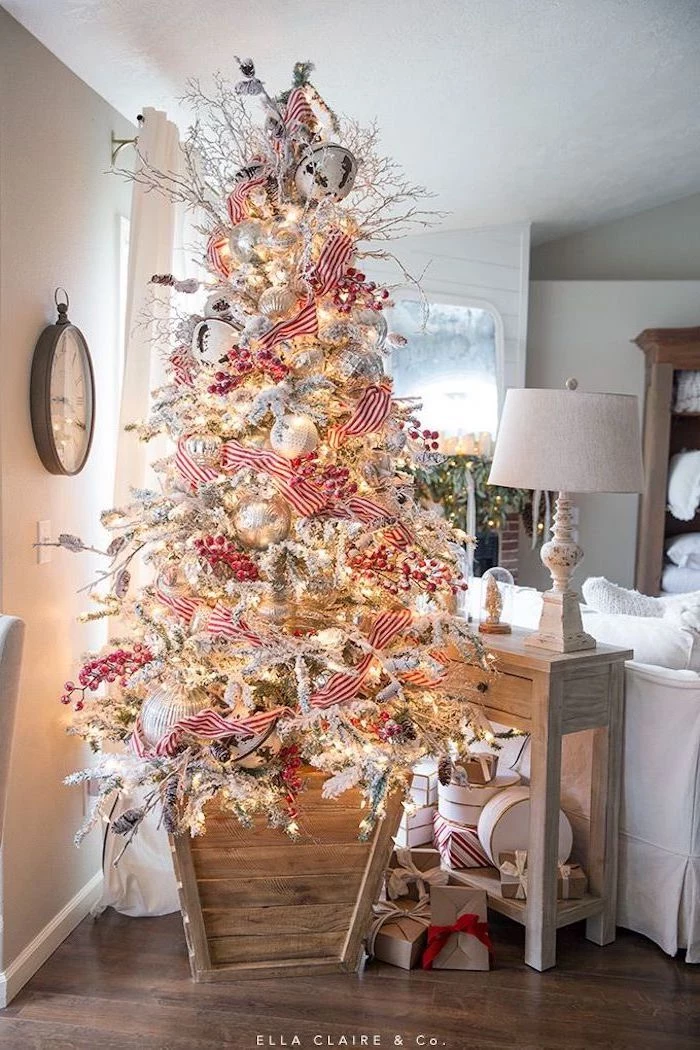
- Wired Ribbon: This is a game-changer. For a 7.5-foot tree, you’ll need 2-3 rolls. Expect to pay about $7-$15 per roll for the good stuff that holds its shape.
- Floral Wire: A cheap little paddle of this (you can find it for a few bucks in the floral aisle at craft stores like Michaels or Hobby Lobby) is perfect for securing ribbon and toppers.
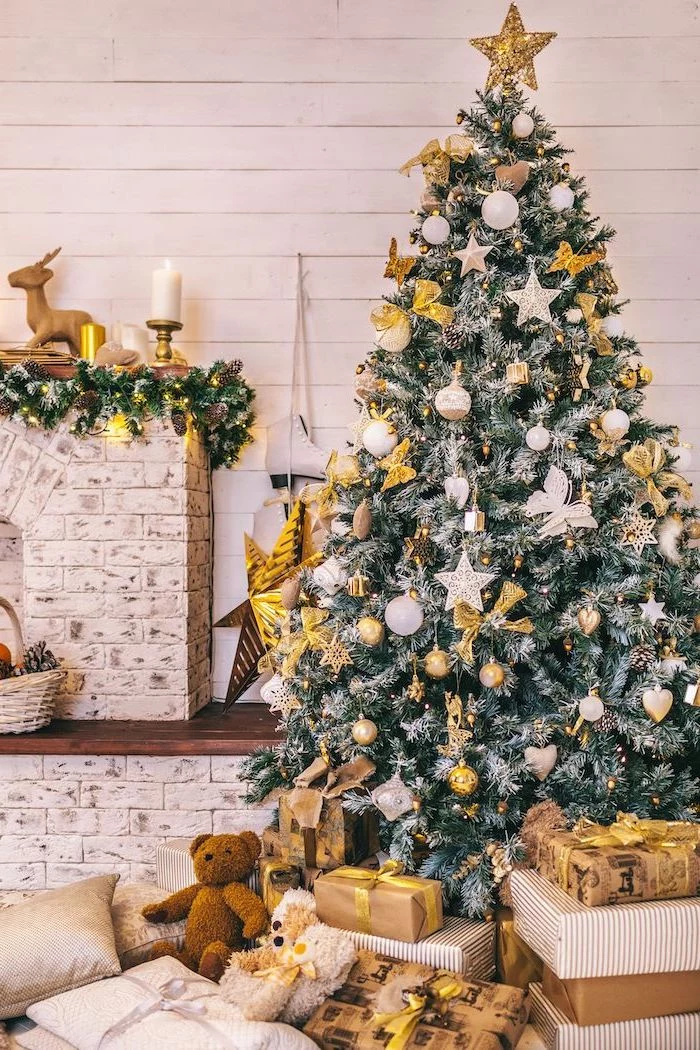
- Ornaments: We’ll break this down more, but you’ll want two types: basic “filler” ornaments and your special “showcase” ones.
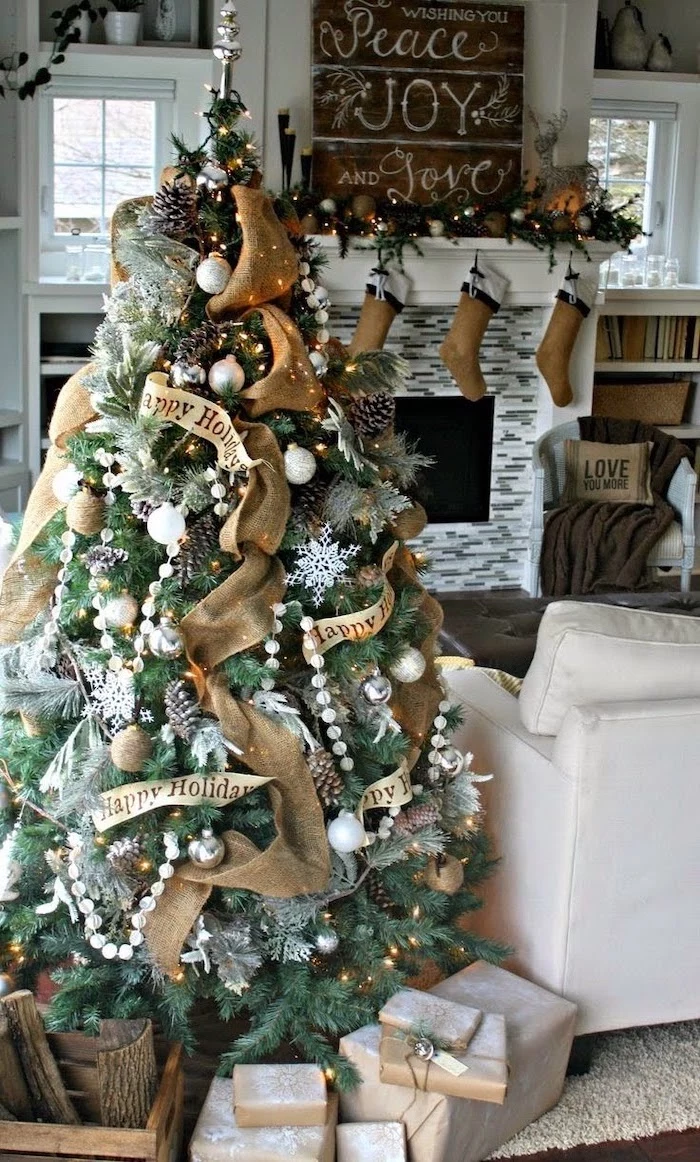
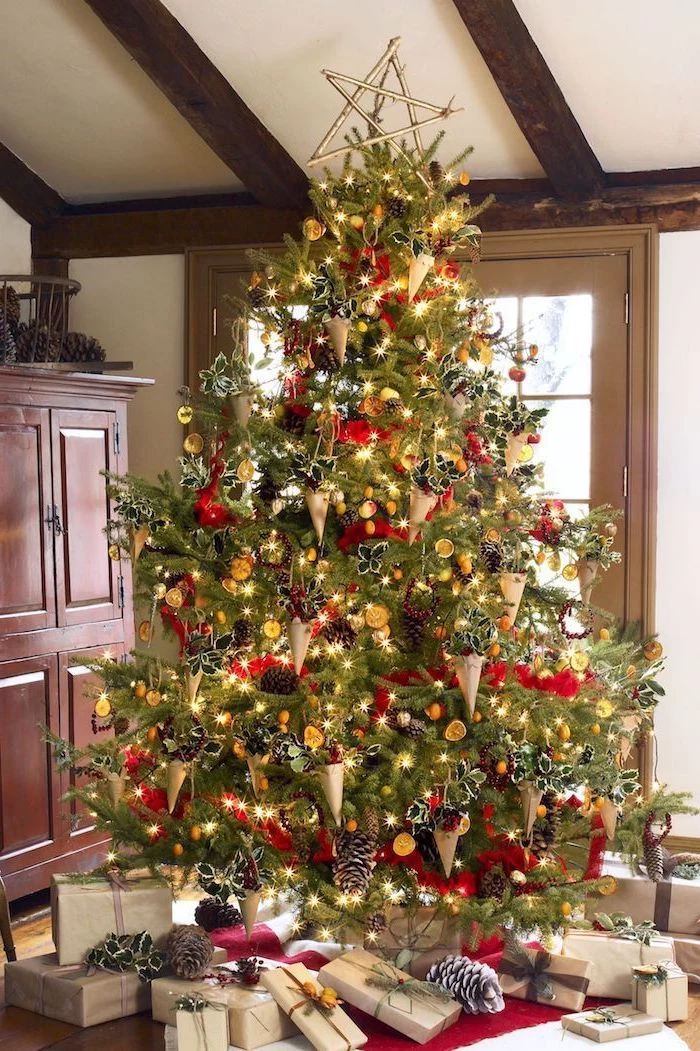
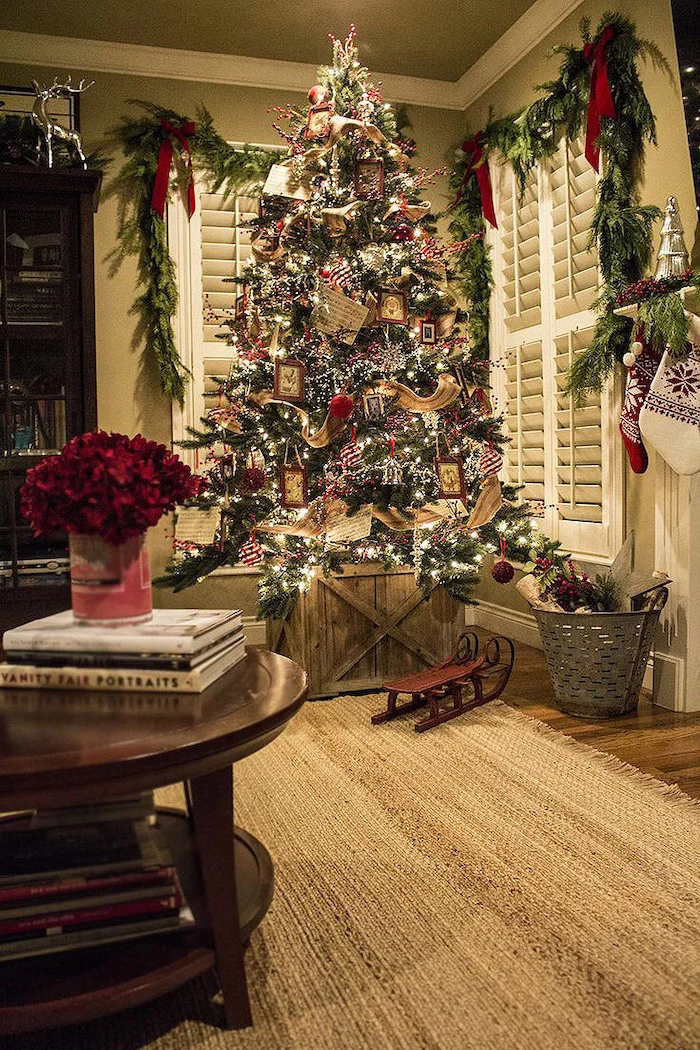
- Picks and Sprays: This is the secret weapon! Think berry clusters, glittery leaves, or frosted pinecones.
- A Topper & Skirt/Collar: The finishing touches.
All in, for a 7.5-foot tree using this full method, set aside a good 3-4 hours. Put on some music, pour a festive drink, and enjoy the process. Don’t rush it!
The Foundation: Choosing and Prepping Your Tree
Everything you do next depends on this first step. I’ve seen people try to fix a bad tree by piling on more decorations, and trust me, it never works. Let’s get the canvas right.
Real vs. Artificial: An Honest Look
Let’s be real, both have their pros and cons. The right choice for you is about your lifestyle and budget, not what’s trendy.
A real tree offers that unbeatable scent and a classic, organic feel. Their slight imperfections are part of the charm. If you go this route, freshness is everything. Bend a needle—if it snaps, the tree is dry and a potential fire hazard. If it bends, you’re in good shape. Once you get it home, give it a fresh one-inch cut at the base and get it into water immediately. Heads up: A fresh tree can drink a gallon of water in the first 24 hours, so check it daily!
On the other hand, artificial trees are incredibly practical and the quality these days is amazing. This is a one-time investment. A good 7.5-foot tree with a high
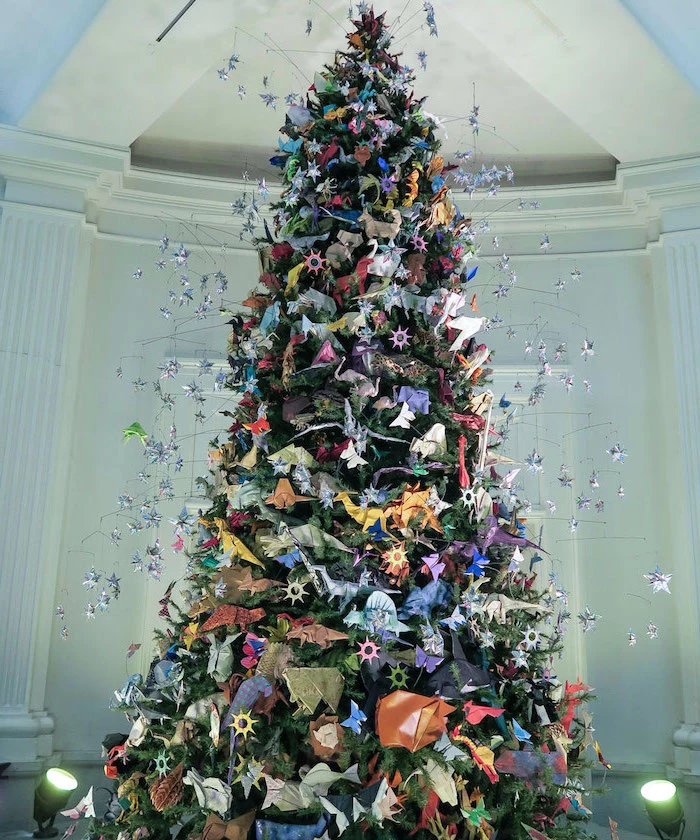
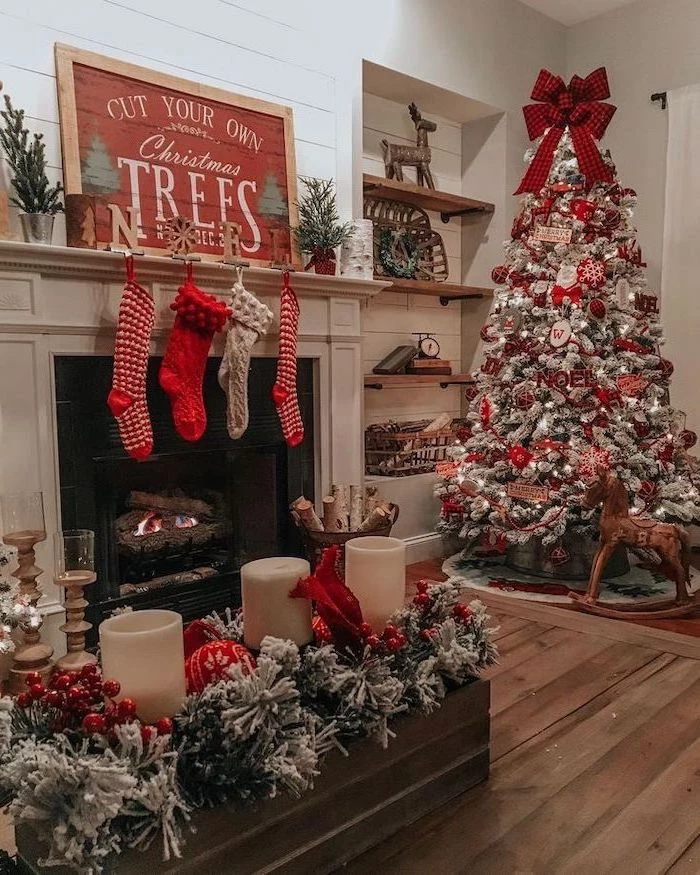
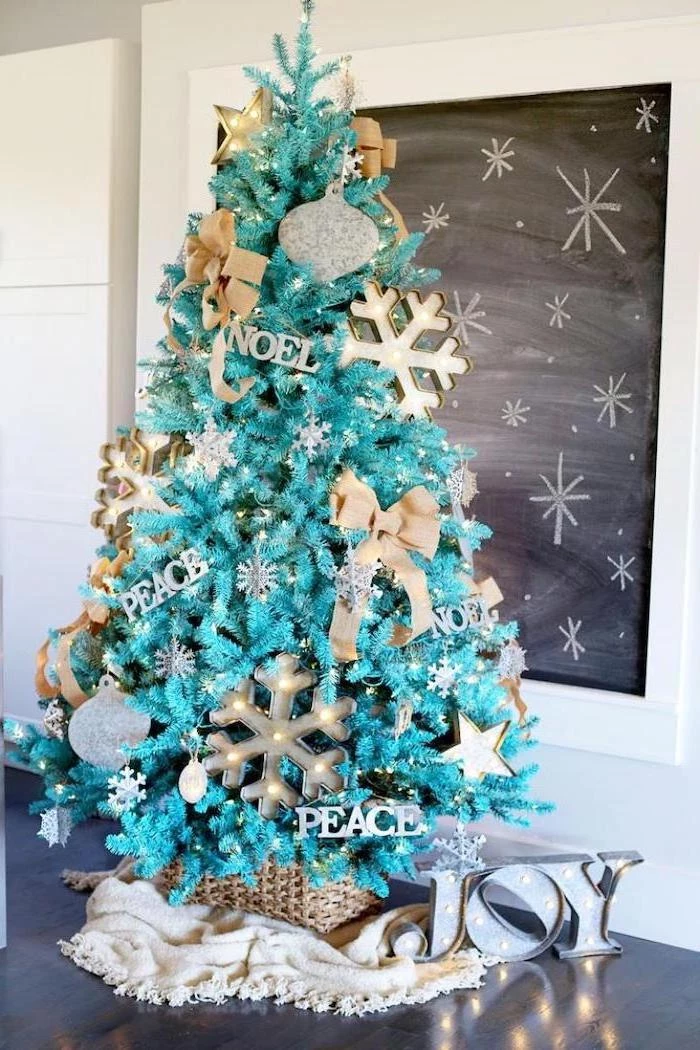
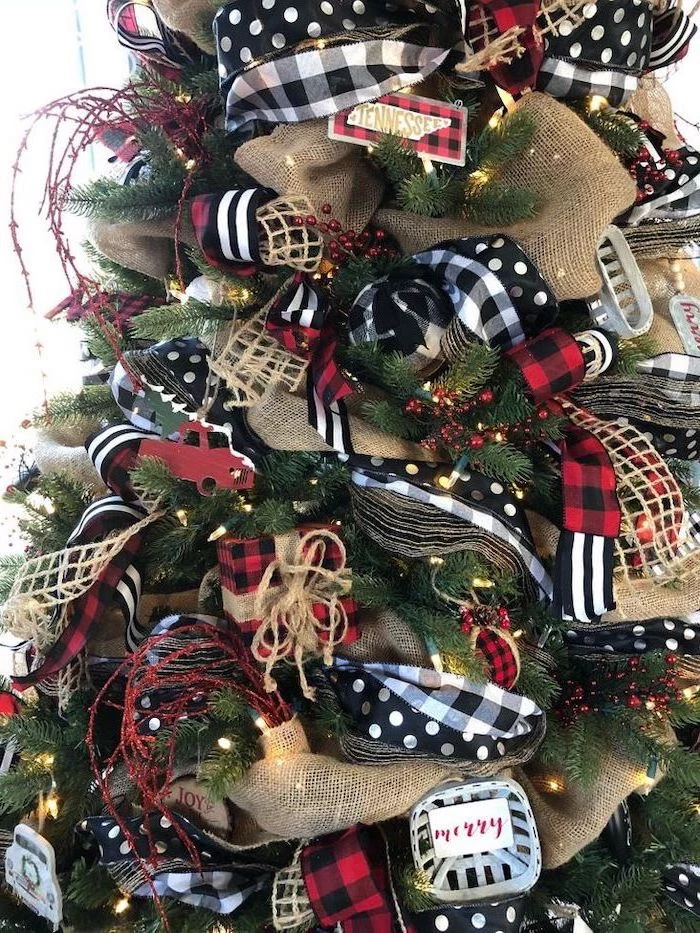
Inspiration Gallery
- Start from the top and work your way down, one major branch at a time.
- Separate each smaller tip and fan them out in different directions – up, down, and sideways.
- Don’t be afraid to bend branches slightly to fill in gaps. A well-fluffed tree should have no visible ‘holes’ to the central pole.
The secret to a high-end look? Dedicate a solid hour to this step before any decorations go on. It’s the foundation for everything that follows.
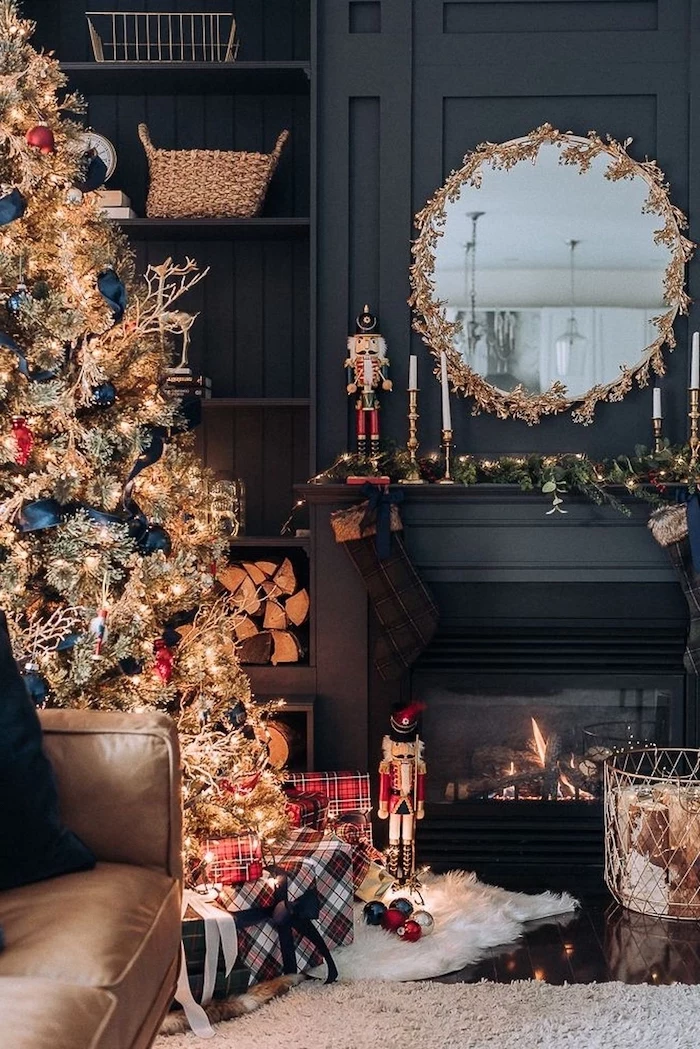
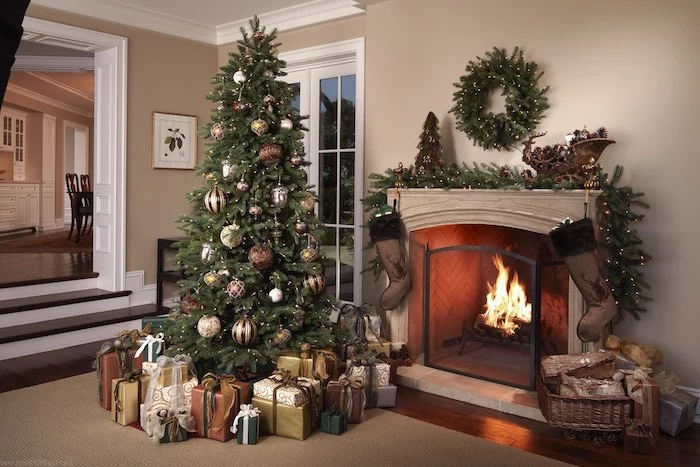
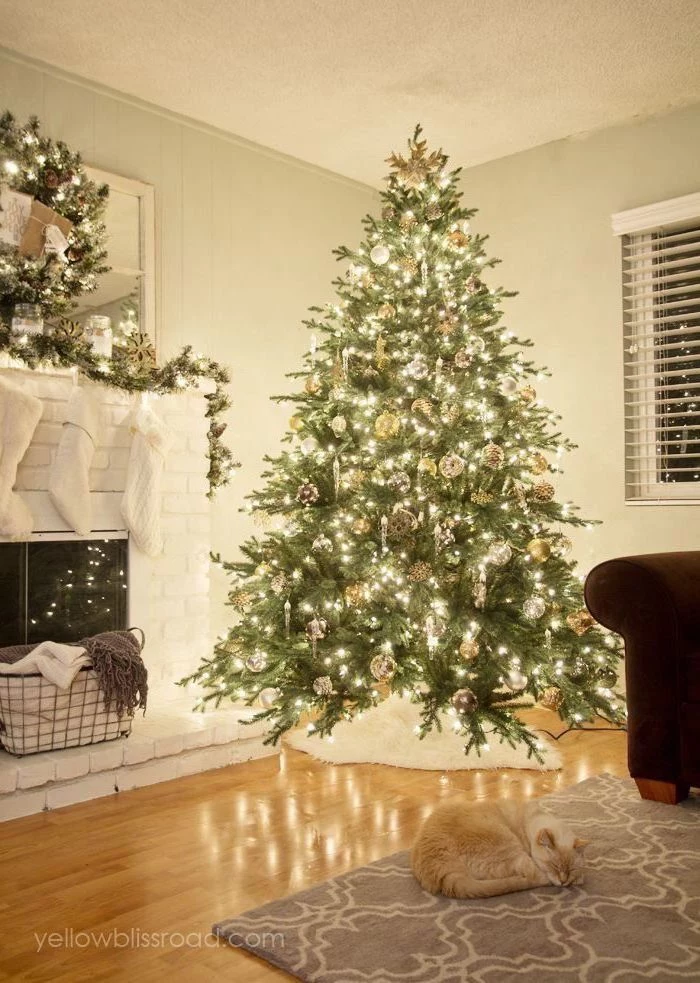
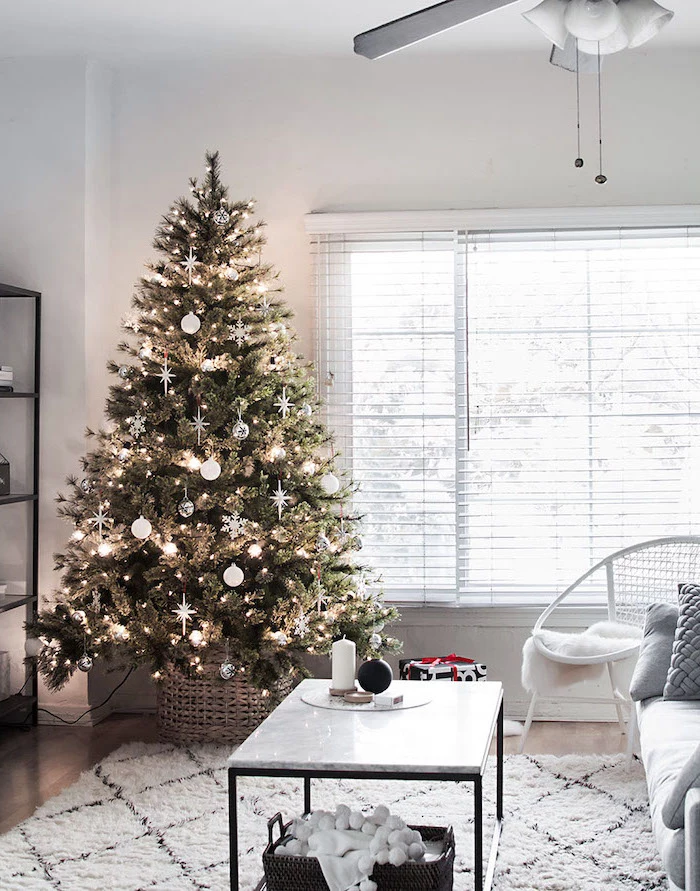
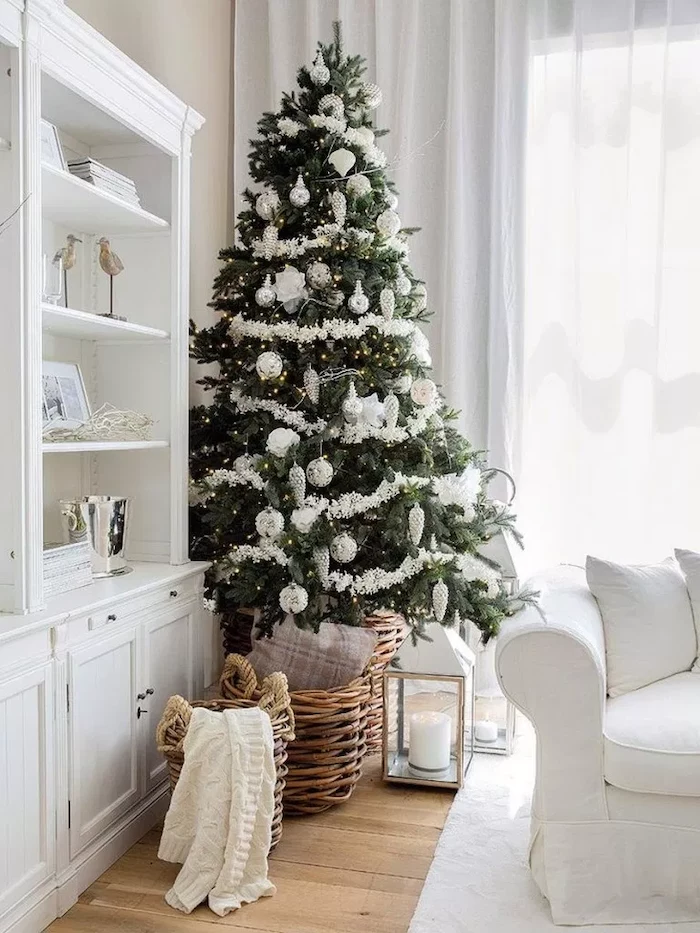
The Tree Skirt Dilemma: A rumpled, thin fabric skirt can undermine an otherwise beautiful tree. For a modern, structured look, consider a tree collar. Woven wicker, galvanized metal, or even a chic upholstered version from brands like Crate & Barrel can elevate the entire presentation by hiding the clunky stand with a clean, deliberate base.
In 1882, Edward Johnson, an associate of Thomas Edison, was the first to have electric lights on his Christmas tree. His tree, hand-blown with 80 red, white, and blue bulbs, was a revolving spectacle in the window of his New York City home.

How do I make my lights look professionally done?
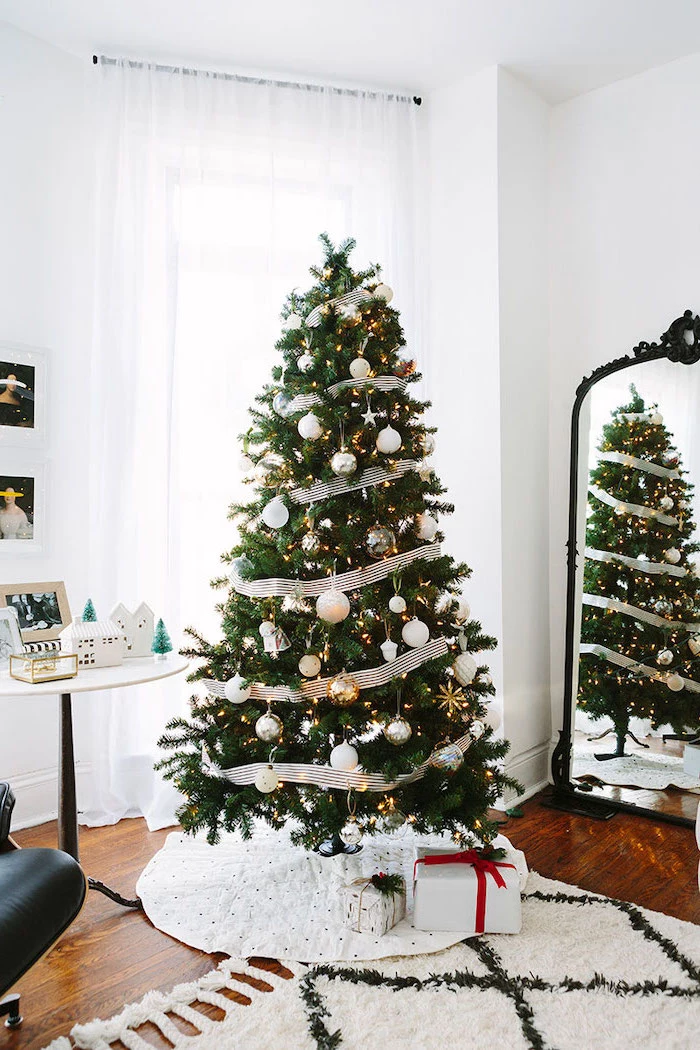
Forget coiling lights around the outside of the tree. The pros use a vertical method. Start with the plug end at the top of the tree near the trunk, and run the lights down a branch to the tip, and then back up toward the trunk. Move to the next branch and repeat. This technique gives incredible depth and ensures the tree glows from within, rather than just being outlined in light.
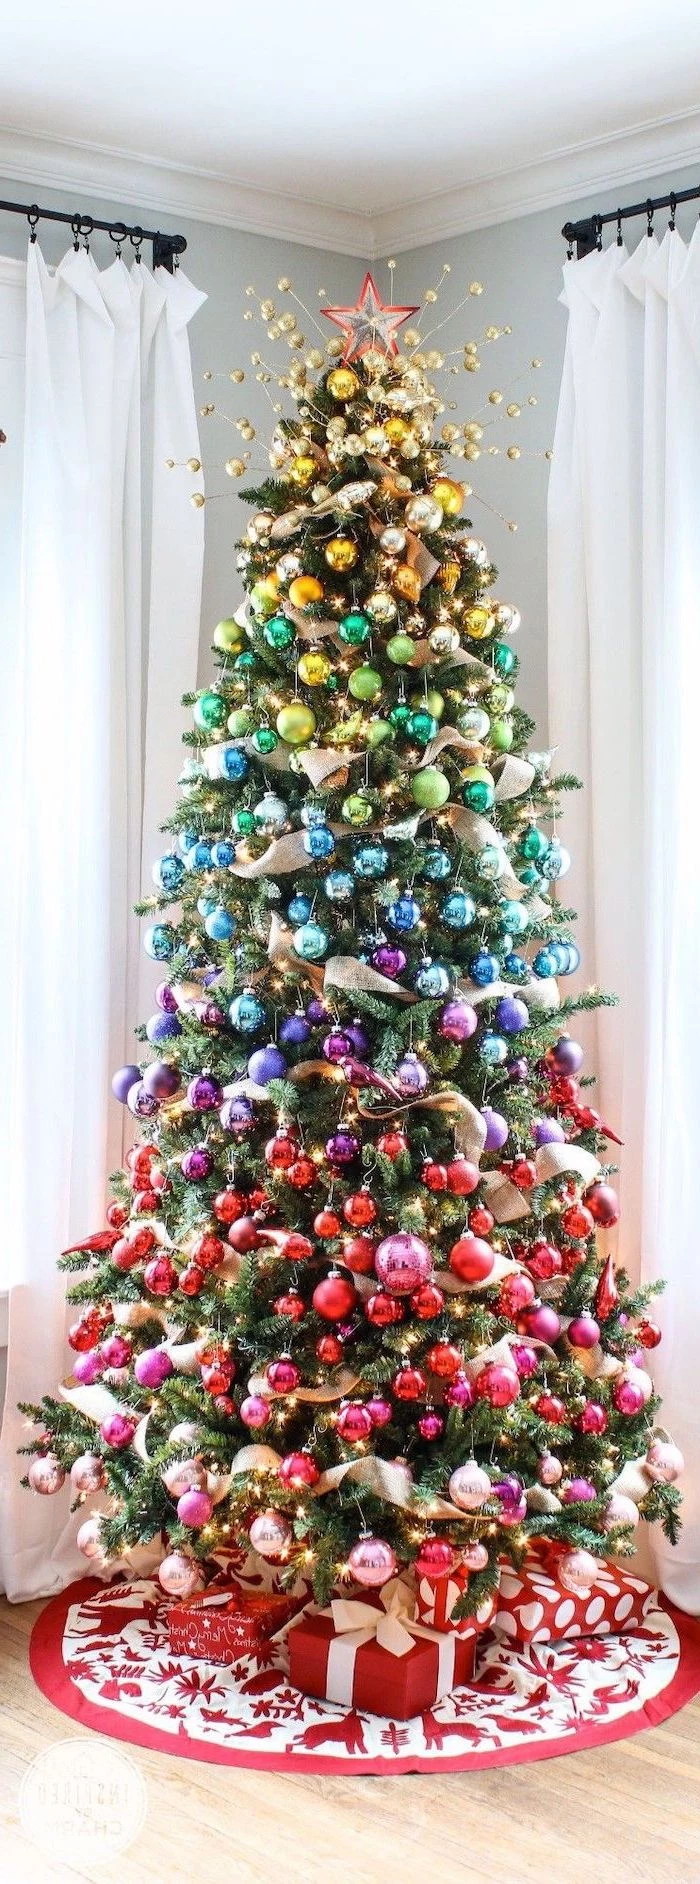
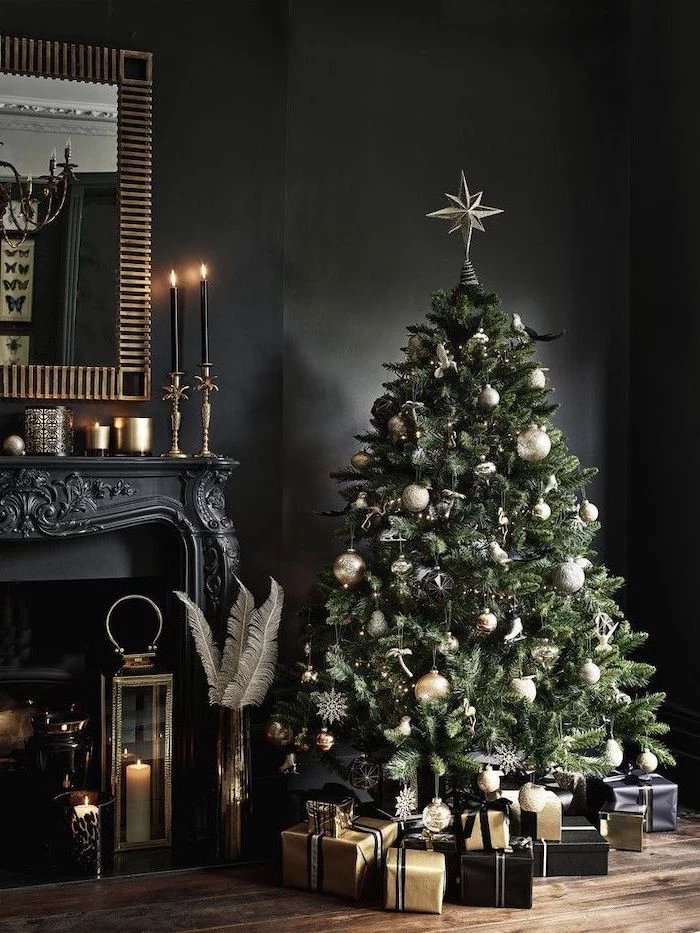
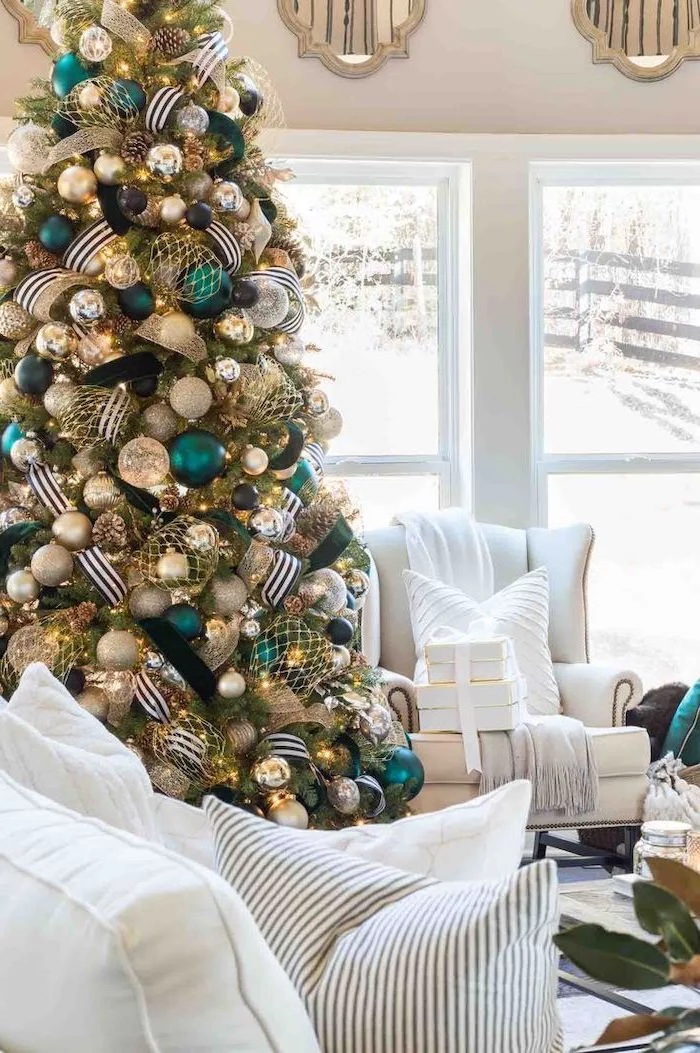
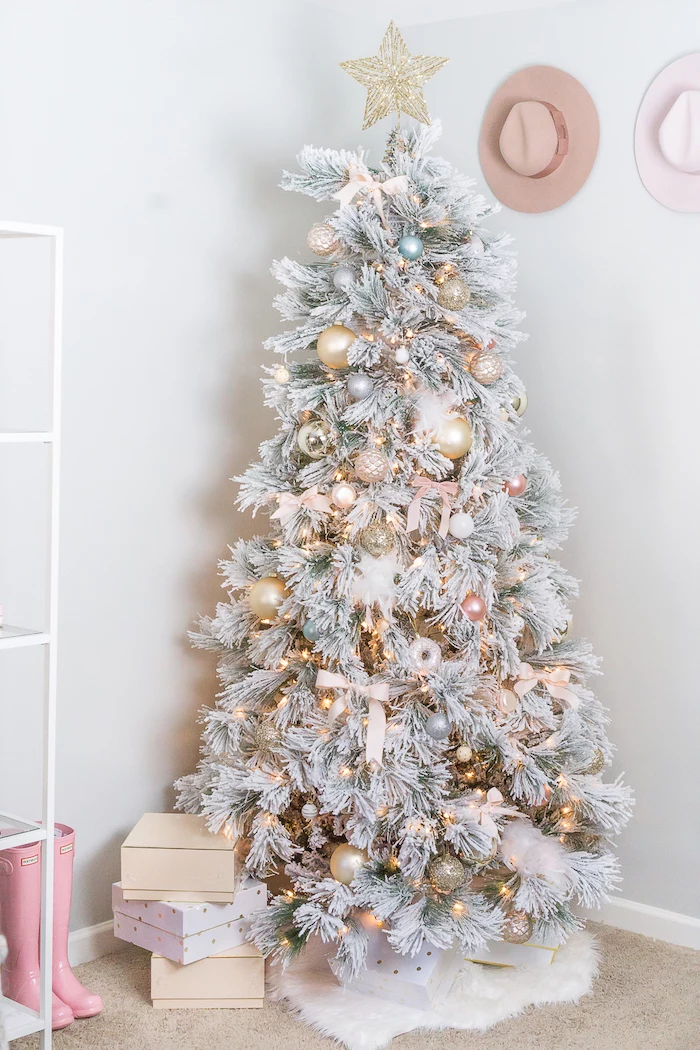
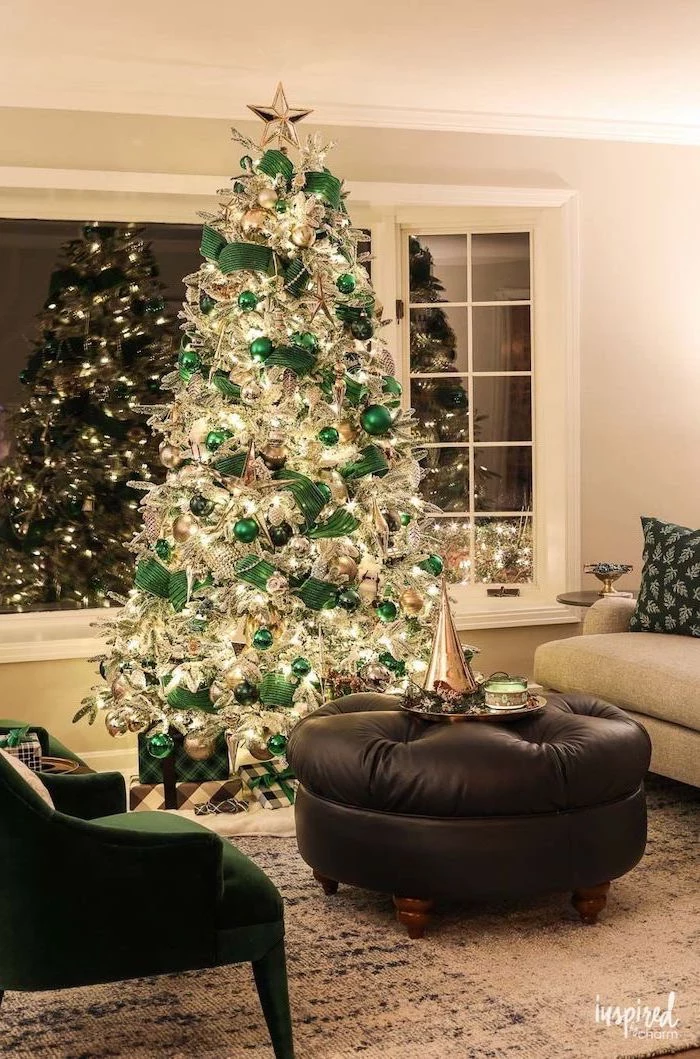
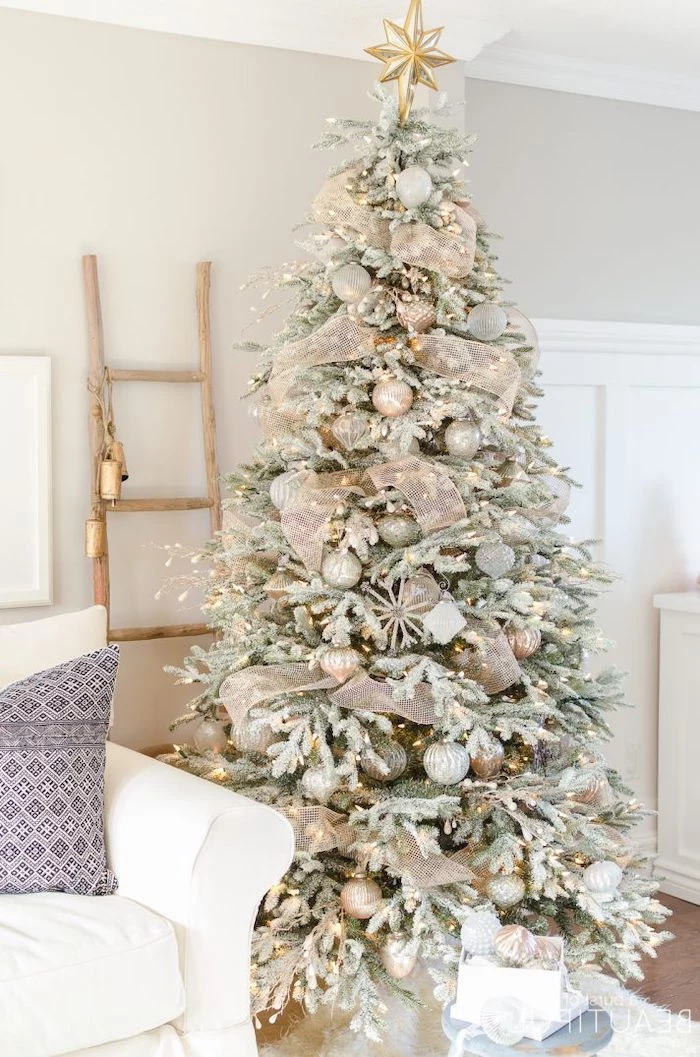
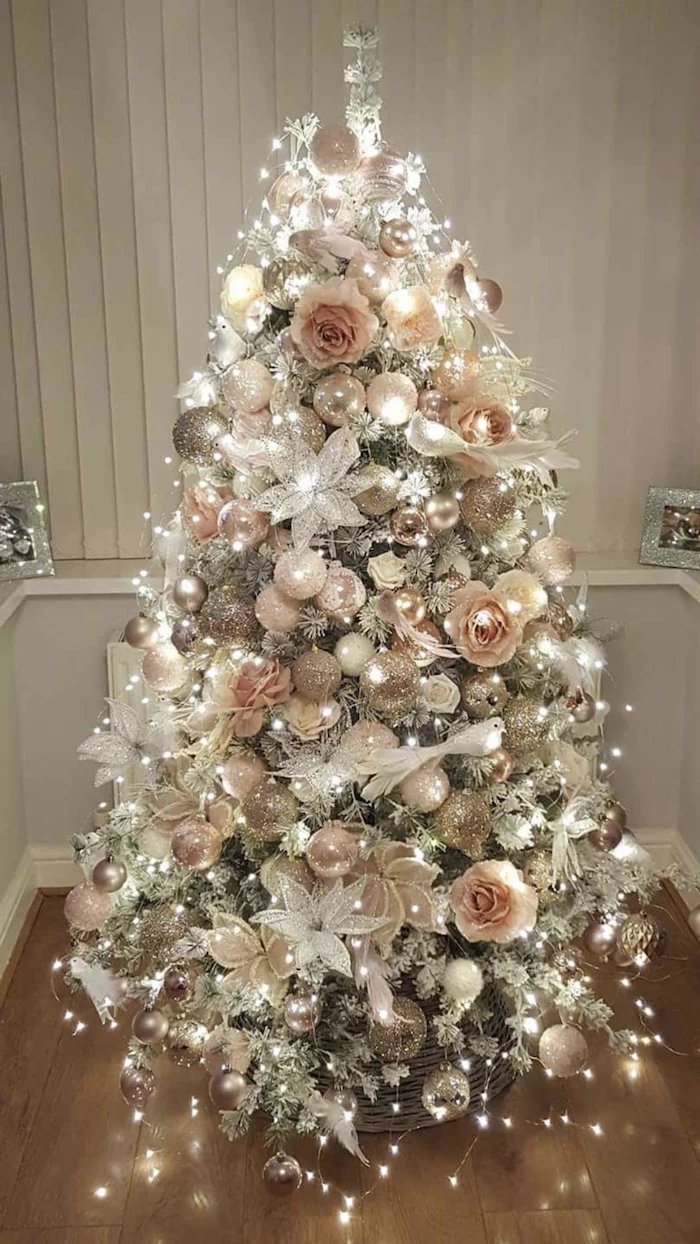
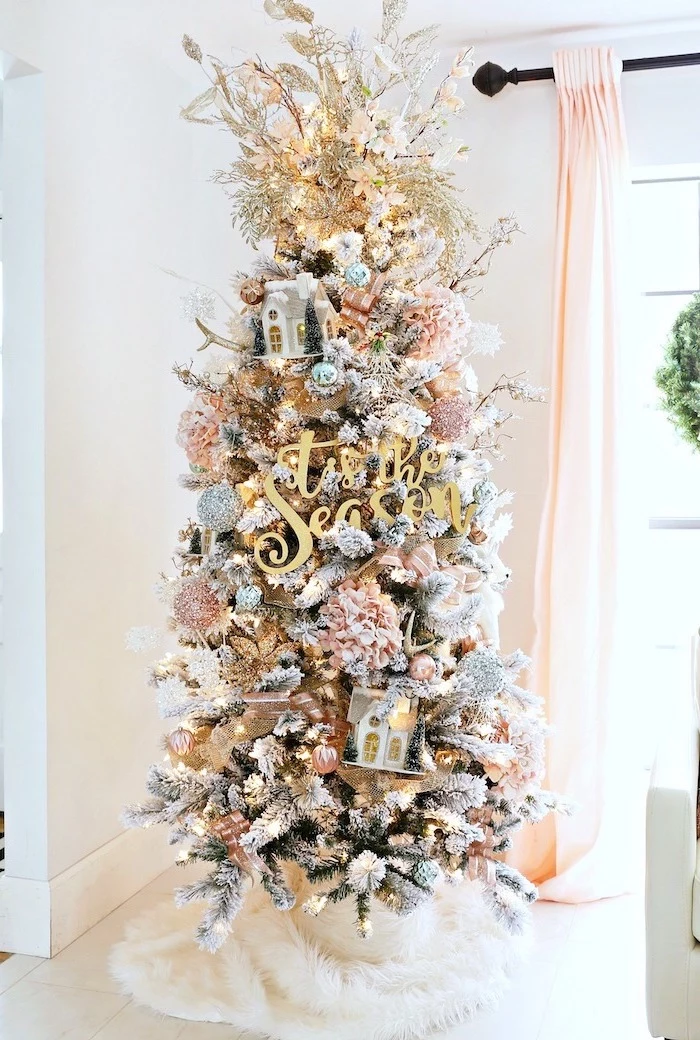
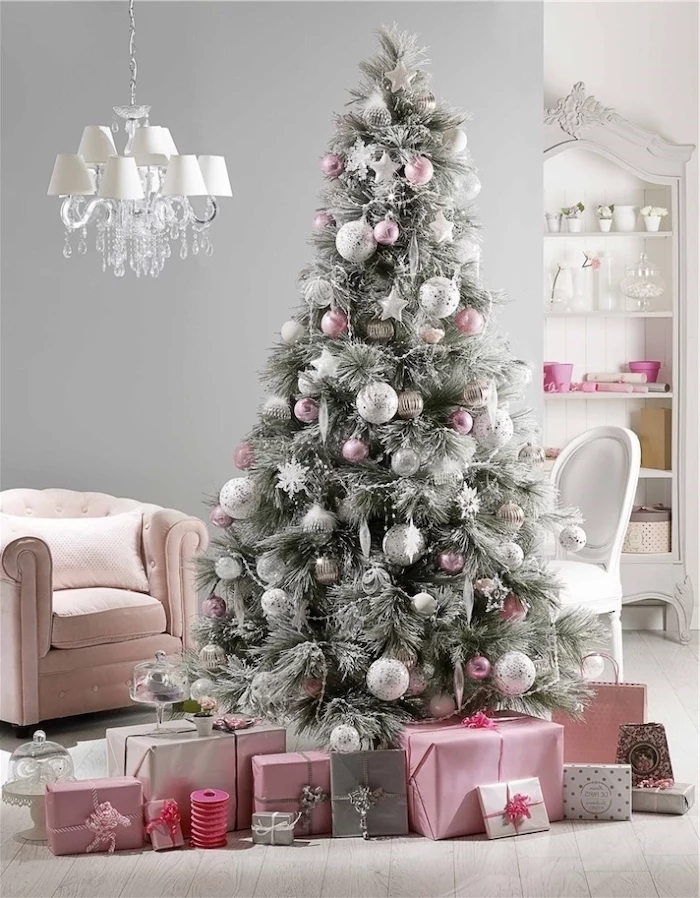
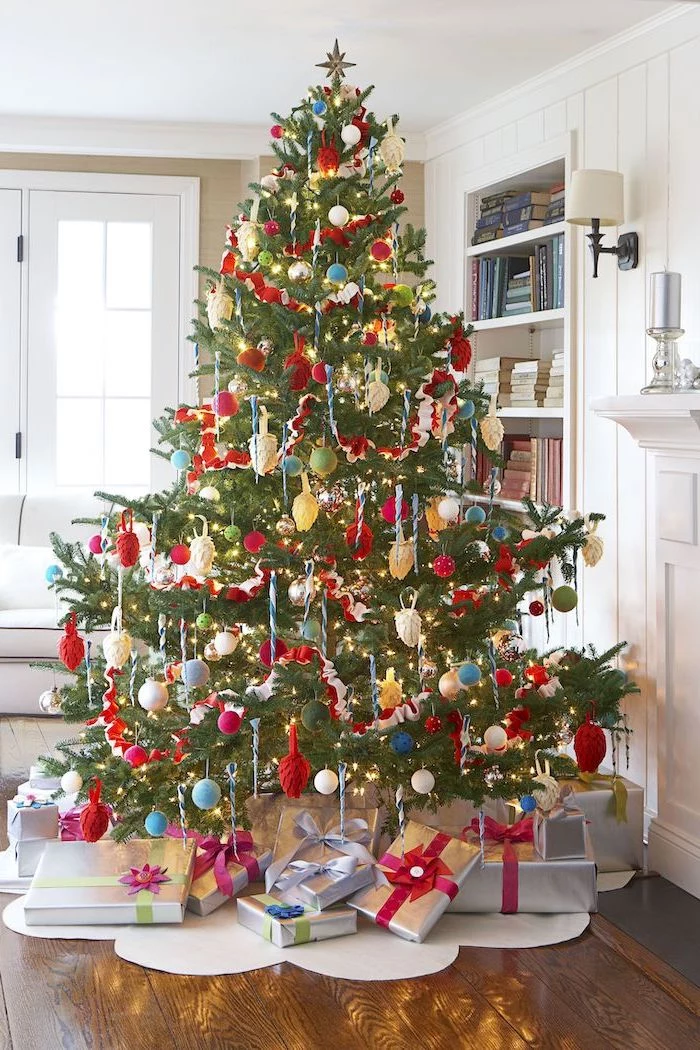
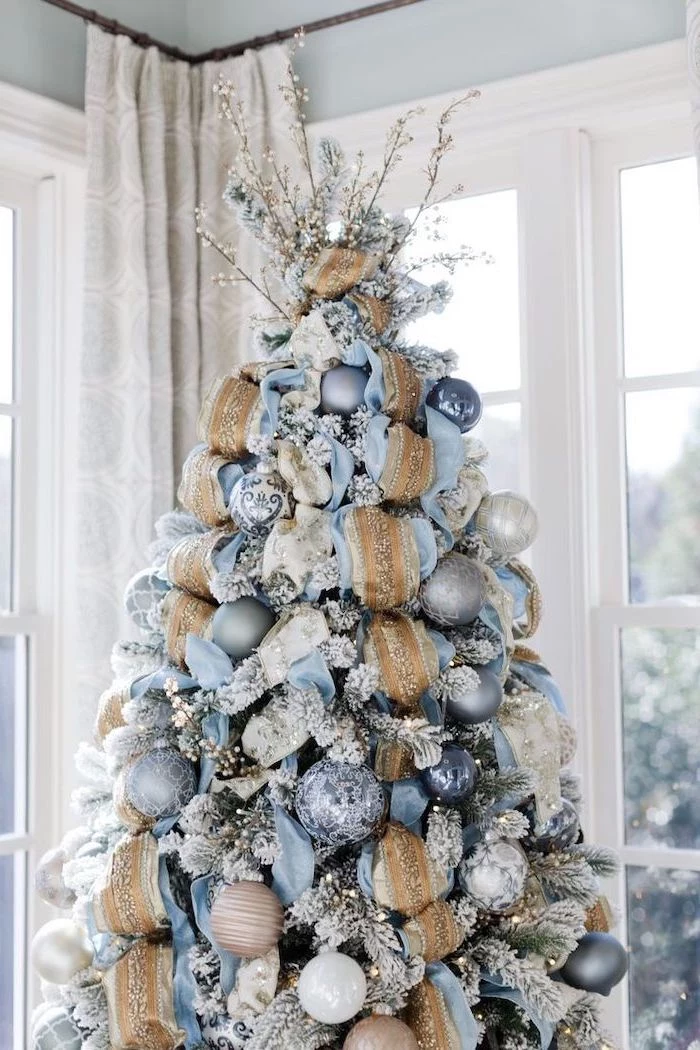
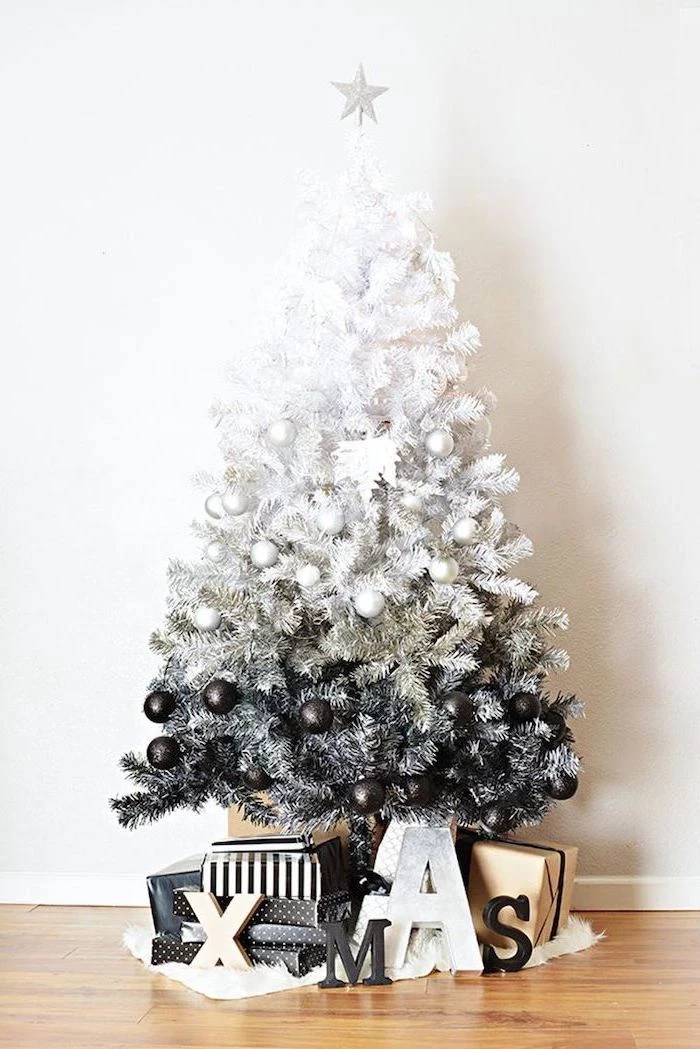
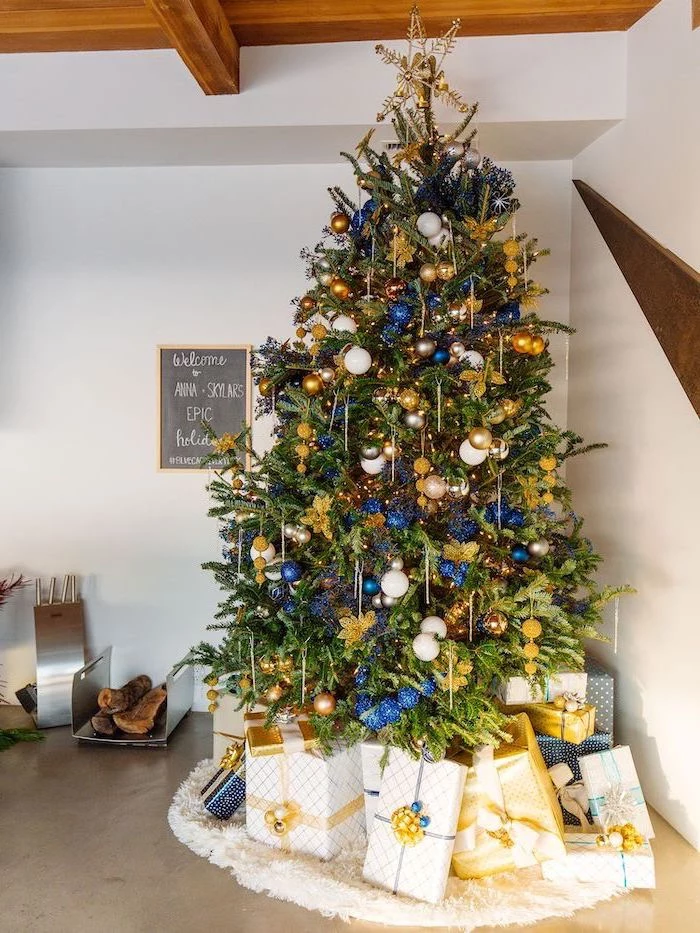
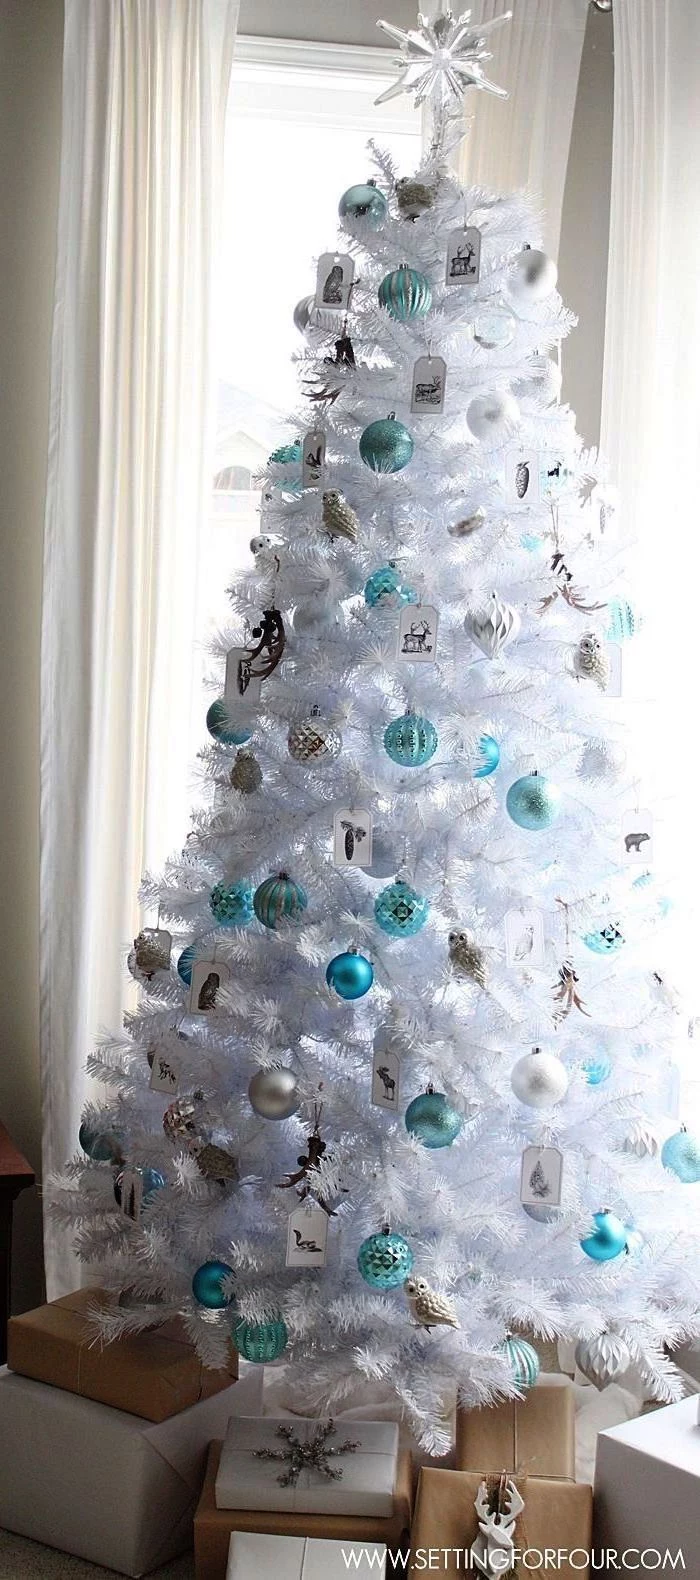
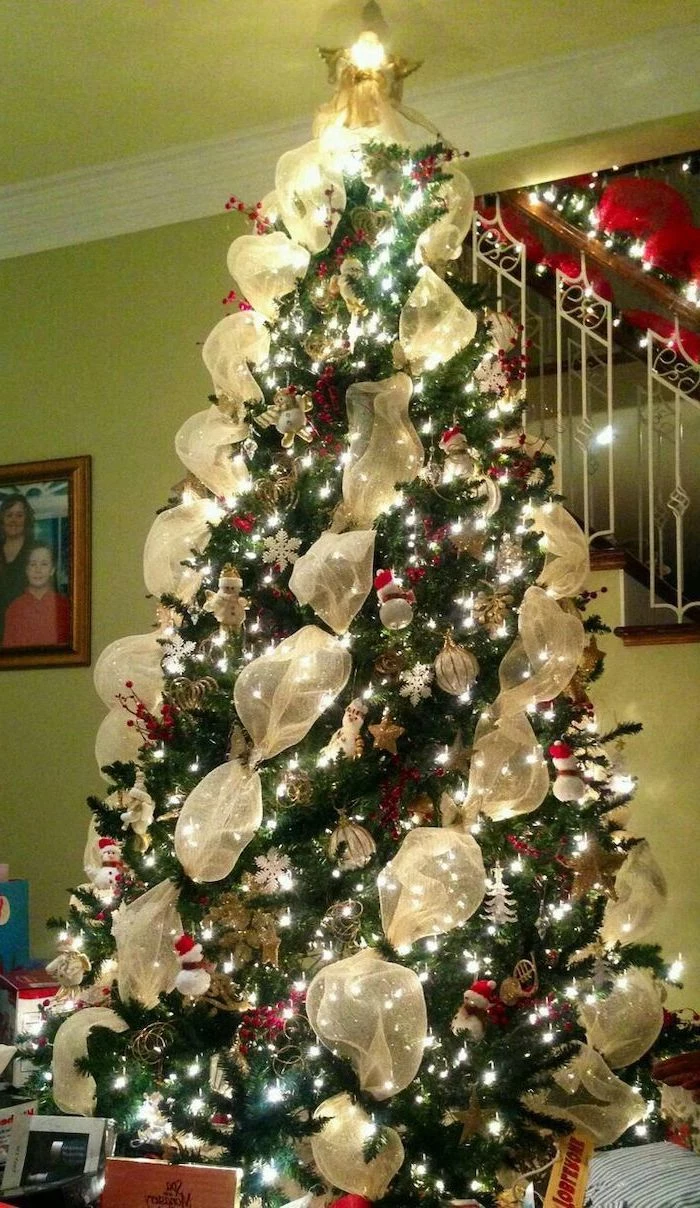
Beyond the classic red and green, consider a more unexpected color palette. This year, deep jewel tones like emerald, sapphire, and amethyst are trending, creating a moody and luxurious atmosphere. For a softer, whimsical look, try a pastel theme with blush pink, mint green, and frosted lavender, accented with iridescent touches. It’s a modern take that feels both fresh and festive.
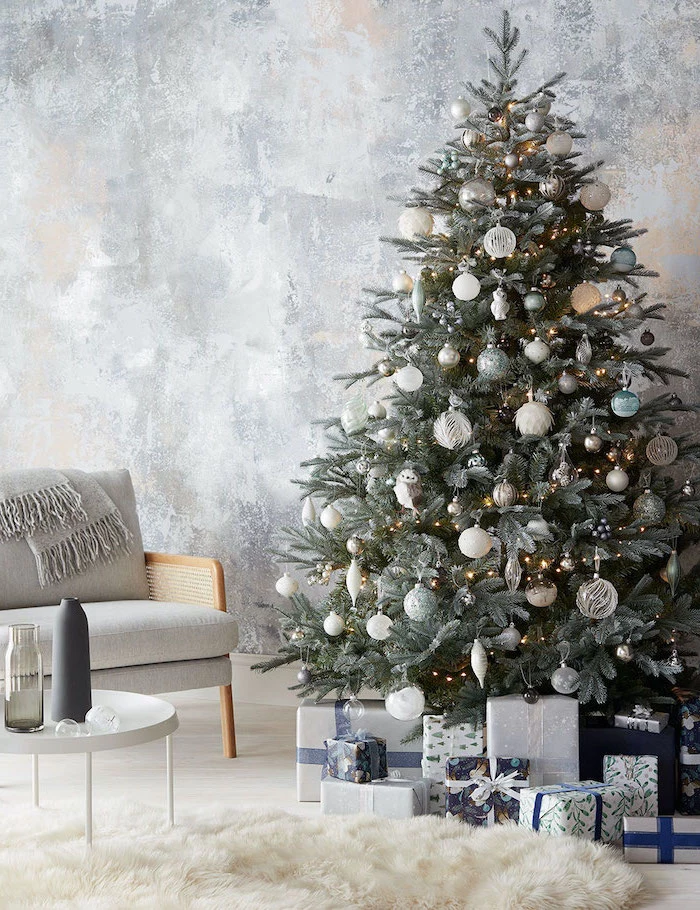
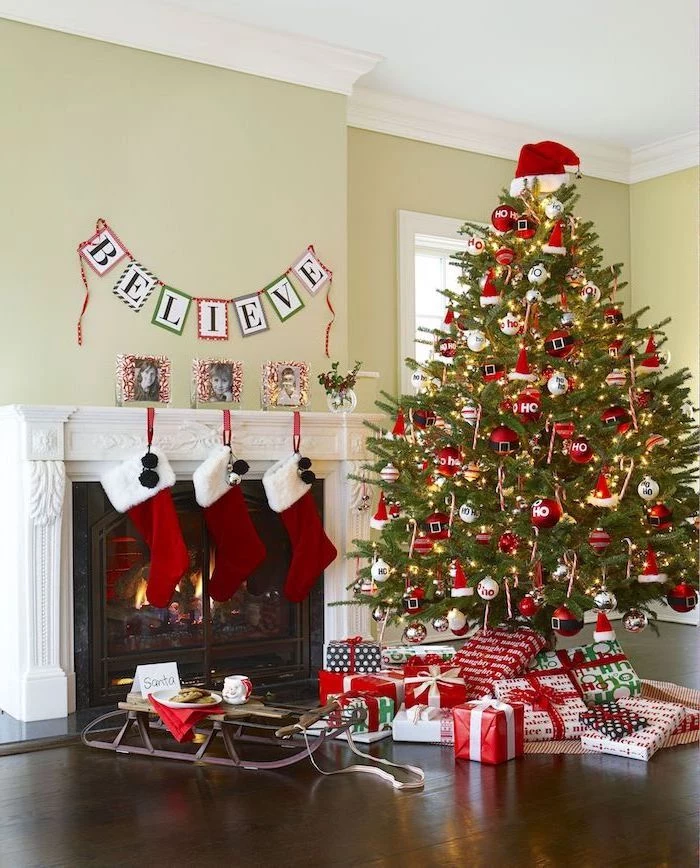
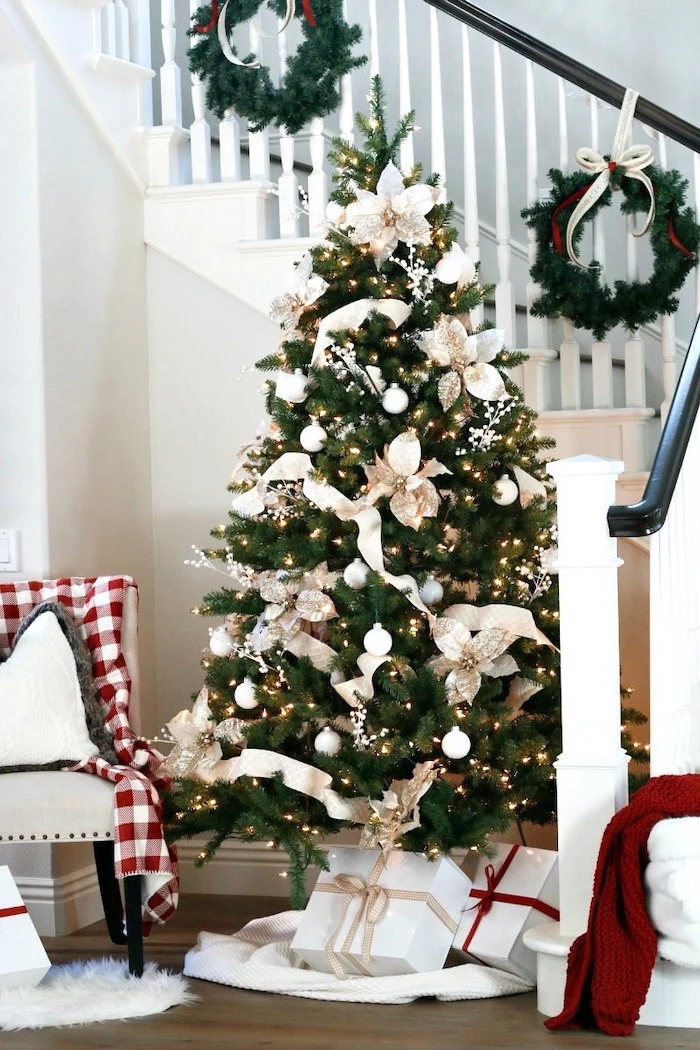
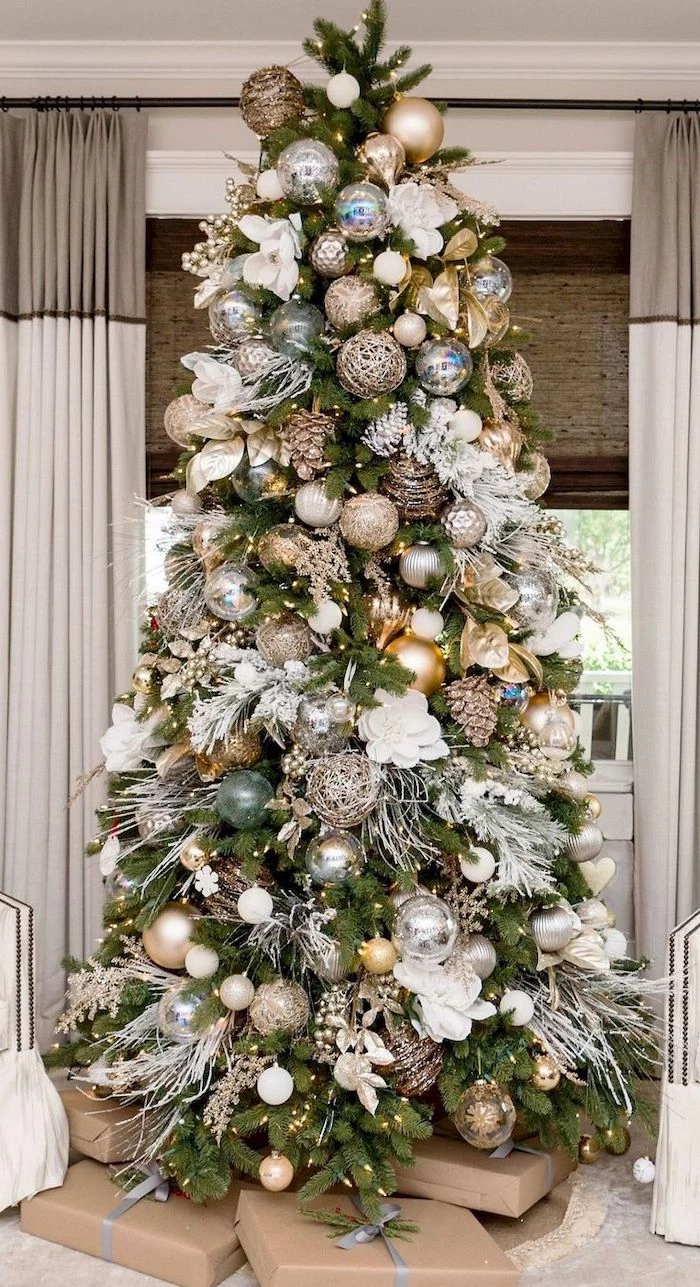
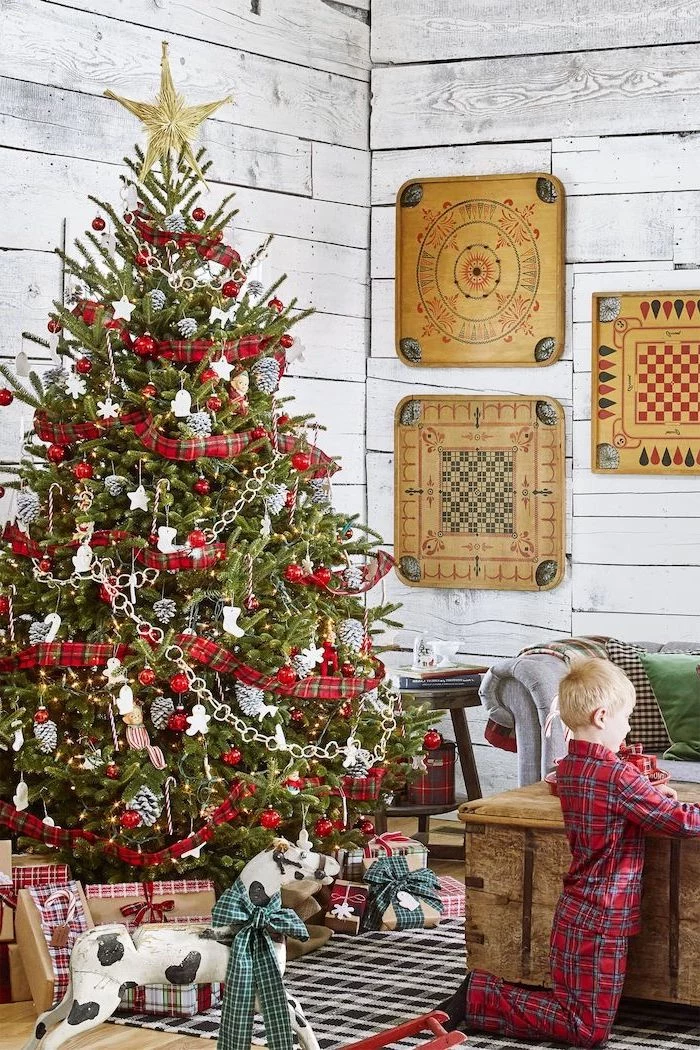
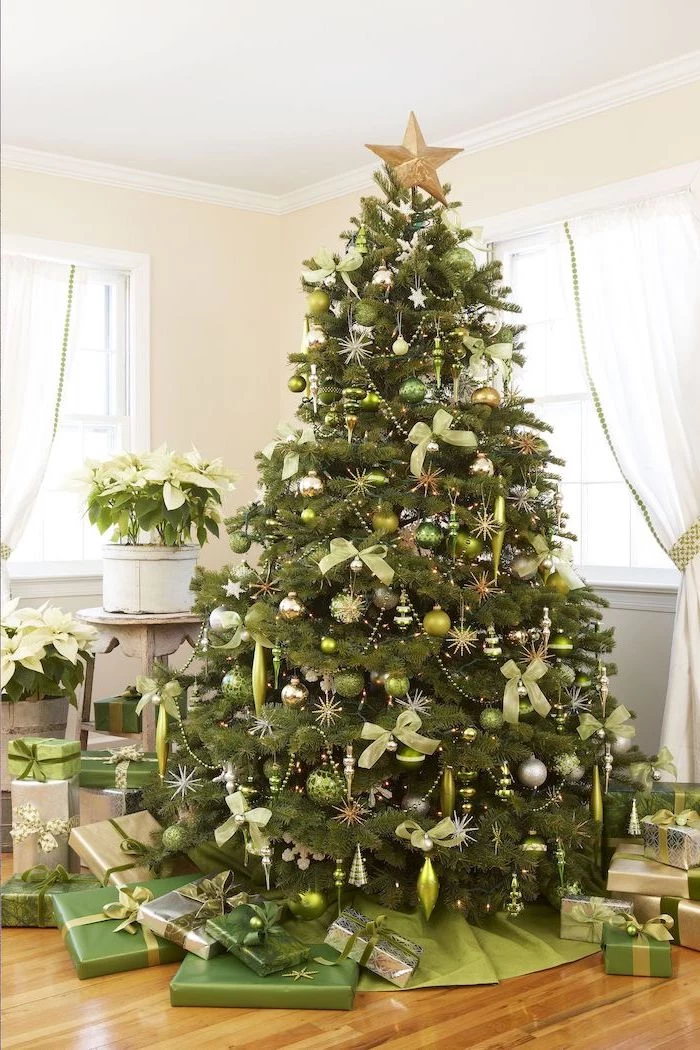
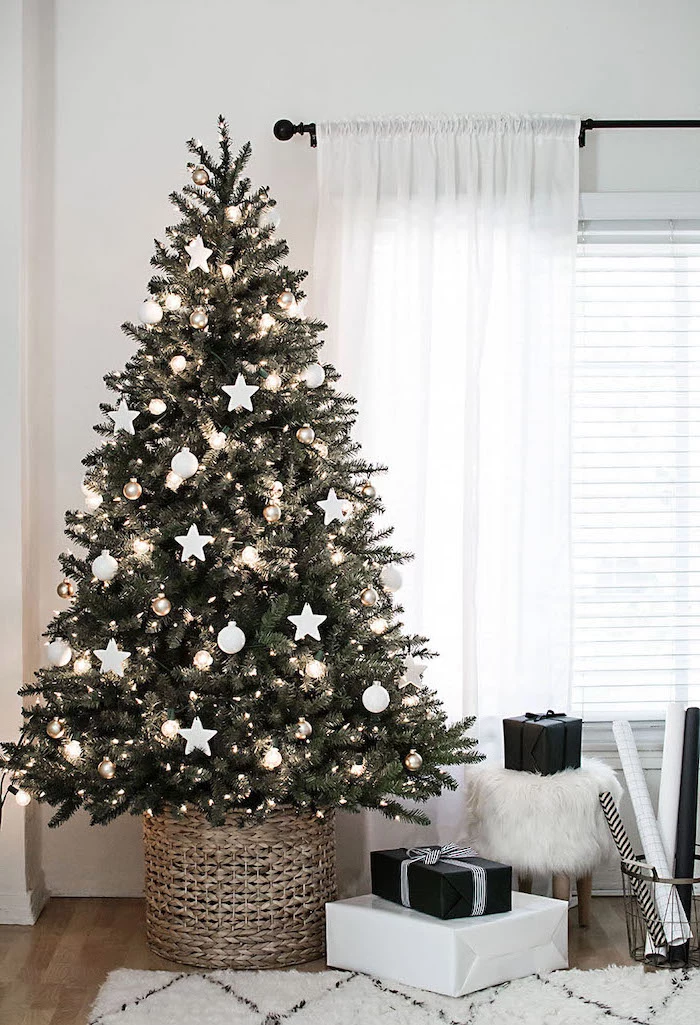
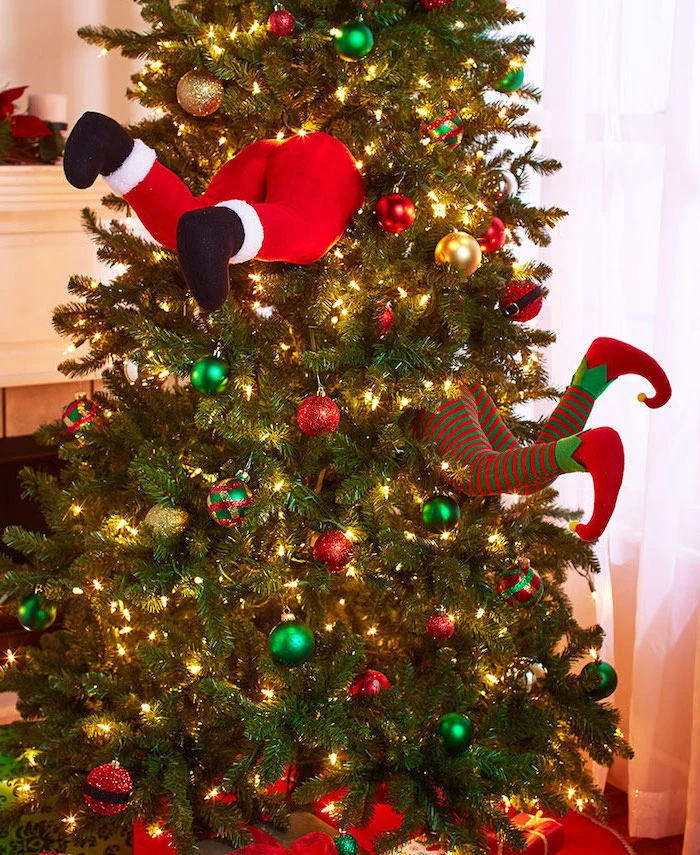
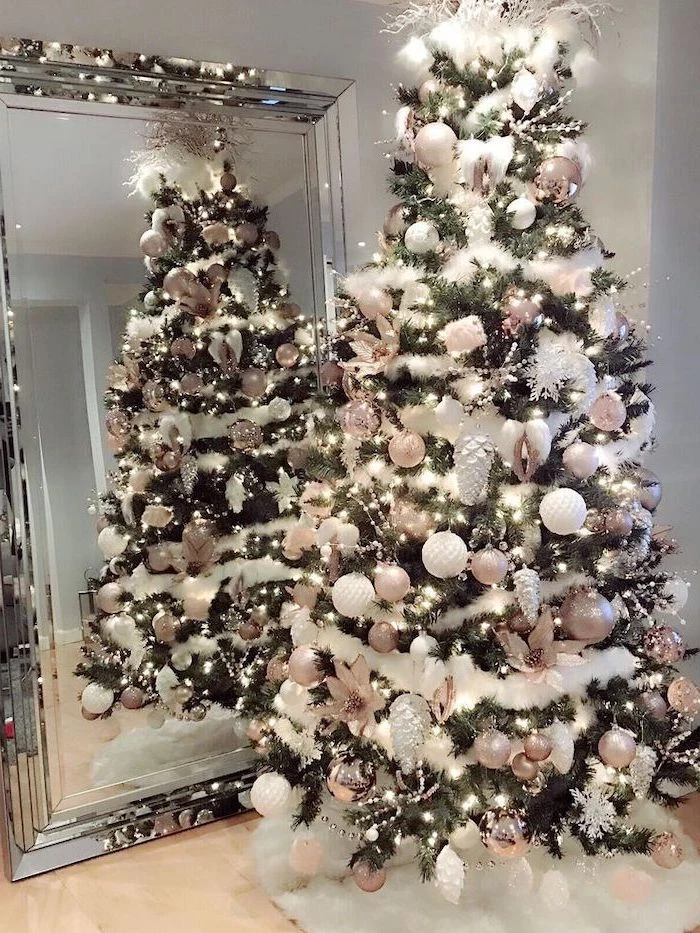
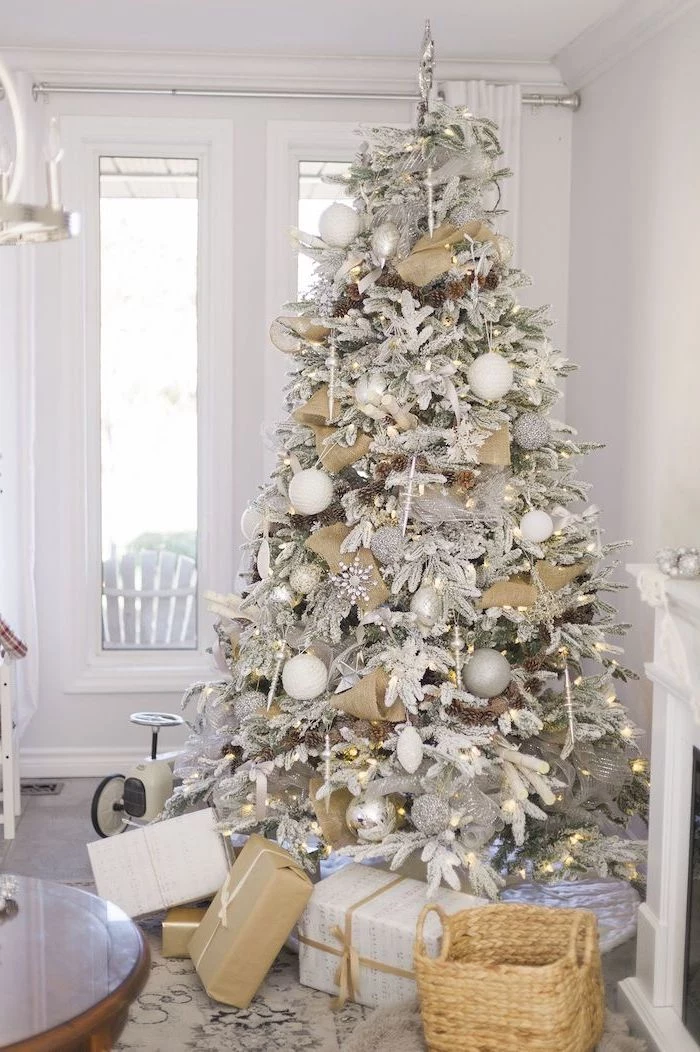
Filler Ornaments: These are your workhorses. Think multi-packs of simple, shatterproof baubles in your main theme colors from stores like Target or At Home. Their job is to add color and fill space deep within the tree’s branches.
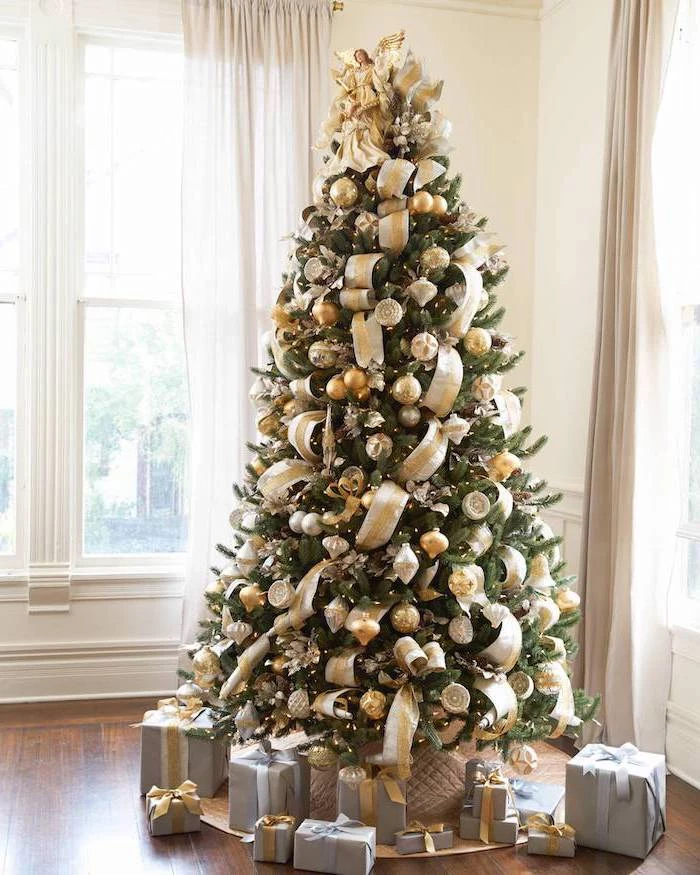
Showcase Ornaments: These are the stars. They are your unique, detailed, or sentimental pieces, like hand-blown glass from Christopher Radko or a baby’s first Christmas keepsake. These get placed in prime positions on the outer branches after the fillers are in place.
- A cohesive, elegant look.
- A deep, textural finish.
- A tree that tells a story.
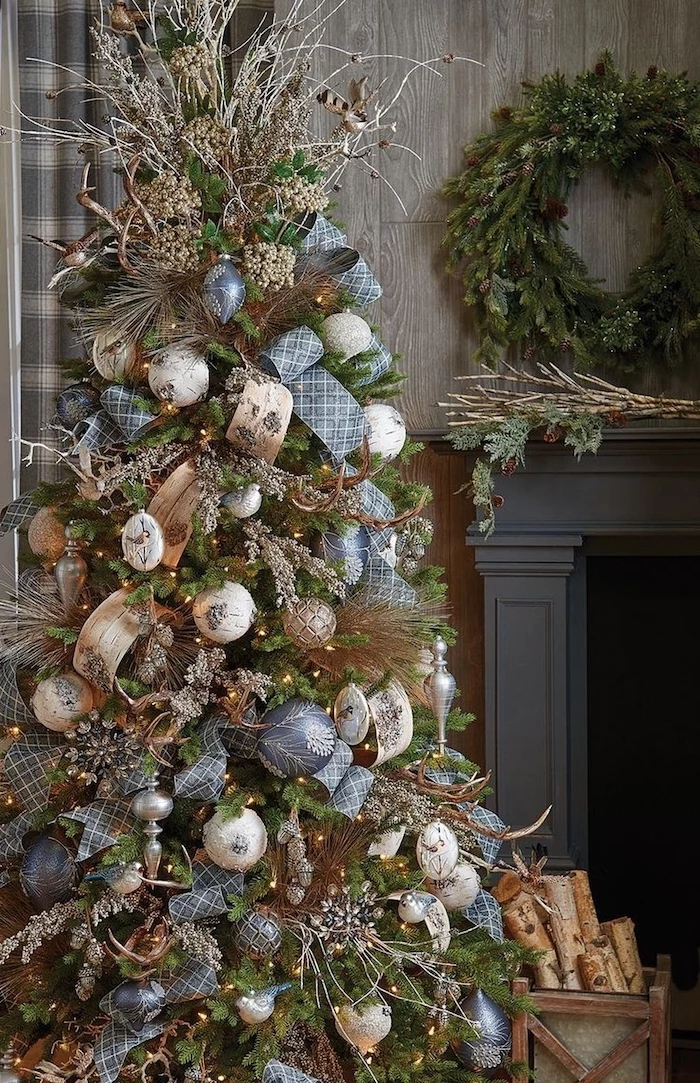
The secret? Commit to a theme. Whether it’s ‘Woodland Winter’ with faux fur, pinecones, and birch accents, or ‘Gilded Glamour’ with metallics and velvet, a strong theme guides every choice and ensures a stunning result.
The scent of a fresh pine or fir is pure Christmas magic. If you have an artificial tree, you don’t have to miss out. ScentSicles are scented ornaments designed to hang discreetly within the branches, releasing a convincing evergreen fragrance for weeks. Alternatively, simmer a pot of water with cinnamon sticks, cloves, and orange peel on the stove for a natural, home-filling aroma.
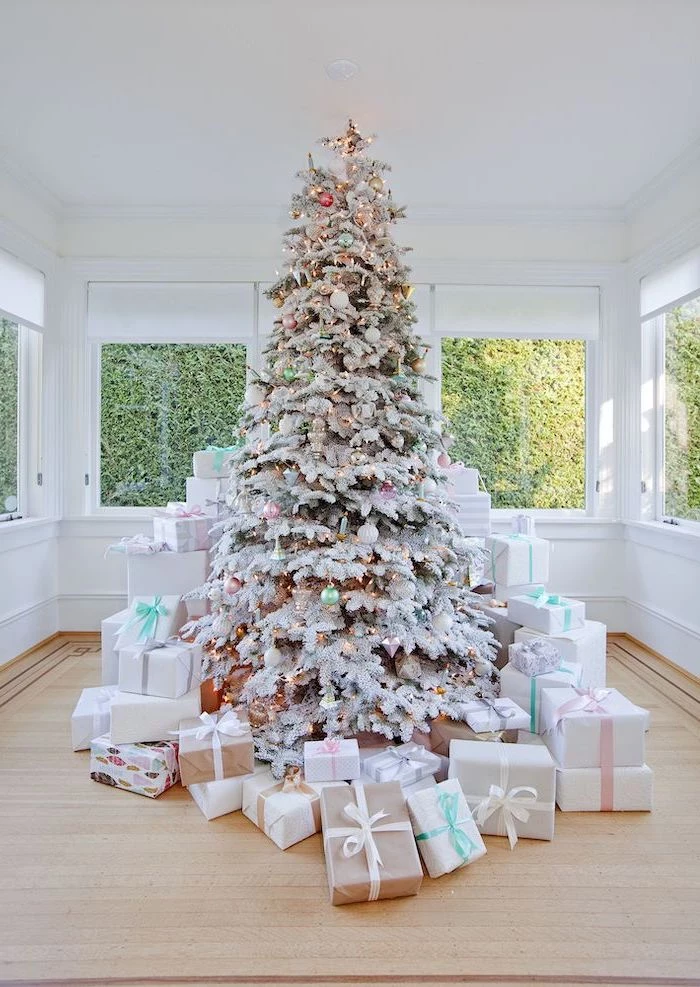
According to a 2022 survey, nearly 80% of U.S. households displaying a Christmas tree choose an artificial one.
This surge in popularity means the quality and realism of faux trees have skyrocketed. Brands like Balsam Hill use ‘True Needle’ technology, creating molds from real tree cuttings for unparalleled realism. While an investment, a high-quality artificial tree can last over a decade, making it a sustainable and cost-effective choice in the long run.
Don’t neglect the back! Even if your tree is in a corner, it needs some love. Wrapping lights all the way around and placing a few filler ornaments on the back branches will create a reflection against the wall, making the tree appear fuller and brighter from the front.

Create your own timeless ornaments with a simple, aromatic DIY. Just slice an orange thinly (about 1/4 inch), pat the slices dry with a paper towel, and bake them on a wire rack at a low temperature (around 200°F or 90°C) for 2-3 hours, flipping halfway through. Once completely dry and slightly translucent, thread a piece of twine through a small hole to hang. They add a beautiful, stained-glass effect and a subtle citrus scent.
I found the perfect heavy ornament, but it makes the branch sag. What now?
Don’t hang it from the weak tip of the branch! Instead, find a sturdier, thicker part of the branch closer to the trunk. Use a good quality metal ornament hook and secure it firmly. For extra-heavy treasures, you can use a small piece of green floral wire to anchor the ornament to the branch, distributing the weight more effectively.
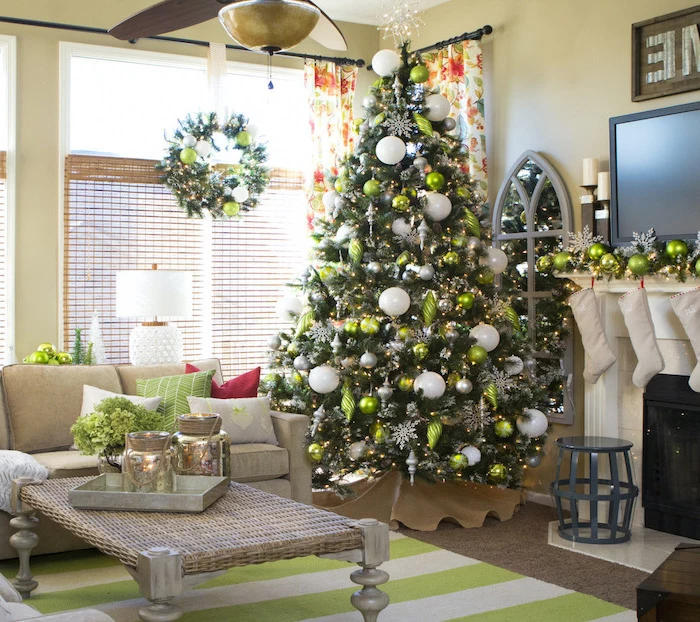
A common mistake is clumping all the best ornaments together at eye-level. Step back frequently as you decorate. Aim for a balanced distribution of color, size, and shape across the entire tree. Place larger ornaments lower down and smaller, more delicate ones toward the top to create a natural and visually pleasing composition.


Classic Incandescent: Offer that warm, nostalgic glow and are generally cheaper upfront. However, they consume more energy and burn out faster.
Modern LED: More energy-efficient (up to 90% less) and last significantly longer. While the initial cost is higher, you can find them in a variety of ‘warm white’ tones that beautifully mimic the classic glow, like the GE Energy Smart Colorite series.
For longevity and safety (they run much cooler), LEDs are the superior investment.
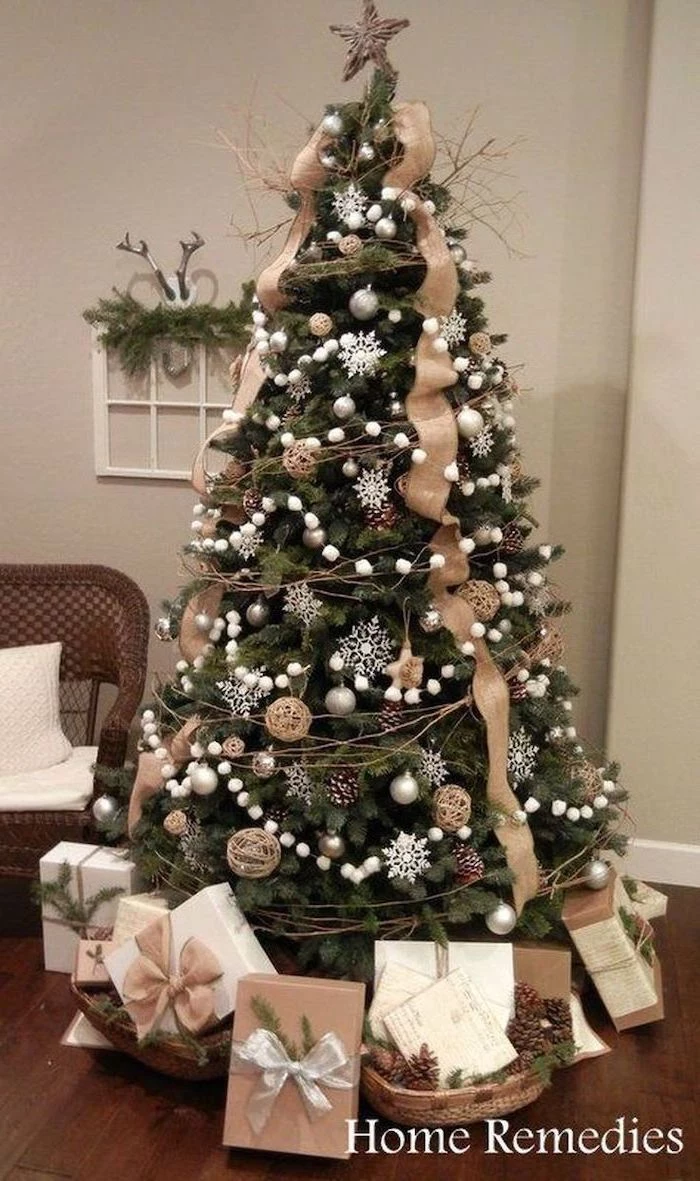
Take your tree’s texture to the next level with specialty picks and sprays. These are stems of decorative elements you can tuck directly into the branches. Find glittered eucalyptus or frosted berry sprays at craft stores like Michaels or Hobby Lobby. For a high-end touch, explore the feather or crystal-laden picks from Frontgate. They add dimension and a professional touch that simple ornaments alone can’t achieve.
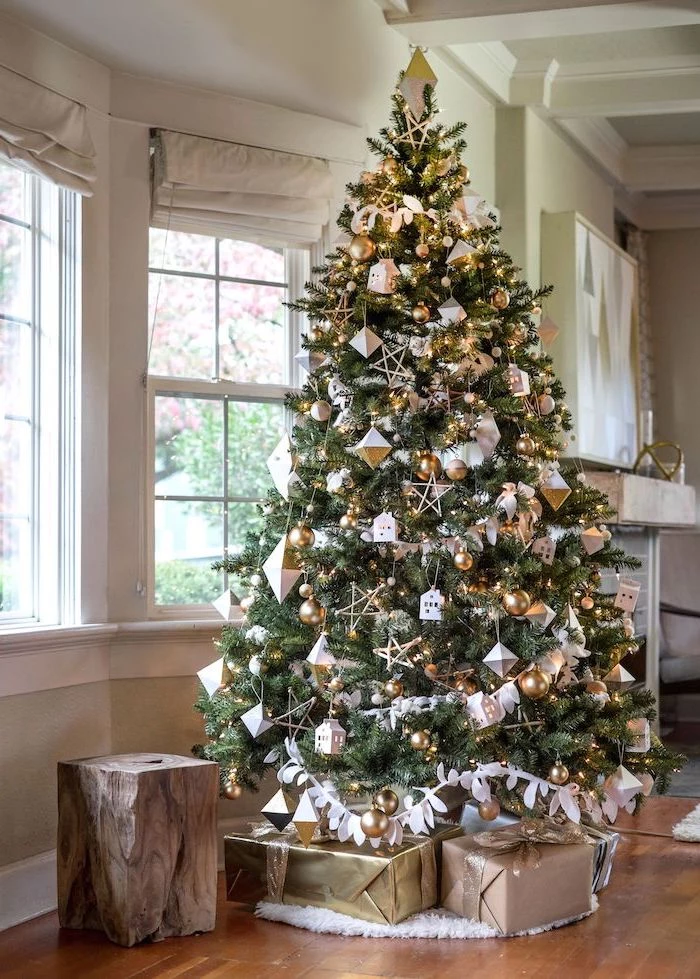
- Minimalism and natural textures.
- A color palette of white, black, wood tones, and forest green.
- Simple, geometric ornaments mixed with handmade elements like wooden beads or straw stars.
This is the heart of Scandinavian holiday design. It’s about creating a ‘hygge’ atmosphere—cozy, simple, and connected to nature. Less is truly more.
The secret to keeping a real tree fresh: Make a fresh cut before putting it in the stand. A tree can seal its base with sap in just a few hours. Sawing an inch off the bottom reopens the pores, allowing it to absorb water. And check the water level daily; a thirsty tree can drink over a gallon of water in the first 24 hours!
Tinsel was originally invented in Nuremberg, Germany, around 1610. It was made from shredded silver, which was hammered thin. Because silver tarnished quickly, other metals were eventually used as substitutes.
When your beautiful wired ribbon comes off the tree, don’t just crumple it into a box. To keep it pristine for next year, wrap it back around the original cardboard spool it came on. If you’ve thrown that away, an empty paper towel roll works perfectly. This prevents hard creases and preserves the wire, making next year’s decorating a breeze.

What’s the best way to store my artificial tree?
Ditch the battered cardboard box it came in! A dedicated tree storage bag is a worthy investment. Look for one with wheels for easy transport and compression straps to make it more compact. Storing your tree properly protects it from dust and damage, preserving your investment and making setup much easier next season. The ‘TreeKeeper’ bags are a popular, durable option.
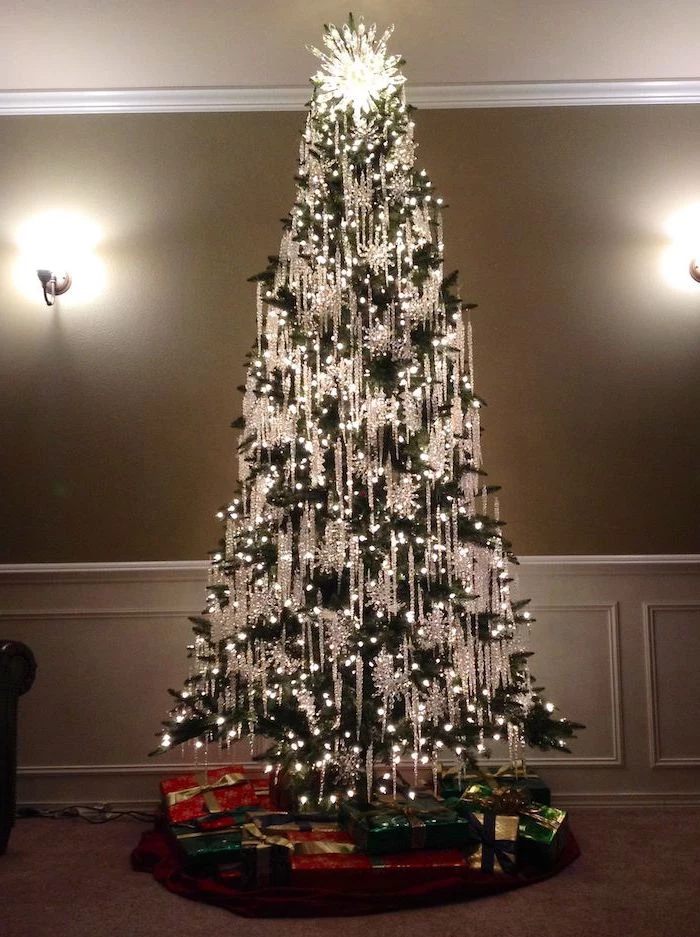
Give your tree a grand finale with an oversized topper. The trend is moving away from small, discreet stars. A large, multi-pointed Moravian star or a dramatic bursting starburst topper, like those found at Pottery Barn, can serve as the definitive focal point, balancing the visual weight of a fully decorated tree. Use floral wire to secure it firmly to the top branch for stability.
- Strings of air-popped popcorn and cranberries.
- Felted wool garlands and ornaments.
- Pinecones collected from the yard (bake them at 200°F for 30 mins to de-bug).
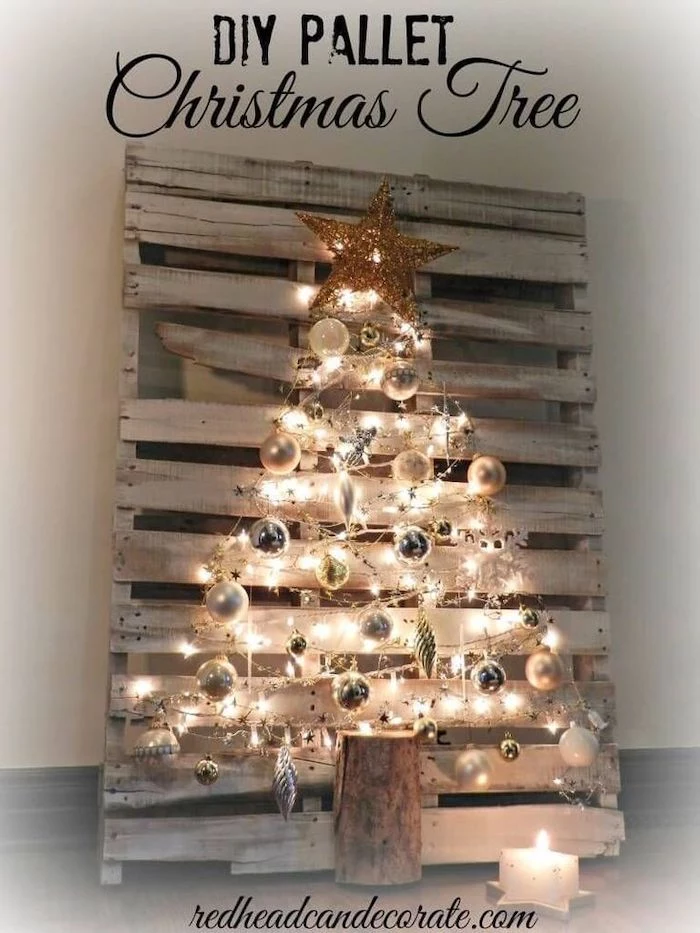
- Ornaments made from recycled paper or wood.
These eco-friendly choices not only reduce plastic use but also add a wonderfully rustic and personal touch to your holiday decor.
A 7.5-foot artificial tree can have over 2,500 individual branch tips.
This is why fluffing is so critical. Each of those tips is an opportunity to create fullness and a spot to hang a decoration. The higher the tip count (a key metric when buying an artificial tree), the more dense and realistic your tree will look once it’s properly shaped.

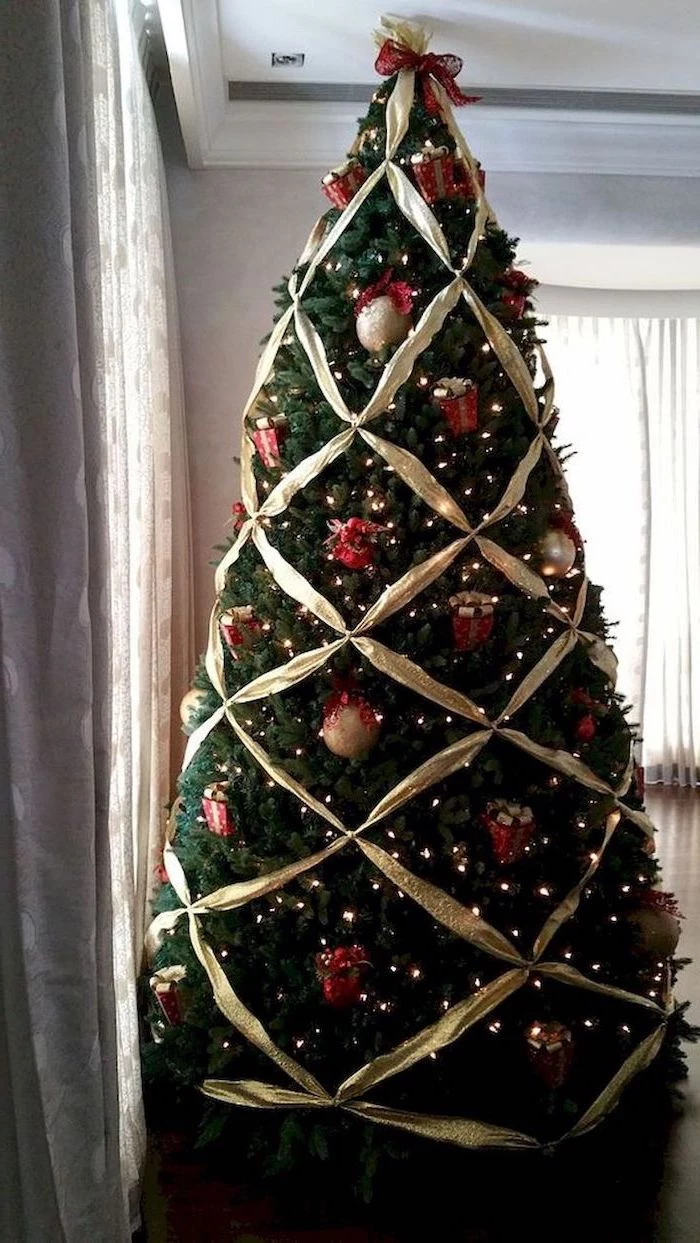
Ribbon Trick: The ‘Billow and Tuck’. Instead of spiraling ribbon tightly around the tree, which can look dated, try this. Start at the top, tucking the end of your wired ribbon deep into the branches. Let it billow out for 12-18 inches, then tuck it back in deeply. Continue this down the tree in a random, cascading pattern. This creates soft, beautiful waves of color and texture that look effortlessly elegant.


