Stop Wasting Money at the Nursery: A Pro’s Guide to a Yard You’ll Actually Love
I’ve spent more than two decades designing and building gardens, and I started out on the installation crew, which is a nice way of saying I dug a lot of holes. My first boss had this one line he always used: “Anyone can pick a pretty flower. A pro understands the ground it’s going into.” And honestly, that’s everything.
In this article
A great landscape isn’t just a random collection of pretty plants. It’s a system—an extension of your home that needs just as much thought as your kitchen remodel. So many of us get a burst of inspiration, race to the nursery, and buy whatever looks good that day. It’s a recipe for frustration, dead plants, and a yard that feels like a constant, nagging chore.
This guide is designed to stop that cycle. We’re going to walk through the process the way the experts do, starting not with plants, but with planning. It’s the secret to saving money, avoiding headaches, and creating a beautiful space that actually thrives.
The Real Work Happens Before You Buy a Single Plant
Before I even think about plants, my first job on any site is to just… listen. The land tells you what it wants, you just have to know the language. This whole process is called a site analysis, and skipping it is like building a house without checking the foundation first. It’s that important.
Good news: you don’t need fancy tools. Here’s a quick rundown of your beginner’s site analysis toolkit:
- A notebook and pencil (a couple of bucks)
- A clear mason jar (probably free from your kitchen)
- Your phone’s camera
- A basic tape measure (around $10 at any hardware store)
- Optional but highly recommended: a soil test kit. You can grab one from your local cooperative extension office for about $20-$30.
See? You can get started for less than the cost of a few doomed perennials. Now, let’s put that kit to work.
Become a Sun Stalker
Sunlight is the number one thing that determines if a plant lives or dies. You’ve seen the tags: “full sun” means 6+ hours of direct light, “part shade” is 3-6 hours, and “full shade” is less than 3. But it’s a bit more nuanced than that.
Morning sun is gentle. Afternoon sun is a blowtorch. A plant that loves one might get fried by the other. So, here’s your mission: on a sunny day, pop outside every couple of hours and take a quick picture or sketch of your yard. Note where the sunny and shady spots are. If you can do this once in spring and again in mid-summer, even better! The sun’s angle changes a lot, and a spot that’s sunny in May might be shaded by your house in July. This simple map is gold.
Get Your Hands Dirty (Literally)
Soil isn’t just dirt; it’s the whole ecosystem for your plant’s roots. The main types are clay, sandy, and loamy soil. Clay is dense and holds water (sometimes too well), while sandy soil is gritty and drains in a flash. Loam is the holy grail—a perfect mix of both.
To figure out what you have, try the “jar test.” Fill a clear jar about one-third full of your garden soil, top it off with water, and shake it like crazy for a minute. Let it settle for a day. The layers will tell the story: heavy sand on the bottom, silt in the middle, and fine clay on top. It gives you a great visual of your soil’s makeup.
Quick tip: So you did the test and discovered you have heavy clay? Don’t panic. To improve it, you’ll need to add organic matter. For a typical 100-square-foot garden bed, plan on buying around 4 to 6 cubic feet of good quality compost. Spread a 3-inch layer on top and then work it into the top 6-8 inches of soil with a garden fork or a rented rototiller. It’s a workout, but it makes a world of difference.
Follow the Water and Wind
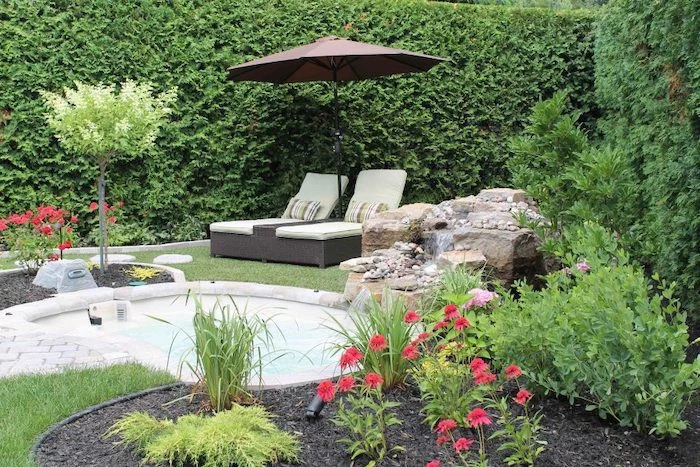
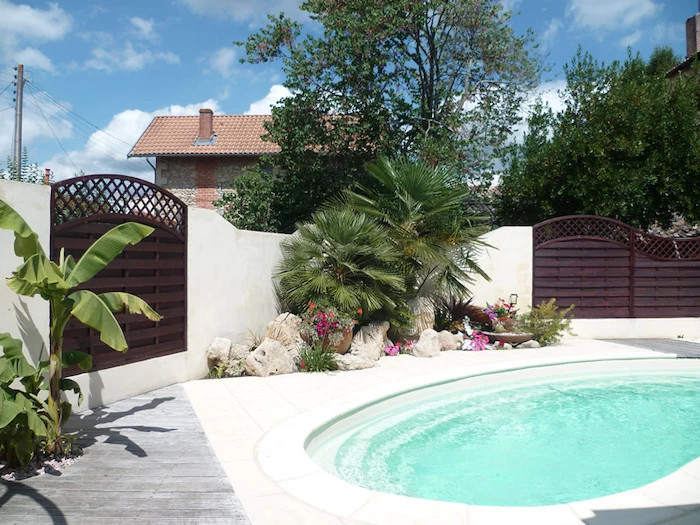
Next time it pours, watch where the water goes. Does it pool up somewhere? That low, soggy spot is death for a lavender plant, but it’s the perfect opportunity for a beautiful rain garden. Does water rush down a slope? You’ll need plants with deep roots to prevent erosion.

Also, pay attention to wind. A windy corner can dry out and batter plants. But a protected nook by a south-facing brick wall can create a warm “microclimate,” a little pocket that might be a whole growing zone warmer than the rest of your yard. It’s the perfect spot to try a plant that’s borderline for your region.
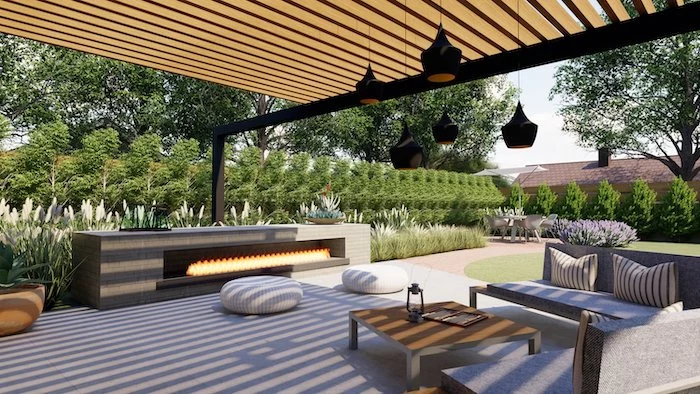
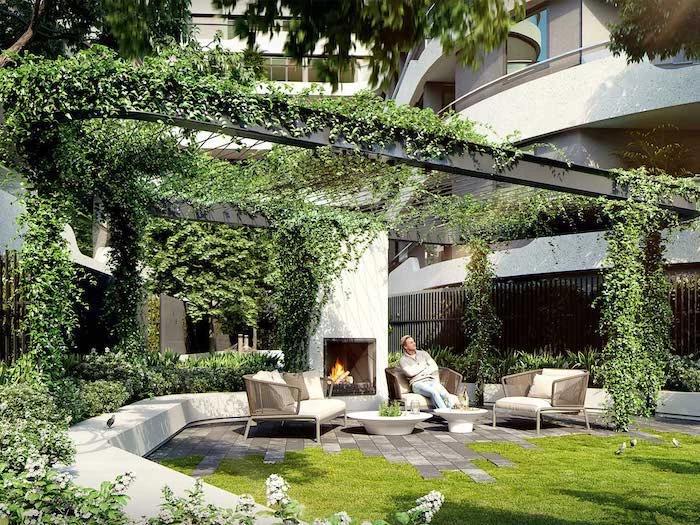
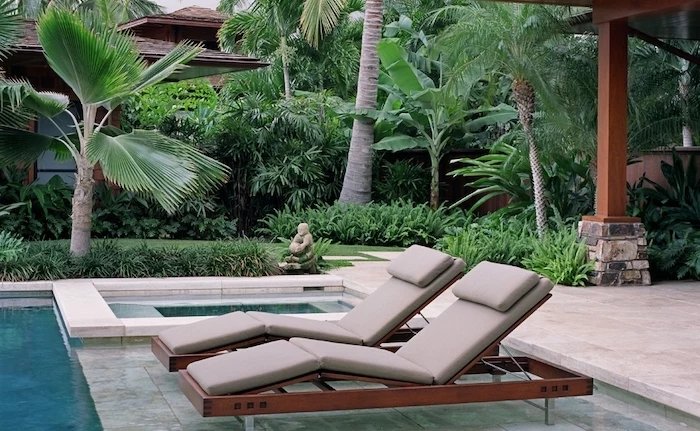
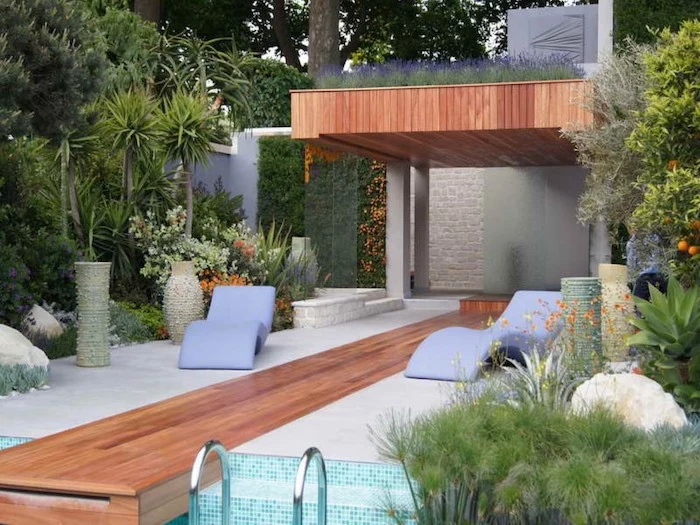
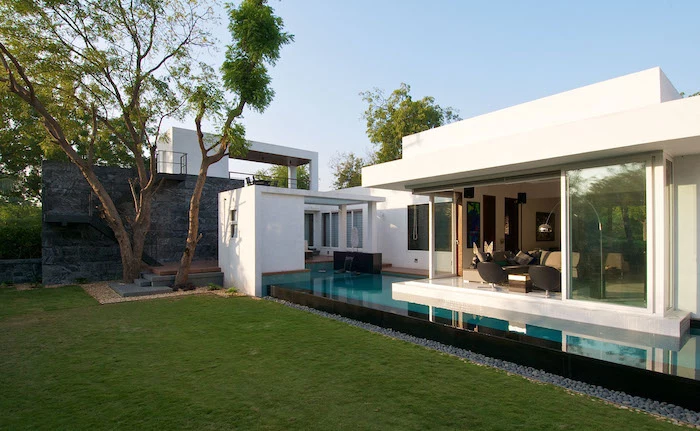
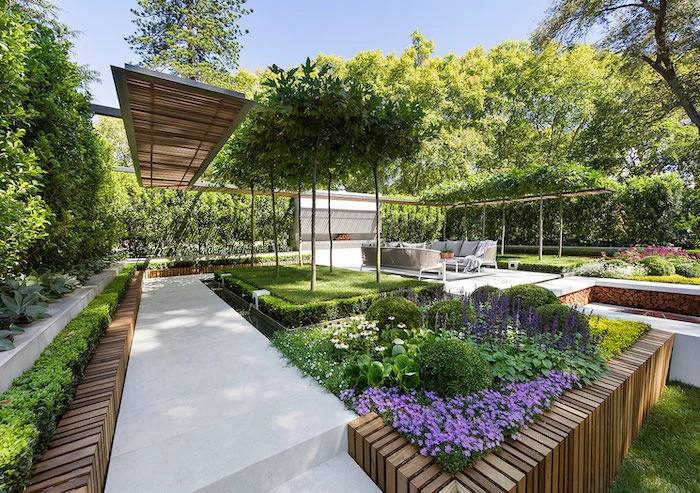
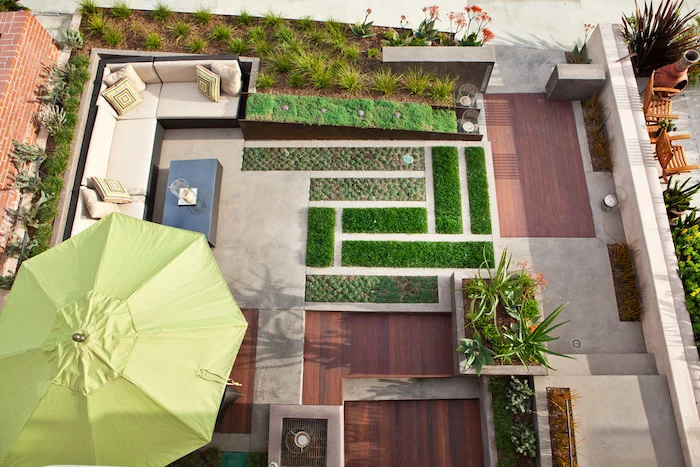
Designing Your Outdoor Living Space
With your analysis done, you can start dreaming. But instead of thinking about features, think about activities. What do you actually want to do out there?
- A cozy spot for morning coffee.
- A big, open area to host a BBQ for 10 people.
- A safe, soft place for kids or pets to run around.
- A clever way to hide the ugly trash cans.
See how that works? Each activity defines an “outdoor room.” Now you can map it out. And I don’t mean with fancy software. Grab a piece of paper, sketch your property line, and just draw bubbles. A big circle for “Patio/Dining,” an oval for “Play Area,” a rectangle for “Veggie Garden.” This is called a bubble diagram, and it’s how pros start. It’s a simple, stress-free way to create a master plan.
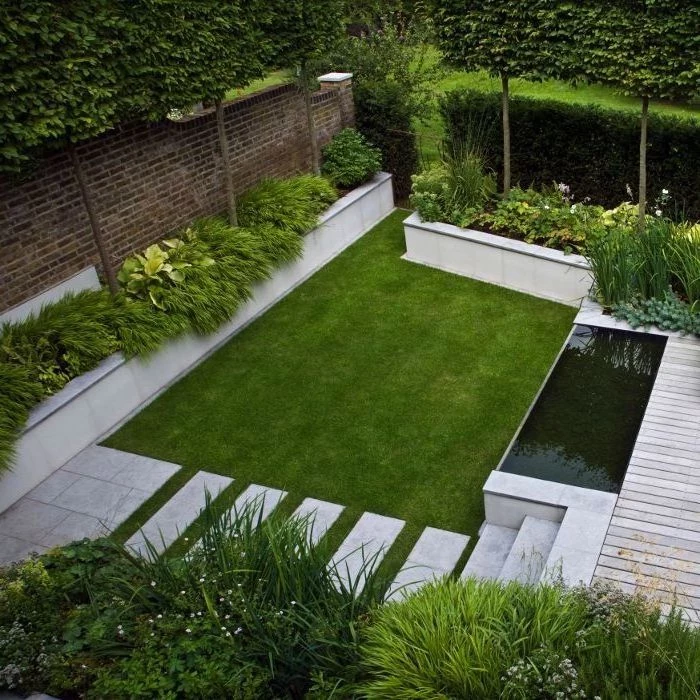
First Comes Hardscape, Then Comes Fun
Hardscape is all the non-living stuff: patios, decks, walkways, walls. And I’m going to be blunt: plan and budget for this first. It’s the most expensive and disruptive part of the project, and it forms the bones of your yard.
A huge mistake I see all the time is when people plant beautiful gardens, only to realize their patio is way too small. Then they have to rip out all their hard work to expand it. Ouch.
Speaking of budget, let’s get real. How much does a patio cost? For a simple 10×10 foot paver patio, if you do it yourself, you can expect to spend around $800 to $1,200. That breaks down roughly into: $150 for the gravel base, $50 for paver sand, $400-$800 for the pavers themselves (depending on how fancy you get), $60 for edge restraints, and about $75 for a plate compactor rental for the day. Having a pro do that same job? You’re likely looking at $3,000 to $5,000. Knowing those numbers helps you decide what’s realistic for you.
By the way, let’s talk mulch. Shredded hardwood is a classic, costs about $4-$5 a bag at big box stores, and gives a nice, finished look, but you’ll be topping it up every season. Pine bark nuggets last a bit longer. For a more modern or arid look, there’s gravel or stone. It’s more of a one-time cost—maybe $80-$100 for a cubic yard—and it doesn’t break down, but heads up: it can get really hot in the sun, which isn’t ideal for every plant.
Finally! Let’s Talk About Plants
Here it is, the golden rule of planting: Right Plant, Right Place. It means you stop fighting your yard and start working with it. Your site analysis told you the conditions; now you just have to find plants that match.
Think in Layers, Not Just Flowers
A lush, professional-looking garden has layers, just like a natural forest. When you’re shopping, think about filling these different roles:
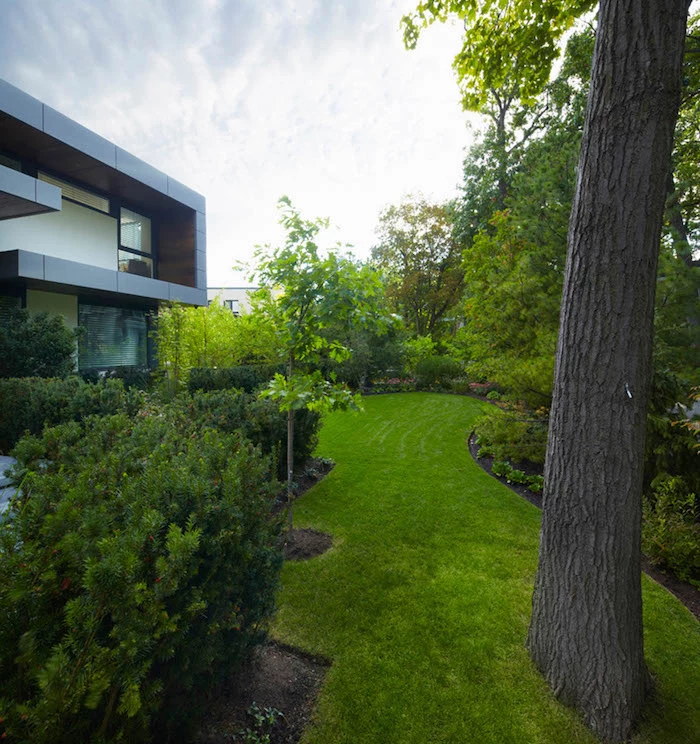
- The Canopy: Big shade trees. These are the ceiling of your garden rooms.
- The Understory: Smaller trees and large shrubs, like dogwoods or hydrangeas. They add interest below the canopy.
- The Walls: Shrubs that provide structure and define your spaces. Think boxwoods or spirea.
- The Furniture: Your perennials, annuals, and groundcovers that provide color and fill in the gaps.
For example, let’s build a combo for a spot with partial sun. You could start with a Serviceberry tree (understory). In front of that, plant a row of ‘Little Lime’ Hydrangeas (shrub layer). Then, fill in around their feet with shade-loving Hosta and feathery Astilbe (perennial layer). See? Layers! It creates a full, complete picture.
Designing for December, Not Just May
The beginner mistake is buying everything that’s blooming in the spring. Your yard looks incredible for three weeks, and then… it’s just a sea of green. The pros design for all four seasons.
Think about what will look good in the fall (fiery foliage, late-blooming asters) and even winter (evergreen structure, interesting bark, dried seed heads from grasses). Texture is a secret weapon here. The bold, waxy leaf of a hosta next to the soft, feathery texture of an ornamental grass looks amazing even when nothing is in bloom.
Want a quick win? If you want to feel like you accomplished something today, go edge your garden beds. It takes 30-60 minutes with a simple flat-edged spade, costs zero dollars if you own one, and instantly makes your entire yard look 50% more intentional. It’s the landscaping equivalent of a great haircut.
When to DIY and When to Call for Backup
A passionate homeowner can do a ton of this work. But some jobs are best left to the pros. It’s not just about skill; it’s about safety and liability.
First, a critical safety warning about grading. The ground around your house absolutely must slope away from your foundation—the standard is a 6-inch drop over the first 10 feet. Piling dirt or building a raised bed against your house is a recipe for a wet basement and termite highways. If you’re not sure, get a pro’s opinion before you do anything else.
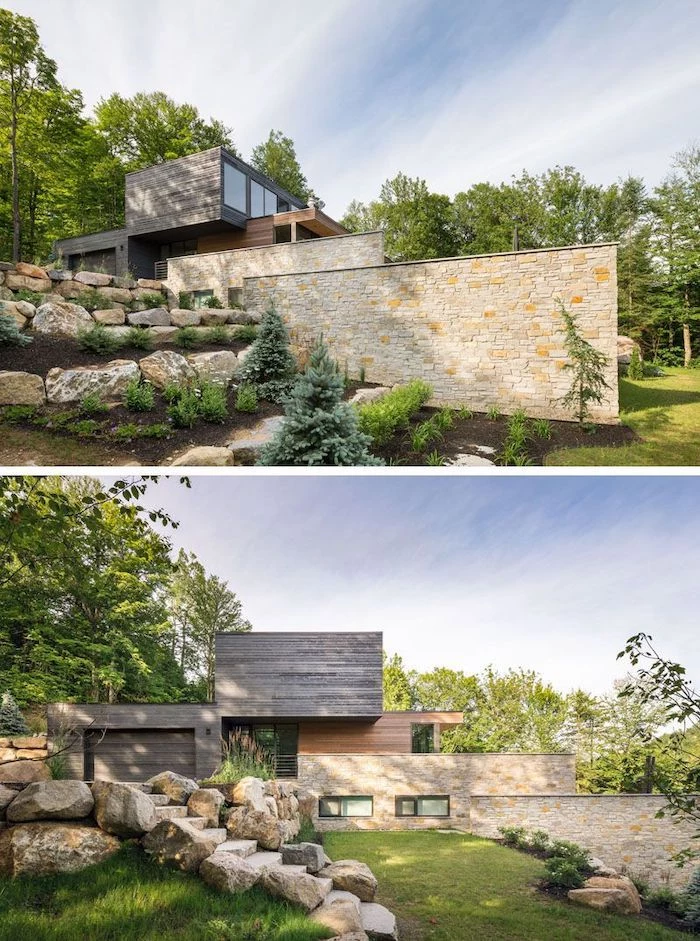
Another big one is retaining walls. They hold back thousands of pounds of wet soil. Most places require a permit and an engineer for any wall over 3 or 4 feet high for a reason. I once saw a DIY wall, built without proper drainage, that was pushed clean over after one wet winter. It’s a costly and dangerous mistake.
My advice? Always create that master plan first. It’s your roadmap. Then, you can tackle it in phases. Maybe you hire a pro for the heavy lifting—the patio and grading—and then you handle the planting yourself the next year. This phased approach, guided by a solid plan, is how you get a professional result without getting overwhelmed. It’s a journey, for sure, but one that starts with simply understanding the ground beneath your feet.
Inspiration Gallery

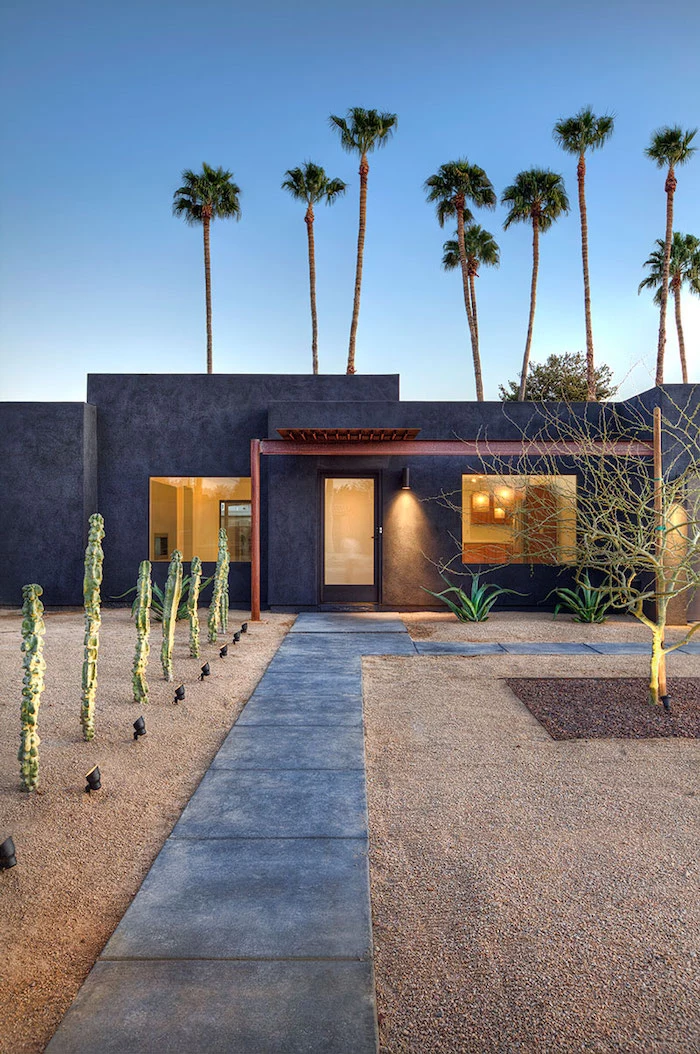
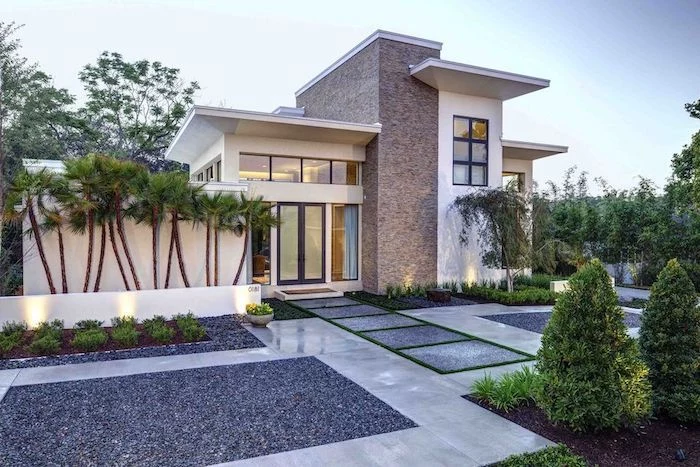
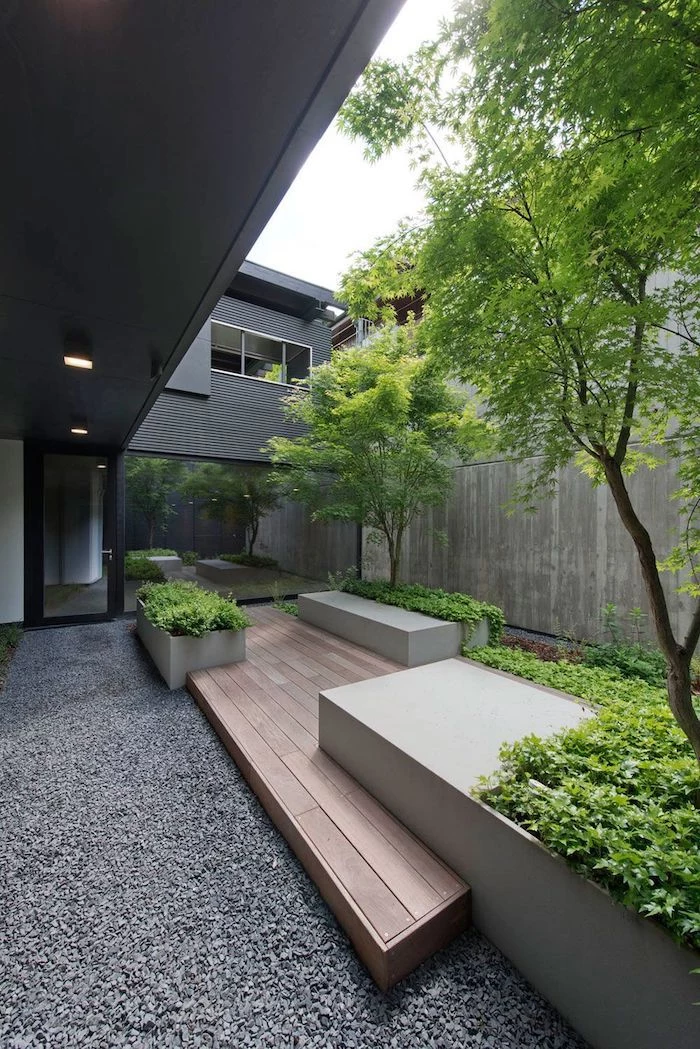
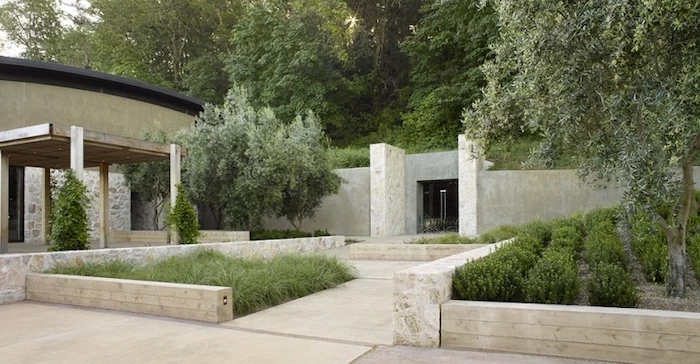
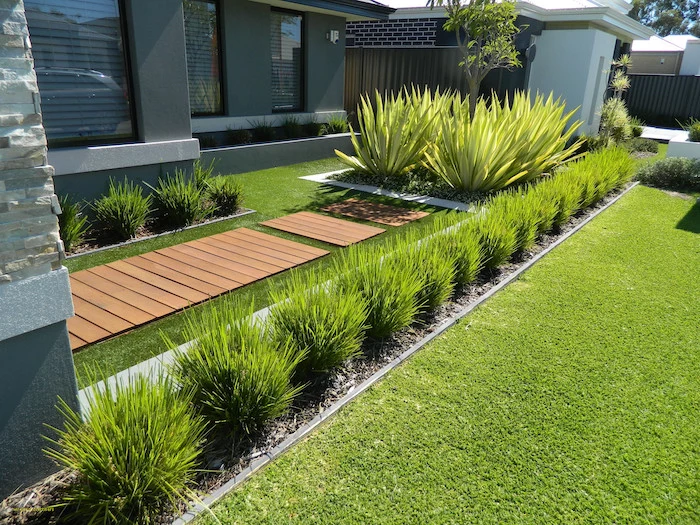
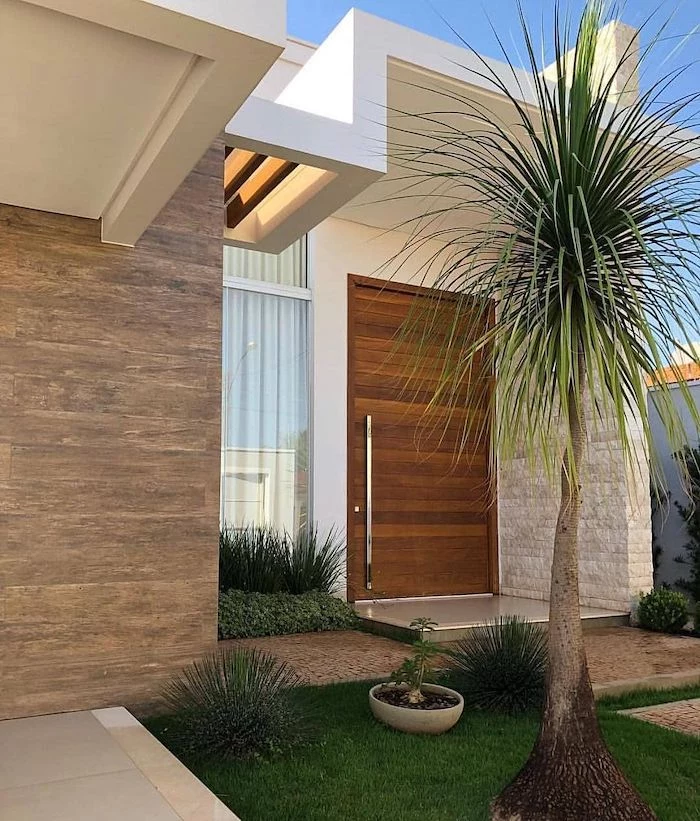
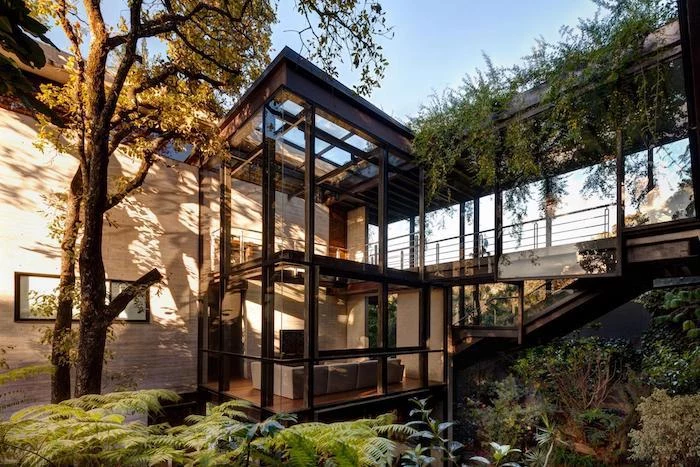
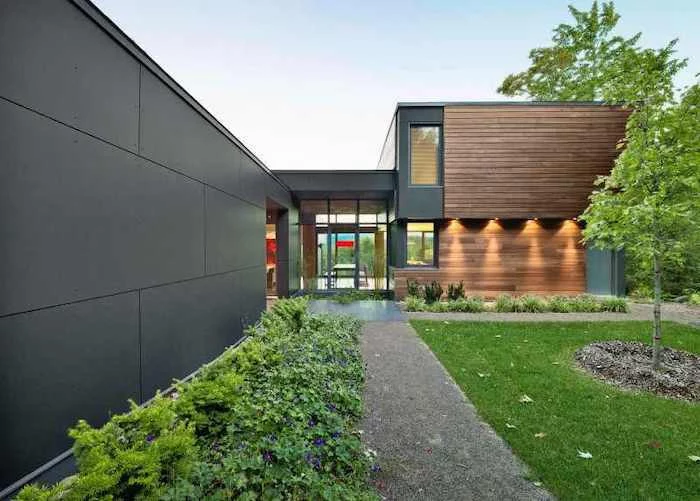
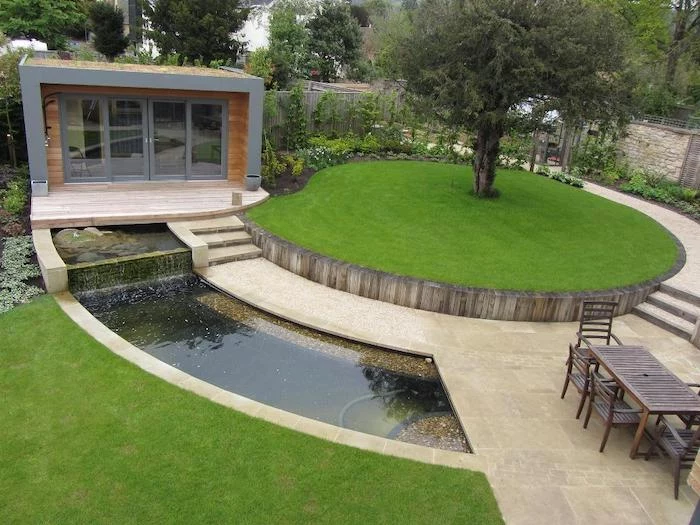
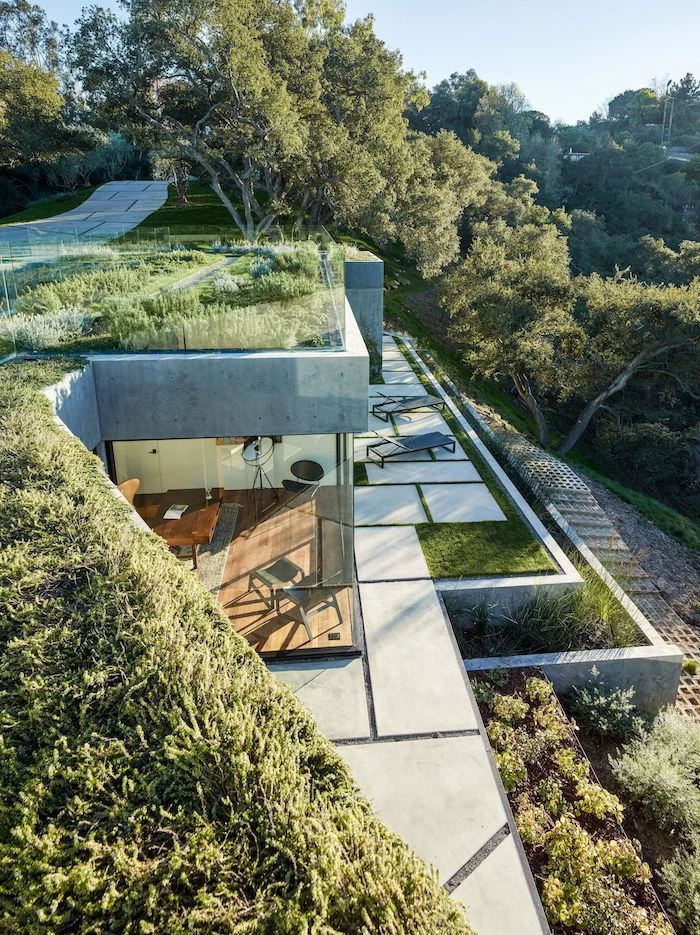
The right edge is everything. While plastic benderboard is cheap, consider the longevity and style of Corten steel edging. It arrives as a dull silver and naturally weathers to a stable, beautiful rust-like patina that perfectly defines beds and paths with a modern, yet rustic, line.
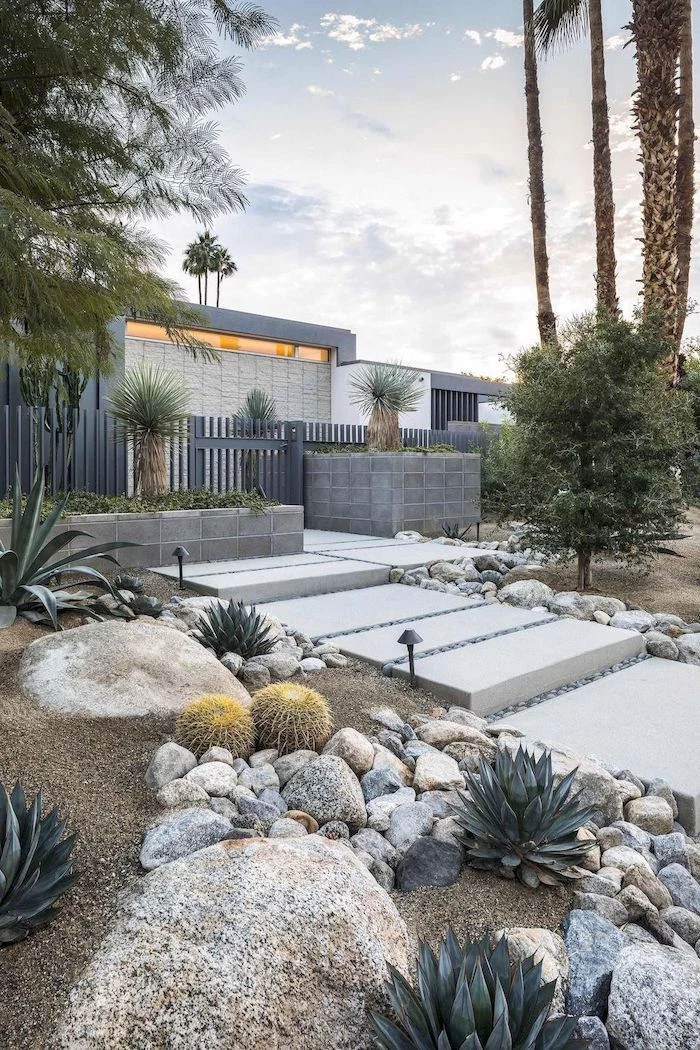
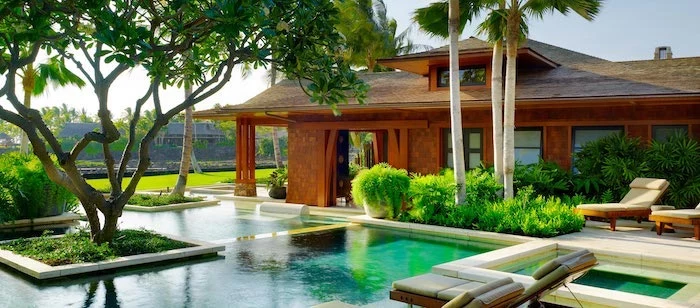
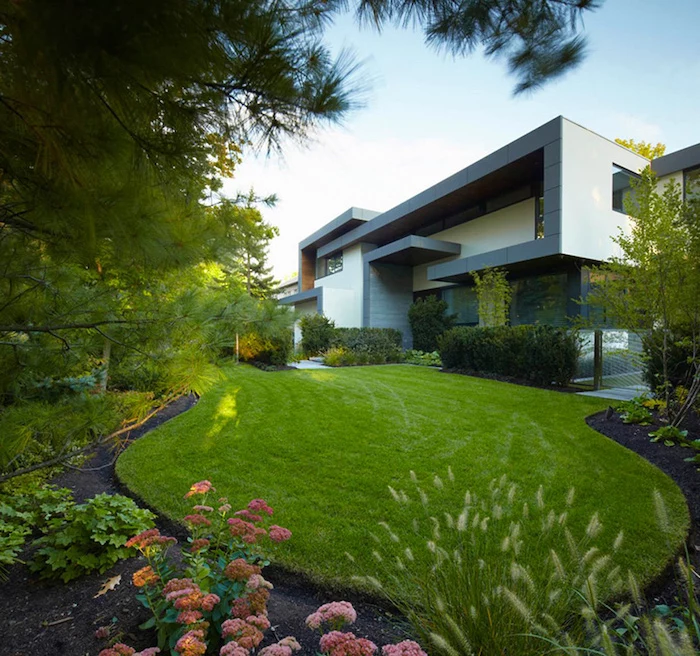
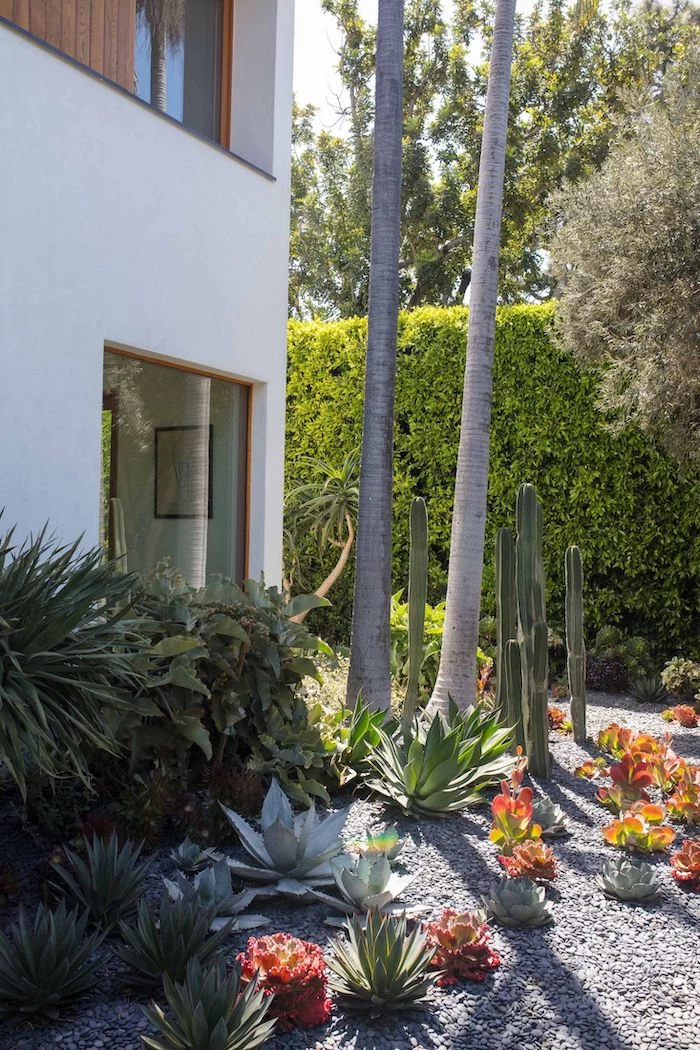
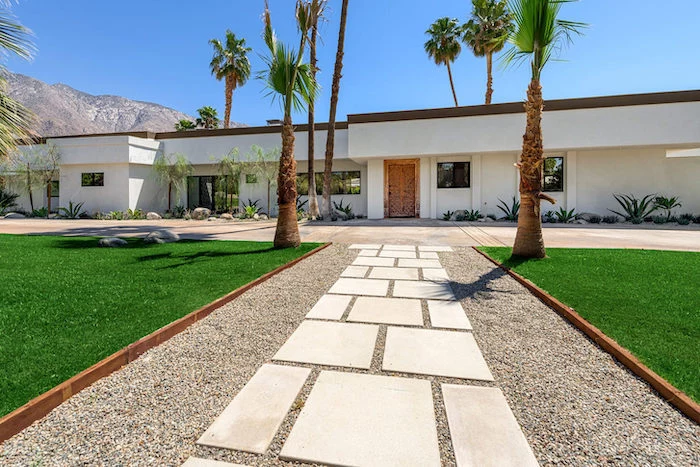
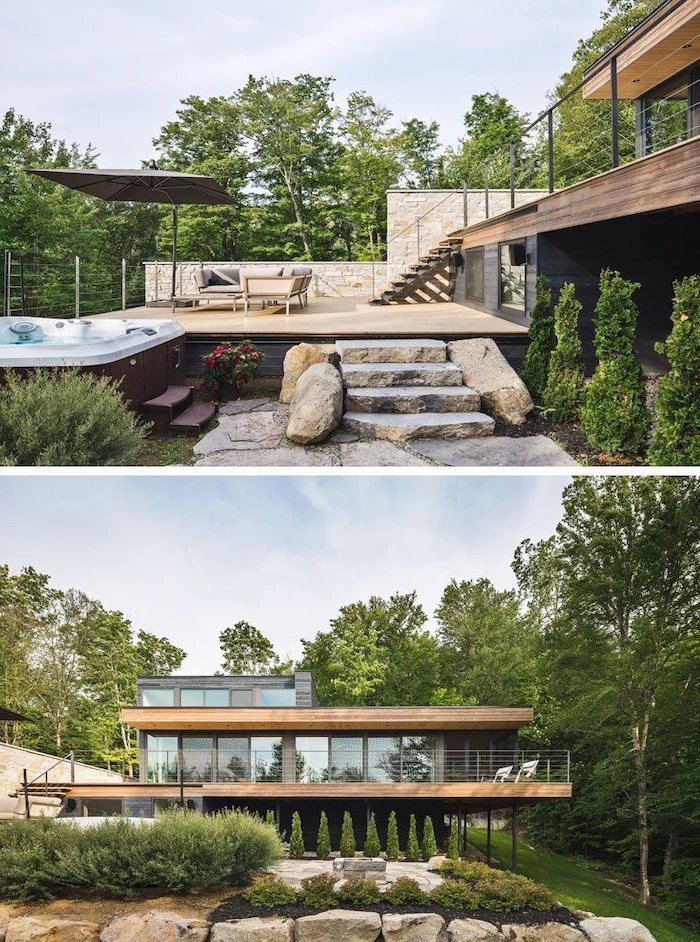
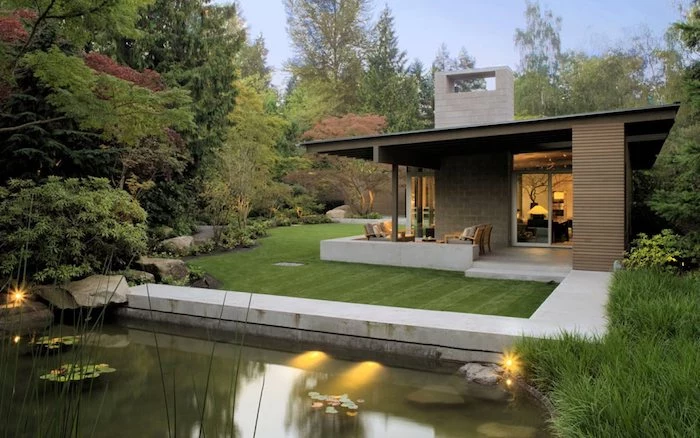
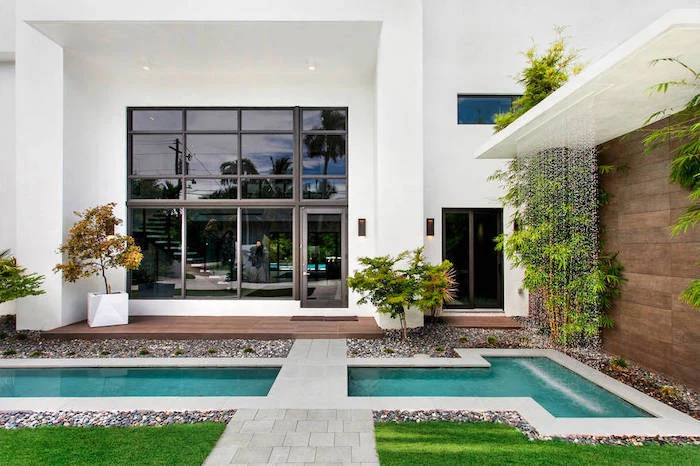
Nearly 70% of residential water use in dry climates goes to landscaping, primarily lawns.
This single statistic is why professionals are increasingly using drought-tolerant groundcovers. Consider replacing a thirsty patch of grass with Creeping Thyme, which releases a lovely scent when walked on, or vibrant Sedum ‘Angelina’ for a tough, beautiful alternative.

What’s the difference between mulch types?
It’s more than just color. Cedar and cypress mulches have natural oils that repel insects and decay slower. Pine bark or pine straw is more acidic, making it a great choice for acid-loving plants like azaleas and blueberries. Hardwood mulches break down faster, enriching the soil more quickly but requiring more frequent top-ups.
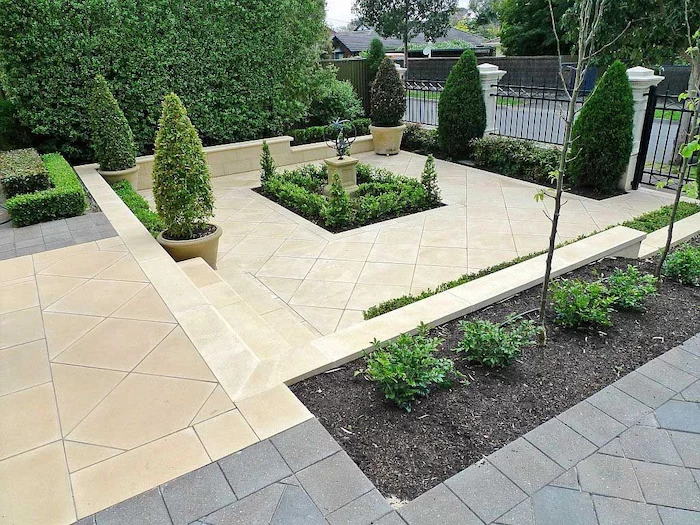
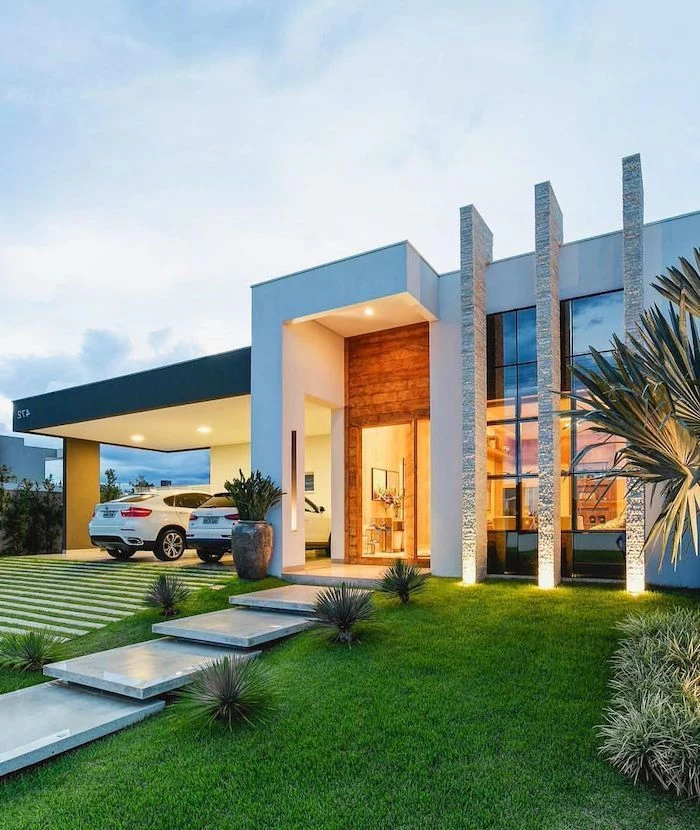
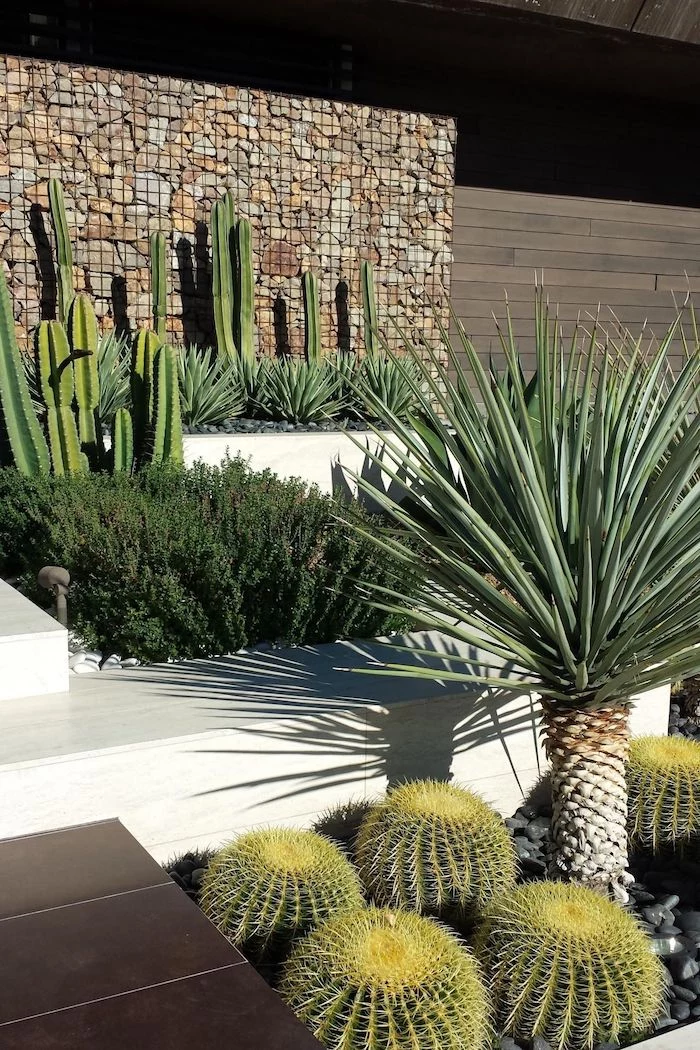
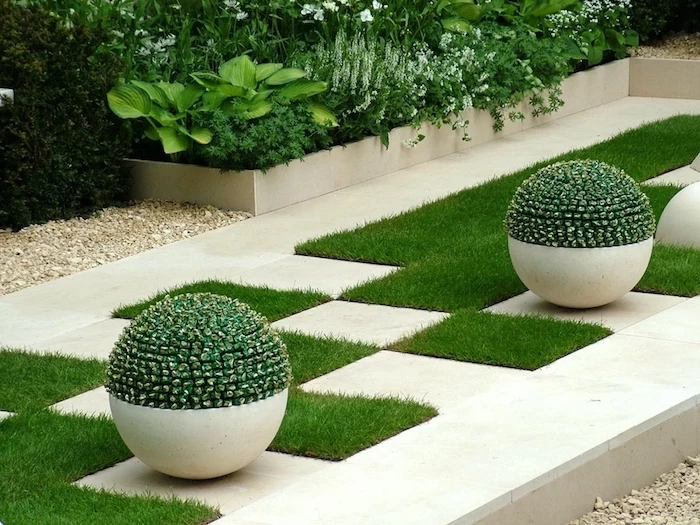
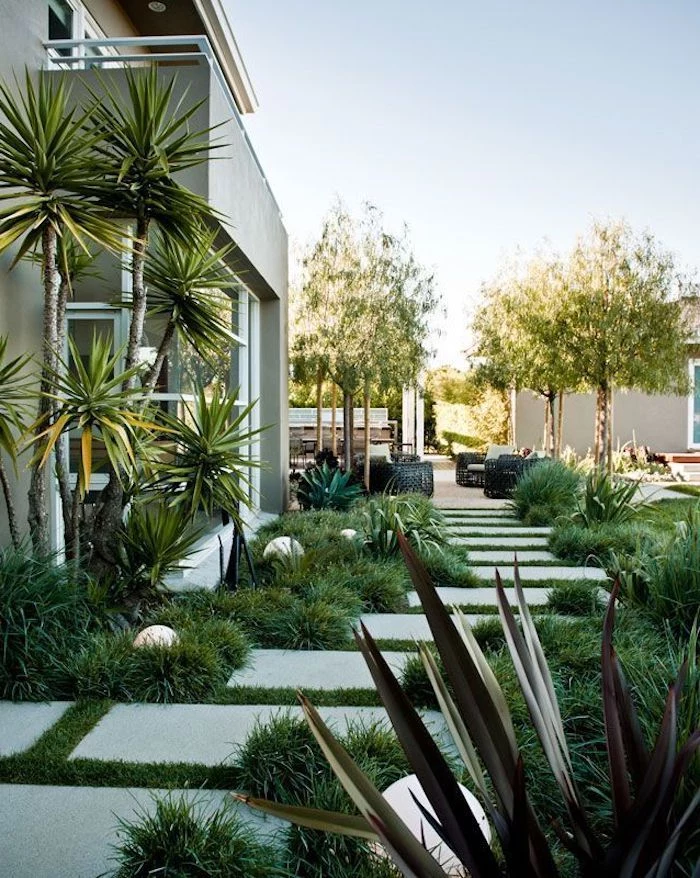
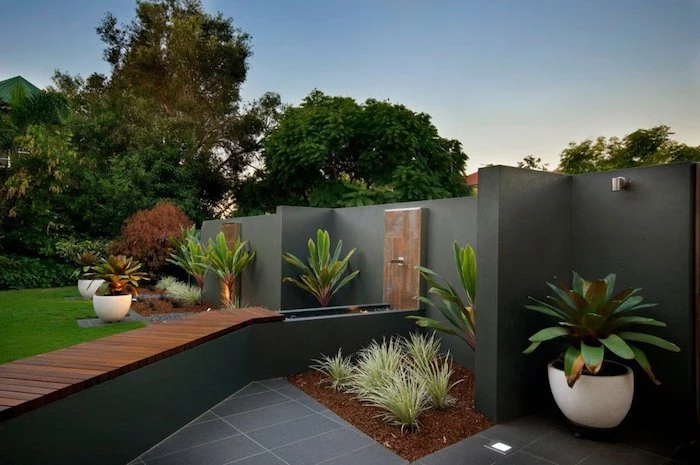
- Creates a dramatic, architectural statement.
- Offers striking contrast against green foliage.
- Provides visual interest even in winter.
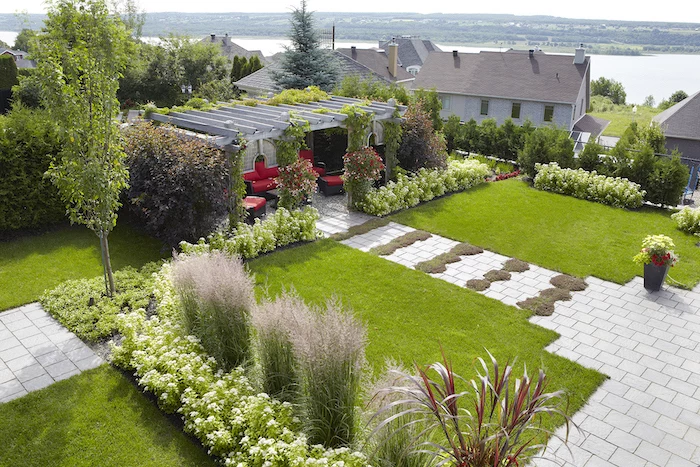
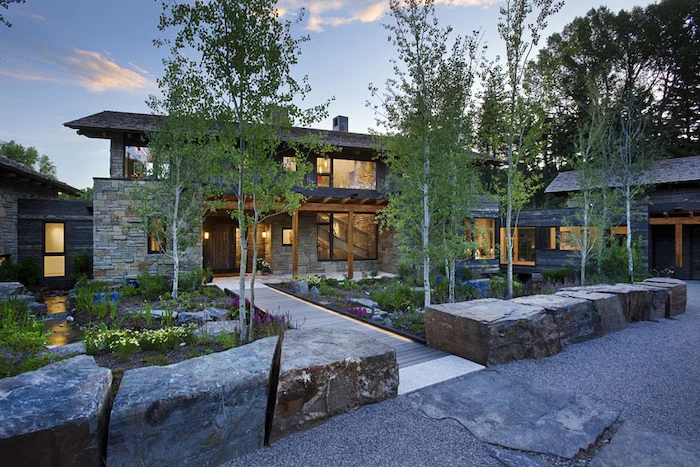
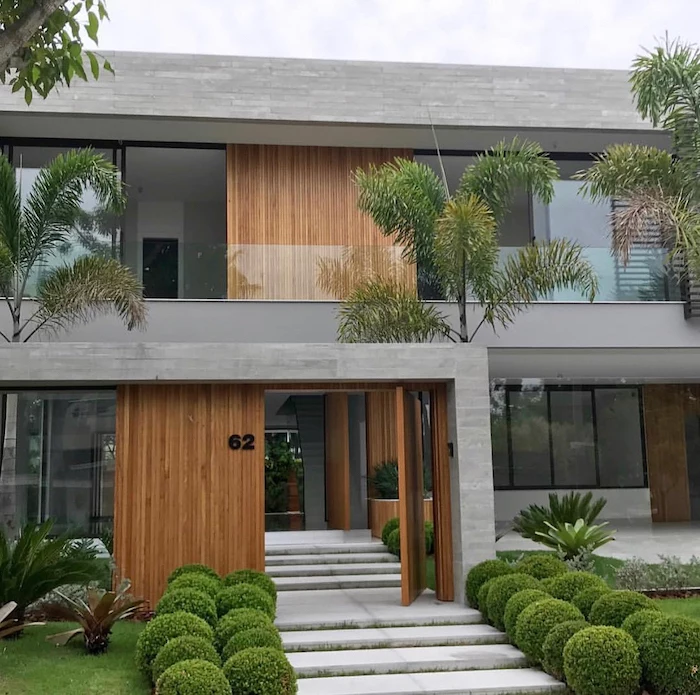
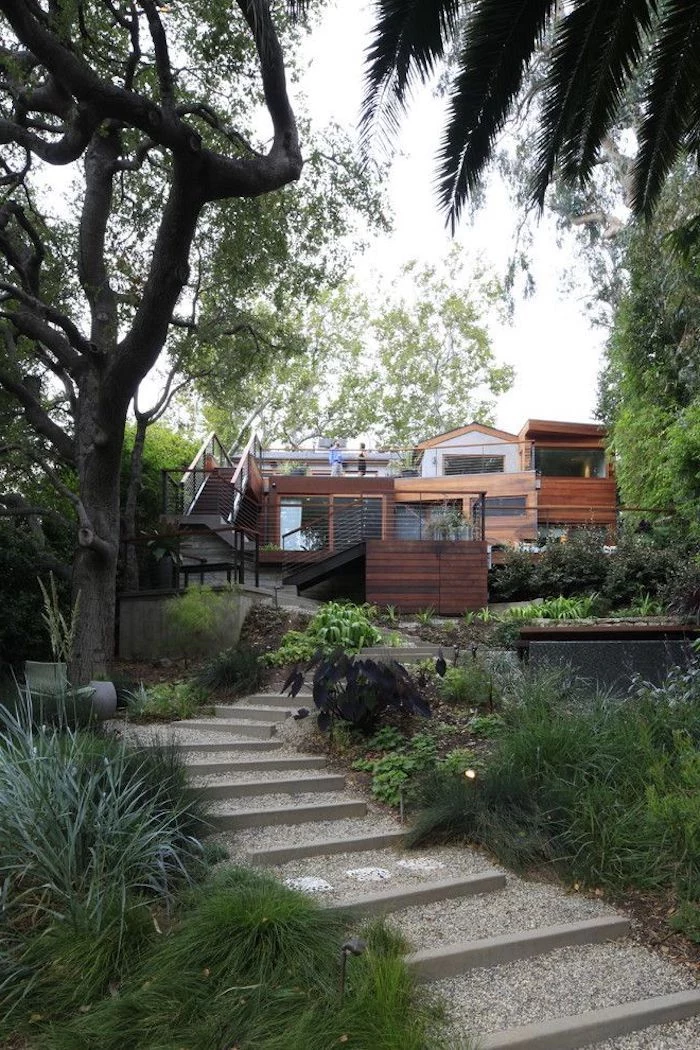
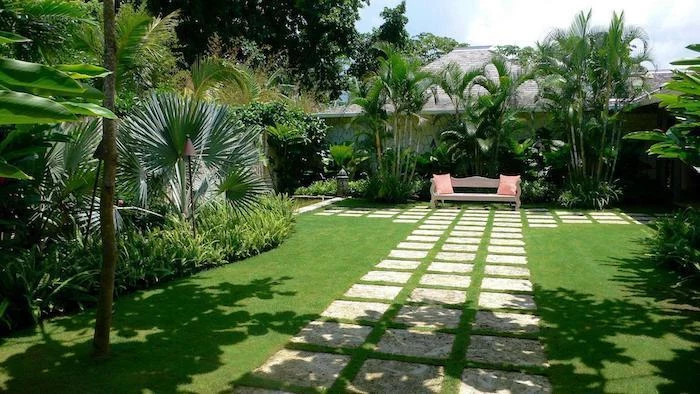
The secret? Planting in groups of three, five, or seven. Odd numbers create a more natural, less regimented feel that is instantly more pleasing to the eye. This works for everything from ornamental grasses to birch trees.
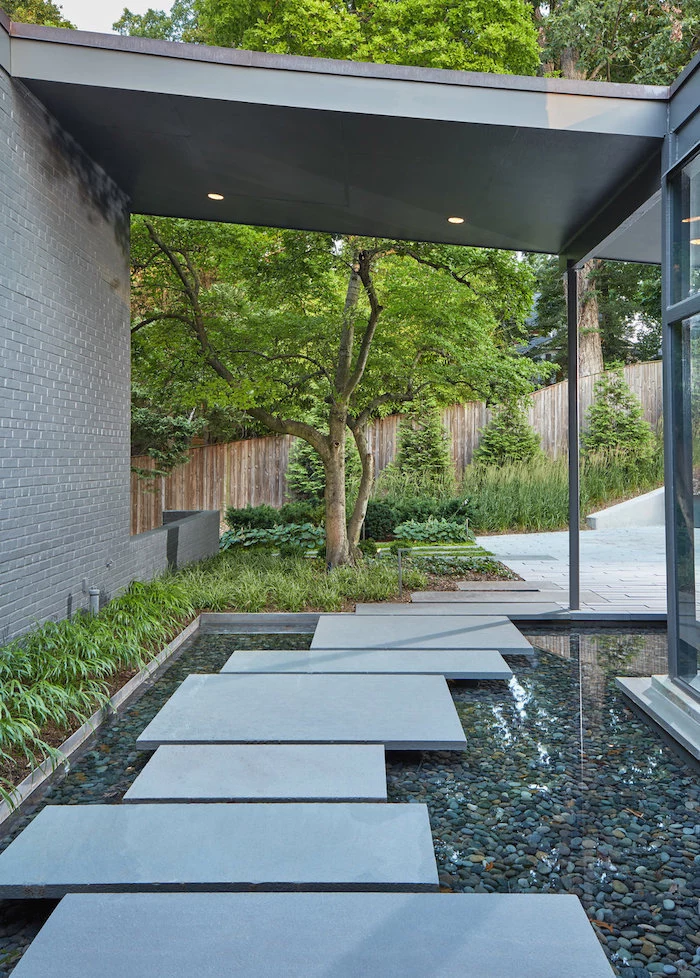
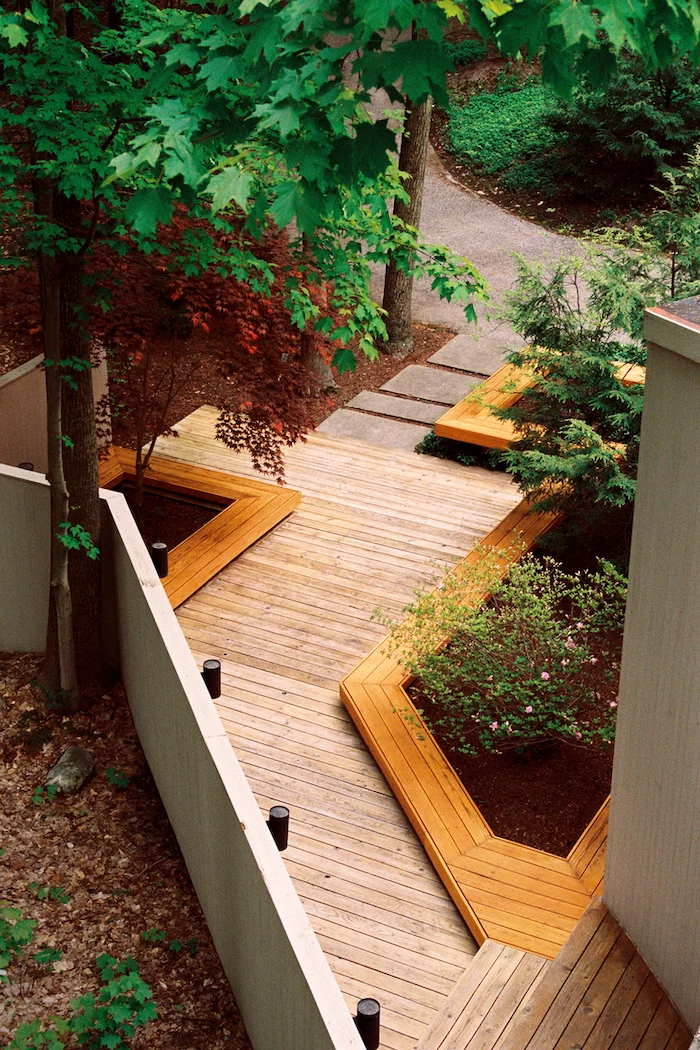
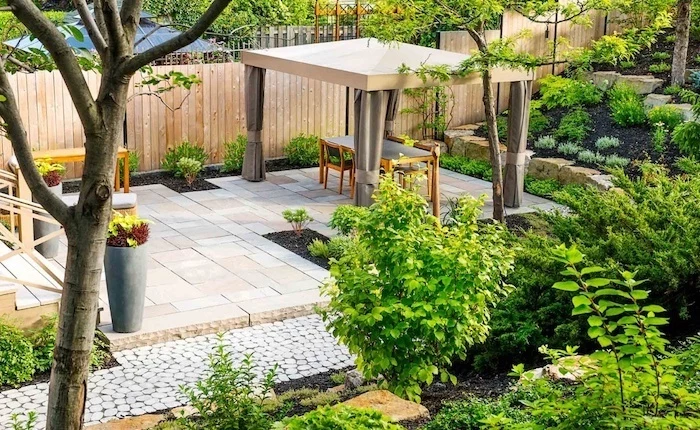
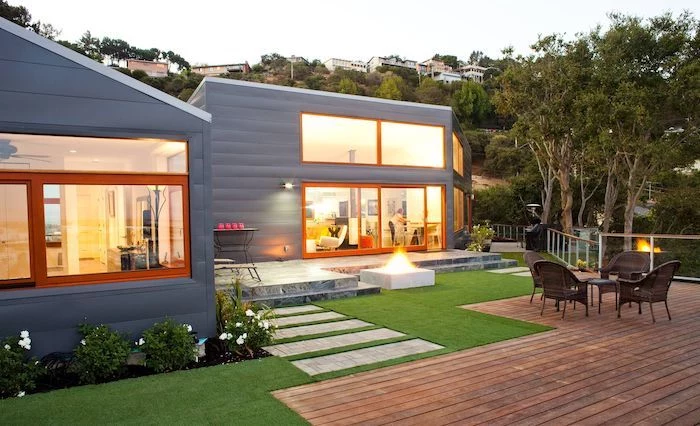
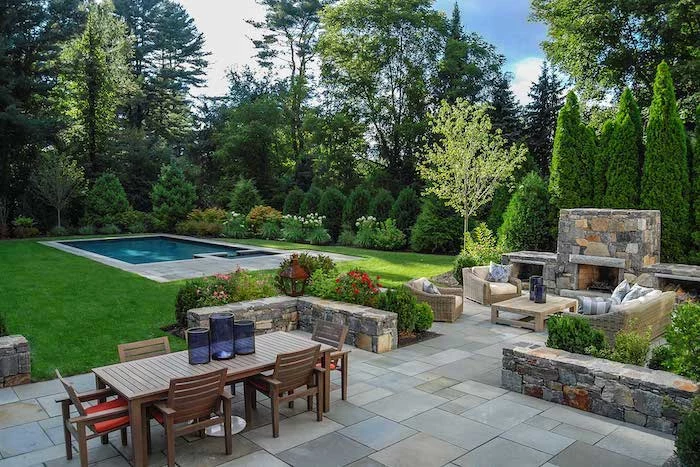
Before you lay down a single paver for a new path, map it out with a garden hose. Leave it for a few days and walk it. Does the curve feel natural? Is it wide enough for two people or a wheelbarrow? It’s much easier to adjust a hose than to re-lay stone.
Think beyond flowers: Texture is the unsung hero of garden design. Combine the bold, waxy leaves of a Hosta with the delicate, feathery fronds of an Astilbe. Plant the spiky blades of Blue Fescue grass next to the soft, rounded leaves of a Coral Bells (Heuchera). This contrast creates visual depth and sophistication.
“The beauty of a garden is not just in its bloom, but in the life it supports.” – Doug Tallamy, Entomologist
Choosing native plants like Coneflower (Echinacea) or Milkweed (Asclepias) does more than guarantee success in your soil; it creates a vital habitat for local pollinators like bees and butterflies, turning your yard into a living ecosystem.
Many new gardeners make this one mistake with perennials and shrubs:
- They space plants based on their size in the nursery pot.
- Within two seasons, the garden is an overgrown, competitive jungle.
- Airflow is reduced, promoting disease.
Always read the plant tag for its ‘mature spread’ and plant for the future, not for instant gratification. The initial sparse look will be worth it.

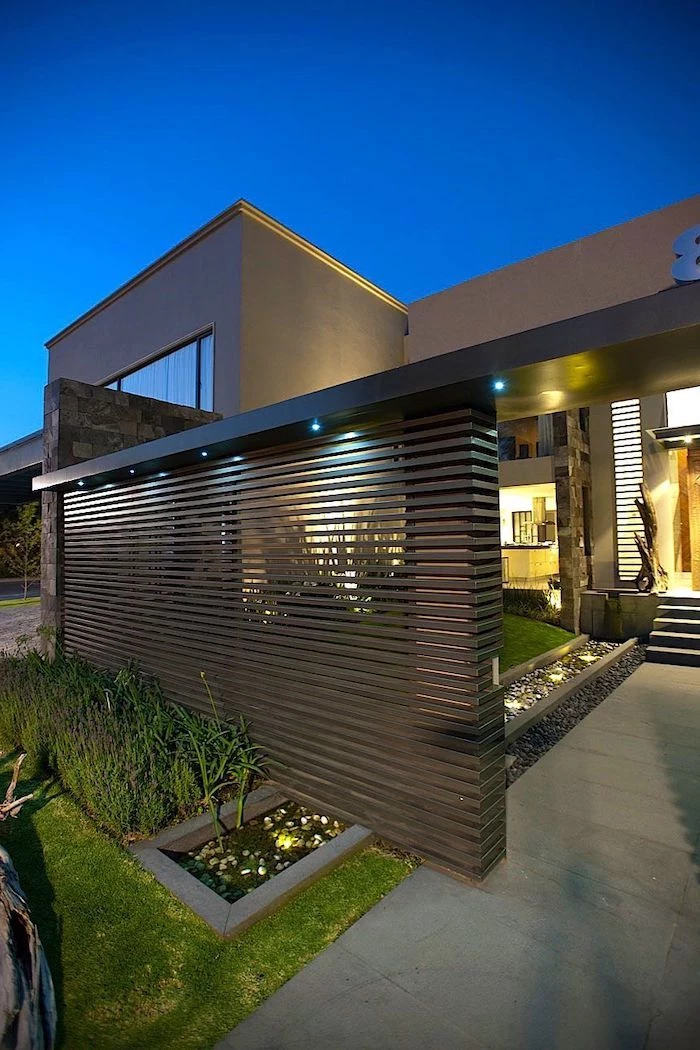
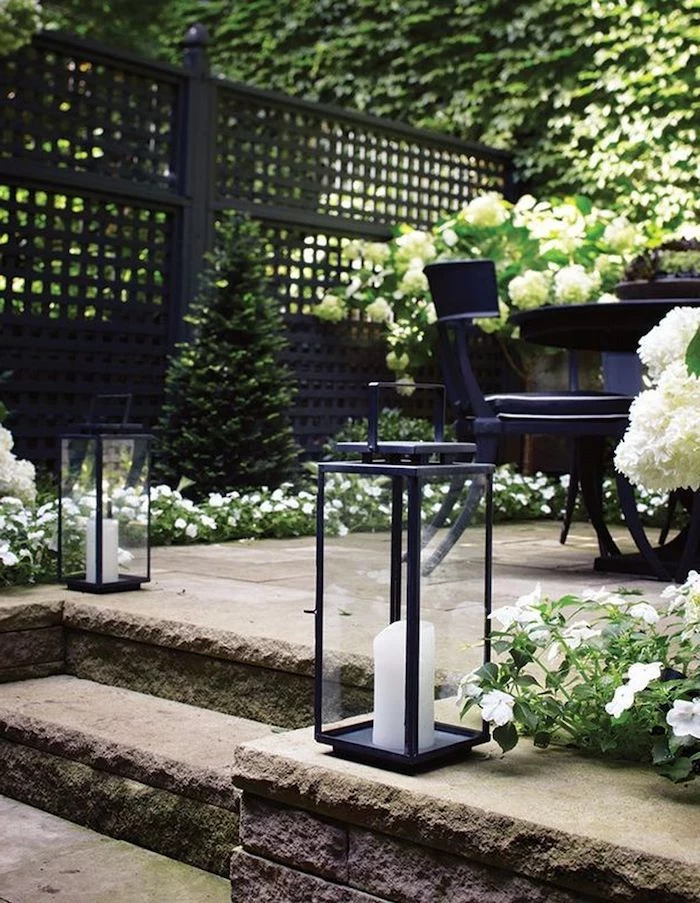
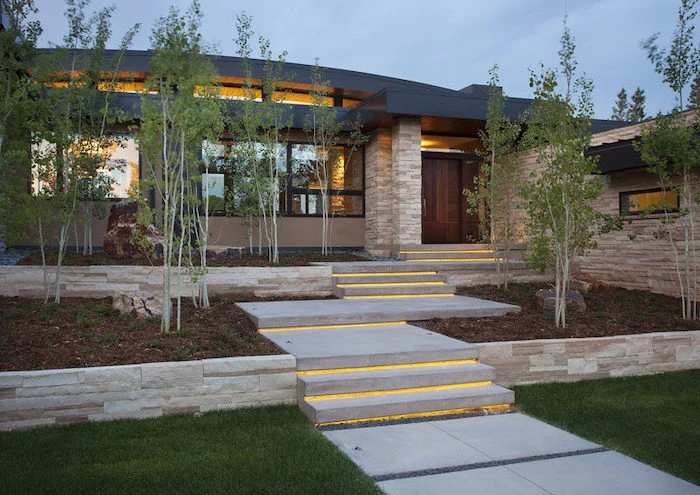
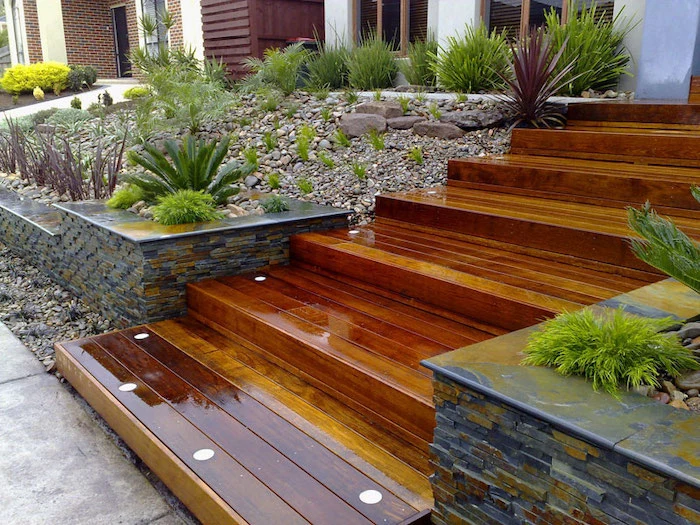
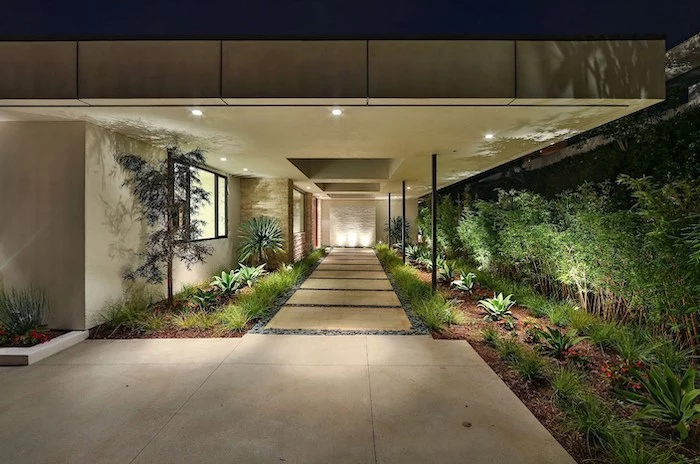
Low-Voltage Lighting: Offers brighter, more reliable light and can be customized with timers and zones. Requires burying a low-voltage cable and connecting to a transformer. Brands like VOLT offer high-quality, durable brass fixtures.
Solar Lighting: Incredibly easy to install (just stake it in the ground) and zero energy cost. However, brightness and duration depend on the day’s sun, and the plastic components often don’t last more than a few seasons.
For key features like a beautiful tree or entryway, low-voltage is a worthy investment.
Is landscape fabric a good idea?
While it seems like a miracle weed-stopper, professionals use it sparingly. It can prevent organic matter from enriching the soil and can become a tangled mess over time as determined weeds grow through it. It’s best used under inorganic mulches like gravel or stone paths, not in perennial beds. For beds, a thick 3-inch layer of organic mulch is a better long-term solution.
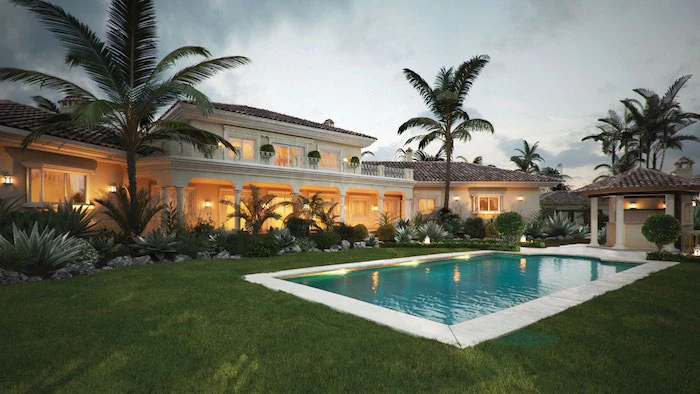
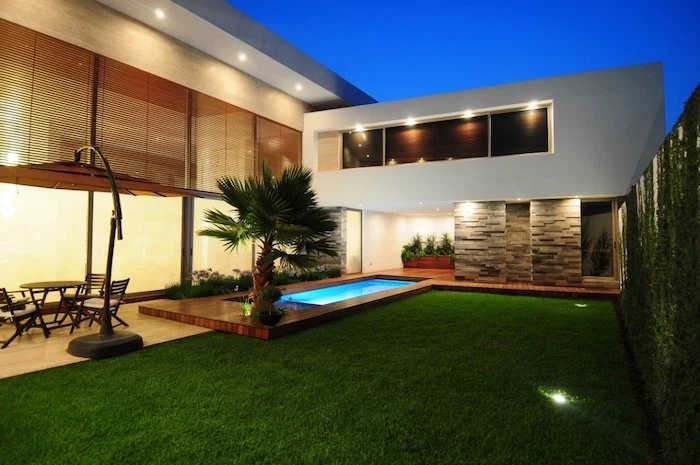
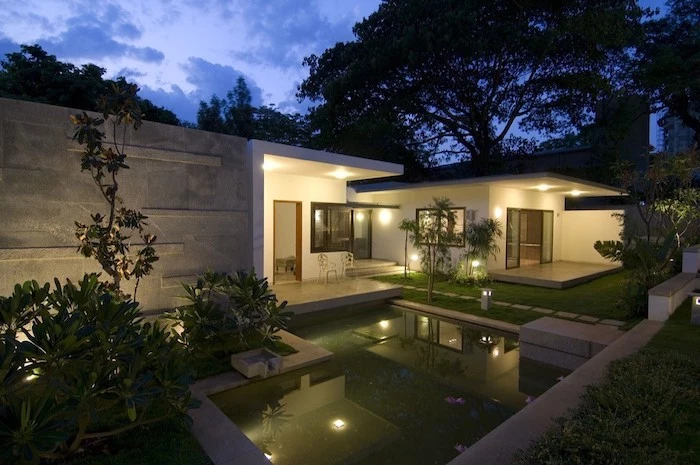
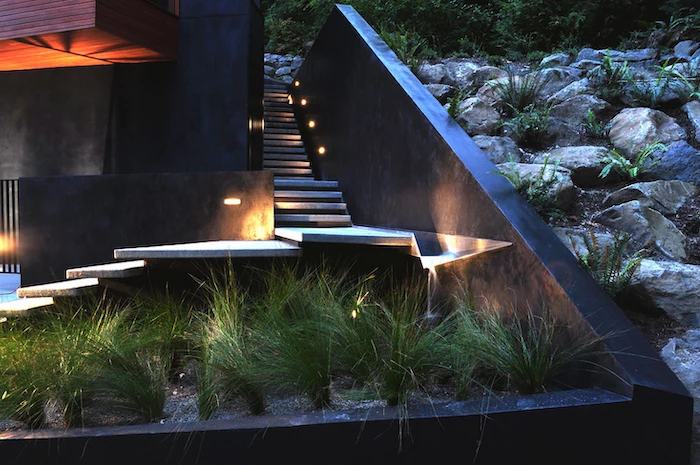
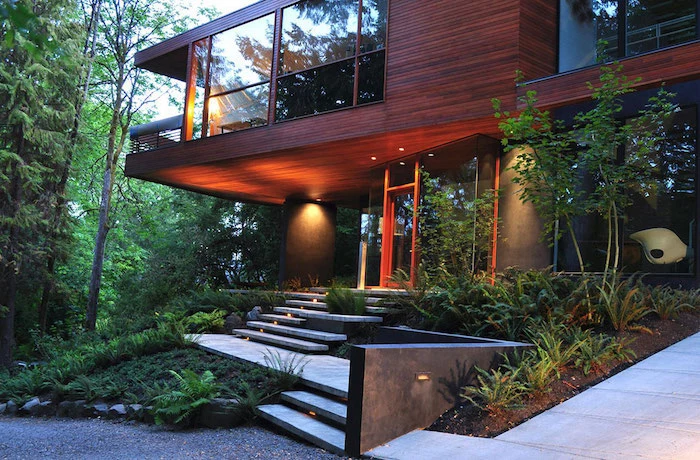
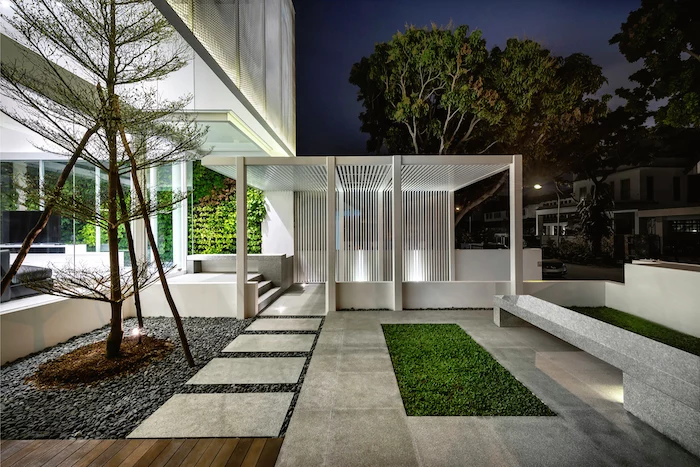
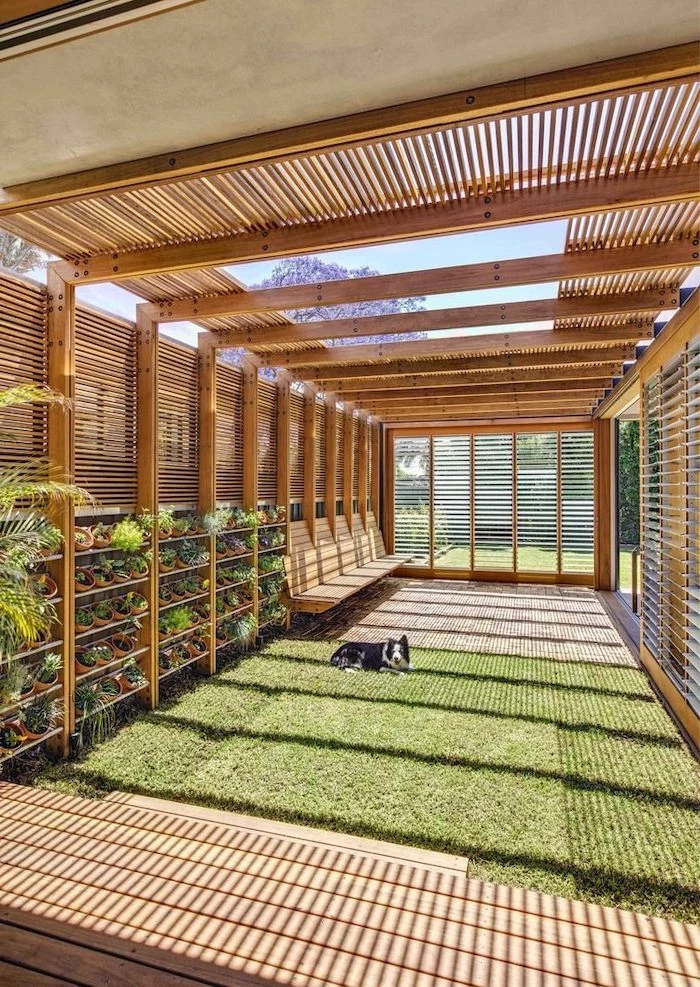
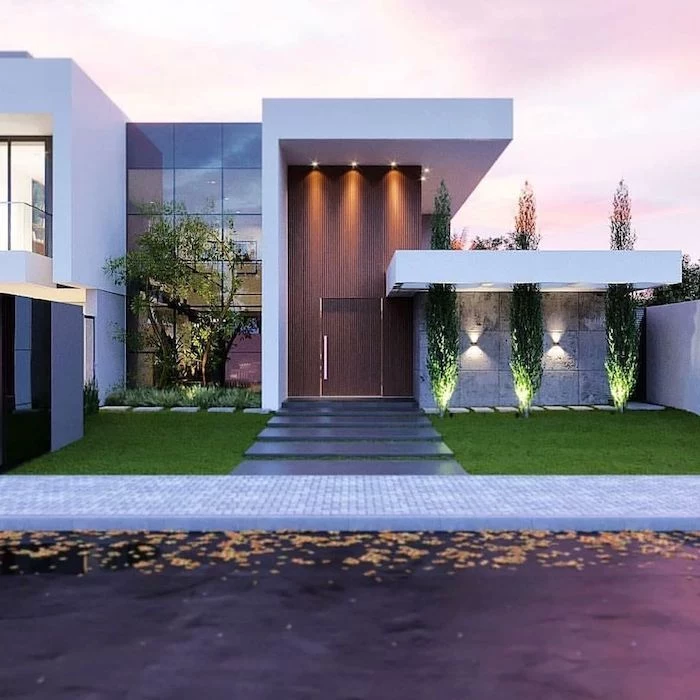
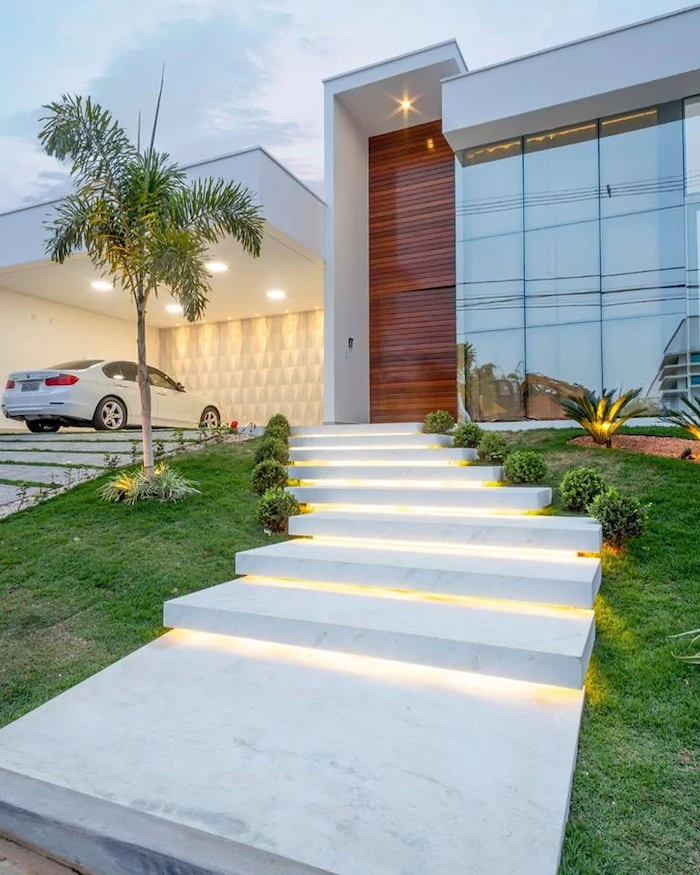
Don’t let your garden ‘end’ when the sun goes down. Plan for evening atmosphere. Simple uplighting on a multi-stemmed tree like a River Birch creates stunning shadows. Weave in plants with evening fragrance, like Nicotiana or Angel’s Trumpet, near a patio or window to create an immersive, multi-sensory experience.
A ‘mulch volcano’—piling mulch high against a tree’s trunk—is one of the most common but damaging landscape practices.
This traps moisture against the bark, inviting rot, disease, and insects. It can also cause the tree’s roots to grow up into the mulch, leading to instability. Always pull mulch back 3-4 inches from the trunk to create a ‘donut,’ not a volcano.
A key principle of professional design: Repetition. Don’t just plant one of everything. Repeating a specific plant, like the ‘Karl Foerster’ feather reed grass or a swath of Black-Eyed Susans, in several places throughout the yard creates a sense of rhythm and cohesion, making the entire design feel intentional and unified.
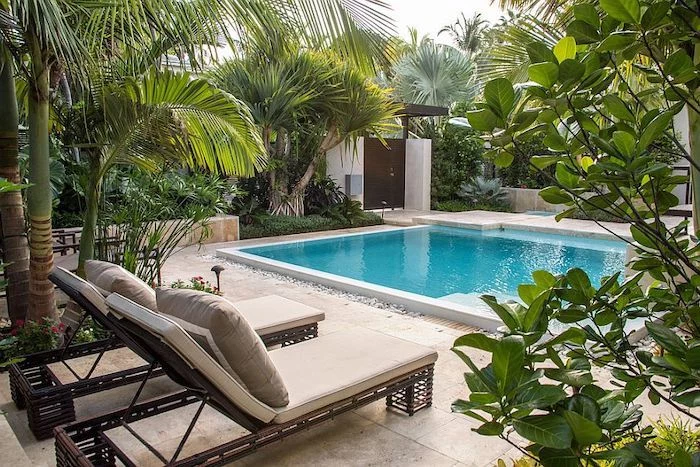
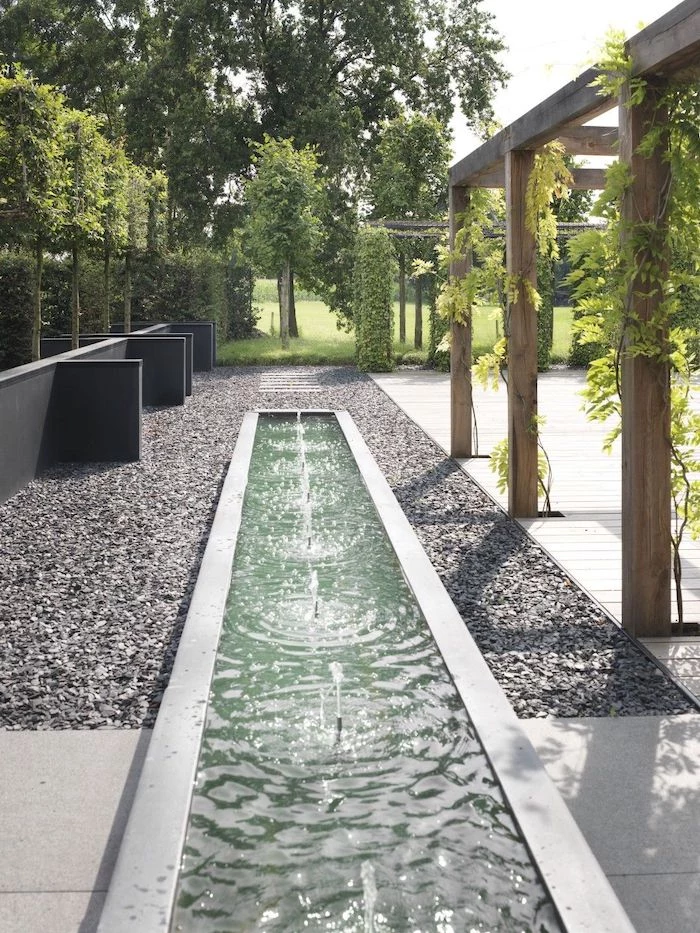
- Drastically reduces your water bill.
- Delivers water directly to the plant’s roots, minimizing evaporation.
- Keeps foliage dry, reducing the risk of fungal diseases.
The technology behind this? A simple drip irrigation system. Kits from brands like Rain Bird or DIG are surprisingly DIY-friendly and are far more efficient than traditional sprinklers for garden beds and containers.
A garden’s worst enemy: Compacted soil. If your soil is heavy clay, water and nutrients can’t reach the plant roots. Before planting, amend your soil by digging in several inches of compost. This single step improves drainage, aeration, and fertility more than any fertilizer can.
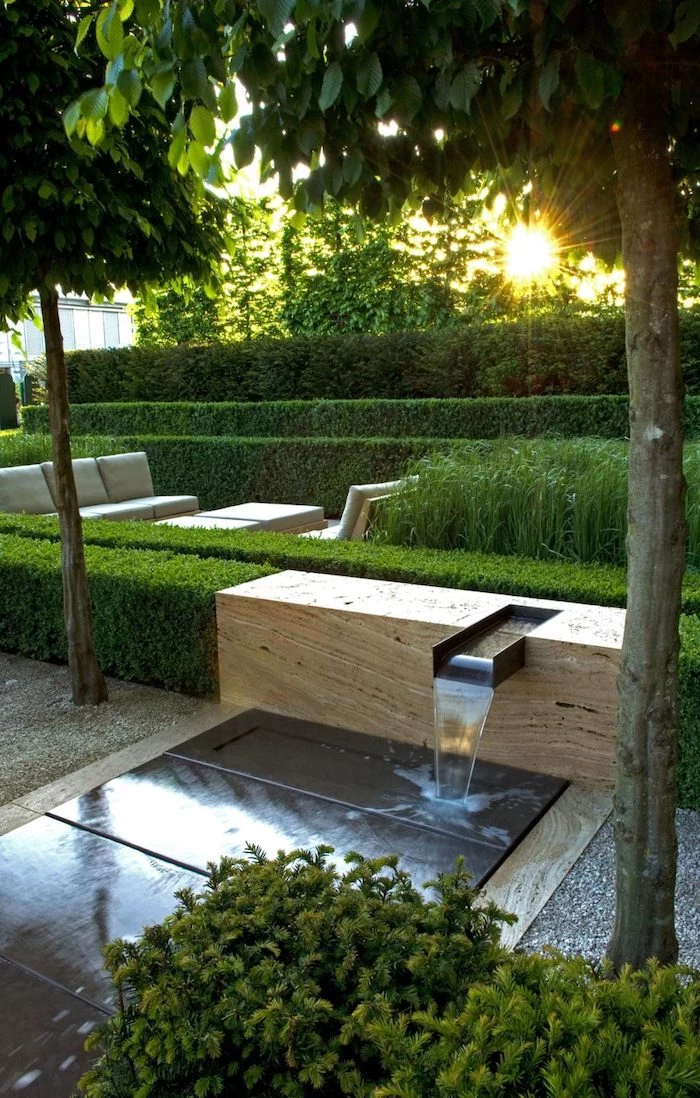
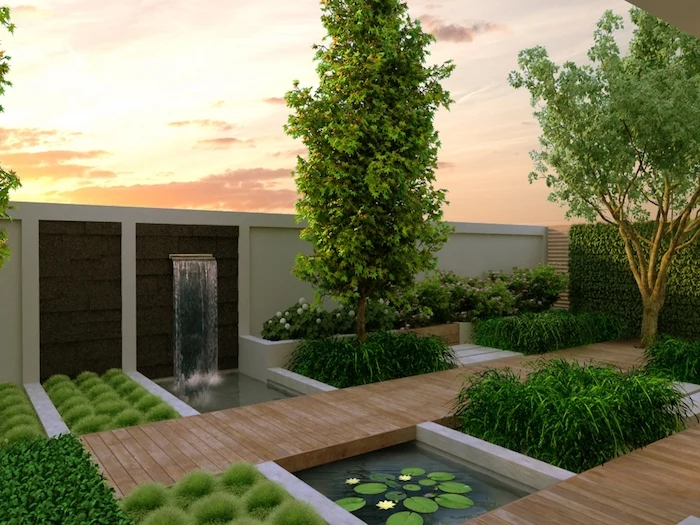
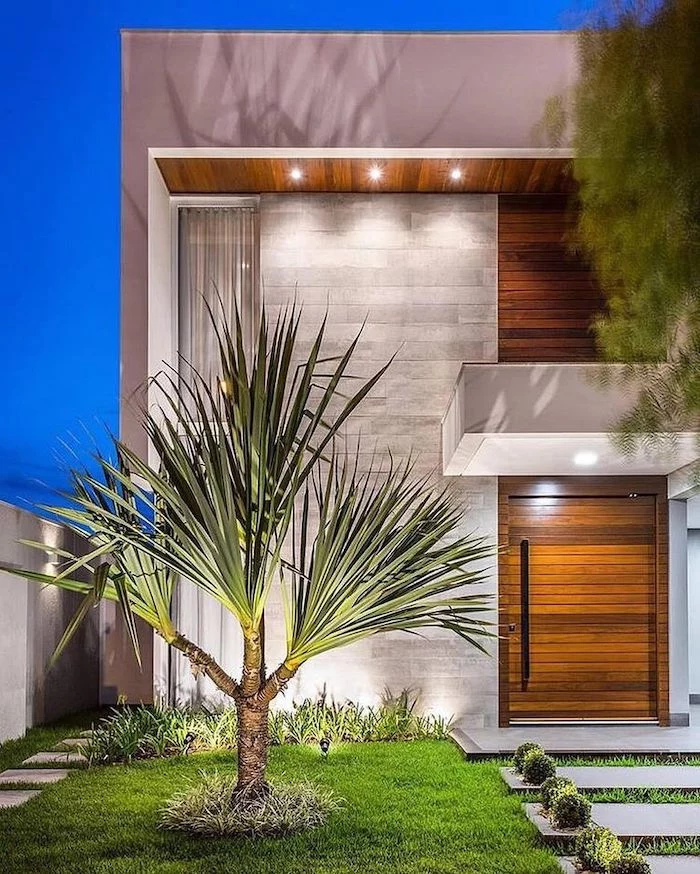
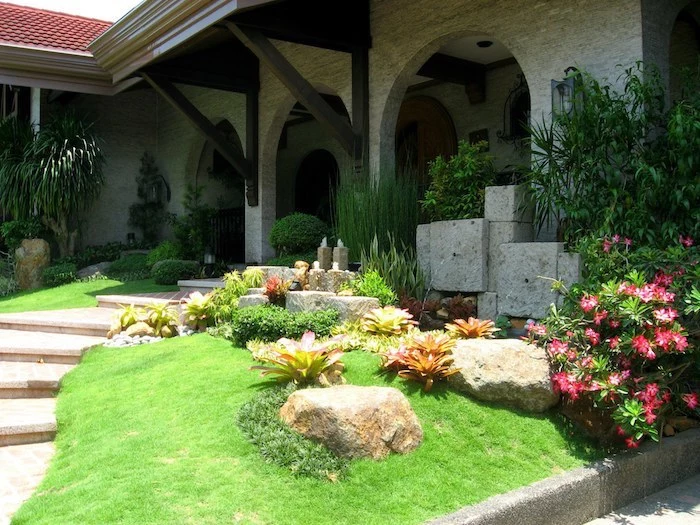
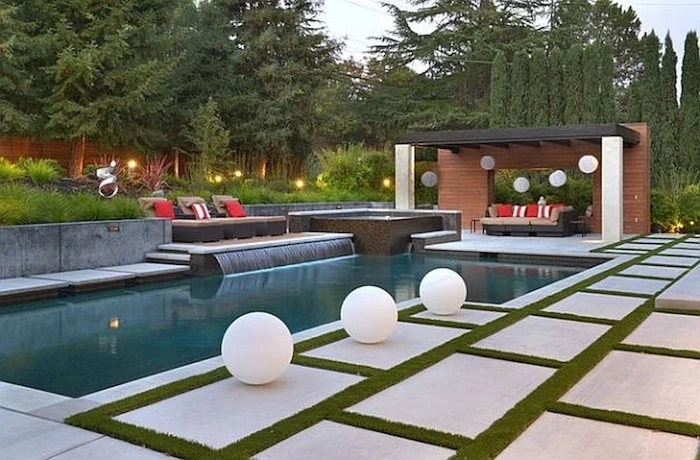
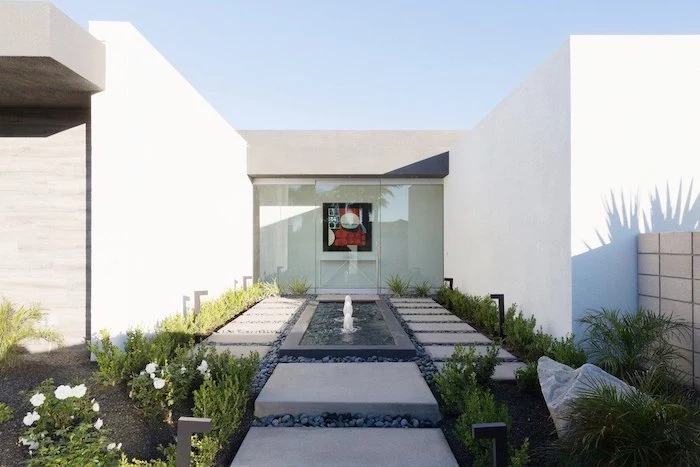
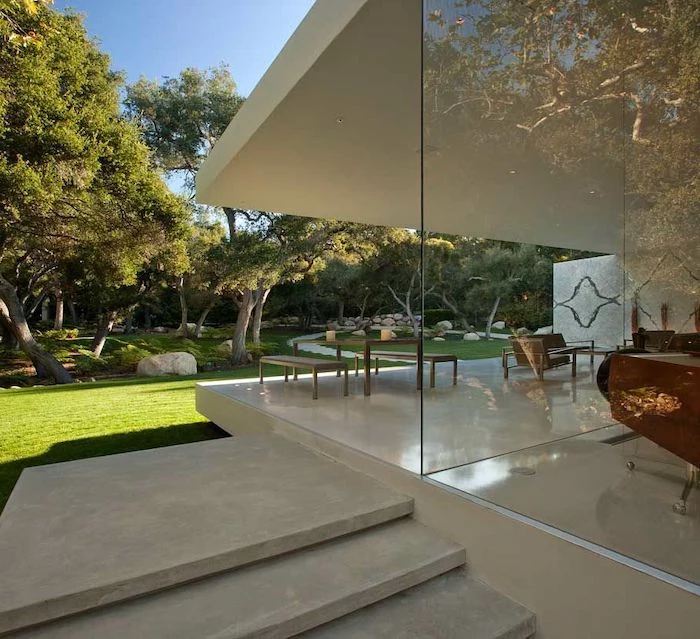
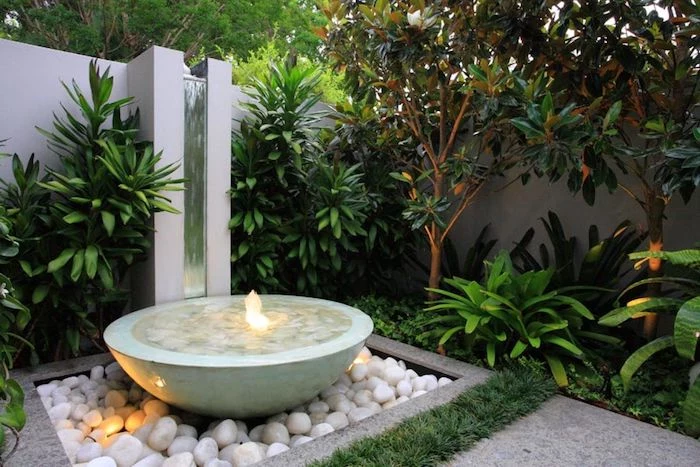
How do designers create that ‘wow’ factor?
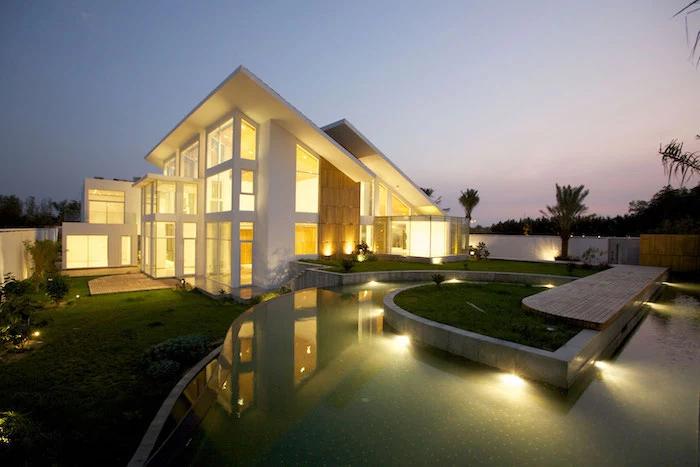
They establish a clear focal point. This could be a single specimen tree with unique bark (like a Paperbark Maple), a striking piece of sculpture, a vibrant red Japanese Maple in a sea of green, or a simple, elegant water feature. Your eye is drawn there first, which anchors the entire design.
“To forget how to dig the earth and to tend the soil is to forget ourselves.” – Mahatma Gandhi
Designing for winter is the mark of a truly thoughtful garden. Once the flowers fade, the ‘bones’ of the garden are revealed. Incorporate elements that shine in the cold months:
- Evergreen structure from boxwoods or conifers.
- The peeling bark of a River Birch or the crimson twigs of a Red Osier Dogwood.
- The dried seed heads of ornamental grasses and Coneflowers, which look beautiful dusted in frost.


Don’t fight your site: If you have a shady, damp area where grass struggles, stop trying to force it. Embrace the conditions by creating a lush shade garden with Hostas, Ferns, and Astilbes. If you have a hot, dry, sun-baked strip, plant drought-tolerant Russian Sage and Sedum. Working with nature is always cheaper and more successful than fighting it.

The ‘Thriller, Filler, Spiller’ recipe for containers:
This simple formula makes for stunning container arrangements every time.
Thriller: A tall, dramatic plant in the center (e.g., Cordyline, Canna Lily).
Filler: Rounded, mounding plants around the thriller (e.g., Petunias, Coleus).
Spiller: Plants that trail over the edge of the pot (e.g., Sweet Potato Vine, Creeping Jenny).
- Attracts beneficial insects that prey on pests.
- Provides nectar for bees and butterflies.
- Adds a delicate, wild beauty to any bed.
What is this hardworking plant family? Herbs. Interplanting with lavender, chives, oregano, and thyme not only gives you fresh clippings for the kitchen but also contributes to a healthier, more resilient garden ecosystem.
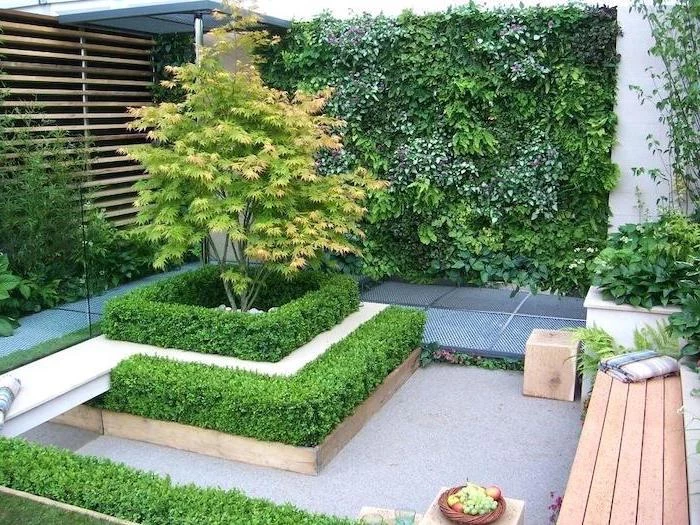
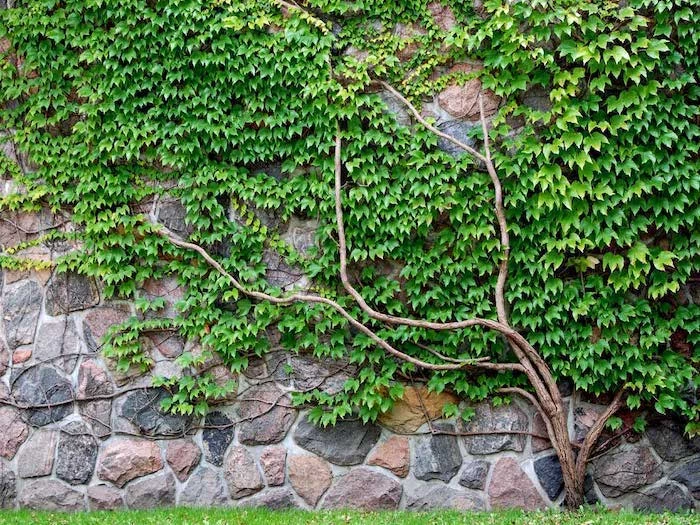
My yard is tiny. Can I still have a great landscape?
Absolutely. The key is to think vertically. Use trellises with climbing vines like clematis, install narrow arborvitaes for privacy screening without sacrificing square footage, and utilize window boxes and hanging baskets. A small space forces creativity and often leads to the most charming and detail-rich gardens.

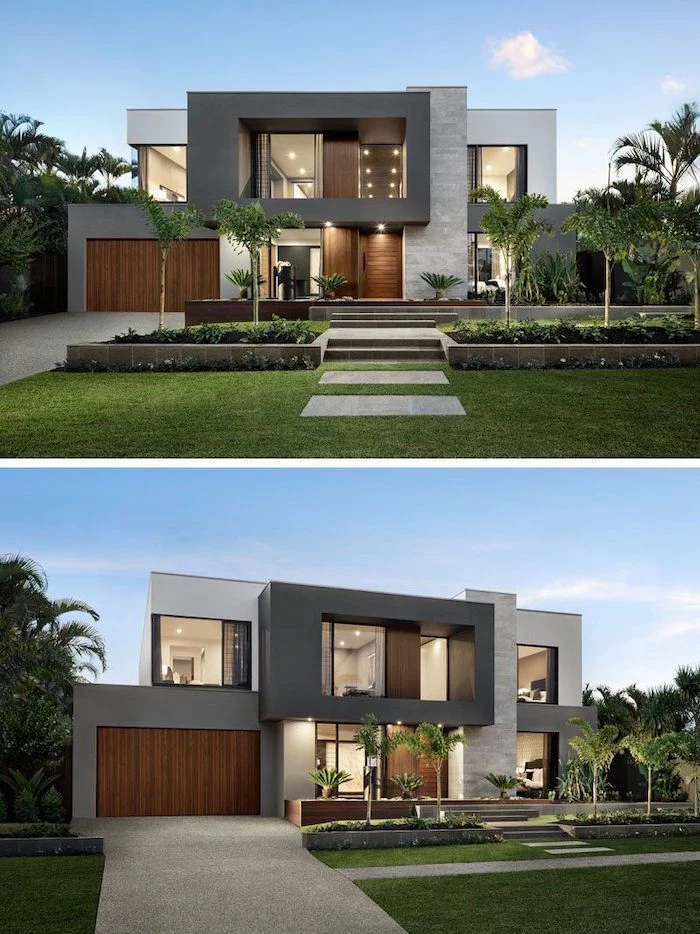
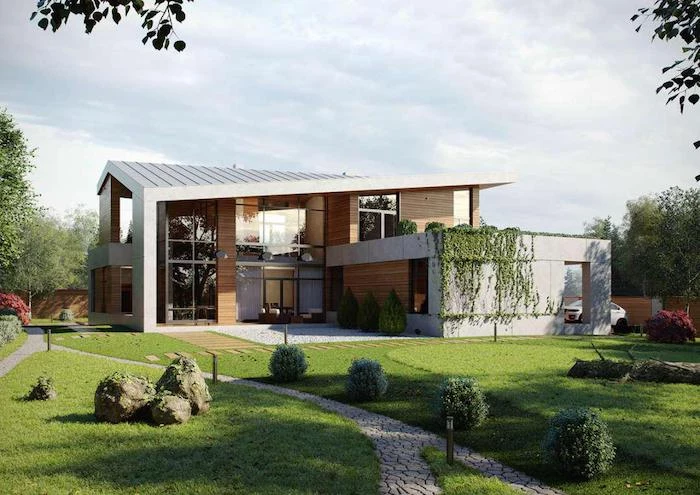
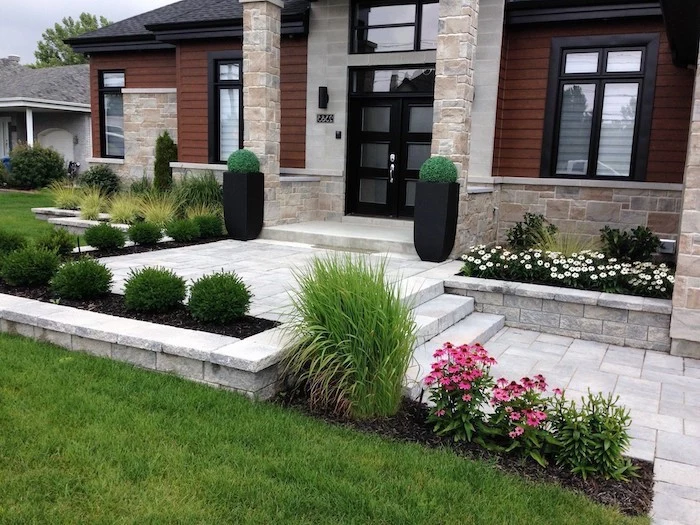
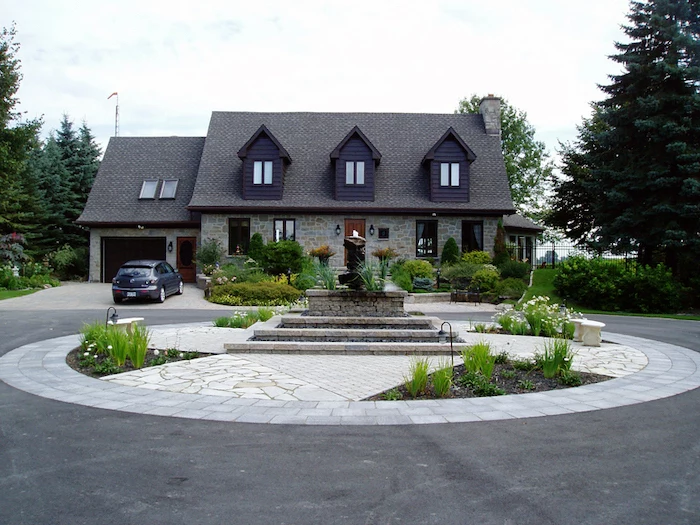
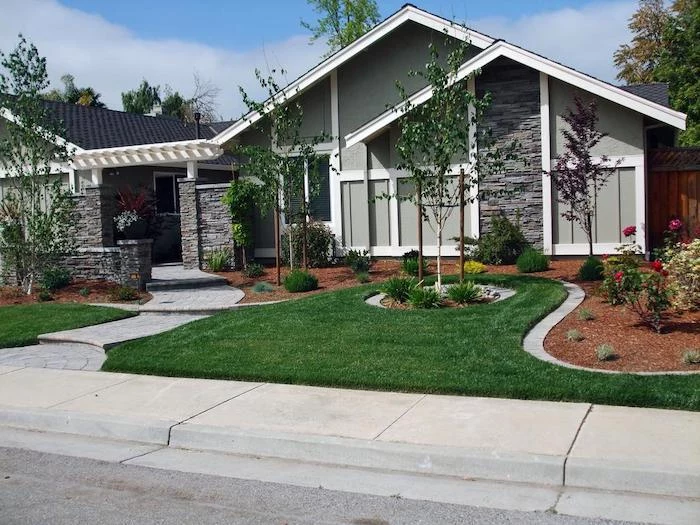
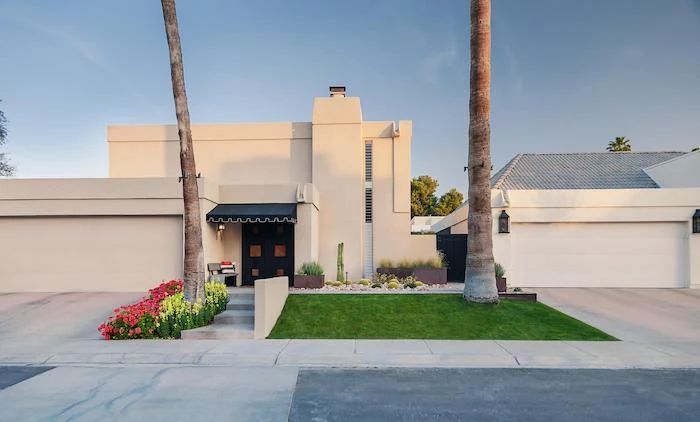
A 2021 survey by the National Association of Realtors found that a landscape upgrade can yield a return on investment of over 100%.
Investing in a well-planned landscape isn’t just for your enjoyment—it adds tangible value to your property. Projects like adding a stone walkway, a patio, or simply a well-designed garden bed are seen as major assets by potential buyers.
One of the biggest trends in modern landscaping is the use of dark foliage. Plants like the deep purple ‘Palace Purple’ Heuchera, the almost-black Black Mondo Grass, or the chocolatey leaves of a ‘Dark Star’ Coleus create incredible depth and make surrounding green and chartreuse plants pop. Use them to add a touch of drama and sophistication.
Get free plants: Ask friends and neighbors if you can take ‘divisions’ from their established perennials in the spring or fall. Many plants, like Hostas, Daylilies, and Shasta Daisies, benefit from being divided every few years. It’s a time-honored way for gardeners to share the wealth and fill a garden on a budget.


