That Ink Stain on Your Leather? Don’t Panic. Here’s What the Pros Actually Do.
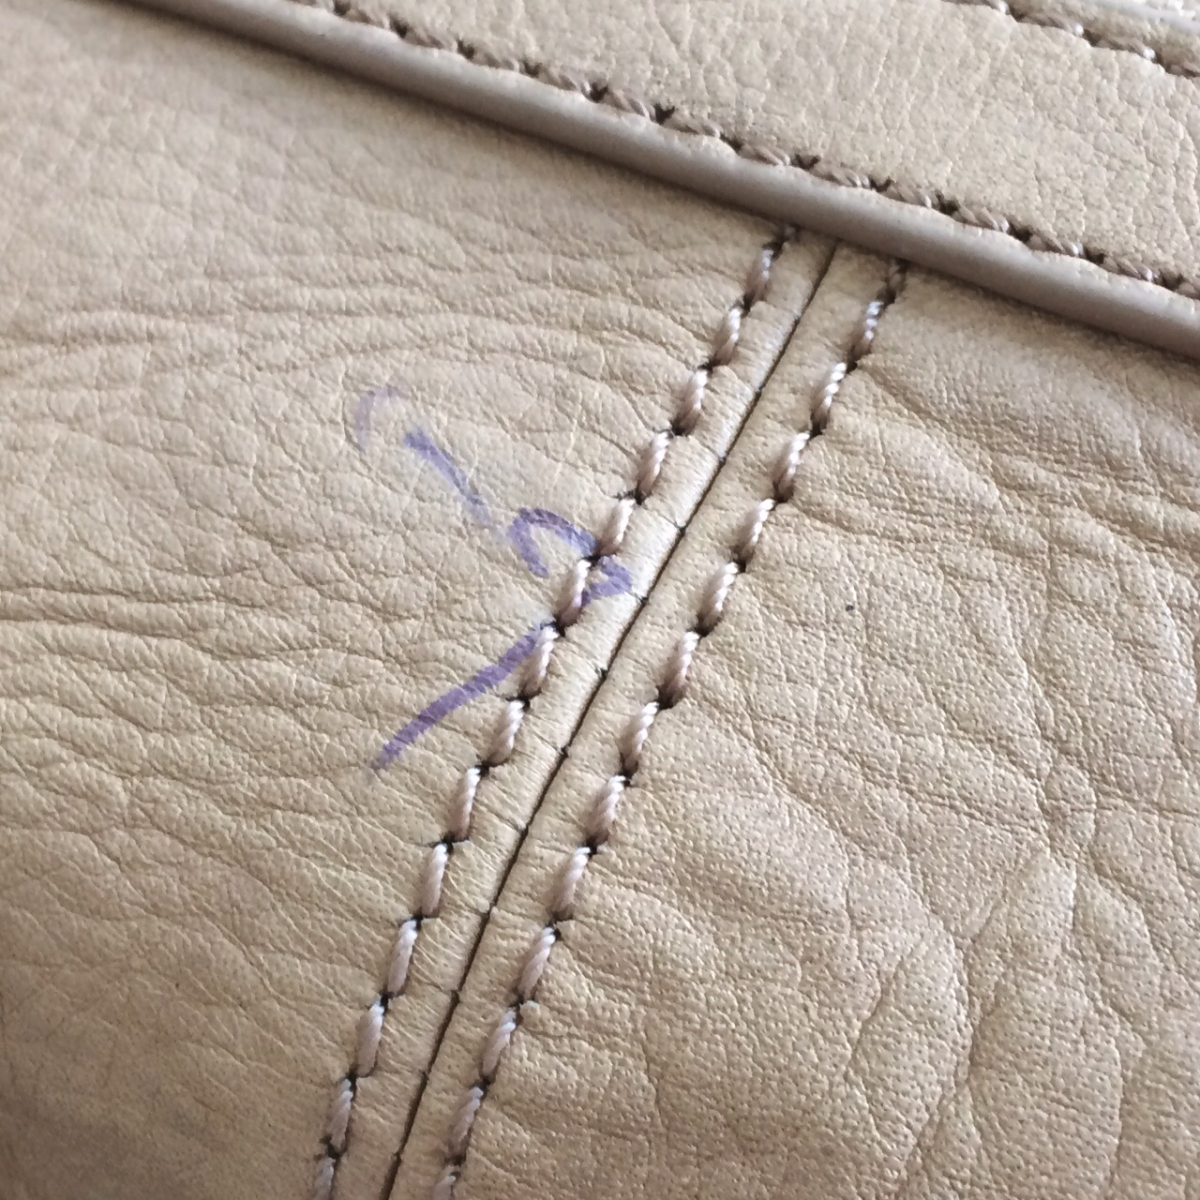
I’ve been working with leather for a long, long time, and let me tell you, I’ve seen it all. I’ll never forget the client who called me, absolutely frantic. Her son had just scribbled a smiley face with a ballpoint pen all over her brand-new, cream-colored leather sofa. Before calling me, she’d already tried three different ‘hacks’ she found online. The cute little smiley face was now a horrifying, smudged blue blob that had soaked deep into the grain. It was an expensive lesson for her, and a good reminder for me: the wrong approach can turn a tiny spot into a permanent disaster.
In this article
Seeing an ink mark on your favorite leather jacket or chair feels like a gut punch. Your first instinct is probably to grab whatever cleaner is under the sink and start scrubbing. Please, don’t do this. It’s the single worst thing you can do.
Ink is a dye. You don’t scrub a dye; you have to dissolve it and gently lift it away. Success boils down to three things: what kind of leather you have, what kind of ink you’re dealing with, and acting fast with the right technique.
This isn’t about risky quick fixes. This is the methodical approach we use in professional workshops. We’ll walk through how to figure out your leather type, what tools you actually need, and which popular ‘remedies’ you should run from. Sometimes you can fix it yourself. Other times, the smartest move is calling a specialist. Honestly, knowing the difference is the most valuable skill here.
First Things First: What Kind of Leather Are We Dealing With?
Before a single drop of anything touches that stain, you have to know your material. Using a powerful cleaner on delicate leather is a one-way ticket to irreversible damage. It’s the absolute foundation of proper leather care.
Let’s figure out what you have. It’s easy.
The Water Drop Test
Find a hidden spot on your item—under a cushion, inside a seam, or on the very bottom. Place one single drop of clean water on the surface and just watch it for a minute.
- It soaks in instantly and darkens: You likely have Aniline leather. This is sometimes called ‘unfinished’ or ‘naked’ leather. It’s incredibly soft and feels natural because it has no protective topcoat. It’s beautiful, but it’s also a sponge. Ink stains on aniline are a nightmare because the ink sinks in immediately. To be frank, DIY attempts here are incredibly risky.
- It sits there for a few seconds, then slowly soaks in: This points to Semi-Aniline. It has a very light protective coating, giving you a slightly better chance of catching a fresh stain. It still feels soft and natural but has a little more resilience.
- The water bead just sits on top: Bingo. You’ve got Pigmented (or ‘protected’) leather. This is the most common type used for family sofas, car seats, and anything that needs to be durable. It has a tough polymer finish that acts like a raincoat. This makes it the most stain-resistant and the easiest to clean. Most successful DIY ink removals happen on this type of leather.
Knowing this changes everything. I once saw a gorgeous club chair, a beautiful aniline piece, completely ruined because someone used a harsh cleaner meant for pigmented leather. It stripped the dye right out, leaving a pale, stiff patch that could only be fixed with a full, professional re-dye.
Your DIY Toolkit & Budget
You don’t need a bunch of fancy equipment. In my workshop, I rely on a few simple, effective tools. Here’s your shopping list. You can get all of this for under $50.
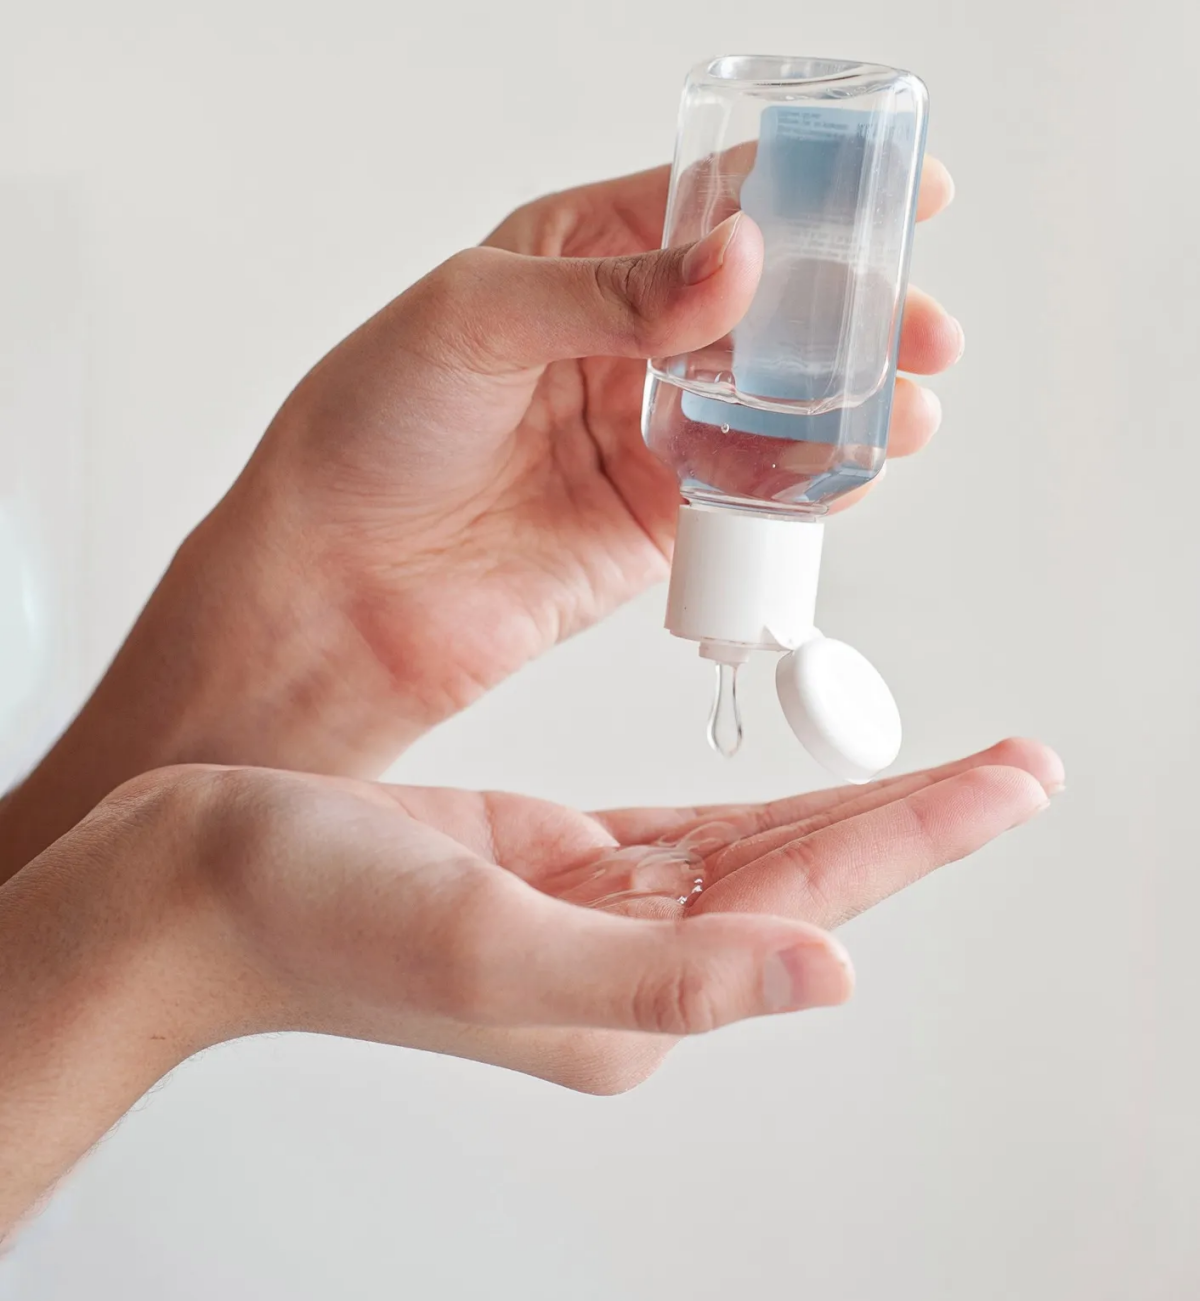
- 70% Isopropyl Alcohol: This is your go-to for ballpoint ink. You can find it at any pharmacy for about $2. (Quick tip: I prefer 70% over 91% because the extra water content slows down its evaporation just enough to give it more time to work without being too harsh.)
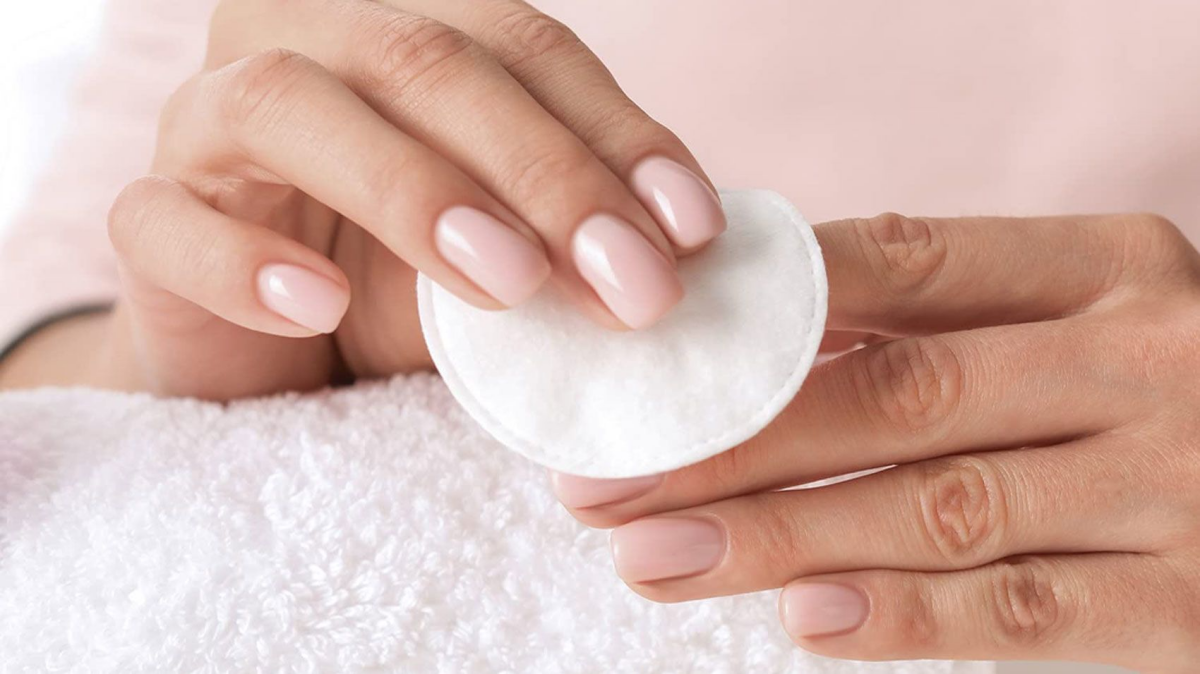
- Cotton Swabs: For precision. A bag costs a couple of bucks.
- White Microfiber Cloths: White is critical so you can see the ink you’re lifting and ensure no color from the cloth transfers to the leather. A pack is usually around $10.
- Good Leather Cleaner & Conditioner: This is non-negotiable. After using a solvent, you need to clean the residue and re-moisturize the leather. For reliable, pH-balanced options, I’ve had good results with brands like Leather Honey or Chemical Guys. You can often find a kit with both cleaner and conditioner for $30-$40 online or at auto parts stores.
So for less than $50 and a bit of patience, you have a professional-grade DIY kit. Compare that to a professional service call, which can run anywhere from $150 to $300, depending on the damage and your location. If you have the right leather type, doing it yourself can save you some real money.
The Step-by-Step Method: How to Lift Ink Like a Pro
Alright, got your tools? This is the exact process to follow. Do not skip a step. Patience is your best friend here.
1. Test First, Always. Go back to that hidden spot you used for the water test. Dampen a cotton swab with the alcohol and gently dab it. Check the swab. Does it have any of the leather’s color on it? If you see any color transfer from the leather itself, STOP. Your leather’s finish is too delicate. This is now a job for a pro.
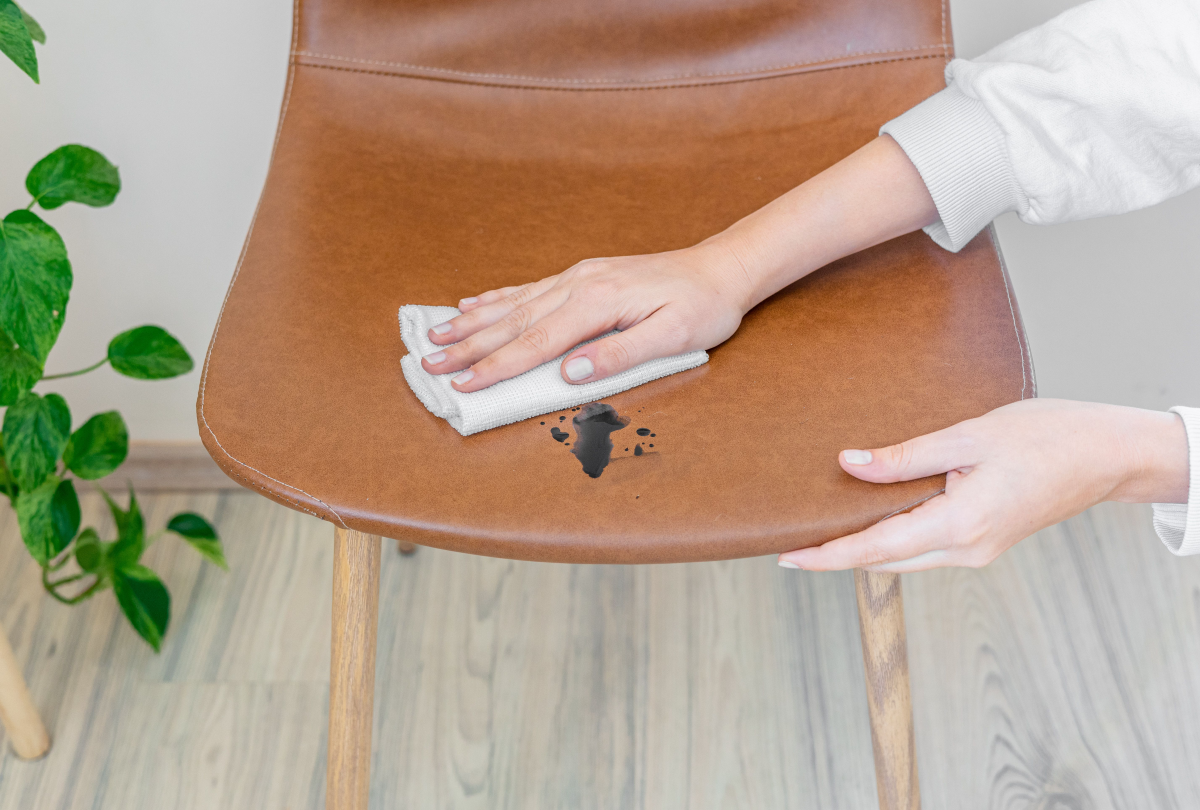
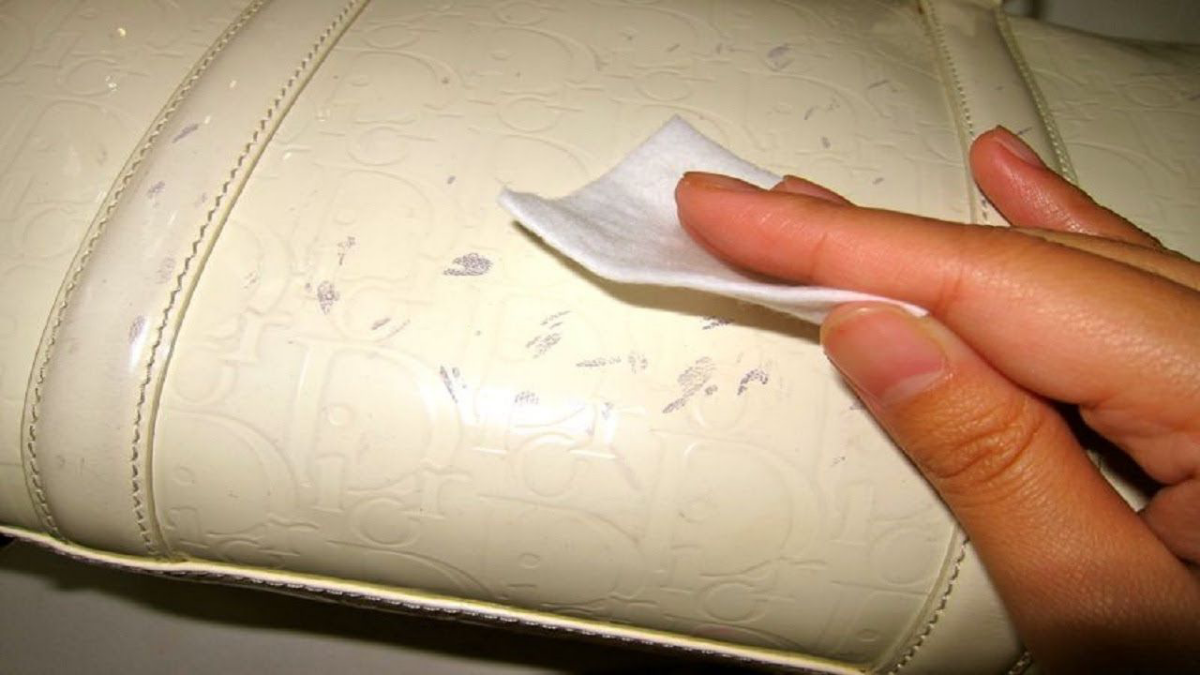
2. Blot, Don’t Press. If the ink is fresh and still wet, gently blot it with a clean, dry white cloth. The goal is to lift any excess ink off the surface without any pressure.
3. Treat the Ink Line Precisely. Lightly dampen a fresh cotton swab with the 70% alcohol. Don’t soak it dripping wet. Gently roll or dab the tip of the swab directly on the ink line. Don’t scrub or make wide circles. You want to touch only the ink.
4. Lift and Switch. As the ink dissolves, it will transfer onto the swab. The second you see ink on the swab, switch to a new, clean one. If you keep using the dirty swab, you’re just reapplying the stain. Repeat this dabbing-and-lifting process with fresh swabs. This is the part that takes patience—it could take 5 minutes or it could take 20. Don’t rush it.
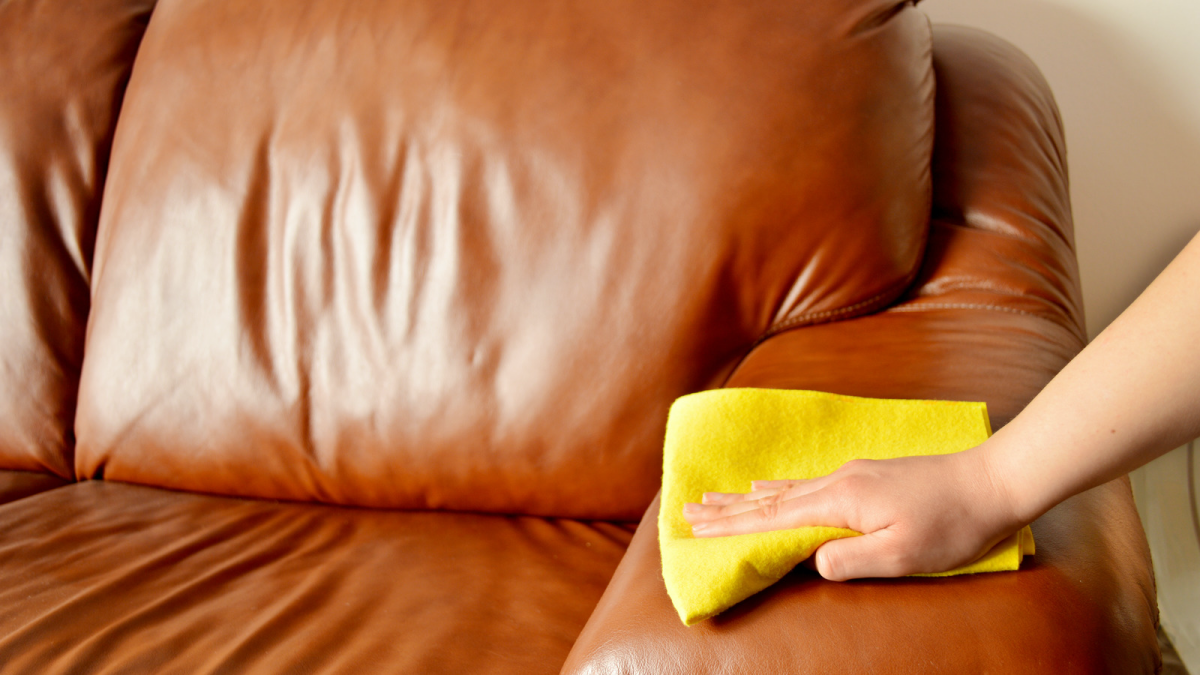
5. Clean the Whole Panel. Once the ink is gone, the spot you treated might look a little too clean. To blend it in, use your proper leather cleaner on a microfiber cloth and wipe down the entire section (e.g., the whole cushion face, not just the spot). Follow the product’s directions.
6. Condition to Protect. Let the area air dry completely, which usually takes an hour or two. Then, apply a quality leather protection cream or conditioner. Any solvent, even mild alcohol, strips some of the essential oils from the leather. This step is crucial for rehydrating the material and restoring its protective barrier against future stains.
A Stern Warning: Internet ‘Hacks’ That Will Ruin Your Leather
The internet is a minefield of terrible advice for leather care. I’ve seen the sad results of these experiments firsthand. Let’s bust some myths.
- The Hack: Hairspray.
The Reality: This is a persistent myth from a bygone era. Old hairspray was mostly alcohol, which is why it sometimes worked. Modern formulas are full of polymers and oils that will leave a sticky, dirt-attracting mess on your leather. Just don’t. - The Hack: Nail Polish Remover (Acetone).
The Reality: This is a guaranteed way to destroy your leather’s finish. Acetone will literally melt the topcoat on contact, creating a permanently rough, discolored patch. It is the nuclear option, and it’s a mistake you can’t undo. - The Hack: Toothpaste.
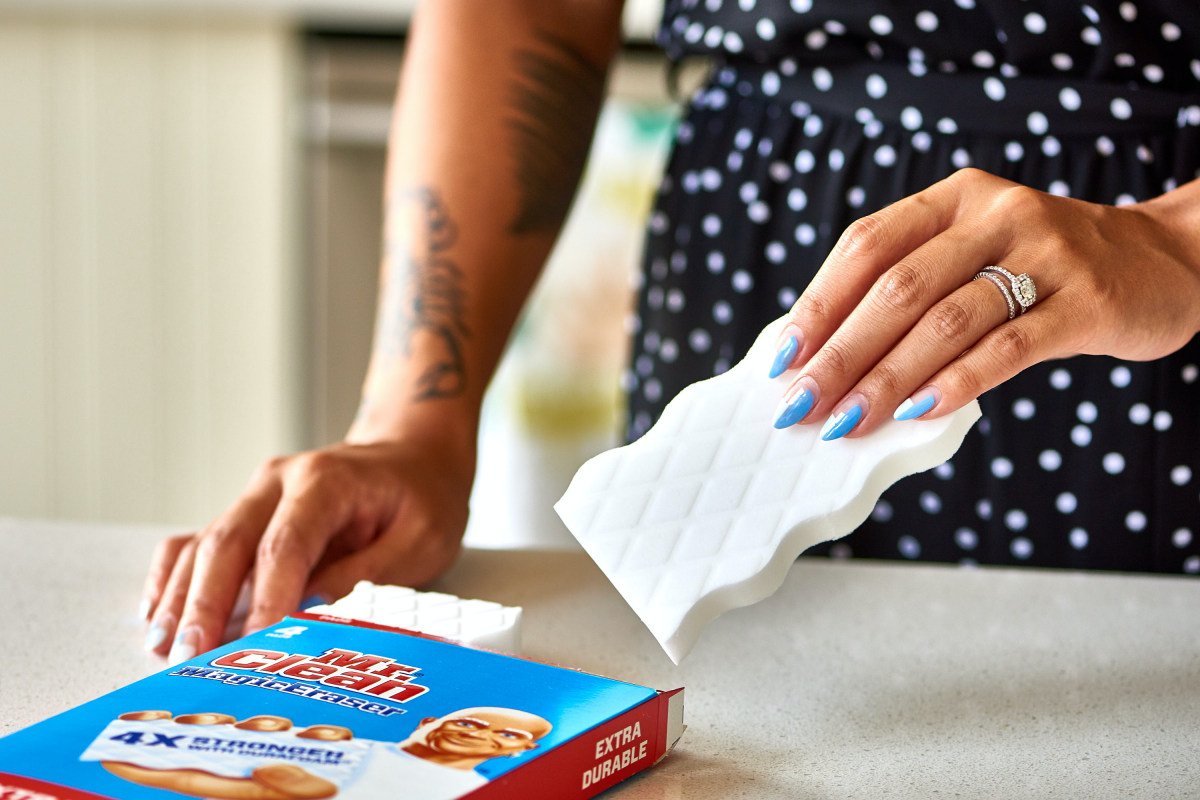
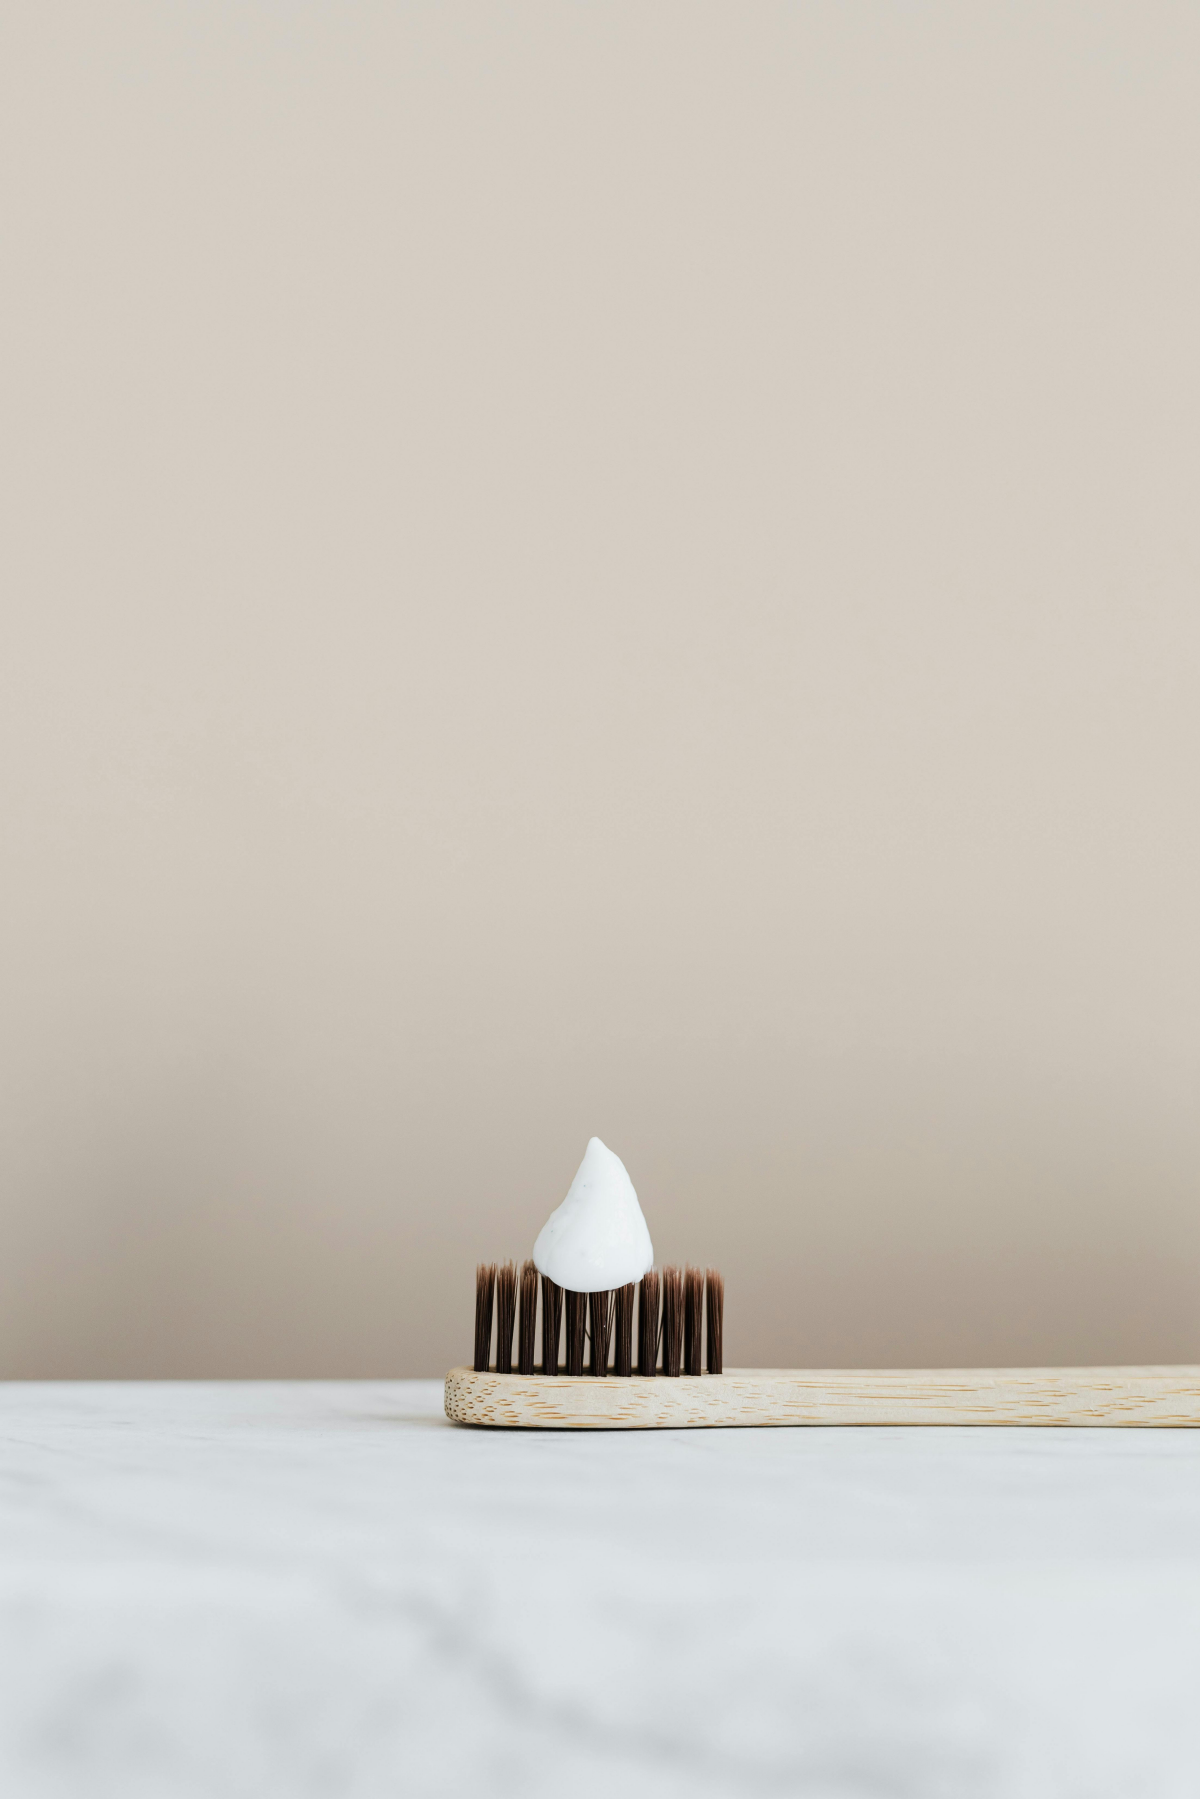
The Reality: Toothpaste works because it’s a mild abrasive. You aren’t ‘cleaning’ the ink; you’re sanding away the surface of your leather. Sure, the ink might go away, but you’ll be left with a dull, scuffed patch where the color and finish used to be. - The Hack: Magic Eraser.
The Reality: This is probably the most misunderstood tool out there. A Magic Eraser is not a sponge; it’s a micro-abrasive. Using it on leather is like trying to get a smudge off a photograph by rubbing it with sand. Yes, the smudge will disappear, but so will part of the picture underneath. It strips the finish and color permanently.

When to Wave the White Flag and Call a Professional
Sometimes, a stain is just out of your league. There’s no shame in it; in fact, knowing when to stop is a sign of wisdom. Pride can be a very expensive thing when it comes to furniture.
Call a certified pro if you encounter any of these:
- Ink on Aniline or Suede: These absorbent leathers require special techniques and products you just can’t buy at the store.
- The Stain is Old: If an ink stain has been sitting for more than a day or two, it has chemically bonded with the leather. Complete removal is often impossible, even for a pro, but we have techniques to significantly reduce it.
- It’s Dye Transfer from Jeans: That blue smudge on your light-colored couch isn’t quite the same as a pen mark. It’s a dye-to-dye transfer and requires specific cleaners to release it without damaging the leather’s topcoat.
- The Item is Valuable or Sentimental: If it’s a designer bag or a priceless family heirloom, is it worth the risk? A professional repair might seem costly, but it’s a fraction of the price of replacing the item.
Oh, and by the way, what if that client with the smiley face had called me after she smudged it? At that point, the job gets much harder. The ink is no longer a line on the surface; it’s a slurry of pigment pushed deep into the pores. The approach would shift from a simple lift to a controlled chemical extraction, which is far more delicate and something you should never attempt at home.
If you’re ever in doubt, just stop. You can find a certified leather care specialist in your area by searching online for the IICRC (Institute of Inspection, Cleaning and Restoration Certification)—it’s the main organization that trains and certifies technicians like me. Their website can help you find a trusted local expert.
Galerie d’inspiration
What’s the one thing a leather pro keeps on hand for ink emergencies?
It’s not a magic spray; it’s a dedicated ink-lifting stick. Products like the Leather Master Ink Lifter or the Avel Hussard Ink & Pen Stain Remover are specifically designed for this one job. They are formulated as a solid crayon or stick, which prevents the product from spreading and turning a fine line into a wide smudge. You apply it directly and only to the ink mark, letting its targeted chemical composition break down the dye without affecting the surrounding leather finish. It’s the closest thing to a ‘magic eraser’ that actually works without causing collateral damage.
More than 75% of irreversible leather damage from DIY stain removal is caused by using a solvent that’s too aggressive for the finish.
This statistic highlights the critical difference between a controlled solution and a harsh chemical. Hairspray or acetone-based nail polish removers are common culprits. While they are solvents, they also dissolve the protective sealant and color on pigmented leather, creating a faded, rough patch that is often more noticeable than the original ink stain. A gentler solvent like isopropyl alcohol is the professional’s choice because it targets the ink with less risk to the leather’s factory finish.
Before you even think about cleaning, consider the tools. The right applicator can make or break the entire process.
- Never use paper towels: They can shred and leave lint, pushing the ink deeper into the grain.
- Always use a white microfiber cloth or a cotton swab: A white cloth ensures you see exactly how much ink you’re lifting and prevents any color transfer from the cloth to the leather. For fine-point pen marks, a simple cotton swab offers the precision needed to treat the line without touching the clean area around it.


