Stop Killing Your Cacti: The Real Deal on Making Perfect Soil
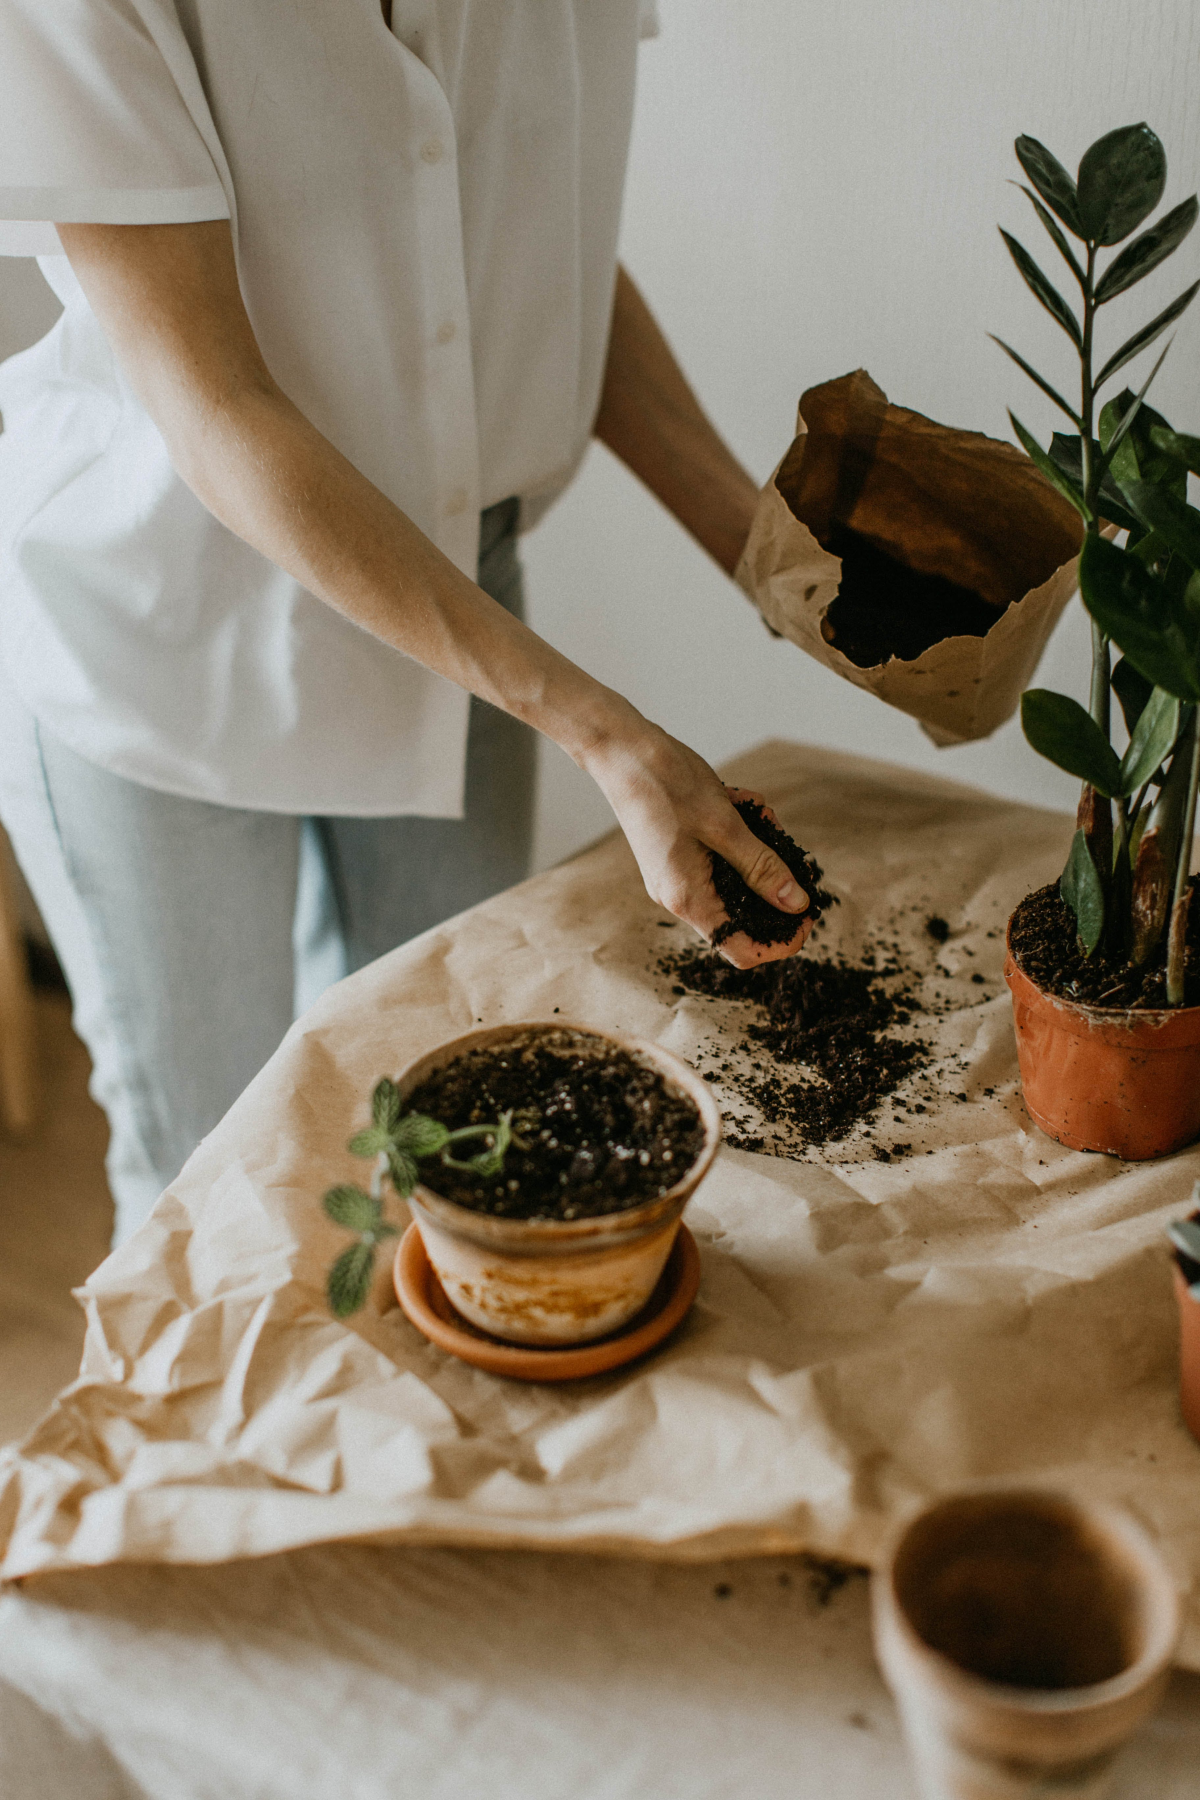
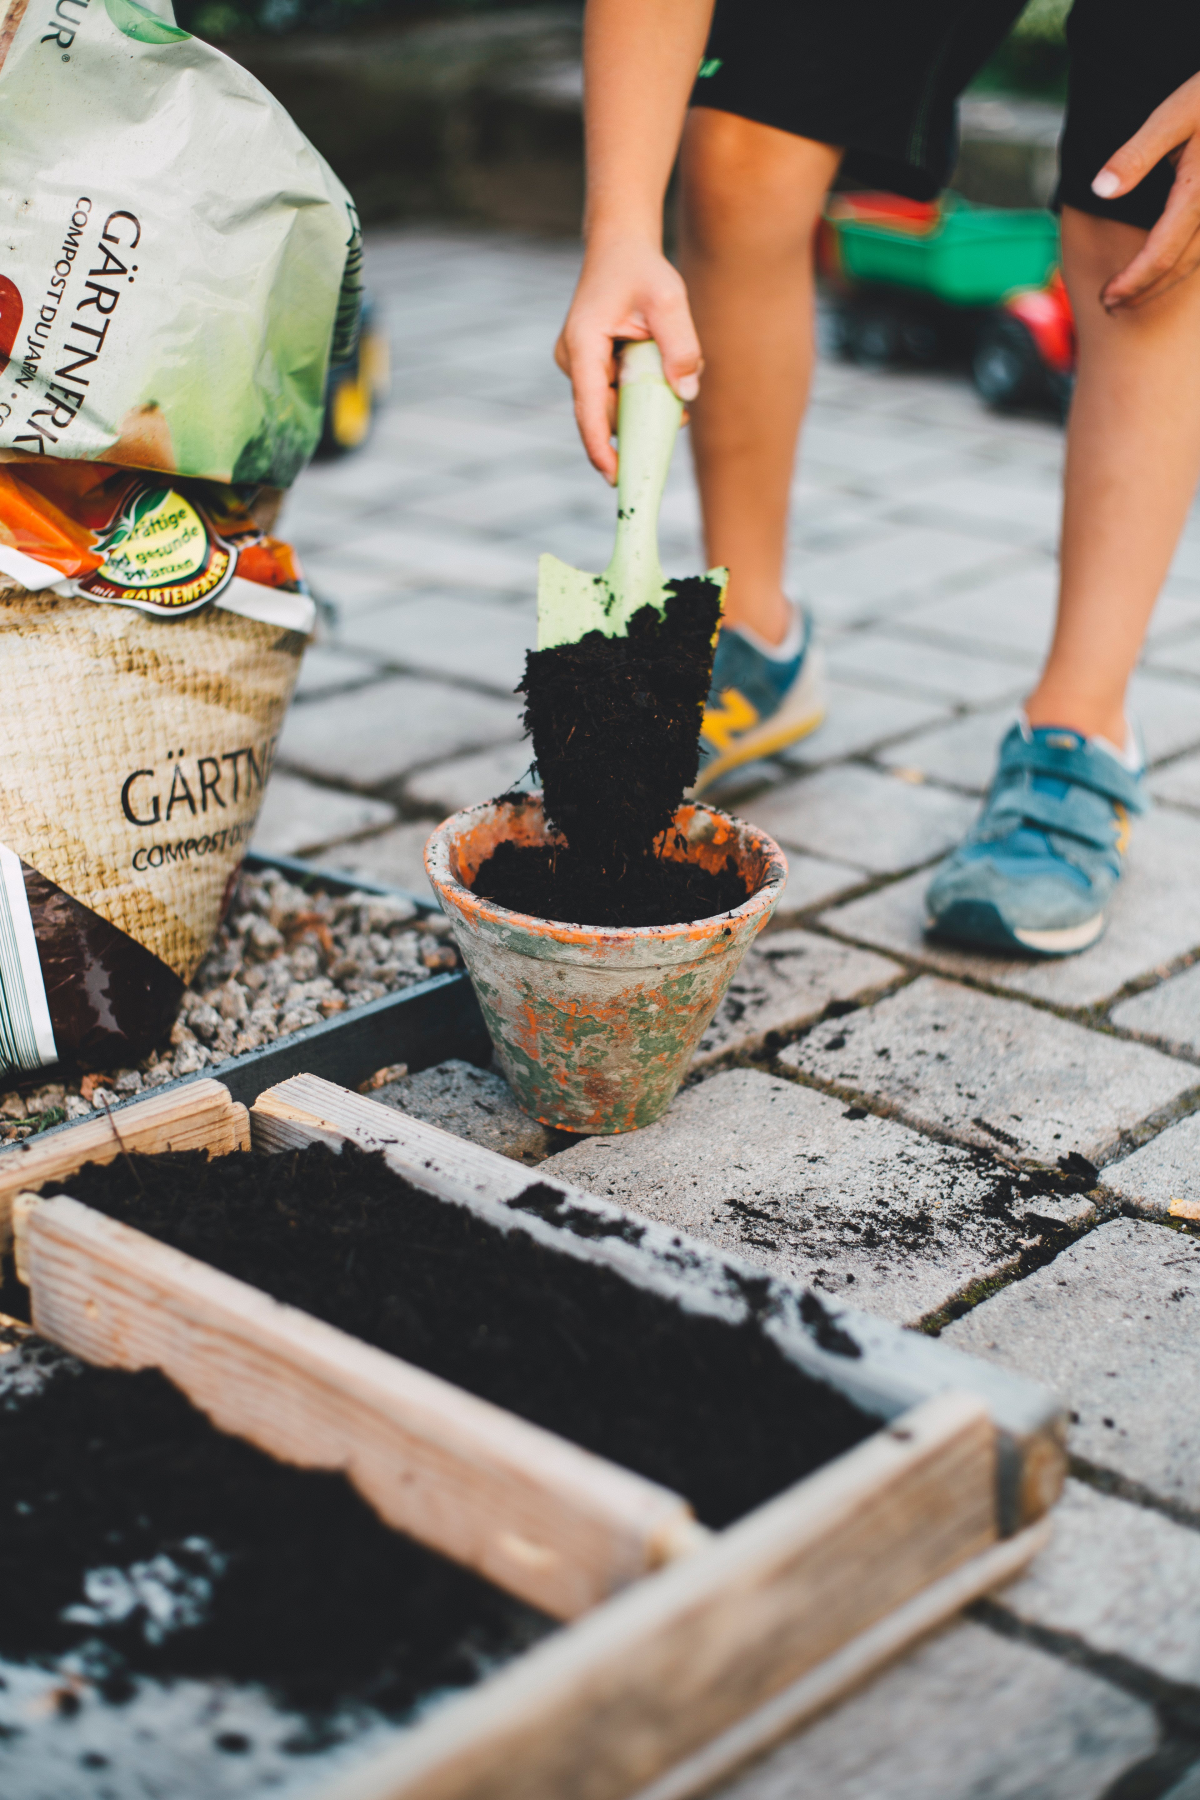
I’ve seen so many sad, mushy cacti in my time. It’s almost always the same story. Someone gets a beautiful new plant, sticks it in a pot with regular old potting soil, and a few months later, it’s a goner. That was me, by the way, when I first started out. My first few cacti sat in heavy, wet soil from the hardware store, and let’s just say they didn’t last long.
In this article
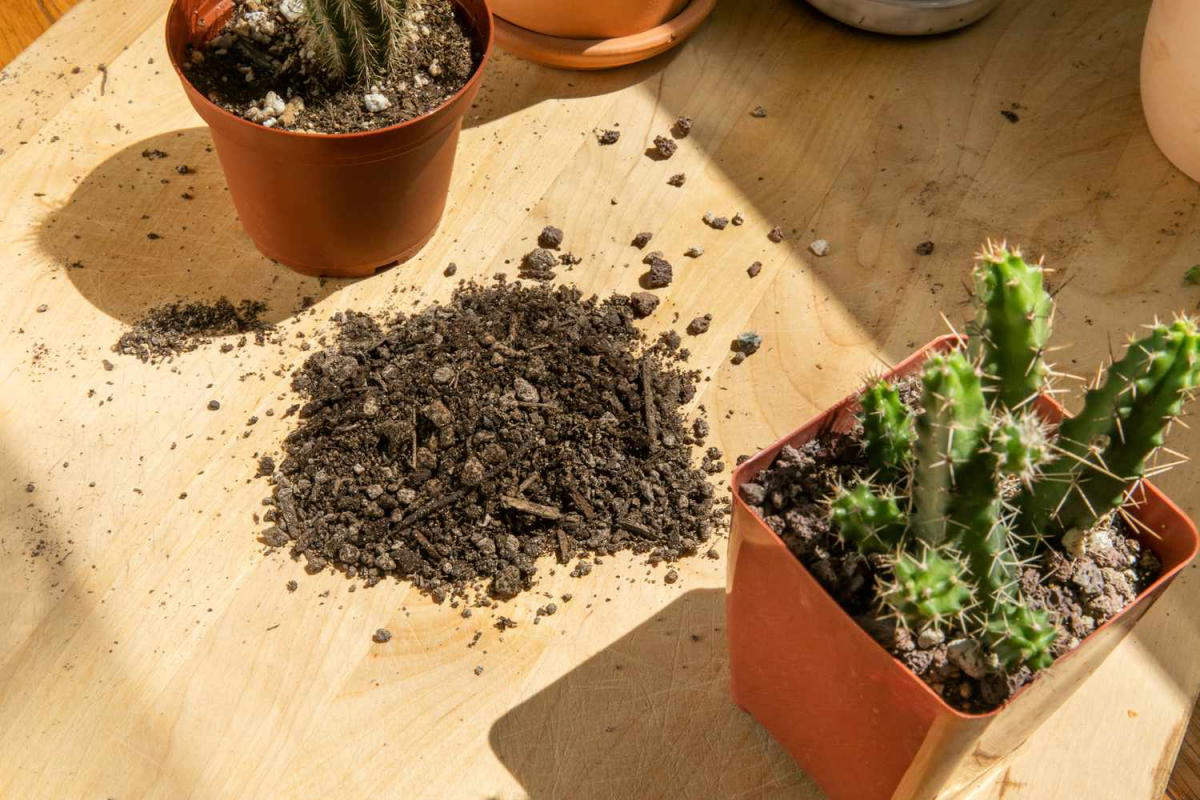
That failure taught me the most important lesson in cactus care: the secret to a thriving plant isn’t in your watering can. It’s in the pot. The right soil is everything.
Many people think soil is just filler to hold the plant up. But for a cactus, it’s a high-tech life support system that manages air, water, and nutrients. These plants come from tough places with gritty, lean soil. Our job is simply to recreate that environment. Get it wrong, and you’re setting the plant up to fail. Get it right, and you’ll have a plant that could outlive you. Let’s dig in.
What Your Cactus Really Needs from Its Soil
To make a great cactus mix, you need to understand why it works. It’s not a magic recipe; it’s just about meeting the plant’s basic needs. Once you get these principles, you can mix soil like a pro.
Air for the Roots (This is a BIG one)
Healthy roots need to breathe. Seriously. They take in oxygen just like we do. When soil is dense and waterlogged, every little air pocket gets filled with water, and the roots literally suffocate. This is what opens the door for root rot.
I’ll never forget the first time I unpotted a favorite cactus that was looking sick. I was hit with this sour, swampy smell, and my stomach just dropped. That was the smell of anaerobic bacteria—the bad guys that cause rot. That’s how I learned to check the roots, not just the plant. A proper cactus mix is full of air pockets created by gritty materials like pumice, which lets water drain fast and pulls fresh air in behind it. That constant gas exchange is vital.
Avoiding the Dreaded ‘Soggy Bottom’
You’ve probably heard the old advice to put a layer of gravel at the bottom of the pot for drainage. Please, whatever you do, don’t do this. It’s a myth, and it actually makes things worse.
In any pot, a layer of soil at the very bottom will stay saturated after watering. This is called a perched water table. Putting gravel at the bottom doesn’t get rid of it; it just lifts that soggy zone higher, closer to the plant’s delicate root ball. The real solution is to use a soil mix so loose and airy that it can’t hold enough water to create a dangerous soggy layer in the first place.
The Building Blocks: What Goes Into a Pro Mix
Bagged cactus soil from the big-box store is… okay. It’s a starting point, but these commercial mixes are often made with too much fine peat or sand that compacts over time, choking the roots. Honestly, you can do so much better by mixing your own or at least amending a pre-made bag.

Is DIY Soil Worth It? A Quick Cost Breakdown
You might be wondering if it’s cheaper to make your own. In the short term, for one small plant, maybe not. A premium, pre-mixed bag of gritty soil from a specialty online seller might cost you $15-$20 for a small bag. But if you plan on having more than a few plants, DIY is a no-brainer. A 25-pound bag of chicken grit can be under $15, and a big bag of pumice is around $25. These ingredients will last you for ages and let you create dozens of pots of soil for a fraction of the cost of buying pre-made.
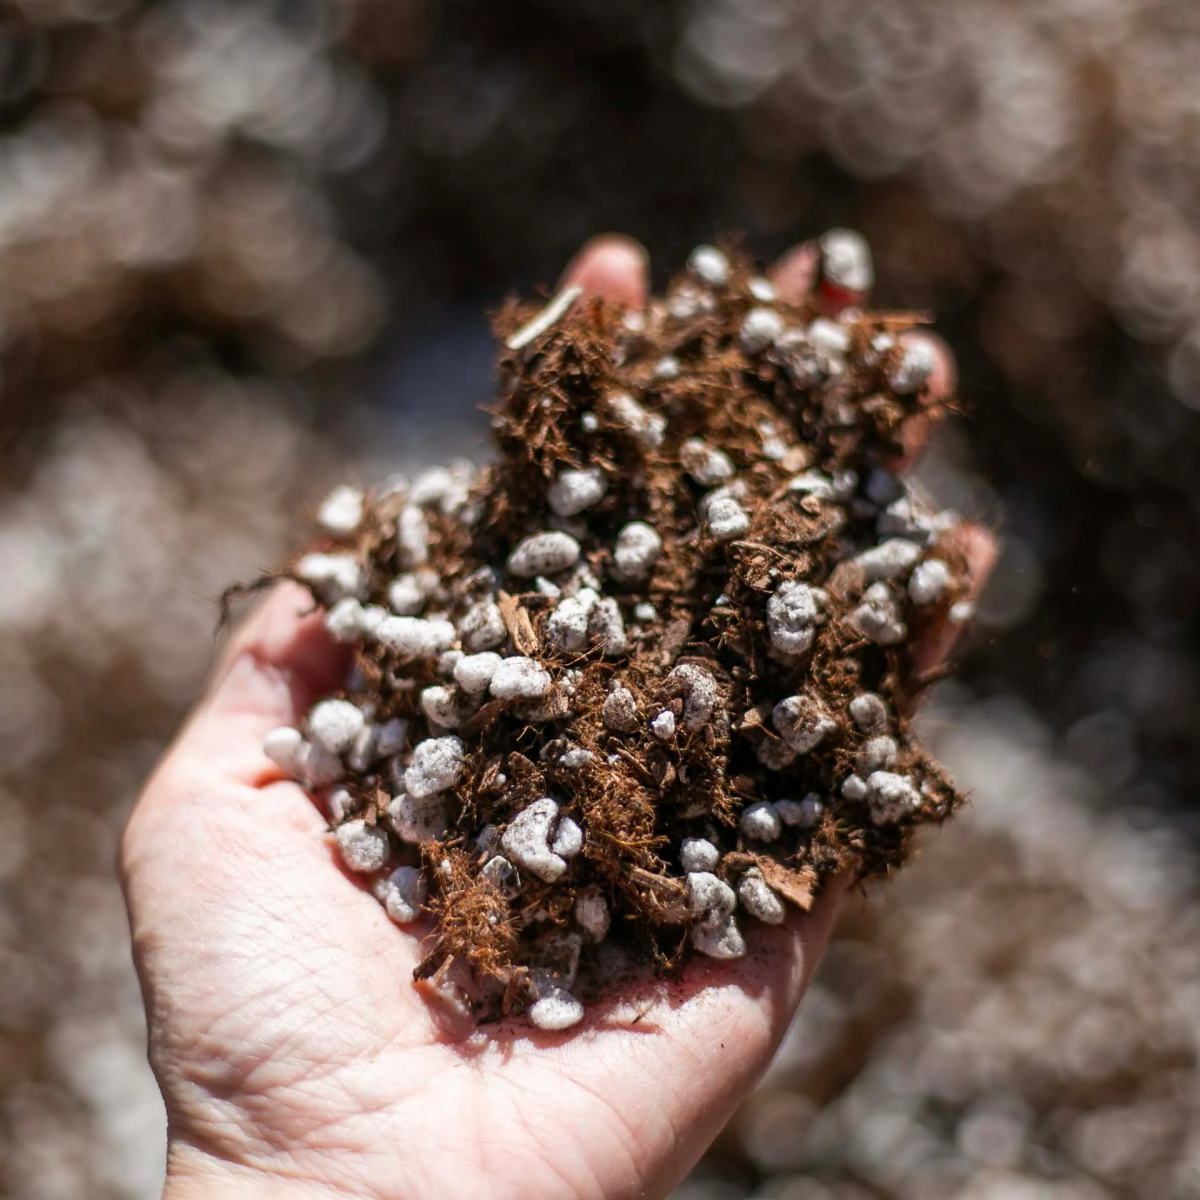
The Inorganic Part (The Gritty Stuff)
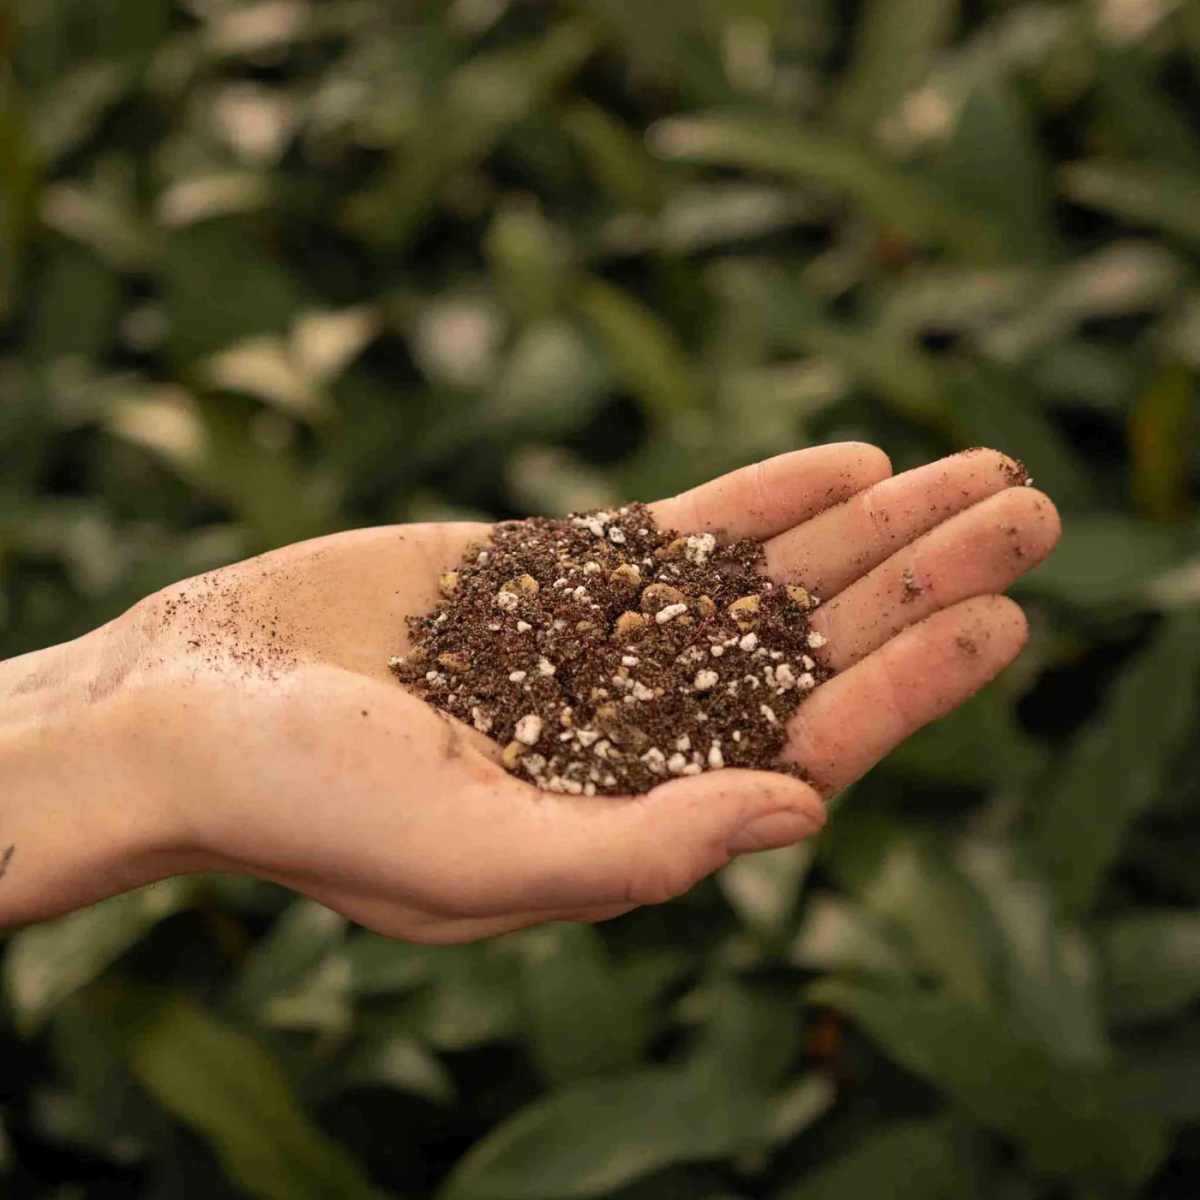
This is the mineral backbone of your mix, usually making up 60-90% of the total volume. It provides the structure and drainage. You’re looking for particles roughly 1/8 to 1/4 inch in size.
- Pumice: This is my absolute favorite. It’s a porous volcanic rock that’s lightweight but doesn’t float to the top like perlite does. It holds a tiny bit of air and moisture inside its pores, creating a perfect micro-environment for roots. It’s incredibly stable and won’t break down.
- Perlite: This is the cheap and easy-to-find option. It provides great aeration, but it has drawbacks. It’s so light that it tends to float to the top of the pot after a few waterings, which is annoying. It can also crush into dust over time, which hurts drainage. It’s a good budget choice, but pumice is a definite upgrade.
- Coarse Grit: This means stuff like crushed granite (sold as ‘grower size’ chicken grit at feed stores), or sharp horticultural sand. It adds weight and stability, which is great for top-heavy cacti. Heads up: Never use play sand or beach sand. The particles are too fine and round, and they will turn your soil into concrete.
Good to know: Where to find this stuff?
Pumice and horticultural sand can be tricky to find locally. Your best bet is to look online at specialty garden suppliers or Amazon. Expect to pay around $20-$25 for a 10-quart bag of pumice. For coarse granite grit, your secret weapon is a local farm or feed store. Ask for “grower size” chicken grit—a massive 25 lb bag is often under $15 and will last forever.
The Organic Part (The Fluffy Stuff)
This is the once-living component of your soil, usually making up just 10-40% of the mix. It holds a little bit of moisture and provides a slow, steady release of nutrients.
- Coconut Coir: I much prefer this over traditional peat moss. It’s a renewable resource, and it re-wets easily if it dries out completely. Peat moss, on the other hand, can become water-repellent (hydrophobic) when it gets bone dry, making it a huge pain to rehydrate.
- Aged Compost or Worm Castings: A small amount of high-quality, sifted compost adds beneficial microbes and micronutrients. Use this sparingly—no more than 10% of your total mix. Too much, and you risk holding too much moisture and over-feeding the plant.
Easy Cactus Soil Recipes You Can Trust
Okay, let’s get to the recipes. But first, what does “part” mean? A ‘part’ can be anything—a yogurt cup, a coffee scoop, a small bucket. Just use the same ‘part’ to measure every ingredient to keep the ratios correct. As a reference, using a 1-cup scoop for my All-Purpose recipe below will give you about 4 cups of finished soil, enough for a couple of 4-inch pots.
The “I’m Overwhelmed” Quick & Dirty Upgrade
Feeling like this is a lot? Here’s the easiest and fastest upgrade you can make today. Buy one bag of any commercial “Cactus & Succulent Soil” and one bag of pumice or perlite. Mix them together 50/50. Done. You’ve just improved your soil’s drainage and aeration by 100%.
Recipe 1: The All-Purpose Desert Mix
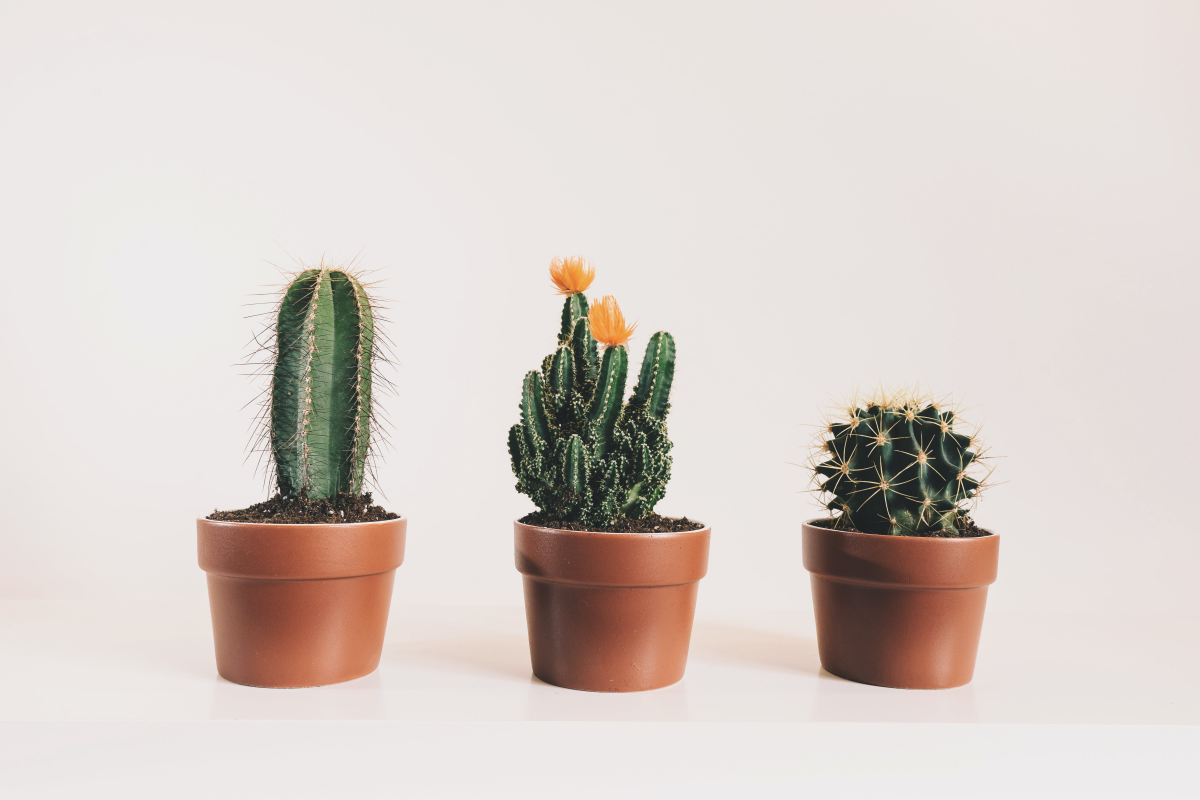
This is my go-to for most common desert cacti like barrel cacti, Ferocactus, and Mammillaria. It drains beautifully but holds just enough moisture.

- 2 parts pumice
- 1 part coarse granite grit
- 1 part coconut coir
Recipe 2: The Jungle Cactus Mix
This is for a totally different kind of plant. Jungle cacti like Christmas cactus (Schlumbergera) and orchid cacti (Epiphyllum) grow on trees in rainforests. They need more moisture and organic matter. A desert mix will dehydrate them.
- 2 parts high-quality potting mix or coconut coir
- 1 part pumice or perlite
- 1 part orchid bark (small grade)
How to Mix Your Soil (Without Wrecking Your Lungs)
Safety First. Seriously.
This is not an optional step, so please pay attention. The dry stuff in your mix—perlite, sand, even compost—kicks up a lot of fine dust. Did you know? That dust can contain silica, which is basically microscopic glass. Breathing it in can lead to serious, permanent lung damage over time. So, always wear a good N95 dust mask when you’re mixing soil. Mix outdoors if you can. It’s a simple step that protects your health for the long haul.
The Mixing Process
- Gather Your Gear: You just need a big plastic tub or a wheelbarrow, a scoop for your ‘parts’, and gloves. I also recommend a cheap kitchen colander to act as a sieve.
- Sieve the Components: This one step will level up your soil mix. Sieve your coir or compost to get rid of dust and big chunks. This ensures a consistent, airy final product.
- Combine and Moisten: Add all your measured ingredients to the tub. Before you mix, lightly spritz everything with a spray bottle. This keeps the dust down. You just want it barely damp, not wet.
- Mix It Up: Use your hands or a small trowel to mix everything thoroughly until it’s all evenly distributed. The final texture should feel gritty and light.
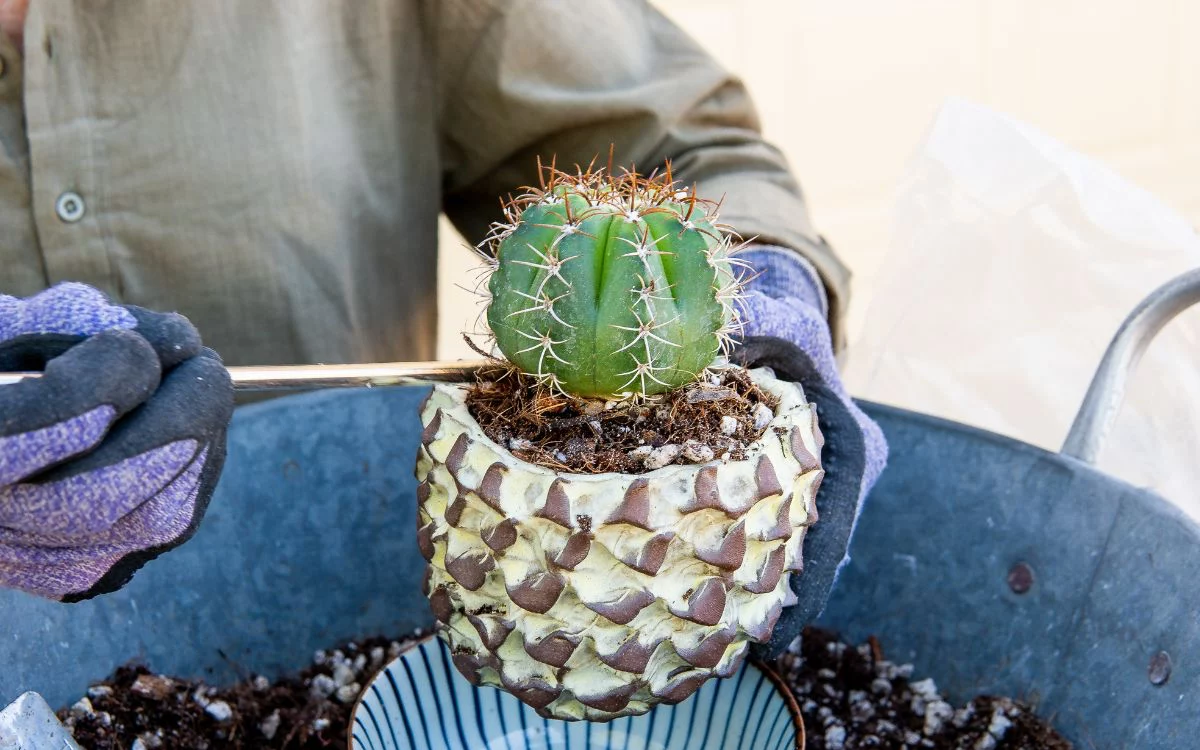
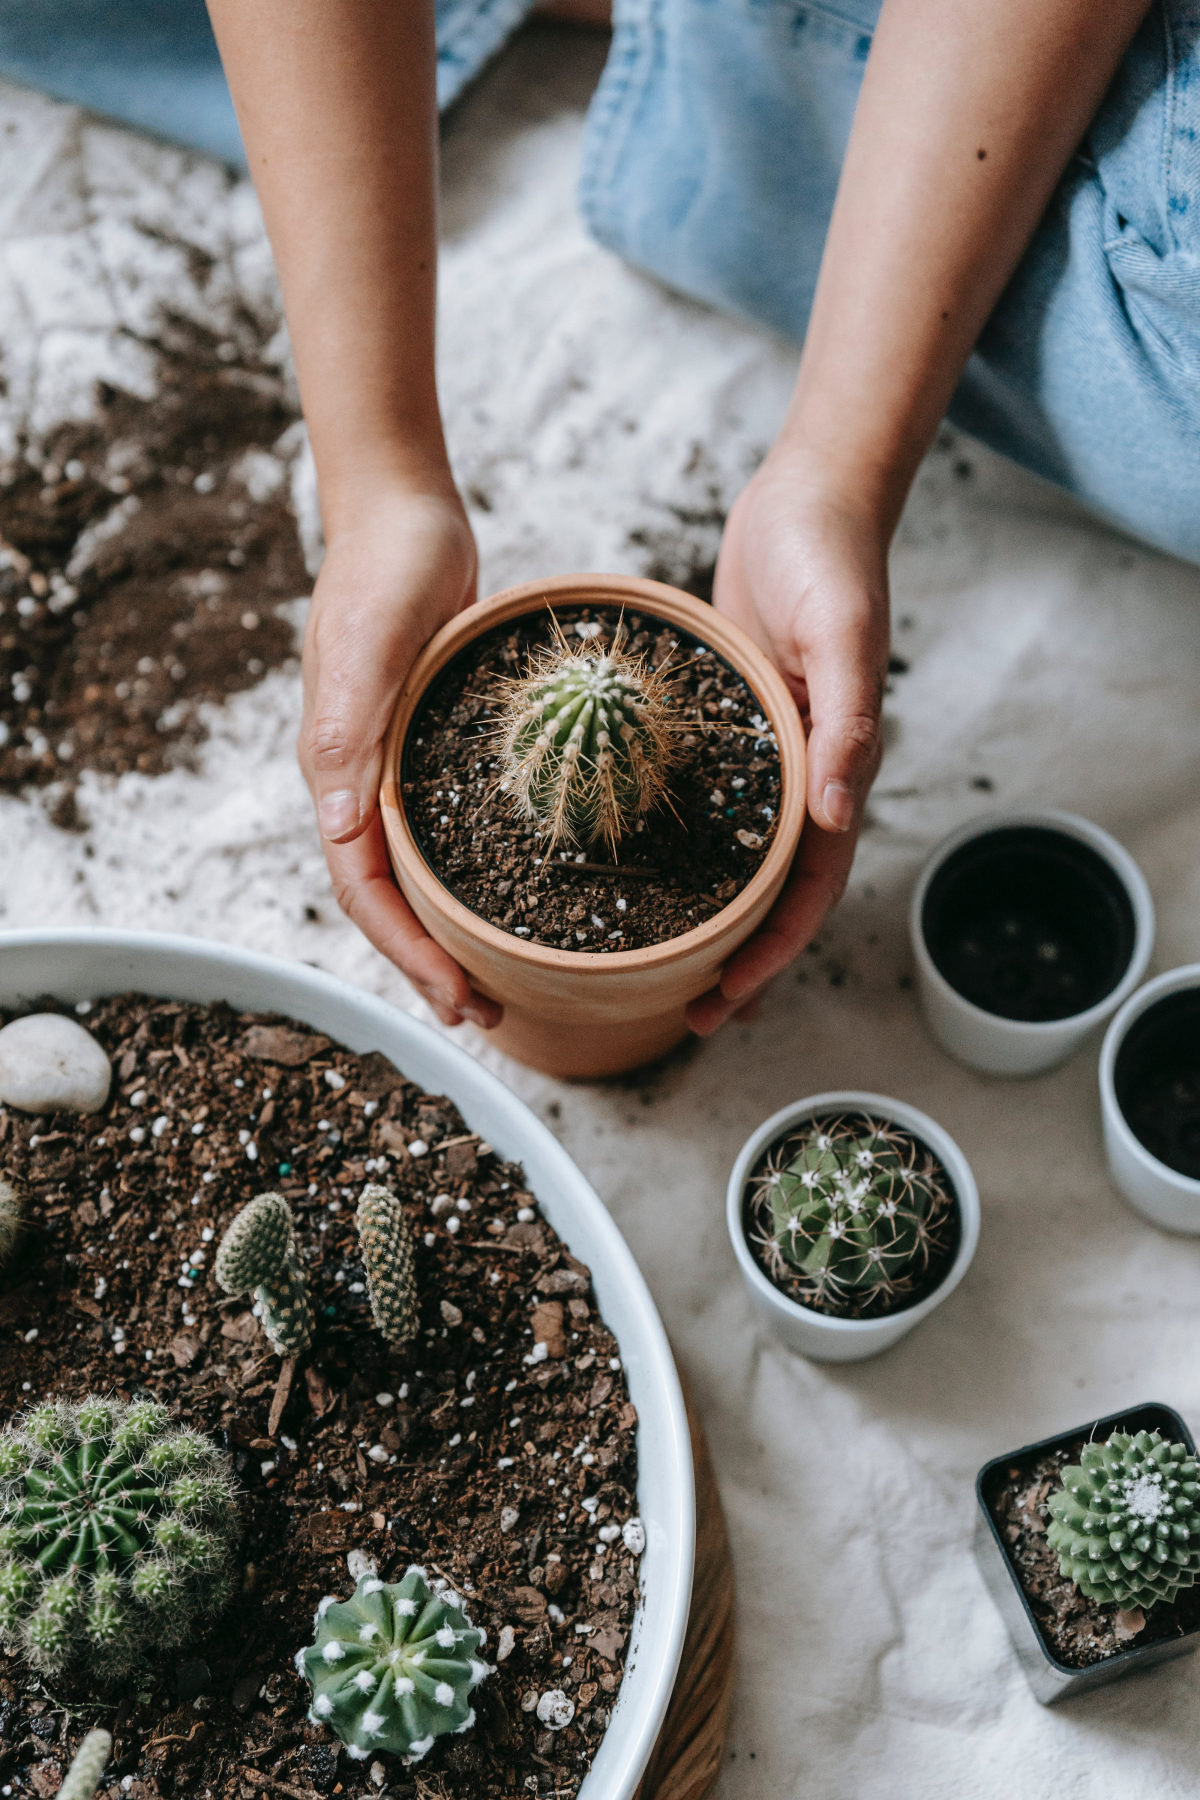
Potting Up: The Final Steps to Success
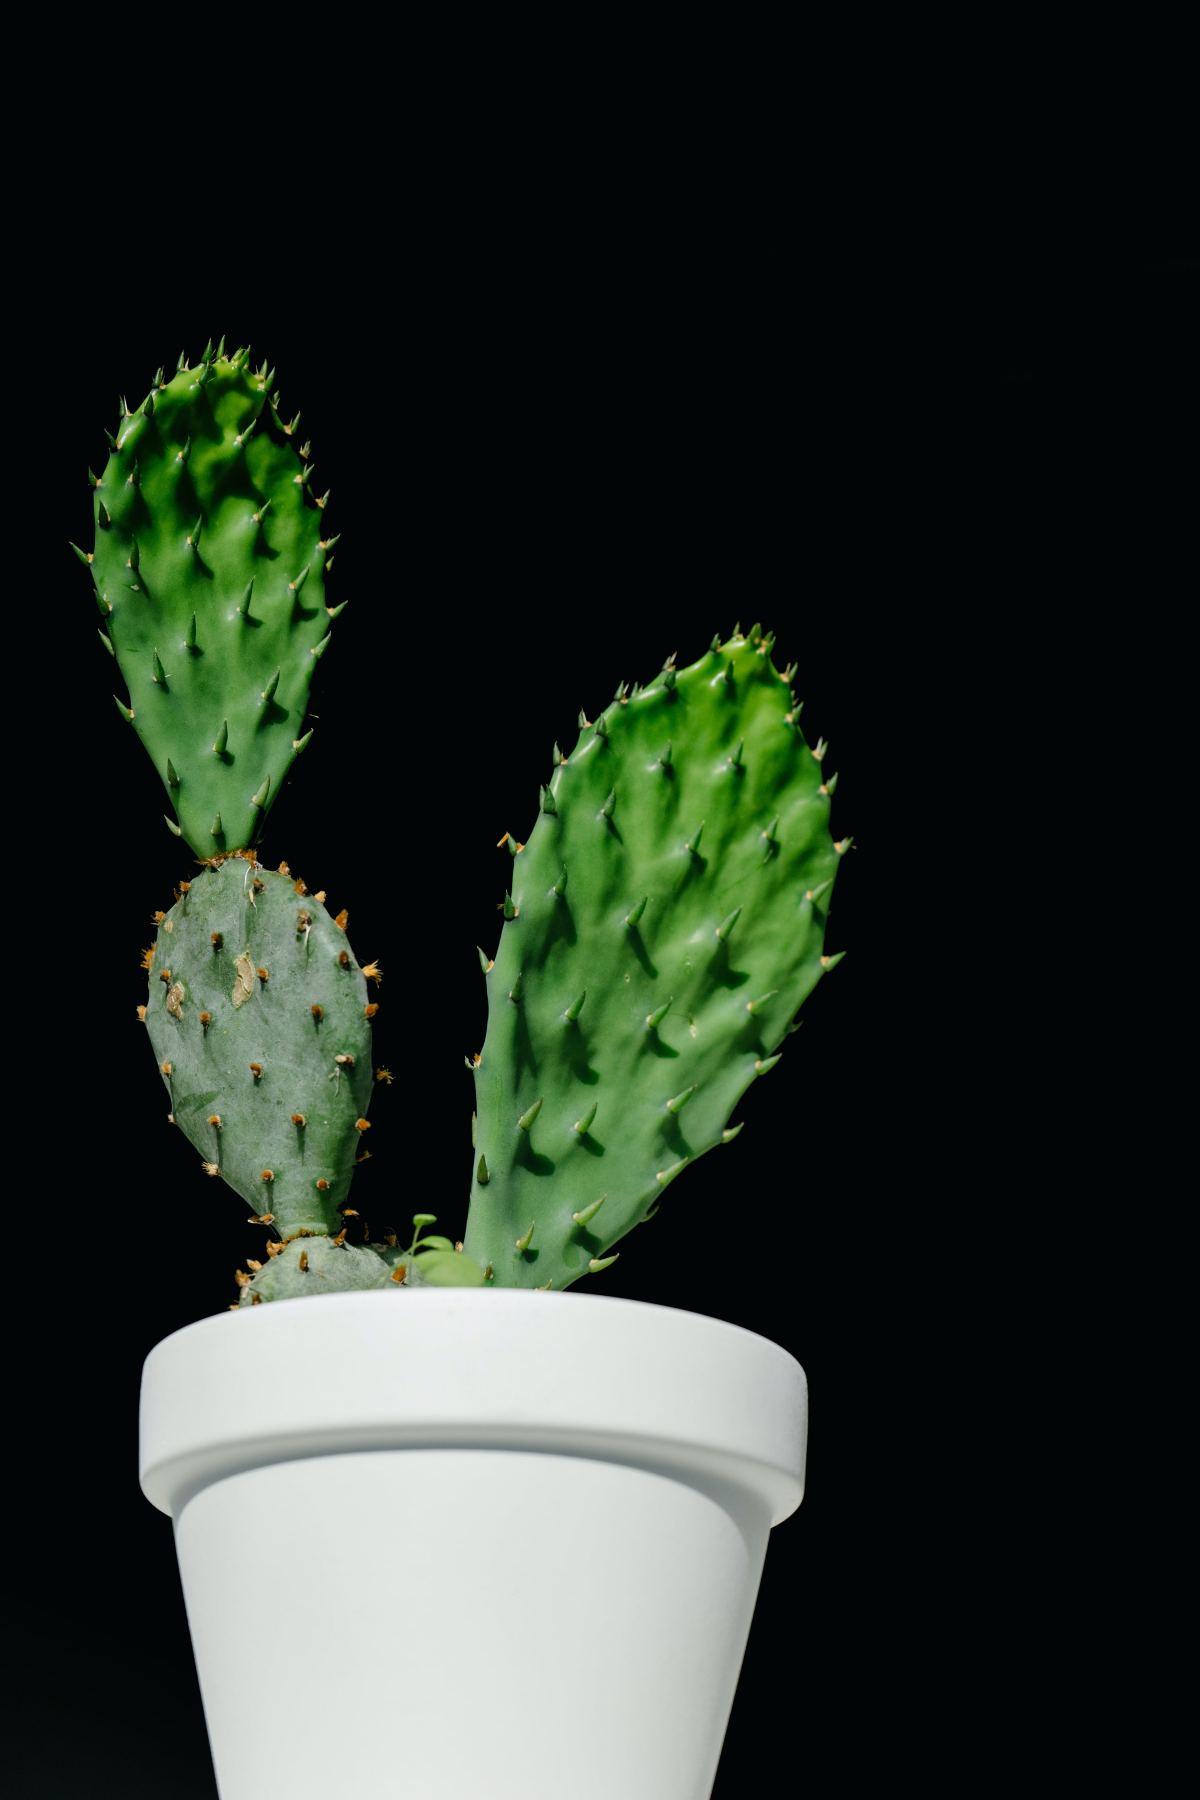
Even the world’s best soil can’t save a plant that’s potted incorrectly. Choose a pot with a drainage hole—no exceptions! Terracotta is a fantastic choice for beginners because the porous clay helps the soil dry out faster. When you repot, only go up one pot size, about one inch of space around the root ball is perfect.
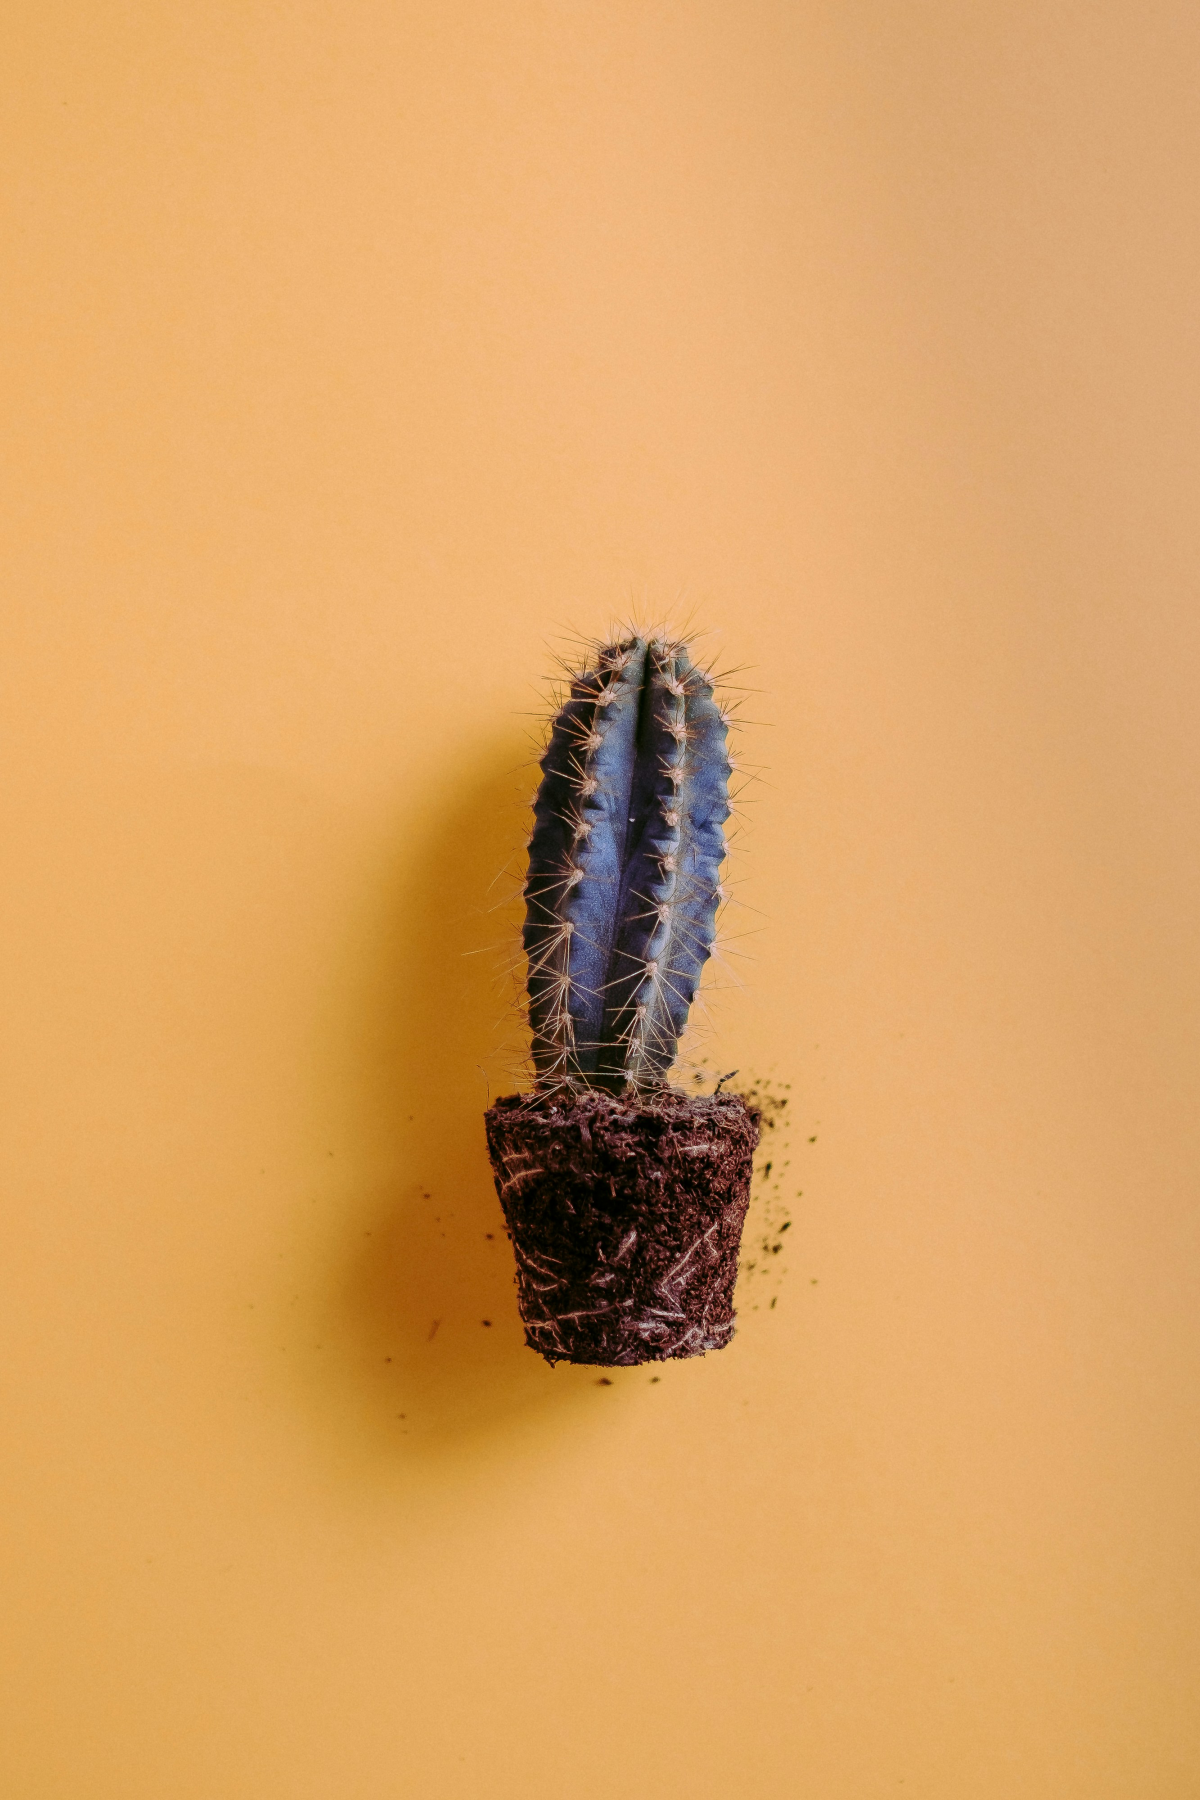
A Quick Word on Root Surgery
When you unpot your cactus, check the roots. If you see any that are black, mushy, or smell bad, you have to cut them off. Use a clean knife and cut back to healthy, white tissue. Then—and this is critical—you must let the plant sit out in a dry, shady spot to let the cuts callous over. How long? Plan on 3 to 7 days. If you live somewhere humid, aim for a full week. In a dry climate, 3 or 4 days might be enough. Potting a plant with fresh wounds is asking for infection.
The Most Important (and Hardest) Final Step
After you’ve repotted your cactus in its new pot with fresh, dry soil… DO NOT WATER IT. Wait at least a week. I know, it feels wrong, but it’s essential. The repotting process creates tiny, invisible tears in the roots. Watering right away introduces moisture and bacteria into those wounds, causing rot. Giving the plant a week in dry soil allows those little injuries to heal safely.
And that’s it! Building your own soil is a skill, but it’s one of the most rewarding parts of caring for these incredible plants. Start with these ideas, watch how your plants respond, and don’t be afraid to tweak the recipes to fit your own environment. You’re now well on your way to a thriving cactus collection.
Galerie d’inspiration
Once you’ve perfected your soil mix, consider the finishing touch: a top dressing. A thin layer of small slate chippings, polished pebbles, or even a specialized material like Lechuza-PON not only gives a clean, professional look but also helps prevent moisture from sitting against the cactus’s base and can deter common pests like fungus gnats.
The native soils of most cacti are classified as ‘Aridisols,’ which are characterized by high mineral content and extremely low levels of organic matter.
This is why mimicking that lean, gritty environment in your pot is crucial. Unlike tropical plants that thrive in rich humus, cacti have evolved to seek out scarce water and nutrients in a mineral-dominated landscape. Your soil mix should reflect this fundamental difference.

Can I just use a standard pre-bagged cactus mix?
You can, but with a major caveat. Most commercial mixes, like those from Miracle-Gro or Black Gold, are designed to be cost-effective and are often too heavy on peat moss. They are a good base, but for optimal health, you should amend them. A simple rule of thumb is to mix them 50/50 with an inorganic material like pumice or perlite to drastically improve drainage and aeration.
For a perfect DIY blend, think in terms of ‘parts’. Here’s a classic, reliable recipe:
- One part organic material: Coco coir is a great choice as it re-wets easily. Sifted peat moss is an alternative.
- One part drainage material: Coarse horticultural sand or fine grit ensures water passes through quickly.
- One part aeration material: Pumice is the gold standard. Perlite is a lighter, more accessible substitute.
Pumice: A porous volcanic rock that provides excellent aeration and drainage. It doesn’t compact or float, and it holds a small amount of water and nutrients for roots to access.
Perlite: Super-lightweight expanded volcanic glass. It provides fantastic aeration but can be crushed over time and tends to float to the top of the pot during watering.
For durability and performance, pumice is the superior choice, but perlite is an excellent and widely available alternative.
- Prevents musty odors and mold growth.
- Reduces the risk of fungus gnat infestations.
- Creates a sterile environment for delicate roots to grow.
The secret is surprisingly simple: bake your soil mix.
Before potting, spread your mix on a baking sheet, dampen it slightly, and bake at 180°F (about 85°C) for 30 minutes. Let it cool completely. This sterilizes the organic components without damaging the minerals.
A critical note on sand: Never use play sand, builder’s sand, or beach sand in your cactus mix. These sands have very fine, uniform particles that compact when wet, filling in the very air gaps you’re trying to create. This leads to a dense, water-logged soil that is a death sentence for cactus roots. Always seek out coarse horticultural sand, which has larger, irregular particles.
Did you know? The rough, porous texture of pumice contains countless microscopic cavities.
This structure is what makes it so valuable. It doesn’t just create space between soil particles for air; it acts as a microscopic hotel for beneficial microbes and holds onto trace nutrients from fertilizers, releasing them slowly to the plant’s roots. It’s a living part of the soil ecosystem, not just a filler.
Your shopping list for a superior cactus soil:
- Coco Coir or Sphagnum Peat Moss (the organic base)
- Pumice (for aeration and structure)
- Horticultural Grit or Coarse Sand (for sharp drainage)
- Worm Castings or a pinch of balanced slow-release fertilizer (for gentle nutrition)
- Activated Charcoal (optional, to keep the soil ‘sweet’)


